Witbox DIY (Part 2)
Hello geektimes!
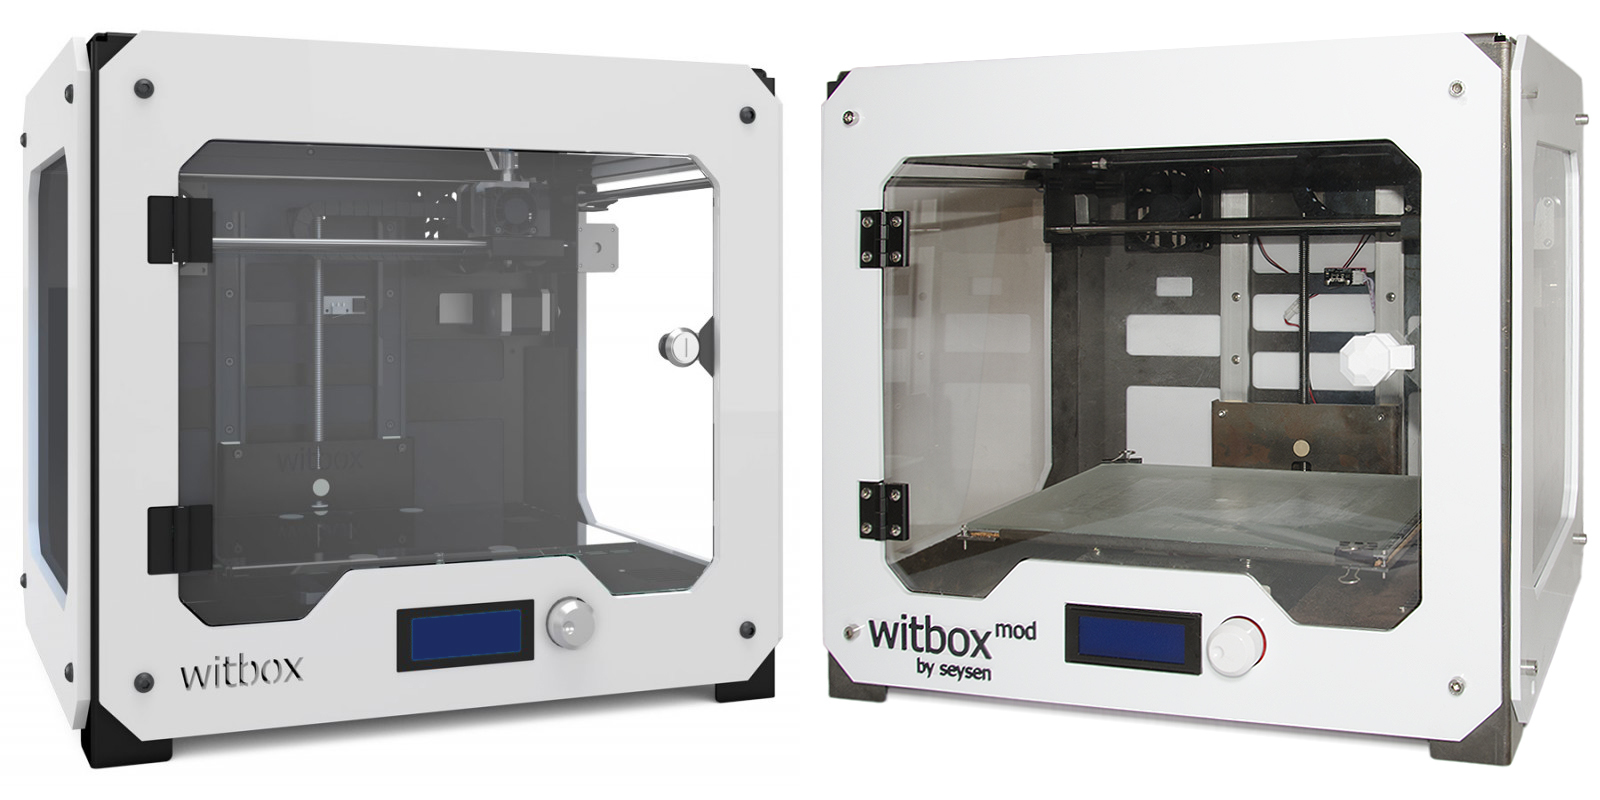
This is the second part of the story about how I did witbox myself .
The final stage of building a modification of the witbox printer took me a little longer than I would have liked. There were several reasons for this, but this is not the case now.
In this article I want to talk about what has been done, as well as share my impressions of my version of witbox.
')
And since everyone loves to watch how others work, then at the end of a small video build.
So let's go!
Problems never come alone. So during the assembly they pursued me constantly.
Due to the fact that initially I did the bending of the parts manually, there were small misalignments of the holes, which led to jamming of the carriages.
I decided to fix it by ordering the machine bending. And here, too, began technological difficulties. I believe that bq does it in a stamp and therefore they have no problems. Bending on the sheet bending machine parts led to disappointing results.
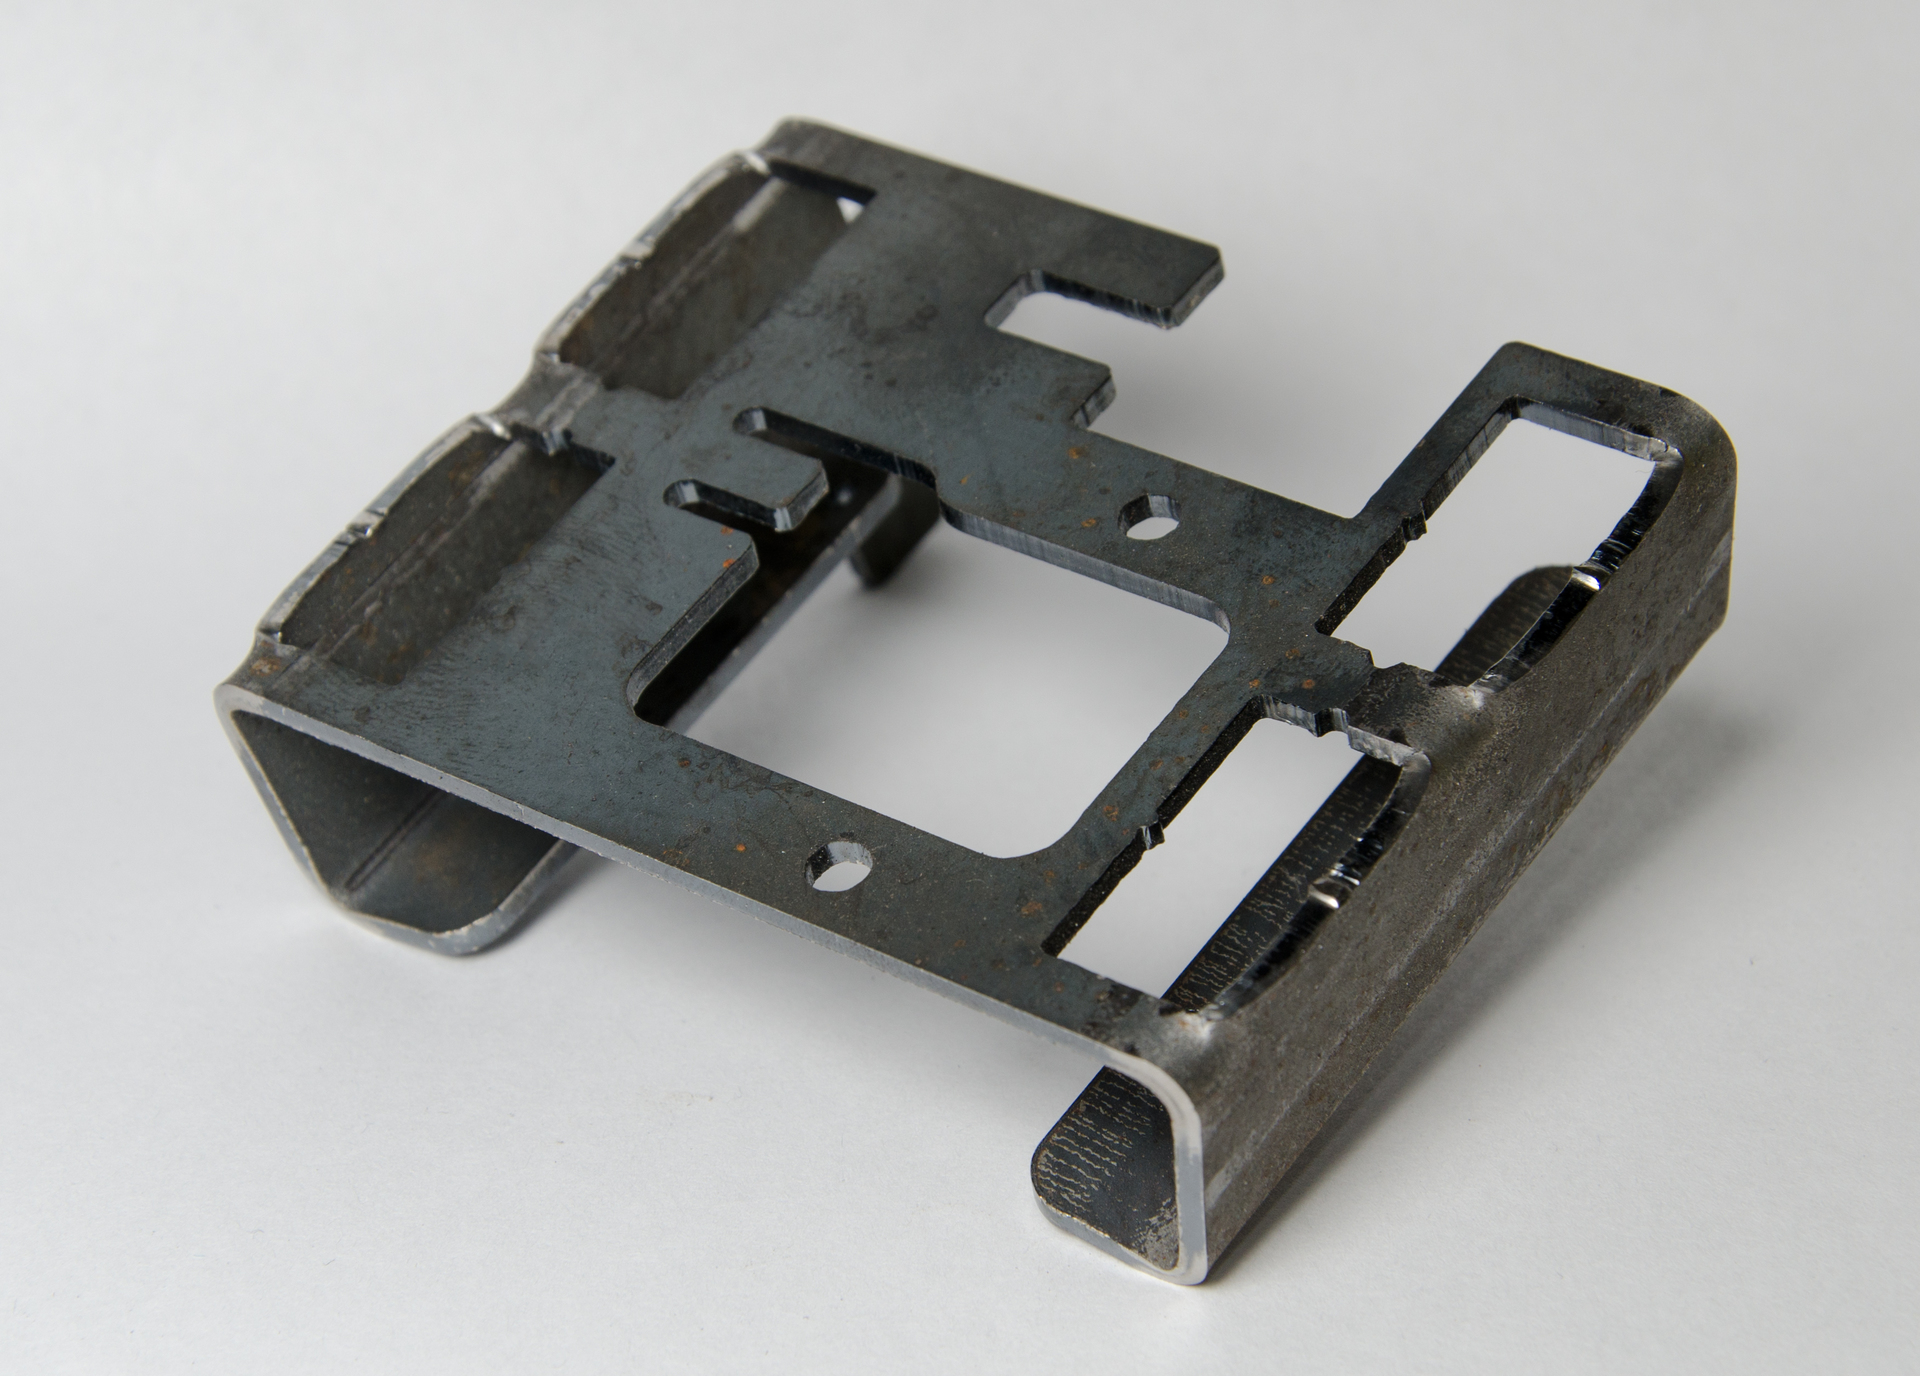
The artist reworked the parts several times and eventually gave up. I myself had to master the bending on the CNC bending machine (yes, yes, there are those too). In the end, everything turned out.
Assembly of the body went a little tight. I had to produce it from friends in the workplace. Therefore, it will not be on the video.
Then for a long time I put axes parallel to this, too, not on the video, because there is no action in it. Periodically jammed carriages and I could not understand why. He exhibited a center distance even with a mic, but still, sometimes the carriage stuck. I read the wiki reprap.org for a long time and finally found a problem. Drivers gave out insufficient current to the engines. Twisted.
When I started typing, I found out that plastic is pulsing. Began to deal now with this. It turned out in the extruder insufficient compensation gaps for moving parts. As a result of this, the clamp rested on the case and the drive wheel hung a little above the thread and the plastic stopped feeding. Where do without napilinga in Russia. Finishing the rasp should be in the technical requirements of all the drawings!
Corrected it. I started typing on the printer every day and at one point, because of my playful pens, the power supply burned down. Taking advantage of this, I ordered a more powerful one and with a slightly higher supply voltage so that the table warms up faster. And it helped. From 30 to 100 degrees it is heated in less than 10 minutes.
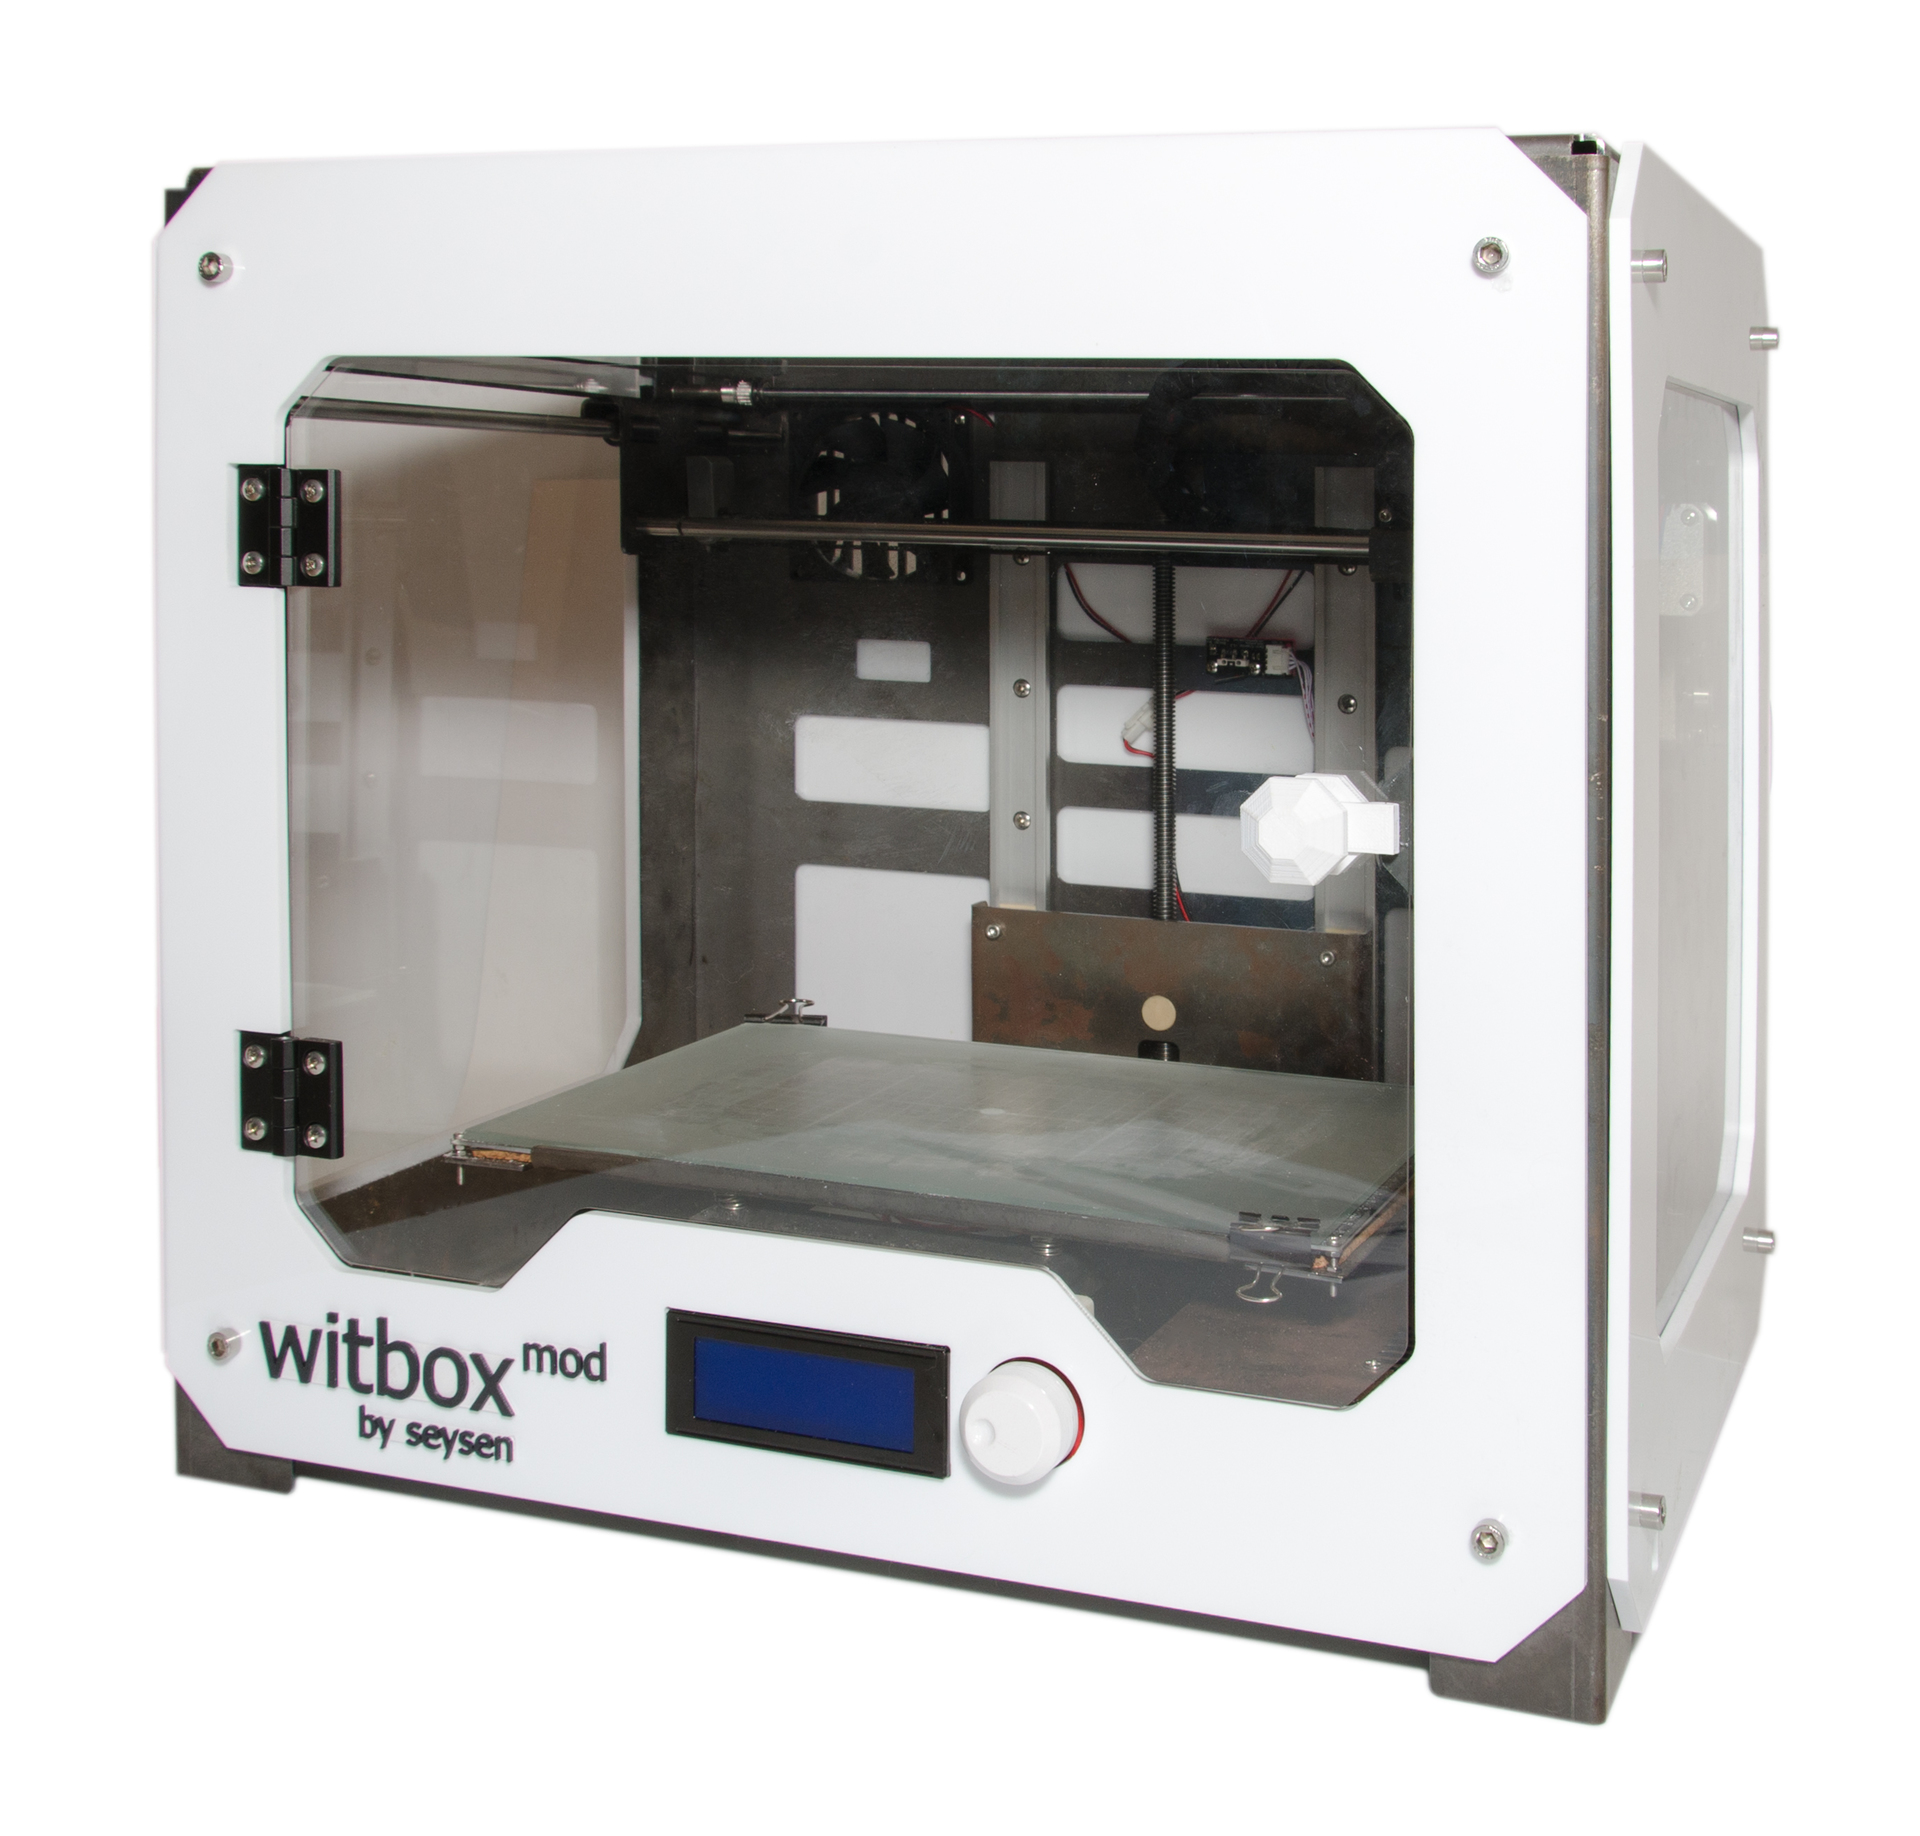
I ordered decorative panels made of polystyrene and polycarbonate windows. After installation, connected the rear fans as expected. And horror !!! How he is noisy !!! I did not believe the reviewers on this subject, but I was convinced of this. Roars like a jet plane.
I made a handle on the door on the magnet, since on the key in my opinion - this is nonsense. And with a magnet very convenient. Actually like everything.
A bit of impressions.
- At the expense of the print quality of my sample witbox, I cannot say anything, since there is nothing to compare with. You can see for yourself in the examples of models and in the comments say your opinion. Personally, the quality does not seem acceptable anymore. Although, on the other hand, this is FDM printing and you shouldn’t use precision precision from it.
- Noisy is creepy. I want to put somewhere in a deserted room.
- The memory card is not very conveniently located. If the table has not yet cooled down, then there is a chance to warm the knobs very strongly.
- To summarize, in general, I am satisfied with the printer. Large, assembled with his own hands and most importantly, he prints! And if there is one 3D printer, then you can always print another! In the process of assembling more than once there was a desire to take it and throw it away, but it took its persistence.
I hope you were interested. At the end of a small gallery of models and video assembly. Enjoy watching!
Model Gallery


Source: https://habr.com/ru/post/368043/
All Articles