Radio-controlled boat on the Arduino and ceiling tile NRF24L01 radio module
I want to talk about my passion for radio models, in particular boats.
To control the motors I decided to use the arduin and the ready-made remote control for quadcopters. This remote is assembled using the NRF24L01 radio module, and besides, one kind person decoded the protocol .
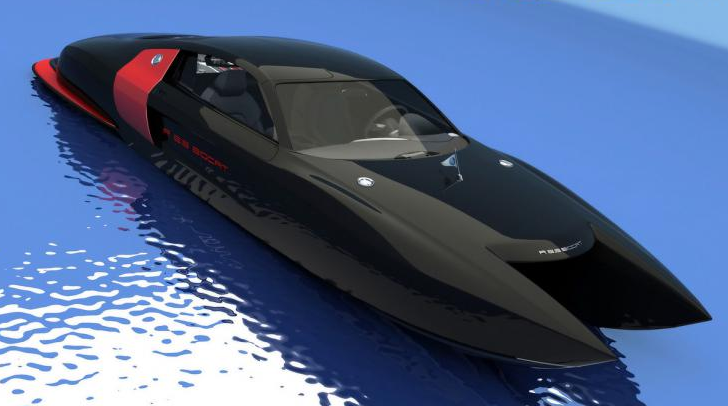
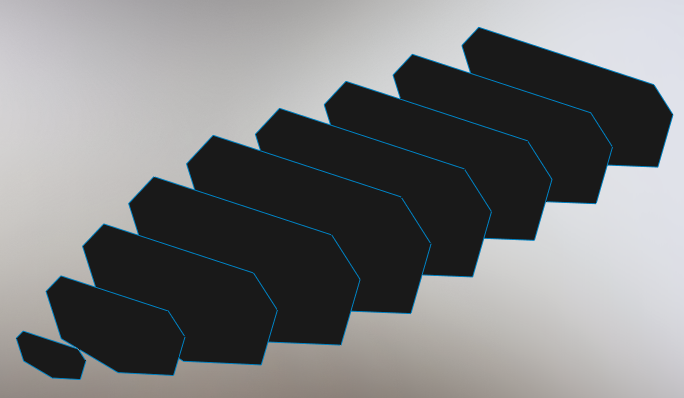
First I decided to choose the type of hull: catamaran. Based on this image:
')
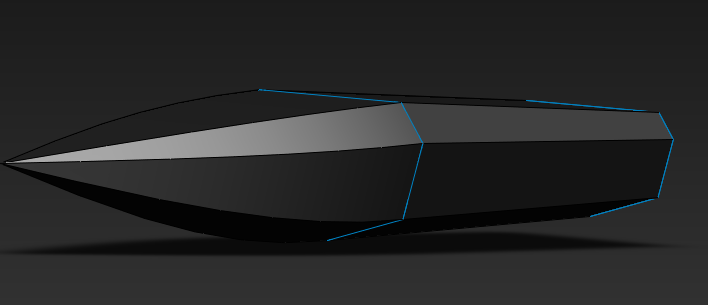
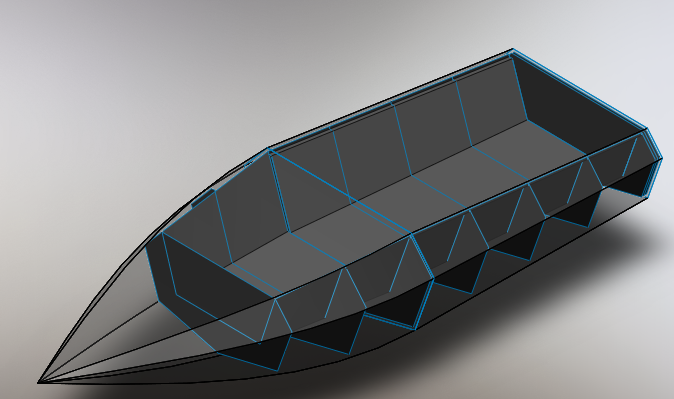
According to this picture, a sketch of a 3D model was made in order to make a pattern from it in one wonderful program of pepakura designer :
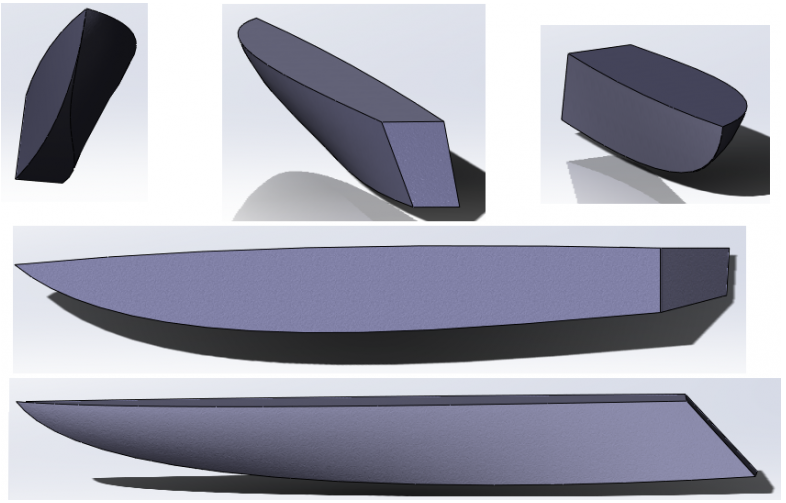
But of course the program could not make a normal pattern on my too curved surfaces. While my training was going on, which 3D models should still be, I decided to do it without any drawings "by eye":
And actually arduin itself (self-made) with the driver for the SI9986:
And of course the video:
Not a single duck has suffered.
A number of shortcomings were identified:
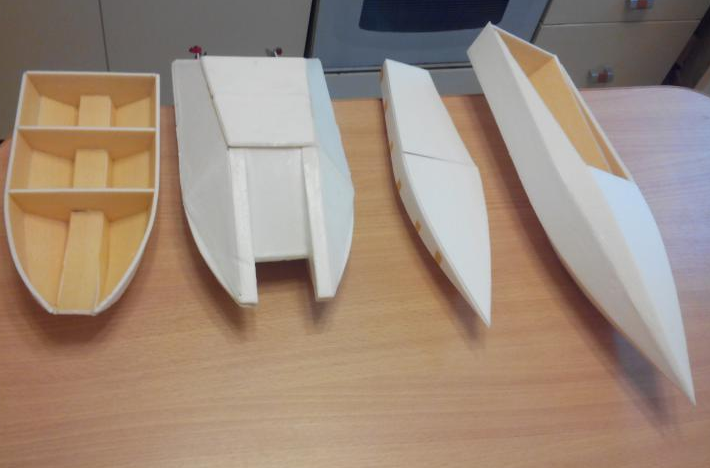
After a bit of work on the bugs and an increase in experience in creating the "correct" 3D models, several new buildings appeared:
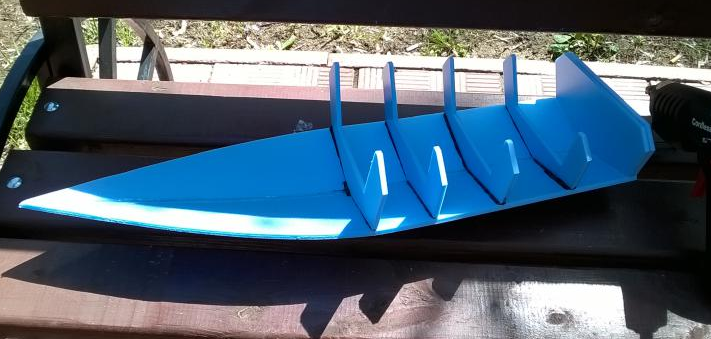
For the next model, the smallest one was chosen, which I expected was supposed to show itself well.
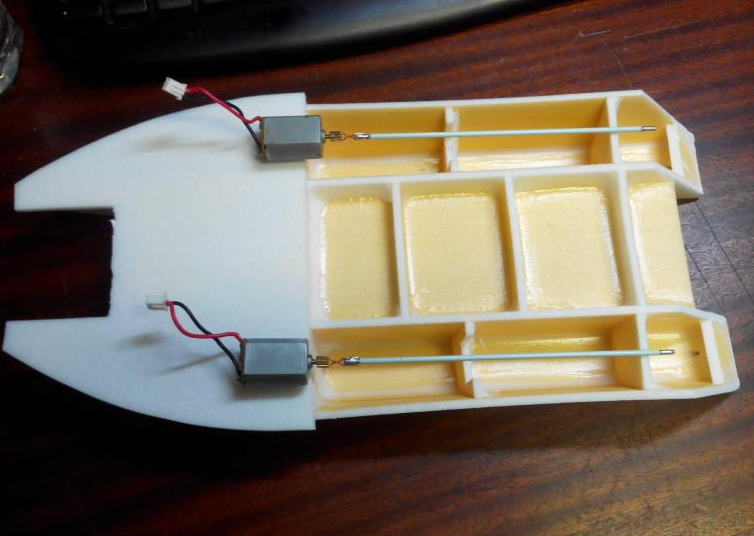
In principle, I was pleased, but it became clear that the engines needed to be changed to one powerful, and the direction to control the wheel.
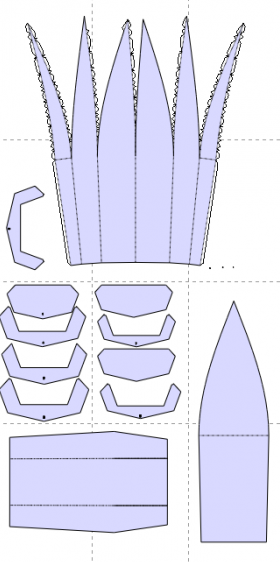
I did not assemble this model to the end, but I learned how to make 3D models for obtaining patterns, and also learned what frames are and their purpose.
According to this model, the pattern was made:
Also learned about the excellent replacement of ceiling tiles: lining under the laminate.
The lining has a number of advantages compared with the ceiling:
And the rest are very similar:
Clay used Titan, but then switched to hot melt glue, with which the assembly was accelerated several times.
The motor, steering wheel and shaft were purchased by the store, spare parts from the shop radio-controlled boat. In addition, I learned to fuse brass nuts in plastic, and the problem of engine mounting was no longer there.
This motor is very voracious, and has a huge starting current, about 10 A, maybe higher. Therefore, I decided to make the motor driver simpler: from 1 field-effect transistor, I refused to reverse and simplified the development of the board.
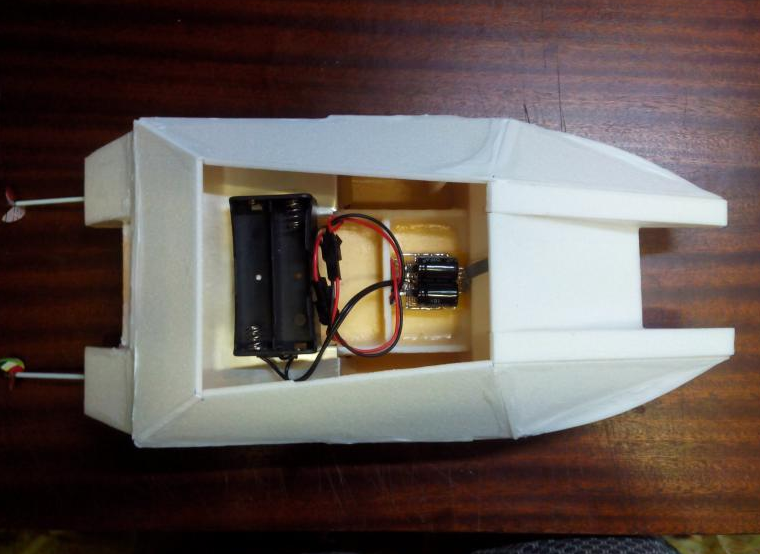
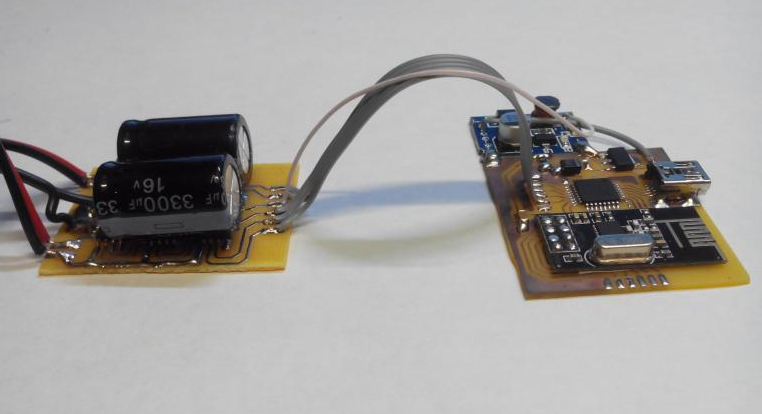
A control board consisting of a self-made arduin on the Atmega328P, a NRf24L01 radio module, a field-effect transistor driver, and several voltage stabilizers was developed, diluted and manufactured. Also the board was tested:
It remains to check the board with the “big” motor, and install it in the board, install a servo with a body kit, think over the sealing of the boat cover and can be tested on the water.
And of course, I share patterns of boats, with various dimensions, for those who want to collect:
Boat_v3.1_450h173h85
Boat_v3.1_590x227x112
Boat_v3.1_750h288h142
Continued:
Made a small video showing all the main stages of the assembly of the boat
To control the motors I decided to use the arduin and the ready-made remote control for quadcopters. This remote is assembled using the NRF24L01 radio module, and besides, one kind person decoded the protocol .
1 model
First I decided to choose the type of hull: catamaran. Based on this image:
')
According to this picture, a sketch of a 3D model was made in order to make a pattern from it in one wonderful program of pepakura designer :
But of course the program could not make a normal pattern on my too curved surfaces. While my training was going on, which 3D models should still be, I decided to do it without any drawings "by eye":
And actually arduin itself (self-made) with the driver for the SI9986:
And of course the video:
Not a single duck has suffered.
A number of shortcomings were identified:
- The model is heavy.
- Ceiling glue (for syringe guns) is heavy and soaked by water.
- The oil chamber with the use of lithol (someone suggested as an option from leakage from the shaft) does not do well.
- Voltage 1 lithium battery is not enough. A minimum of 2S battery is required.
- Screws caught the air.
- Drivers on SI9986 eventually died from overload.
- Engines from an old radio-controlled helicopter required a radiator, because it was very hot.
- My boat design was clearly unsuccessful: short and high.
After a bit of work on the bugs and an increase in experience in creating the "correct" 3D models, several new buildings appeared:
For the next model, the smallest one was chosen, which I expected was supposed to show itself well.
2 model
In principle, I was pleased, but it became clear that the engines needed to be changed to one powerful, and the direction to control the wheel.
3 model
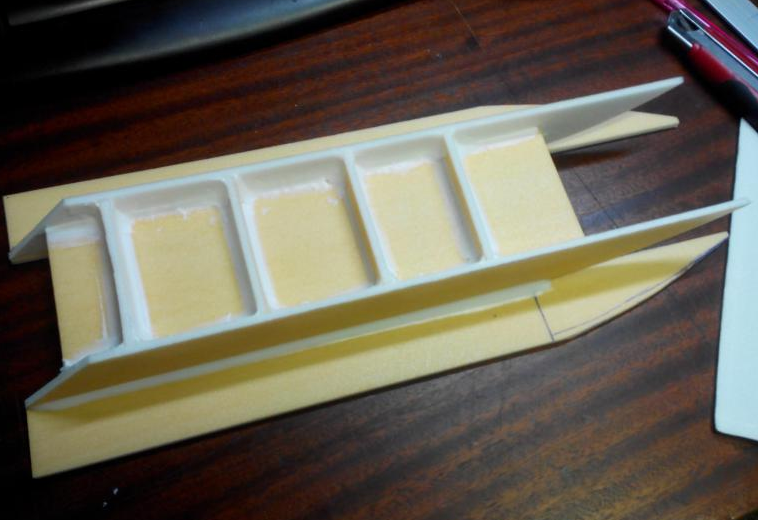
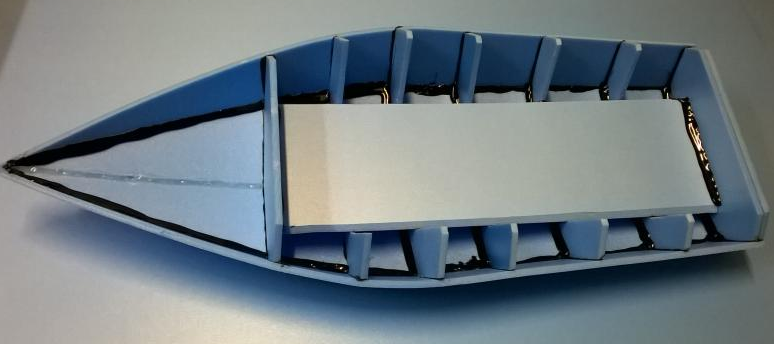
I did not assemble this model to the end, but I learned how to make 3D models for obtaining patterns, and also learned what frames are and their purpose.
According to this model, the pattern was made:
Also learned about the excellent replacement of ceiling tiles: lining under the laminate.
The lining has a number of advantages compared with the ceiling:
- Size of sheets: 1000 x 500 mm.
- Different thickness, I bought a thickness of 3 and 5 mm, but I still use only 5 mm.
- The lack of a different profile and pictures.
- Good strength due to greater thickness (for 5 mm).
And the rest are very similar:
- Low weight
- Not afraid of water.
- Low price and availability.
Clay used Titan, but then switched to hot melt glue, with which the assembly was accelerated several times.
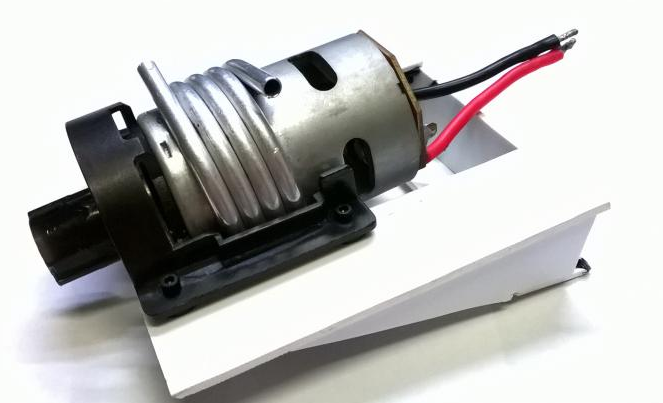
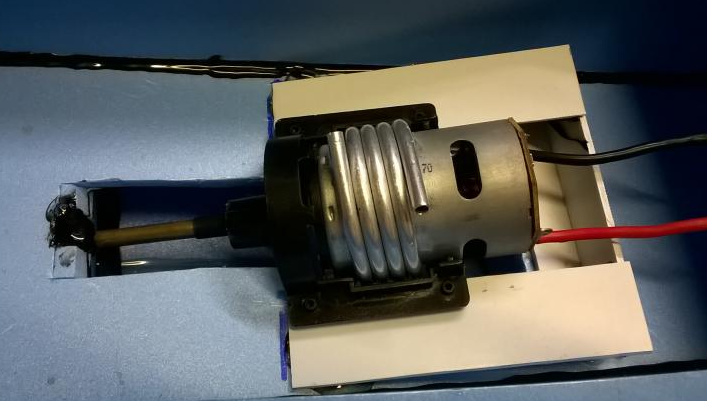
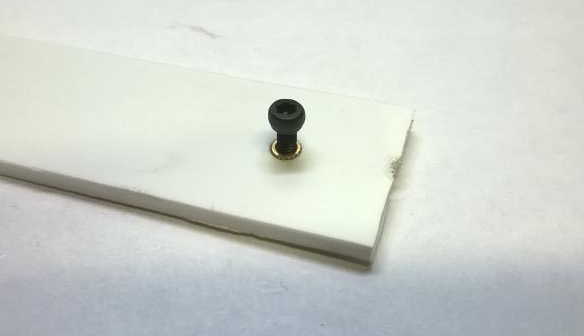
The motor, steering wheel and shaft were purchased by the store, spare parts from the shop radio-controlled boat. In addition, I learned to fuse brass nuts in plastic, and the problem of engine mounting was no longer there.
This motor is very voracious, and has a huge starting current, about 10 A, maybe higher. Therefore, I decided to make the motor driver simpler: from 1 field-effect transistor, I refused to reverse and simplified the development of the board.
A control board consisting of a self-made arduin on the Atmega328P, a NRf24L01 radio module, a field-effect transistor driver, and several voltage stabilizers was developed, diluted and manufactured. Also the board was tested:
It remains to check the board with the “big” motor, and install it in the board, install a servo with a body kit, think over the sealing of the boat cover and can be tested on the water.
And of course, I share patterns of boats, with various dimensions, for those who want to collect:
Boat_v3.1_450h173h85
Boat_v3.1_590x227x112
Boat_v3.1_750h288h142
Continued:
Made a small video showing all the main stages of the assembly of the boat
Source: https://habr.com/ru/post/367731/
All Articles