Overview of Autodesk Meshmixer support feature generation
I have long heard about the generation of supports in meshmixer, and finally got around to try its capabilities for FDM printing. I understand that this issue is well studied, but suddenly a little lesson will be useful to someone. Let's go step by step.
Load meshmixer. Click on the import button.
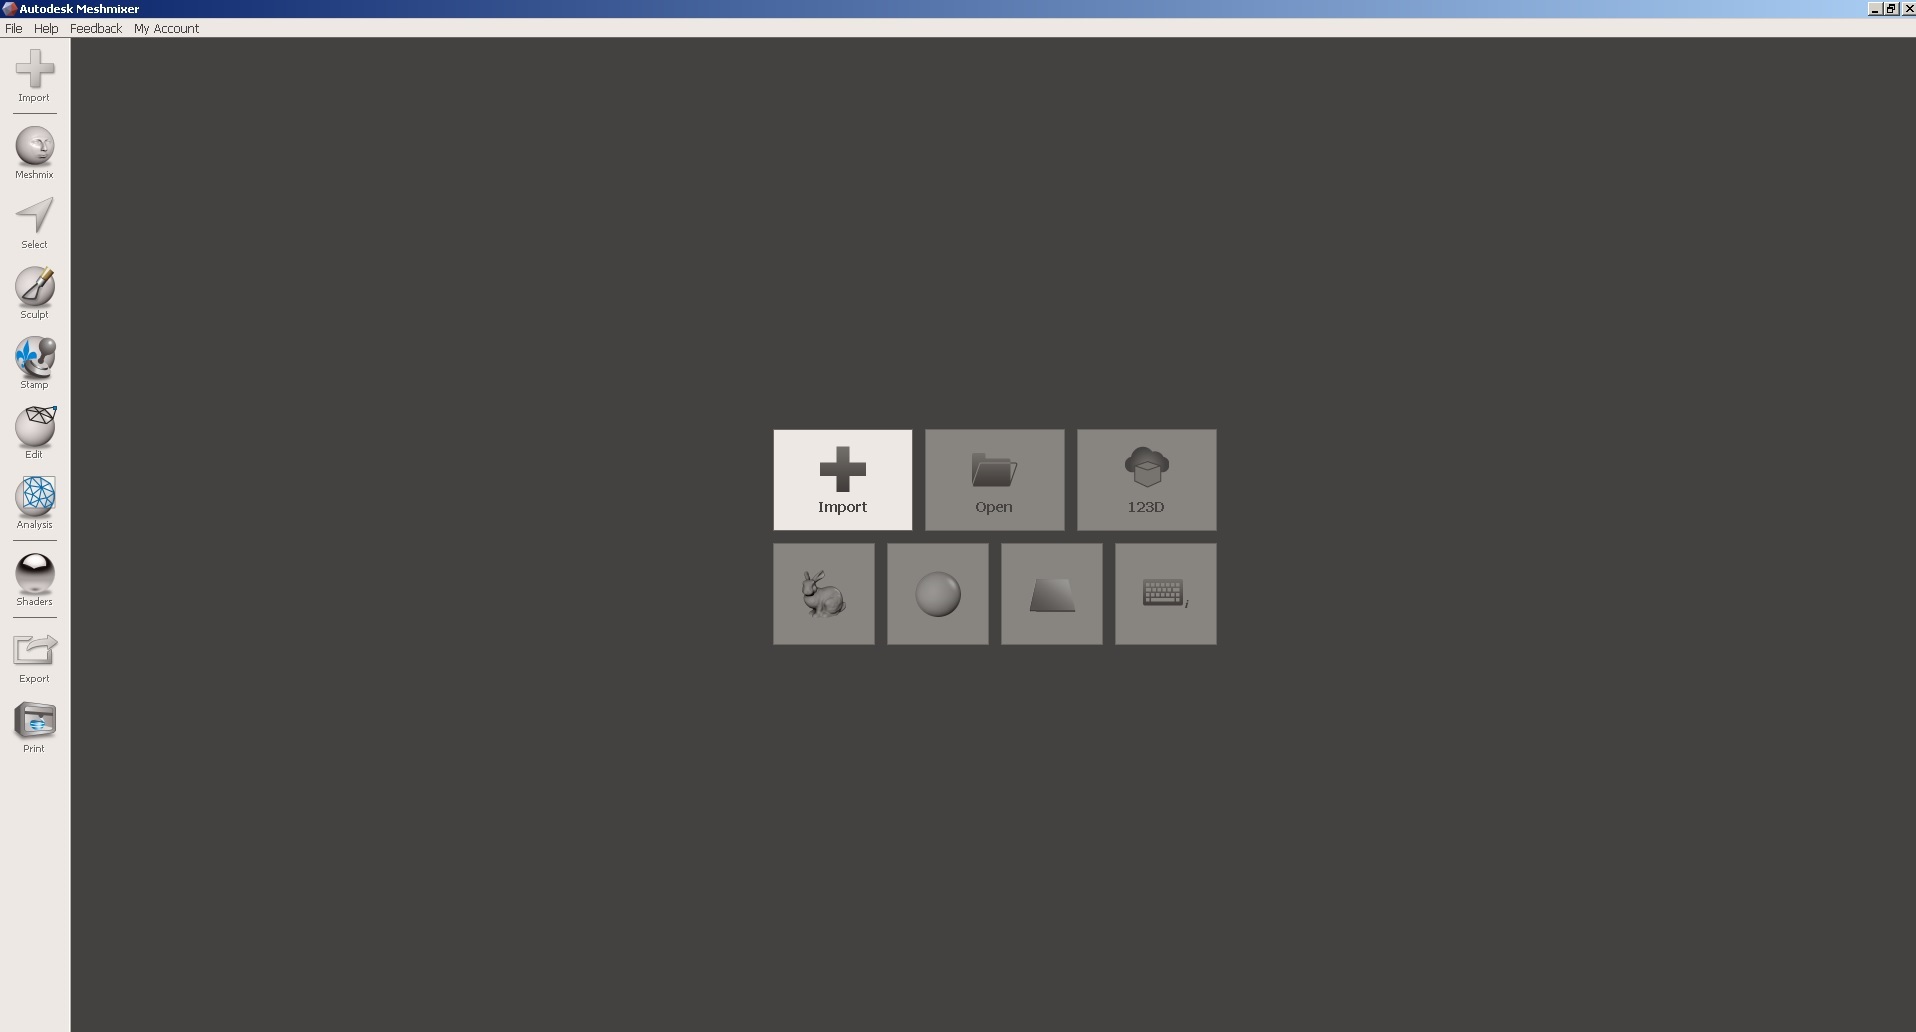
and select the file with the model.

To position the model on the desktop, use the align command.

The operation is carried out in two steps according to the parameters shown in the figures below.
At each step, the program shows the position of the model after completion.

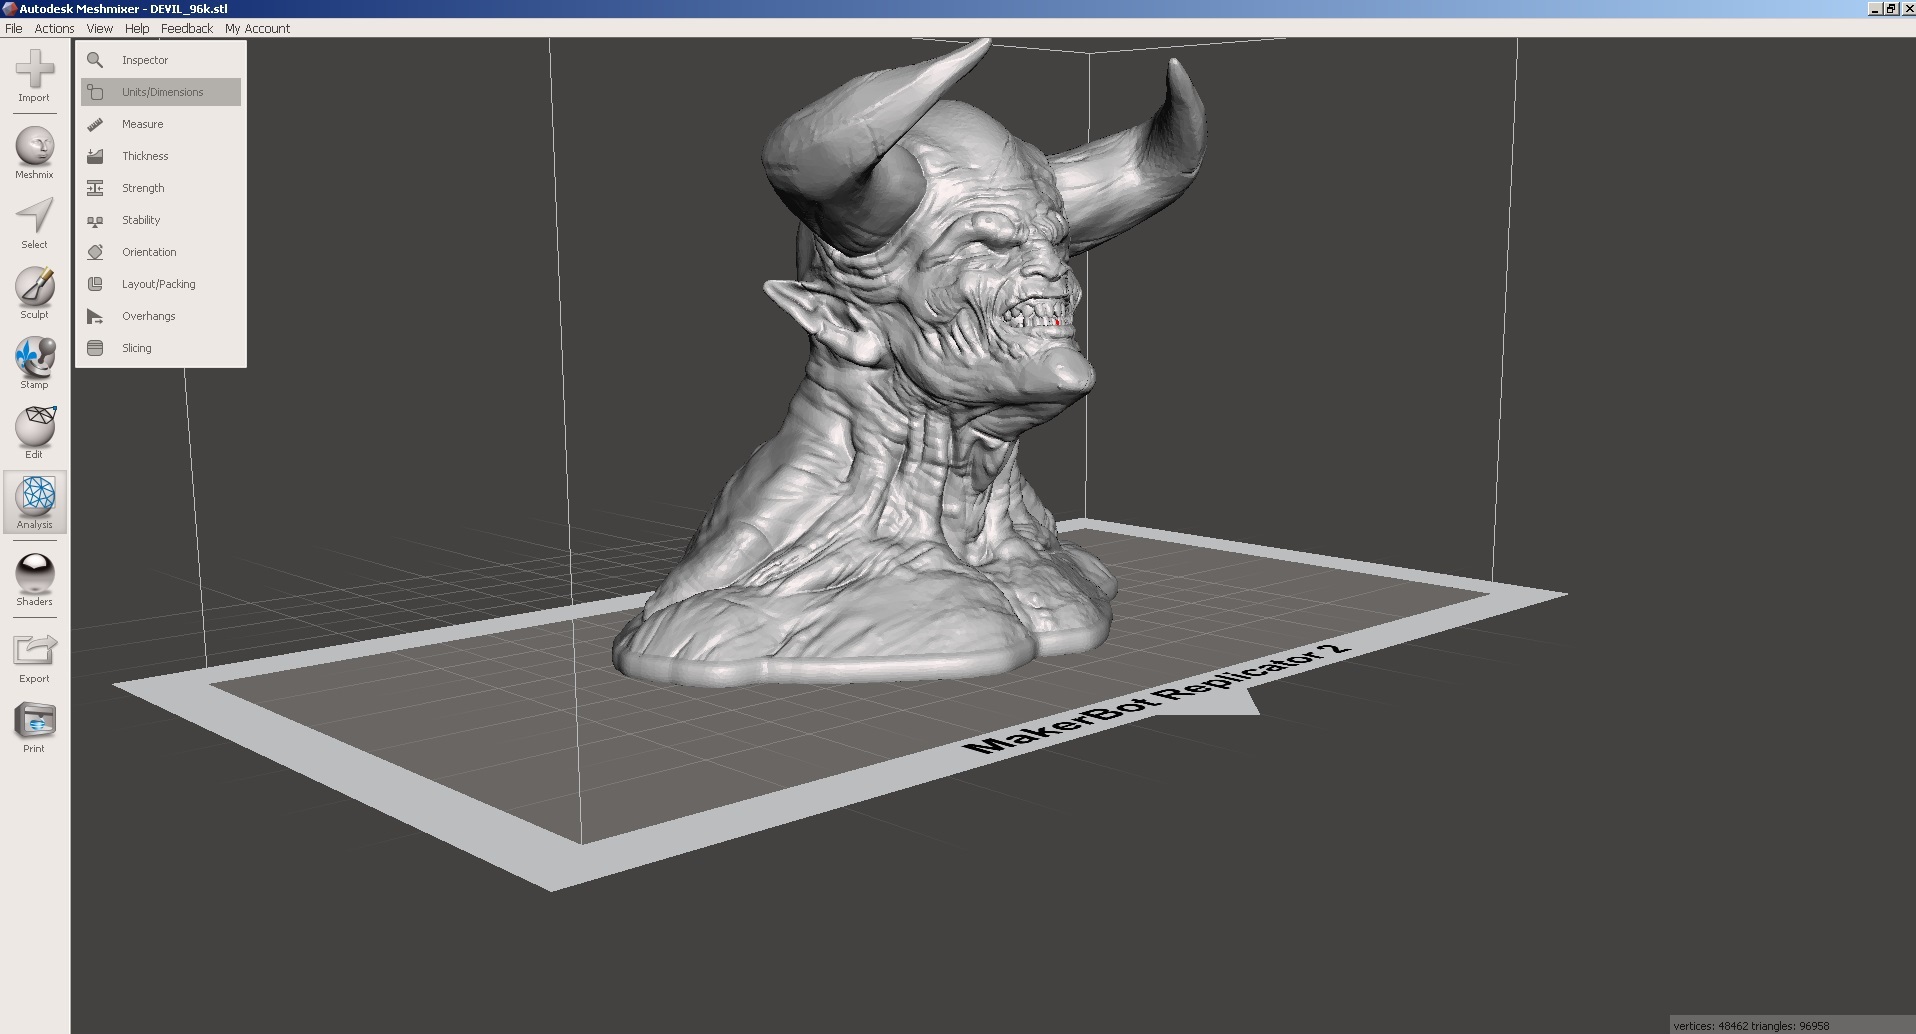
Next, you need to set the size of the model using the command Unit / Dimension
Dimensions are changed by means of color indicators.

Finally, run the Overhand command (support).

Let's look at the basic parameters of the command.

Angle Thresh- sets the angle of the model for which support will be generated. For large values, the region of generation of support increases (the region is colored in red).

Max angle-angle under which to build support. The parameter defines the shape of the resulting support.
Density - support density. Adjusts the number of support items.
Layer Height - the height of the support layer. This parameter must be specified in the same way as when starting to print the model afterwards. If you want to print a model with a layer thickness of 0.2 mm, then the value of Layer Height must also be made 0.2.
Post Diameter - the diameter of the main part of the support. If you use SLA technology, you can use small values, and for FDM printers, I recommend setting the values to 4 or higher.
Top Diameter - diameter of the upper part of the support. This parameter is recommended to do less than Post Diameter, since it simplifies the process of removing support. However, too small values may weaken the connection between the model and the support, breaking off the support in the printing process.
Base diameter support base diameter. I recommend this parameter to do more than Post Diameter, since this increases the area of contact between the support and the table, and therefore its stability.
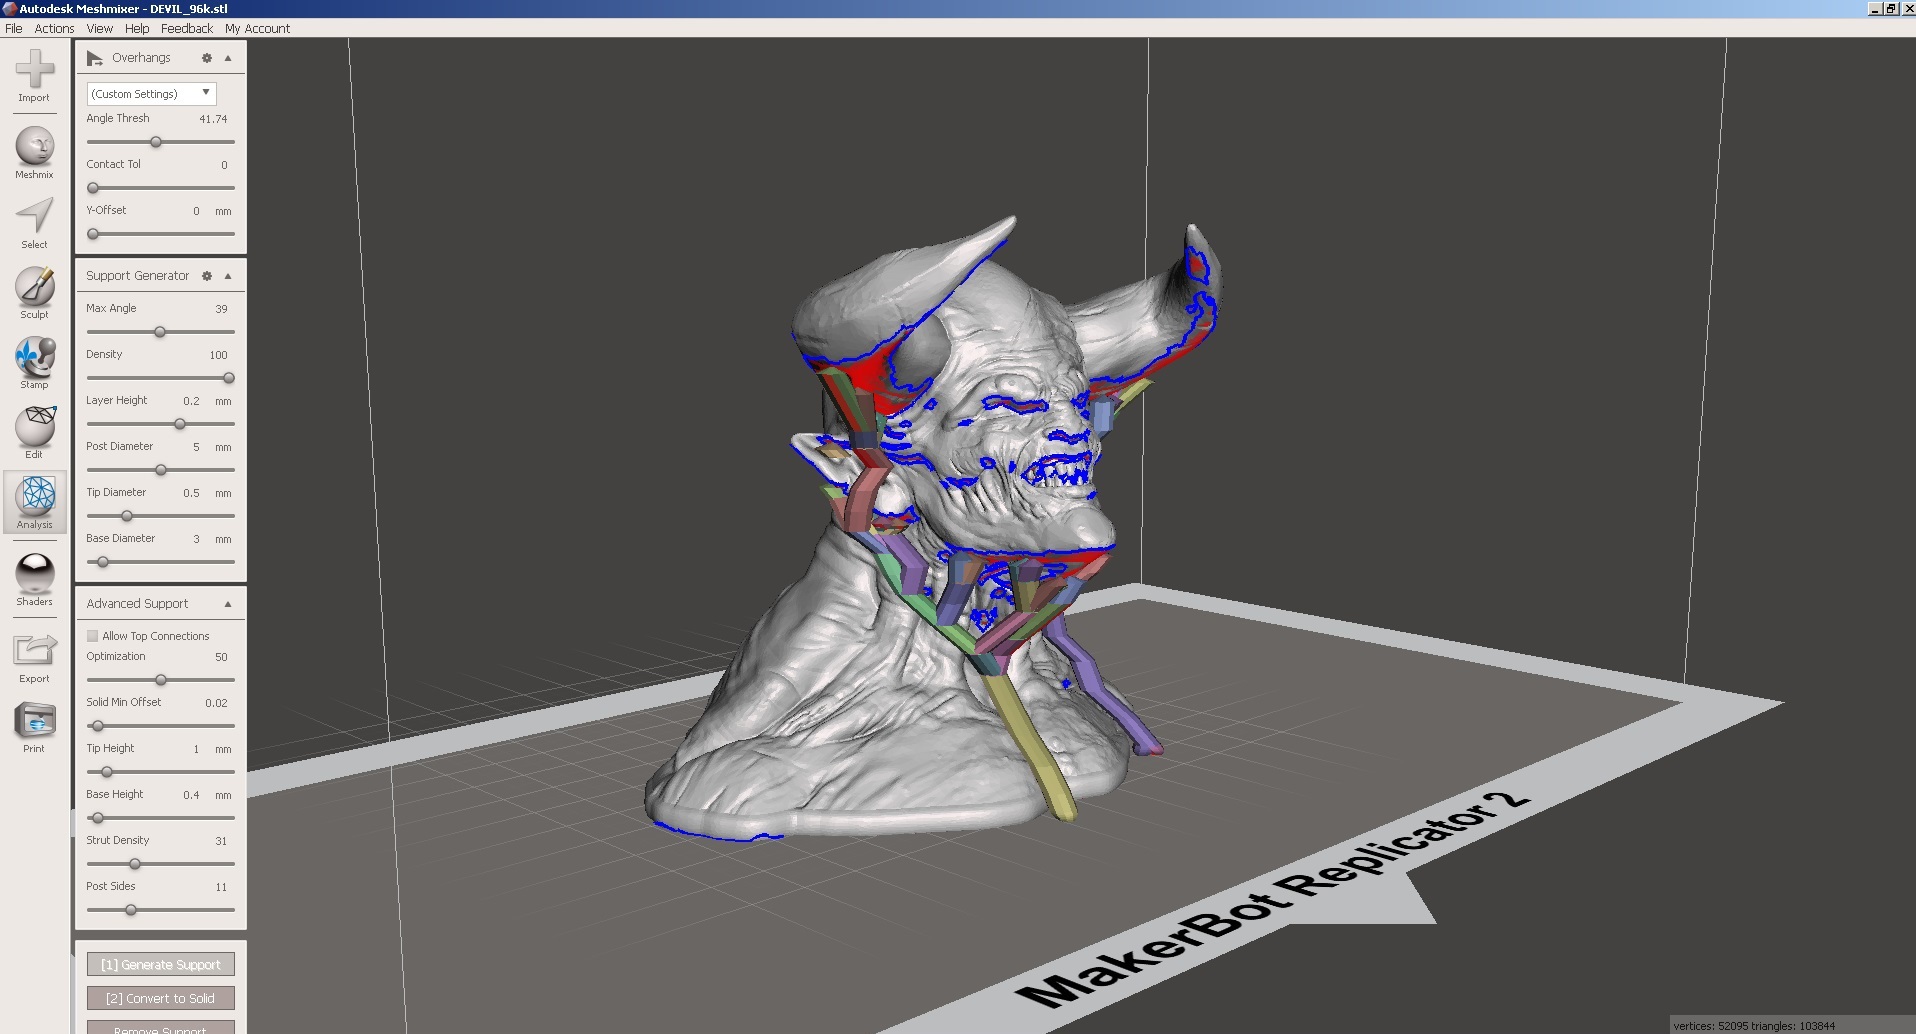
To create support, click on the Generate Support button.
If you are satisfied with the result, feel free to click on the Convert to Solid button.

After clicking the Convert to Solid button, you need to select one of the options:
New object - as a result, the support team will be created as a separate three-dimensional body. Subsequently, an extruder can be assigned to this body. You can use this option if your 3D printer has at least two extruders.
Replace existing- support will be added to the main model. The simplest option that requires only one extruder. In our case, we choose it.

Below is another result of generating support.

To save the result in STL format, run the Export command.

Save the file to disk.

Now let's print the model on a 3D printer. I will use the 3D Prism Uni printer.
To do this, load the model in the software Cura.

And set the print options

Run the model to print


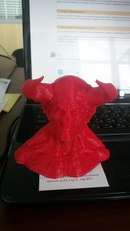
And we get the final result, which will only remove the support.

After the support department

Load meshmixer. Click on the import button.
and select the file with the model.
To position the model on the desktop, use the align command.
The operation is carried out in two steps according to the parameters shown in the figures below.
At each step, the program shows the position of the model after completion.
Next, you need to set the size of the model using the command Unit / Dimension
Dimensions are changed by means of color indicators.
Finally, run the Overhand command (support).
Let's look at the basic parameters of the command.
Angle Thresh- sets the angle of the model for which support will be generated. For large values, the region of generation of support increases (the region is colored in red).
Max angle-angle under which to build support. The parameter defines the shape of the resulting support.
Density - support density. Adjusts the number of support items.
Layer Height - the height of the support layer. This parameter must be specified in the same way as when starting to print the model afterwards. If you want to print a model with a layer thickness of 0.2 mm, then the value of Layer Height must also be made 0.2.
Post Diameter - the diameter of the main part of the support. If you use SLA technology, you can use small values, and for FDM printers, I recommend setting the values to 4 or higher.
Top Diameter - diameter of the upper part of the support. This parameter is recommended to do less than Post Diameter, since it simplifies the process of removing support. However, too small values may weaken the connection between the model and the support, breaking off the support in the printing process.
Base diameter support base diameter. I recommend this parameter to do more than Post Diameter, since this increases the area of contact between the support and the table, and therefore its stability.
To create support, click on the Generate Support button.
If you are satisfied with the result, feel free to click on the Convert to Solid button.
After clicking the Convert to Solid button, you need to select one of the options:
New object - as a result, the support team will be created as a separate three-dimensional body. Subsequently, an extruder can be assigned to this body. You can use this option if your 3D printer has at least two extruders.
Replace existing- support will be added to the main model. The simplest option that requires only one extruder. In our case, we choose it.
Below is another result of generating support.
To save the result in STL format, run the Export command.
Save the file to disk.
Now let's print the model on a 3D printer. I will use the 3D Prism Uni printer.
To do this, load the model in the software Cura.
And set the print options
Run the model to print
And we get the final result, which will only remove the support.
After the support department
')
Source: https://habr.com/ru/post/367357/
All Articles