How to turn a concept project on the Arduino in the final prototype
Prehistory
Some time ago I described the process of making a “ box of procrastination ” - a lockable box in which you need to hide a smartphone so as not to be distracted by it. I received the following letter regarding the article:
Hello! I really liked your box of procrastination. I’m a web developer and am looking for someone who can make me a prototype of a product very similar to what you described.
I, of course, was delighted. But then I thought: I'm not an engineer. It's one thing to play with a prototyping board, and another to make a commercial product. Fortunately, I was not the first newcomer seeking to become a professional, so about a month later I made a working prototype ( Cloister ), and wrote a text on 4 pages with explanations on the information stored on the network.
')
Here I want to put this information together and structure it. This will not be a comprehensive prototyping instruction - I'm still a beginner.
Our prototype: the MoodCube
For educational purposes, we will together produce a simple prototype. Personally, I always believed in learning through examples. We will develop a circuit to get a fee specifically for our project. Then we will make it a case and stl-files for printing it on a 3D printer.
The unique product that we will make, and which will bring us wealth and fame - this is MoodCube. Plastic cube with RGB LEDs on 5 of 6 sides. It will be controlled from the console.
From Arduino to self-paid
Now we have a working concept consisting of a VS1838B IR receiver, a Adafruit smartpixel prototype, an Arduino Uno and some first-hand remote. The code is taken from the training material from Adafruit , and a bit corrected to work with my console.

First you need to decide: what is the simplest version of our circuit? What are the necessary components, and is there something to get rid of? Here you can find instructions on how to use a separate ATMega chip on the prototype board. Also, the “projects” section of the AVRFreaks site is an excellent source of inspiration.
In our case, we need at least one microcontroller, because decoding IR signals requires quick work. I could use ATtiny, but I only had ATMega328 in stock. Add some capacitors to stabilize. What about nutrition? A 9-volt battery is also suitable, but we will need a voltage regulator, since our MCU will eat 5 V (the Arduino will no longer deal with voltage conversion for us). Well, I still had the L7800 at hand.


Now we check that our bare circuit works exactly as we need - before proceeding to the development of the board.
Design and manufacture of the board
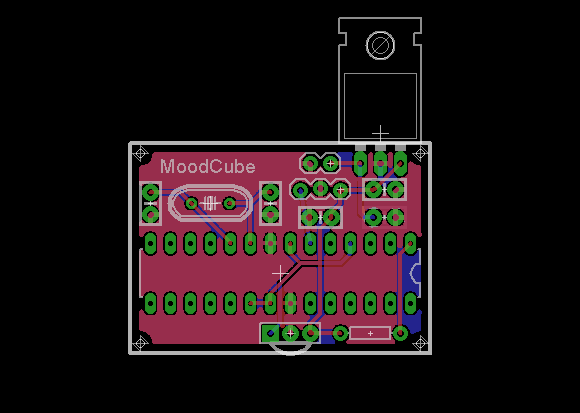
Now, having decided on the design of the contour, it's time to make a beautiful shemka using Eagle. After the development of the scheme, it will be possible to start making the board Sparkfun has instructions on how to do it:
Here are some tips , and here is a tool for calculating the optimal width of the tracks.
It is worth asking yourself: what requirements will our fees be limited to? Do we need pin wiring components, or can they be mounted on the surface? The latter option means reducing the cost of assembly for large volumes. Once the robot is assembled, it can make any number of boards. A pin assembly - it is usually handmade. On the other hand, if you do not have a special soldering furnace, and you just want to make several boards purely for yourself, it will be easier for you to choose a pin assembly. Also, this option is suitable for distributing your product as a set for self-soldering.
In addition, be aware of the overall layout of your device, which may be important for the size and form factor of the board (or vice versa).
So, we have answered all the questions, we have a scheme and layout of the board. Files here .

Now you need to make a fee. Can you do it yourself or give to the production? Regarding self-made boards, you can read this article .
In the case of third-party production, another question arises - choose local manufacturers or go to China? It all depends on whether there is a rush. Local will make faster, but more expensive. For example, I gave $ 140 Canadian company APCircuits for 4 fees. They arrived in 5 days, and turned out very high quality. In China, I would have made 10 boards for $ 14, and they would come in 2-3 weeks. Yes, keep in mind that the Chinese will in any case make a copy of your schemes - just in case they can suddenly sell them on their own.
Now links.
- Ladyada - list of manufacturers
- PCB Shopper - price comparison
- OSH Park is one of the manufacturers. Adopt schemes in Eagle
- Seedstudio is an intermediary company that connects you with manufacturers in Shenzhen. They offer prototyping boards, soldering and 3D printer services.
- Dirty PCBs - cheap motherboards from China
For surface mounting you will need a template. It is needed for applying solder paste on the circuit. The components are placed on the board, it goes to the stove, where the paste melts. And here, too, will have to choose between quality and price. You can order a thin plastic template from OSH for $ 10 or a stainless steel template for $ 125 .
Now, when everything is fine with the board, let's develop the case!
Development and 3D printing of the case
We will use Sketchup to create the body project, and Meshlab to check the correctness of the .stl file.
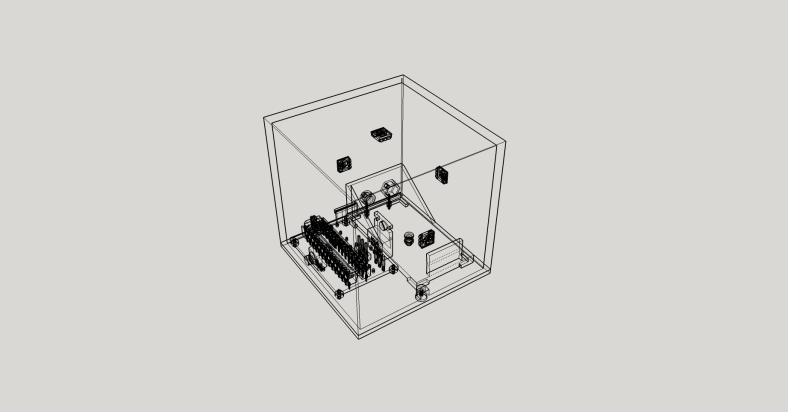
First you need to export your model of the Eagle board so that you can build a case around it. For this useful extension Eagle Up . In the Sketchup virtual warehouse, you can find components to fill the board. Note that often the size of virtual items is indicated in meters, and everything needs to be scaled. This is due to the fact that Sketchup is used for architectural modeling, and is not optimized for accurate development in sizes less than a meter. Therefore, it is customary to develop everything in meters, and then reduce to the desired size.


Then you can proceed directly to the body. Here are some helpful resources:
- video explaining how to use Sketchup for 3d printers
- building a body in sketchup
- How to check the model for water resistance
- tips and tricks about the move tool in Sketchup (and it's really hard to figure it out, that's for sure)
- where to find textures for models
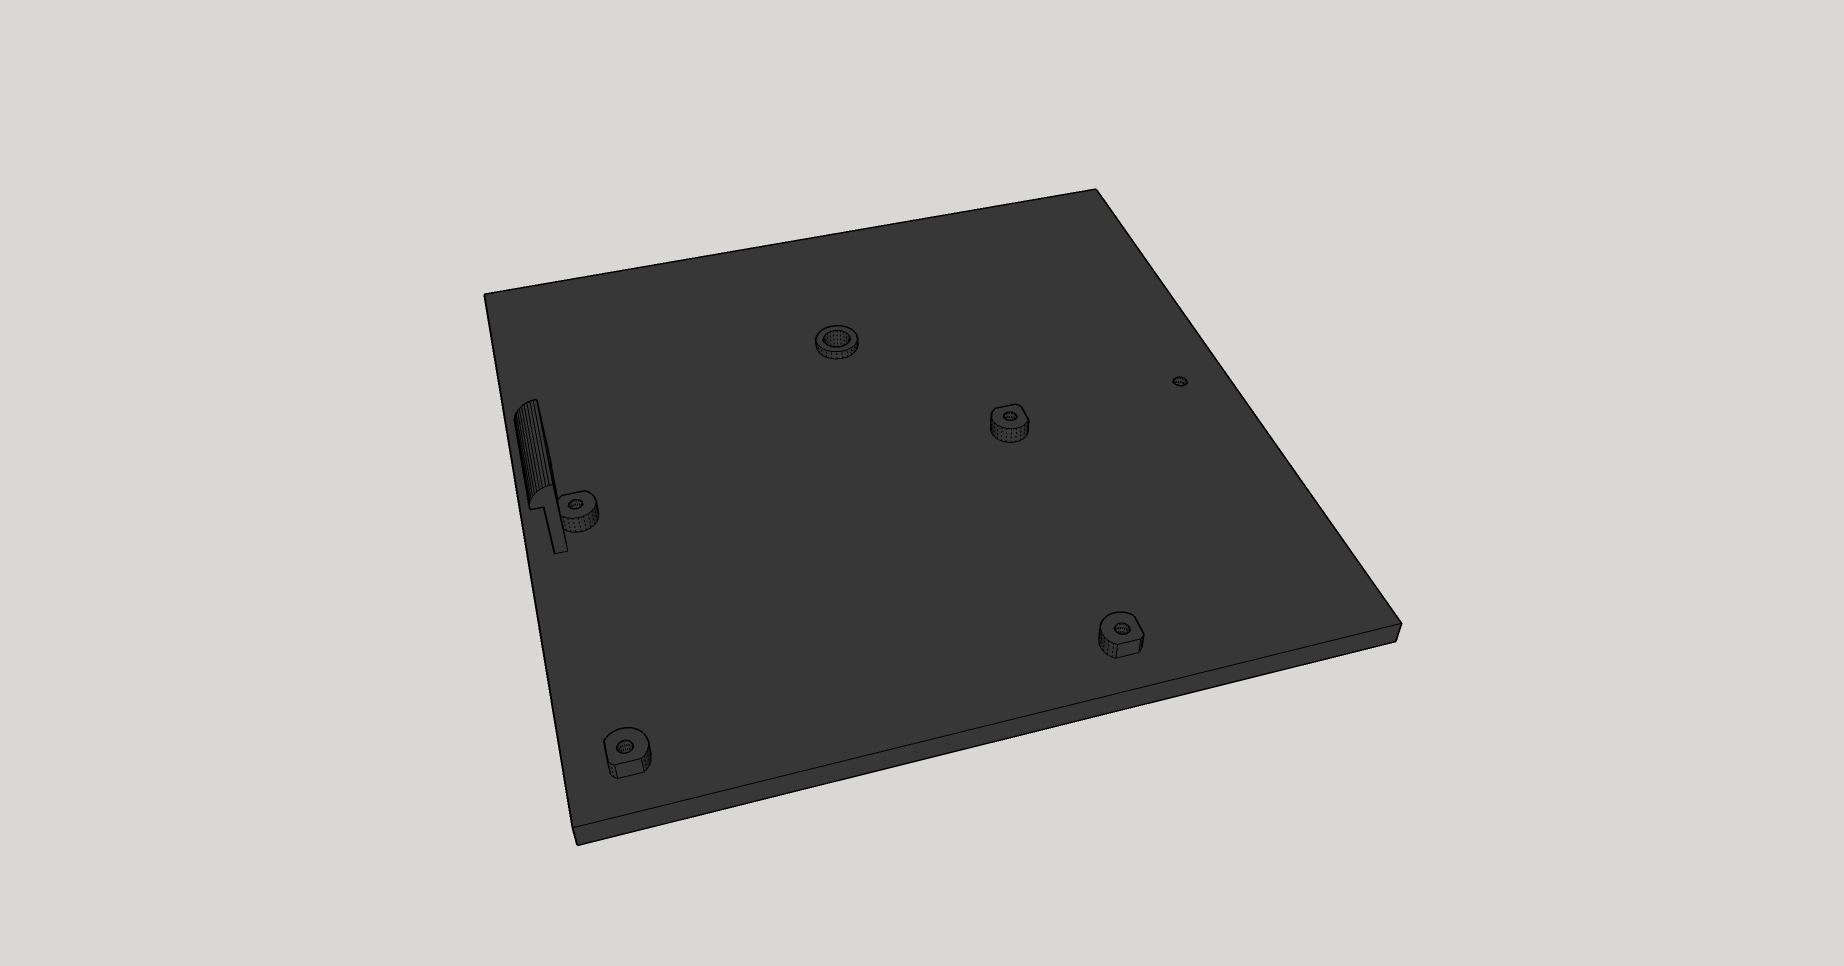
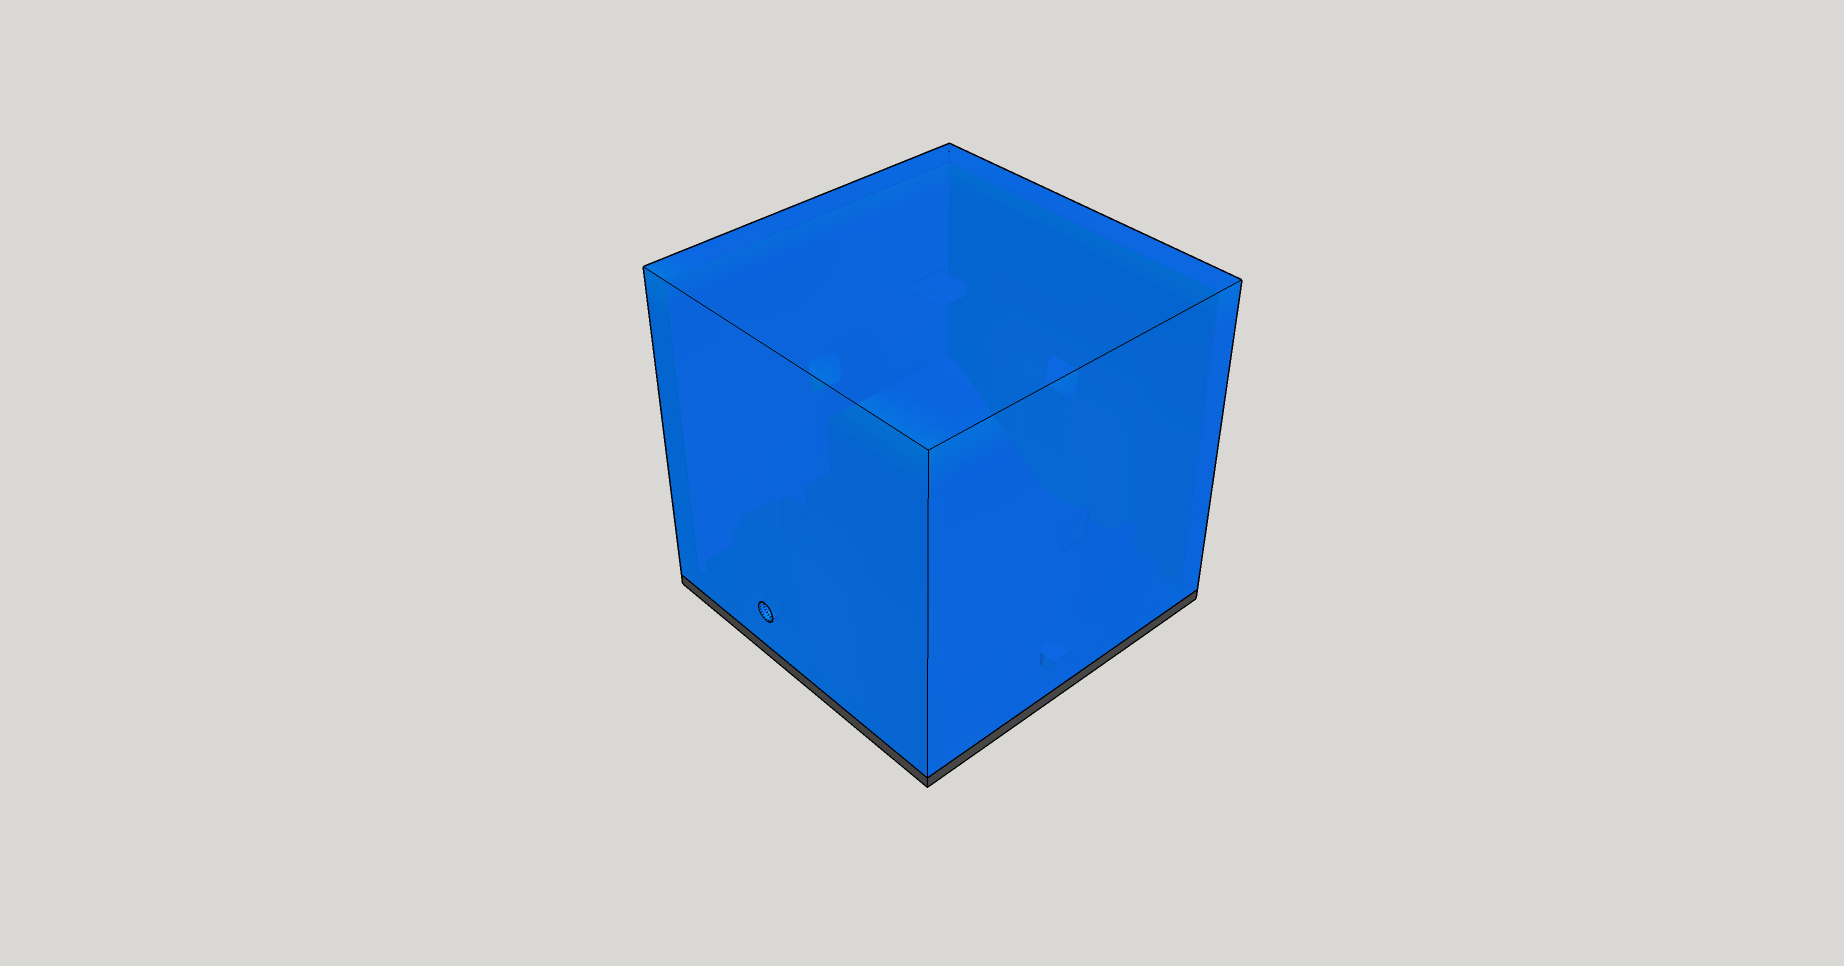
Let's go back to our MoodCube. We need a base for positioning the circuit and the battery, and the cube diffuser on top. Acrylic would be ideal for this task, but standard PLA / PBS plastics should fit too.
The bottom is attached to the top with a single screw and a small piece of plastic that goes into the slot at the top.
With the battery holder, I didn’t really bother and took this model .

And here is the result. When everything suits you, you can use the Solid Inspector tool to check the integrity of the model. If the test passes, you can export it to .stl thanks to another extension , and then do a final watertightness check in Meshlab (or where you prefer).
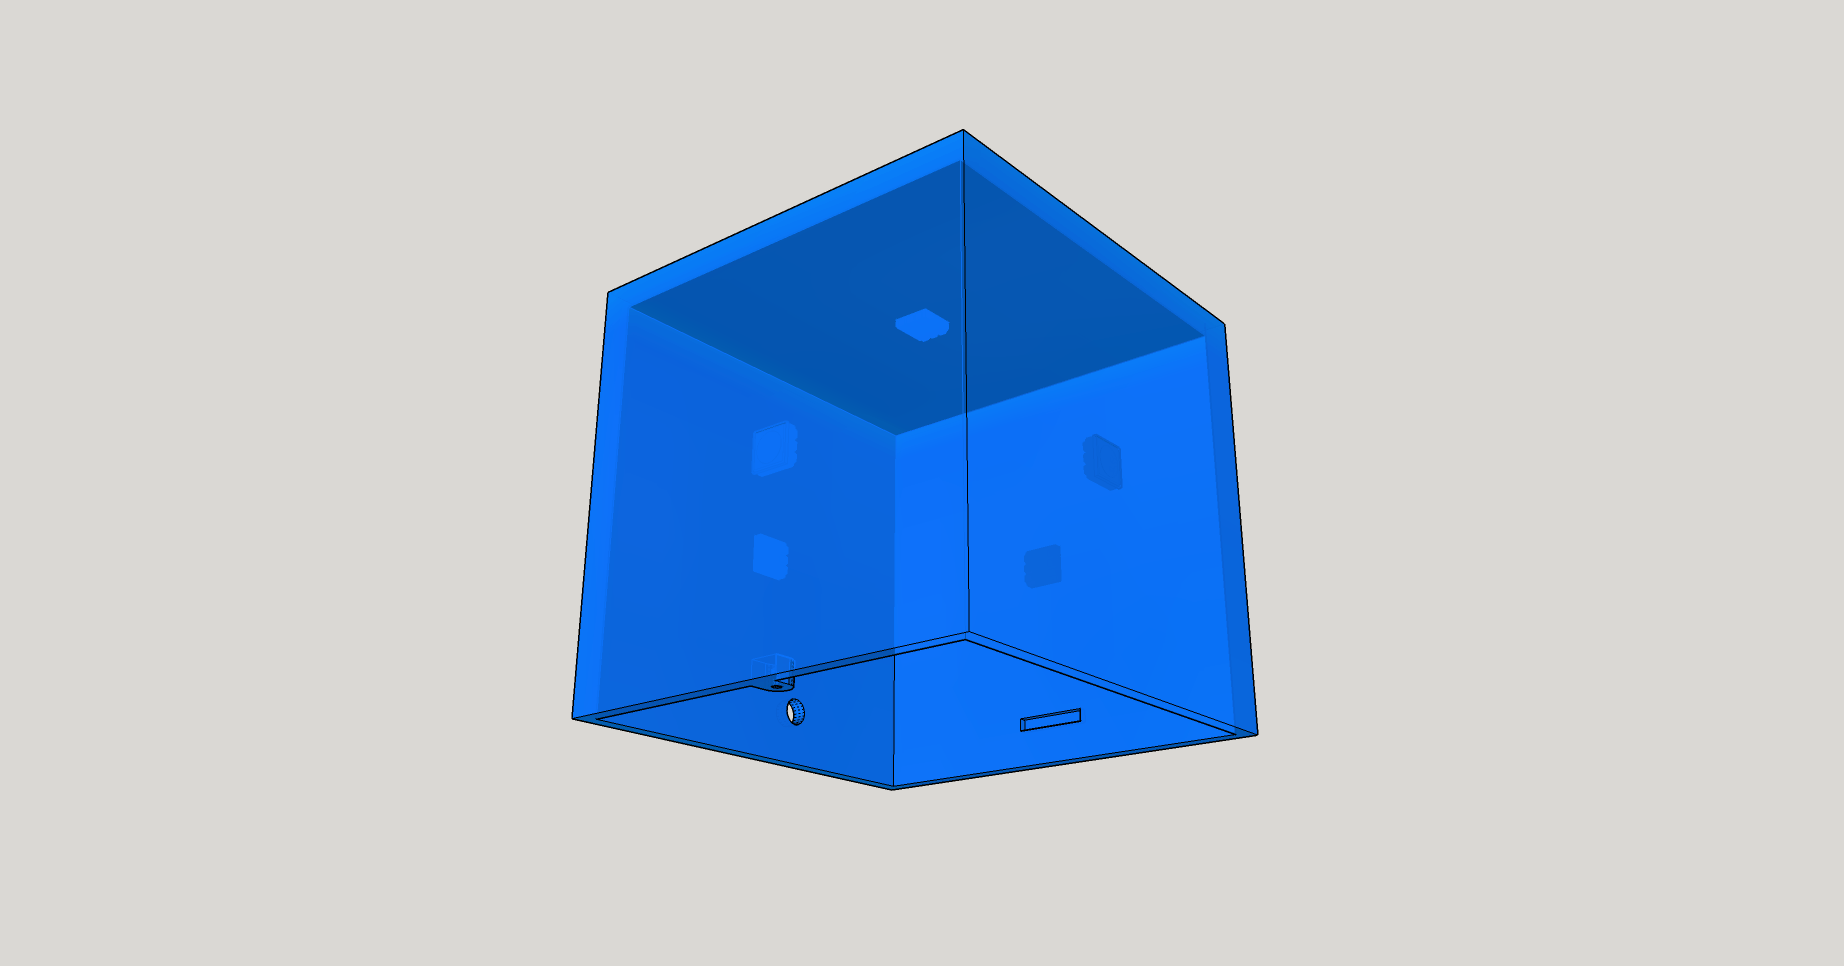


All files are here .
I advise you to more often refer to the functionality of "Make component". Then if some parts of your model are copies of other parts, you will need to change one of them, and all the others will change as well. As with programming, modularity and reusability are key points that make life easier.
Now we need to print the model. If you do not have your own 3D printer, you will have to use someone’s services. If the prices of such services seem large to you, then note that you pay for not only plastic, but also machine time, operator time, and printer depreciation. In addition, often the printer operator has to refine the model.
On the other hand, models usually do not print at 100% density. If, say, the volume of your model is 100 cm 3 , and the cost of a plastic cube is $ 1, then you will not pay $ 100. Typically, the density is from 15 to 40% (the greater the density, the stronger), and you will pay from $ 15 to $ 40.
You can try to contact Shapeway - this is a major player, but they also break the price. I prefer to go to 3dHubs and look for local companies. Apparently, the offer for 3D printing greatly exceeds the demand, so you can bargain well.
Whereupon my rewarding experience ends. I hope that you have found something useful and interesting for yourself.
Additional resources
EEVblog video : development boards for production
How to get from prototype on arduino to product
How to go from prototype on arduino to mass production
From arduino to production
If arduino is for prototyping, then how to make a real product ?
From prototype to production
From prototype through kickstarter and to production
As a newbie to go into production
How to start industrial electronics production
Informative comments on the post
Source: https://habr.com/ru/post/367161/
All Articles