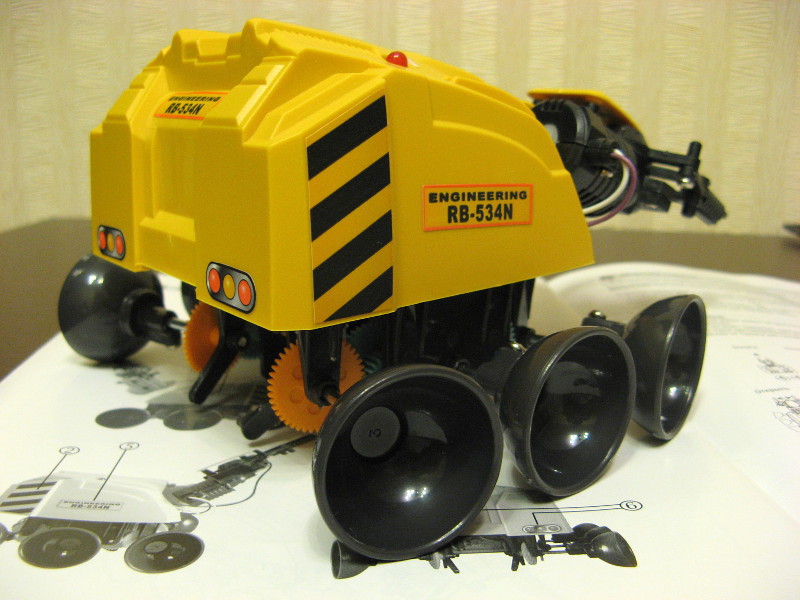
Robot Designer "grabber"
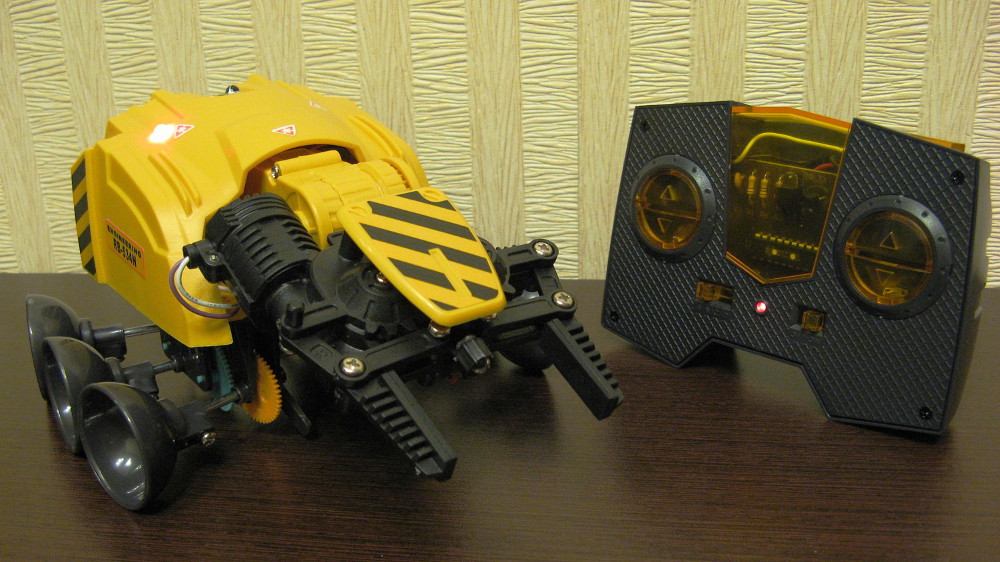
It is known that children love to disassemble toys and gadgets to explore their device. As a rule, this does not end well for the object of study. To satisfy the curiosity of young researchers, there is a whole class of toys that are sold in their original form. Many of us in childhood collected models from a placer of plastic parts that had to be glued together and then painted, but all these models were models that did not travel or fly. The “Hwathod” robot designer is not the same - it can drive, pick up and move small objects obeying remote control commands. Under the review of the cut, including anboxing, assembly and running tests Hvatokhoda.
The target audience
')
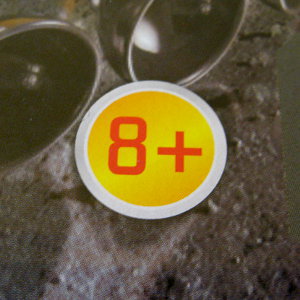
Judging by the labeling on the packaging, the toy is aimed at children from 8 years and older, and for children under three years old, it is dangerous because of the presence of a huge number of small parts.

The assembly is quite nontrivial and preschoolers hardly cope with it without the help of parents. But you can play in the finished robot from the age of three. My daughter will soon be 4, and she actively participated in the assembly - she fed the screws and gears and pasted stickers.
The designer is more mechanical than electronic. Electronics assembly is only to connect the color wiring in the correct order, soldering and programming is not necessary. But with the mechanics of work it is enough - a whole placer of gears and levers from which it is necessary to carefully assemble the drive wheel gearboxes and moving parts of the manipulator arm.
In total, the assembly took us 3 pm.
Anboxing
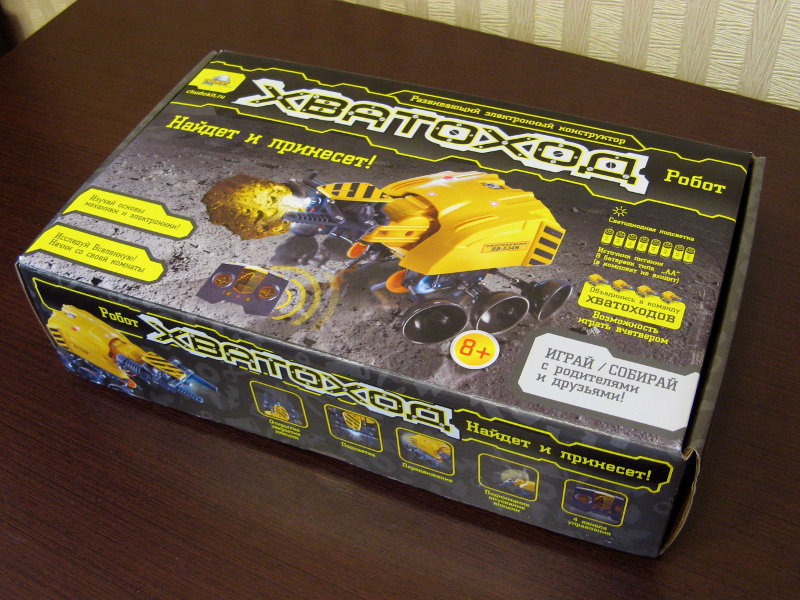
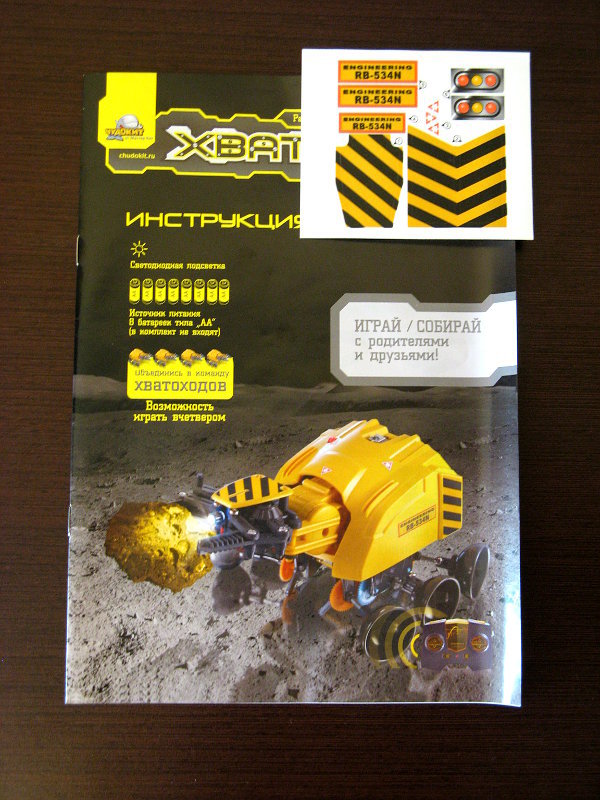
The grabber comes in such a colorful box.
Label with information about the manufacturer and importer:

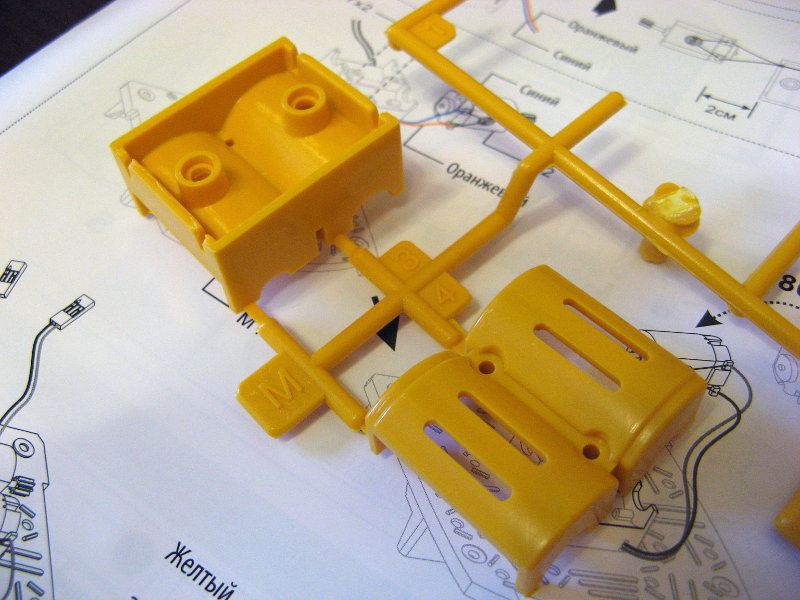
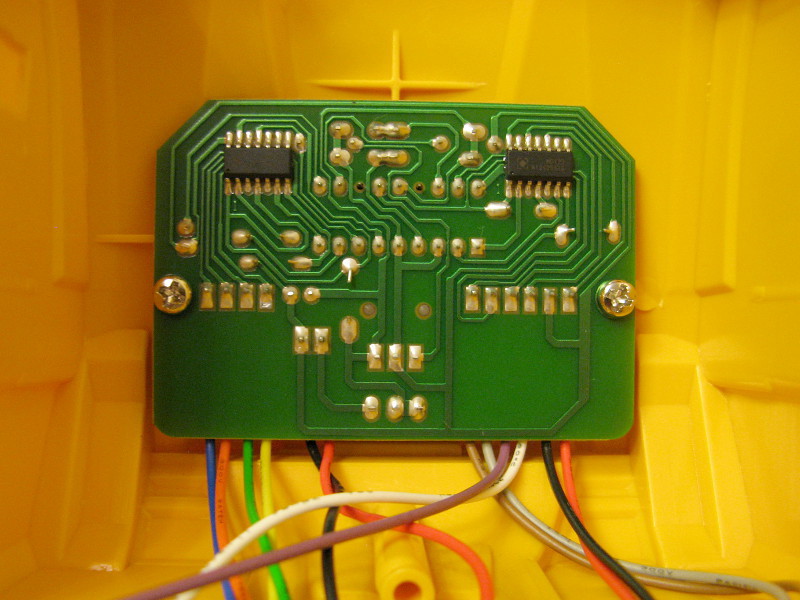
Inside there are plastic parts and gears packaged in bags, 4 electric motors, 2 printed circuit boards (for the remote control and the robot itself) and fasteners.
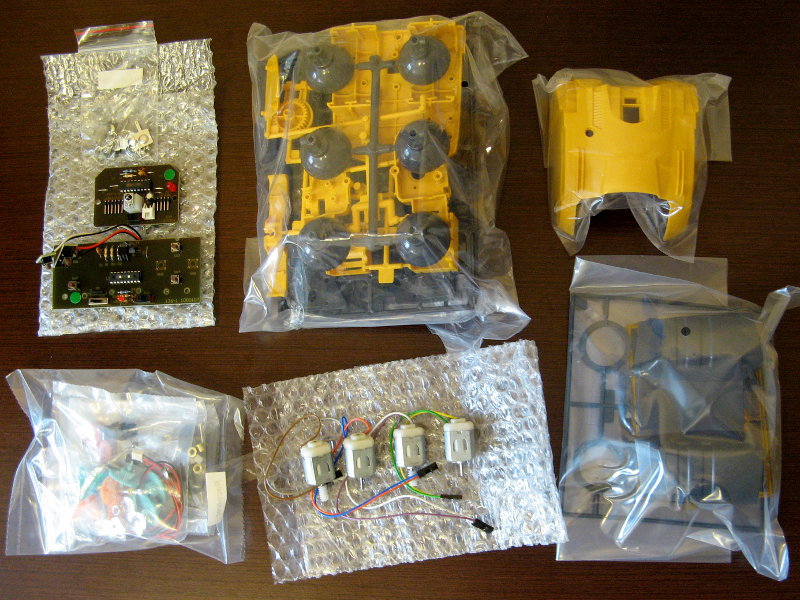
Assembly instructions and set of stickers for body decoration:
The marking of plastic parts is next to the frame from which they need to "bite off" side cutters.
Assembly tools and batteries
Unfortunately, batteries are not included. I bought 4 AA batteries for the robot, and 4 regular batteries of the same size in the remote.
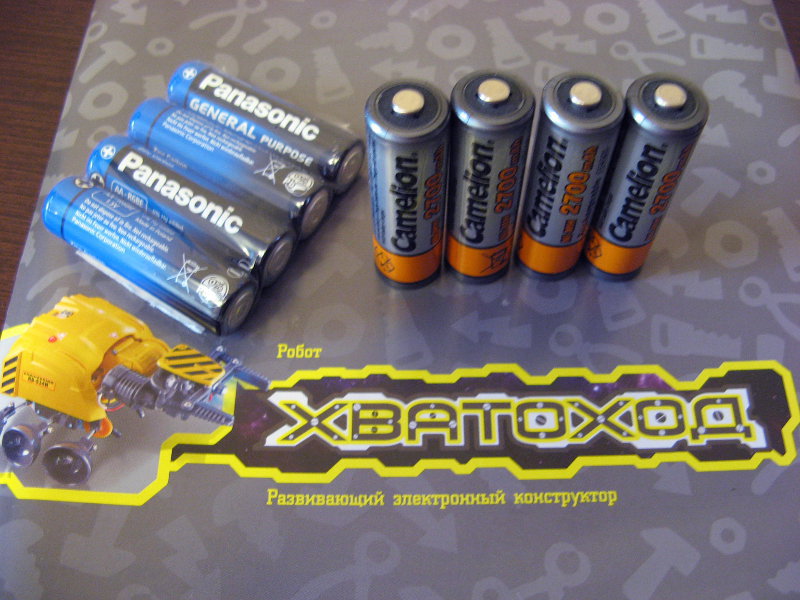
Judging by the information on the box, the assembly requires a Phillips screwdriver, side cutters and pliers. I prepared all this, but later it turned out that the pliers were not needed.

You can view the detailed assembly instructions in PDF , here I will give the main steps with my comments.
Build robot
Despite the fact that the instructions suggest starting with the assembly of the console, we decided to start with the more interesting - the assembly of the robot itself.
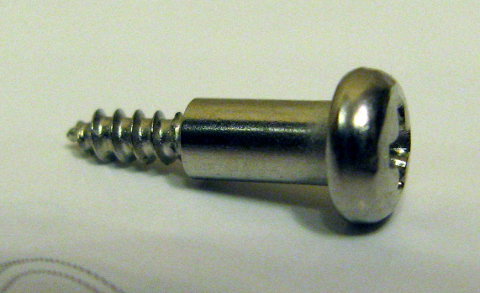
Just want to say that when assembling you should not lose every little thing, spare parts are not provided. Vryatli you will easily find a replacement for example such a self-tapping screw:
Chassis
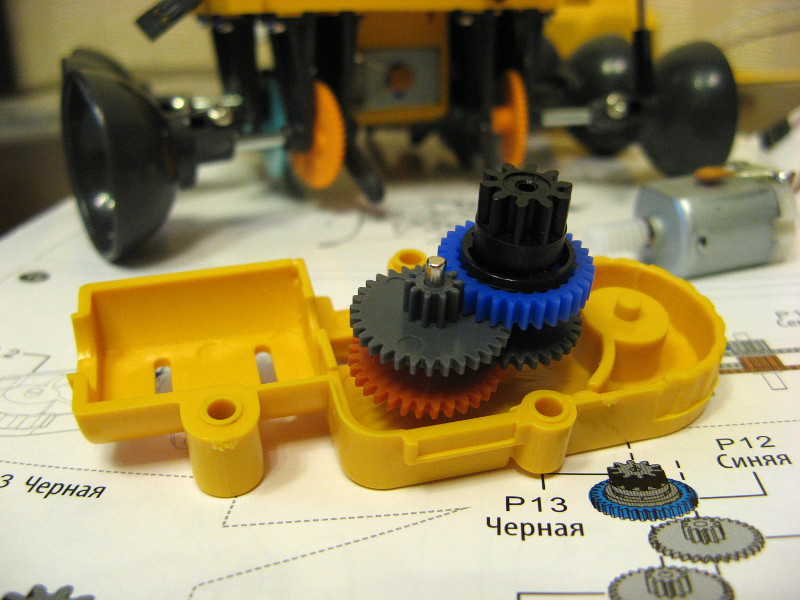
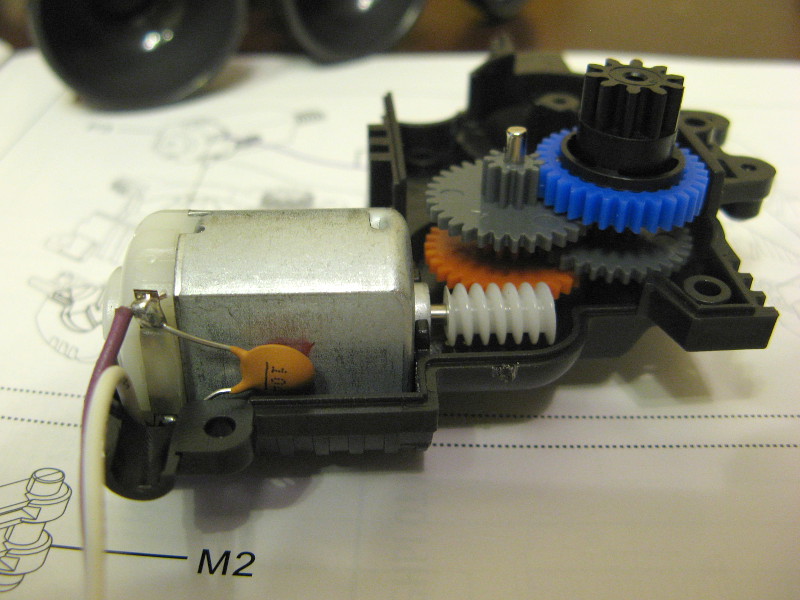
Install two motochika on the frame. One will rotate the left three wheels, the other - the right.
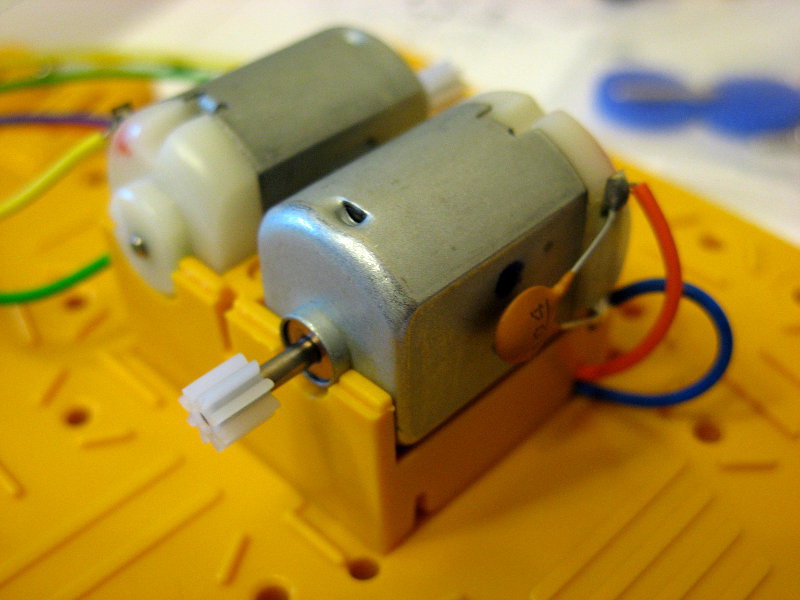
We fix the motors with a cap and begin assembling the gearboxes.
Put in place multicolored gears. In this work, a certain dexterity is required, the one who in childhood tried not only to disassemble the grandmother's alarm clock but also to assemble it back will understand what I mean.

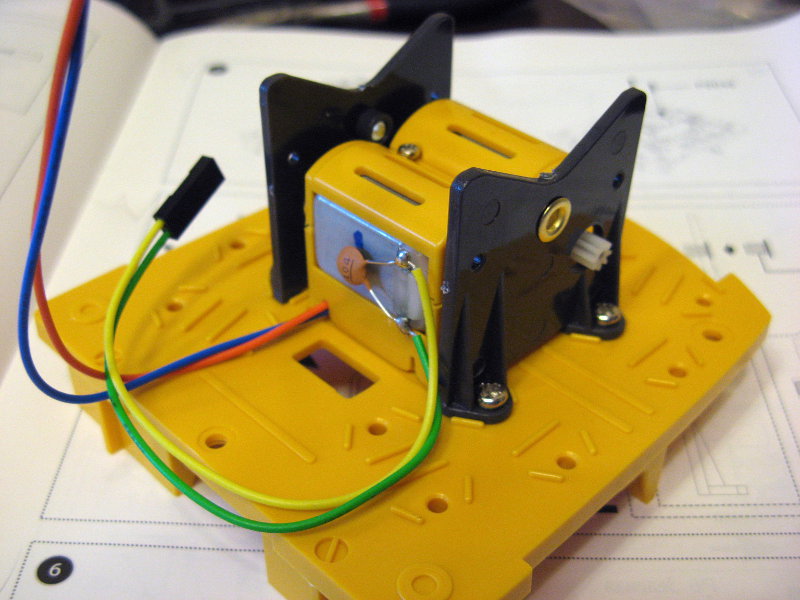
Both gearbox ready.
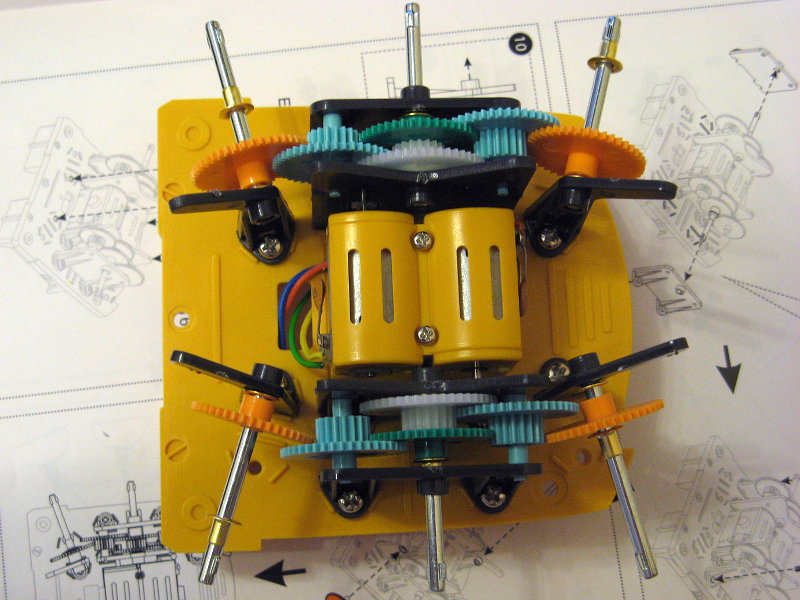
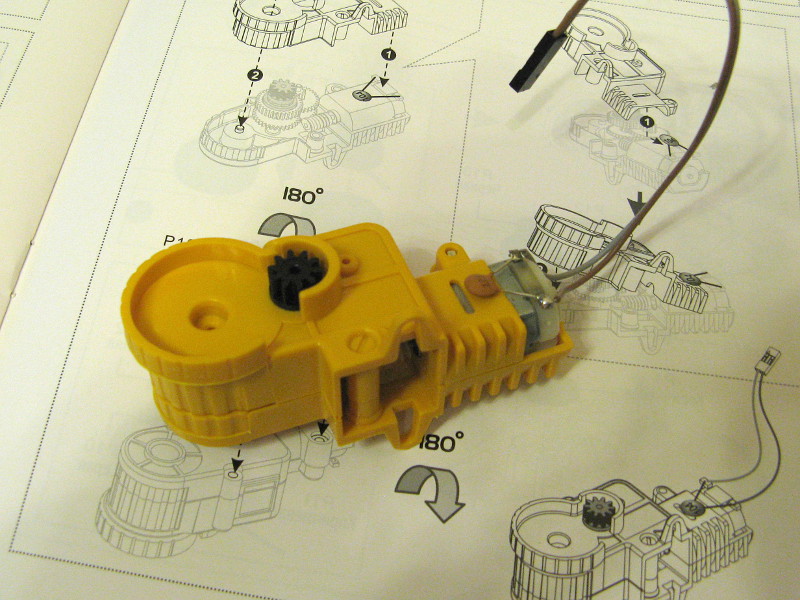
Install the first wheel.
All six wheels are in place:
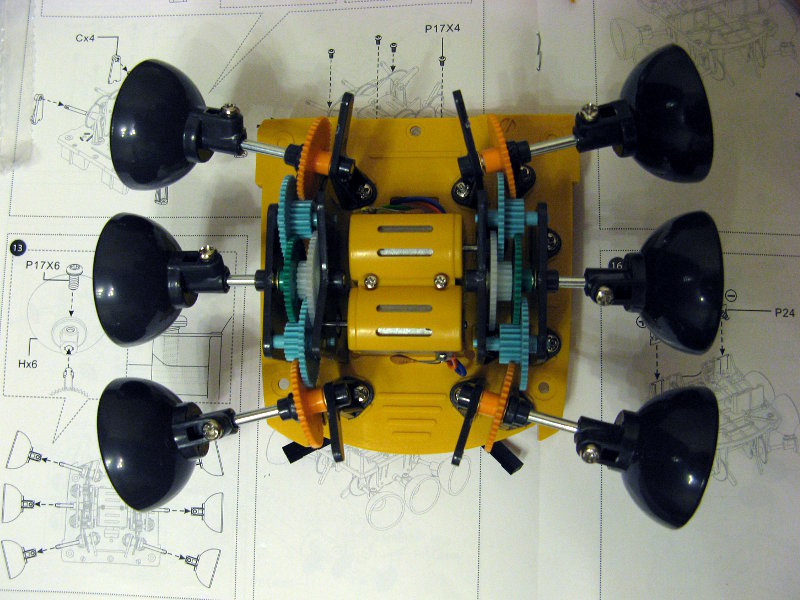
Now you can flip what happened and put the design on the wheels. It is interesting that the front and rear wheels are installed at a slight angle. This is done in order to reduce resistance when turning on the spot.
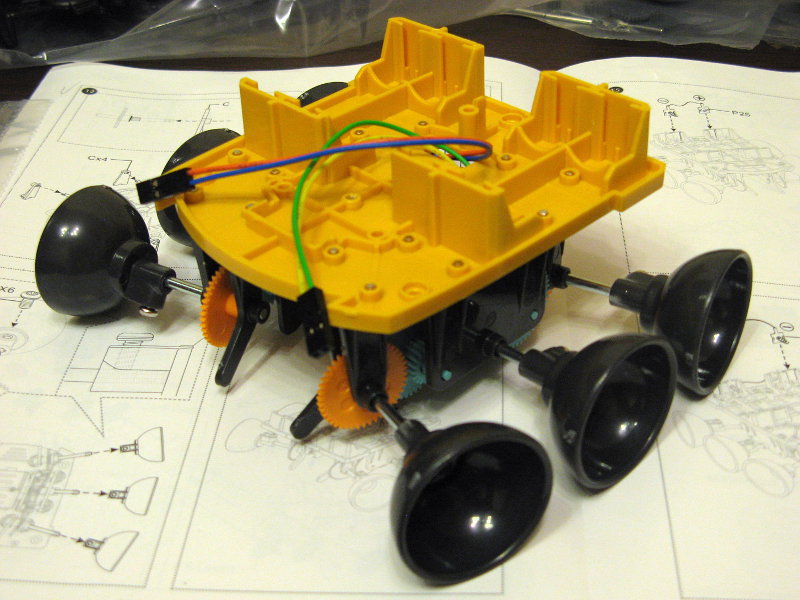
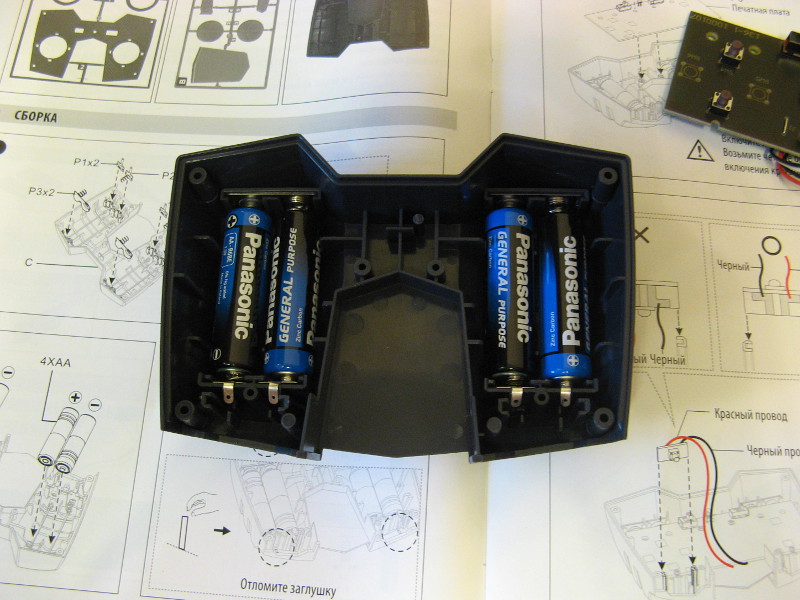
Battery compartment
Insert the terminals with springs in the available grooves. The wiring is already soldered, so a soldering iron is not needed.
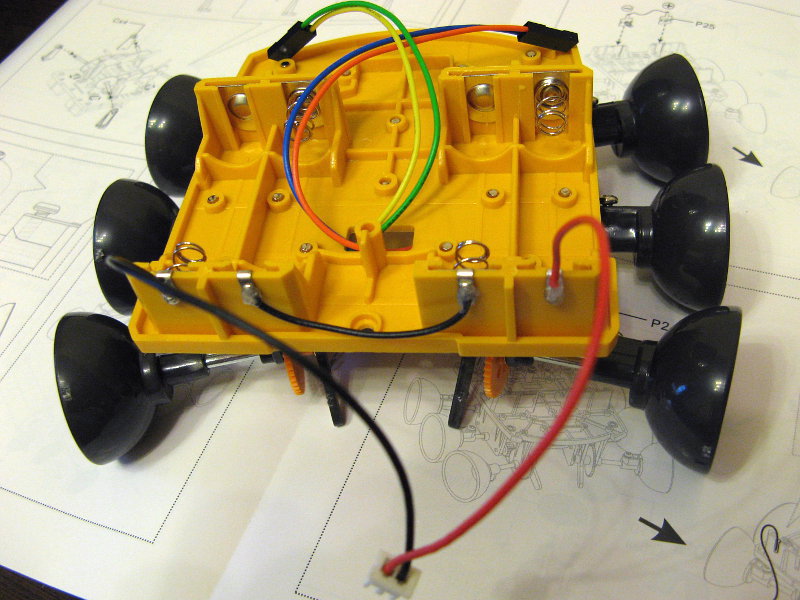
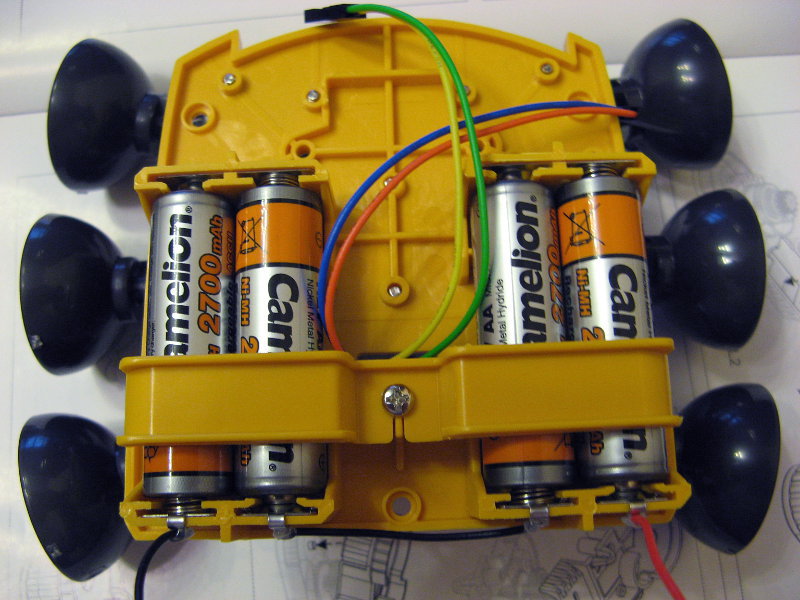
Install finger batteries:

... and fix them. It is not very convenient that you will have to disassemble the robot to replace or charge the batteries. Compartment on the latch would be more convenient.
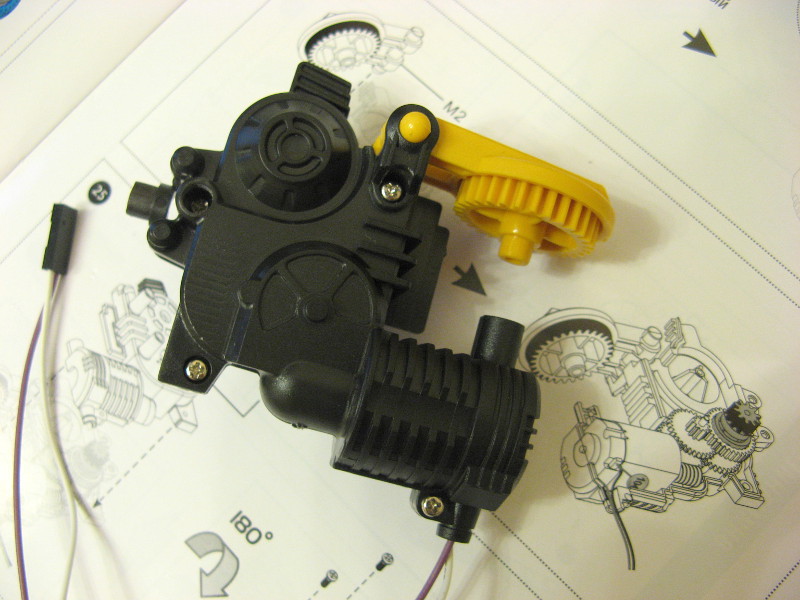
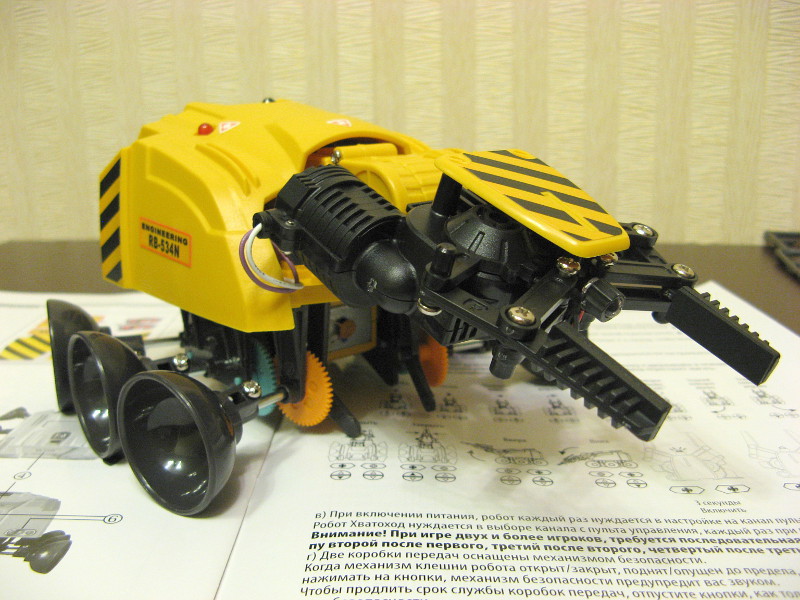
Manipulator
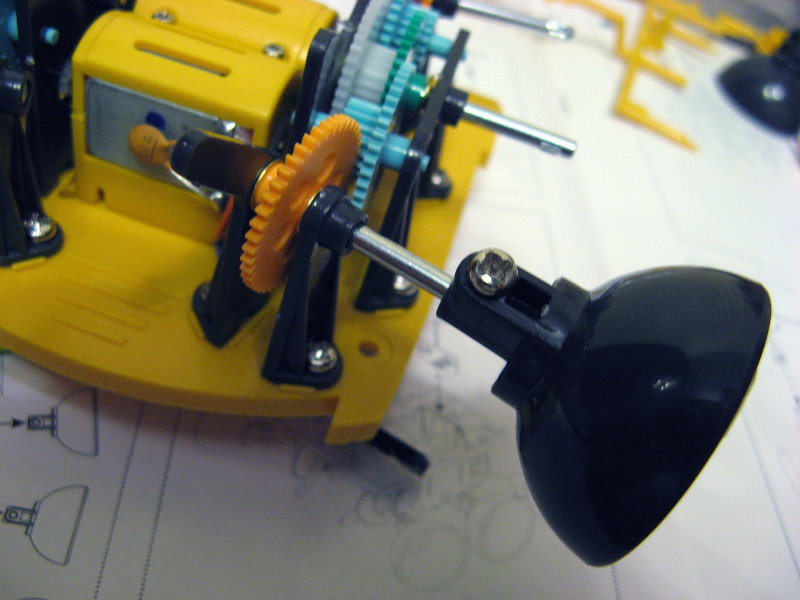
Install the gears in the first segment of the arm-manipulator:
We put in place a motor that will be responsible for moving the manipulator up and down:

Close the lid, and the first segment is ready.
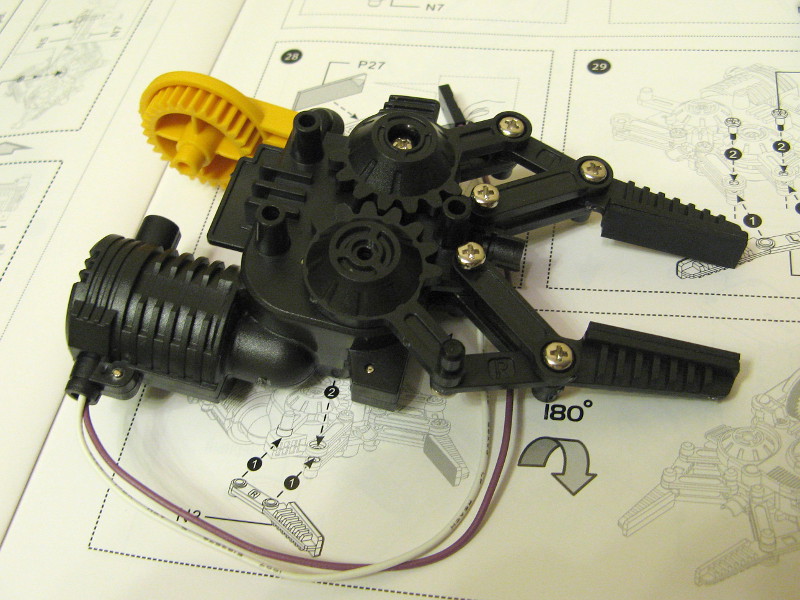
Install the first segment of the manipulator on the front of the robot:
We start the second segment. We insert gears:
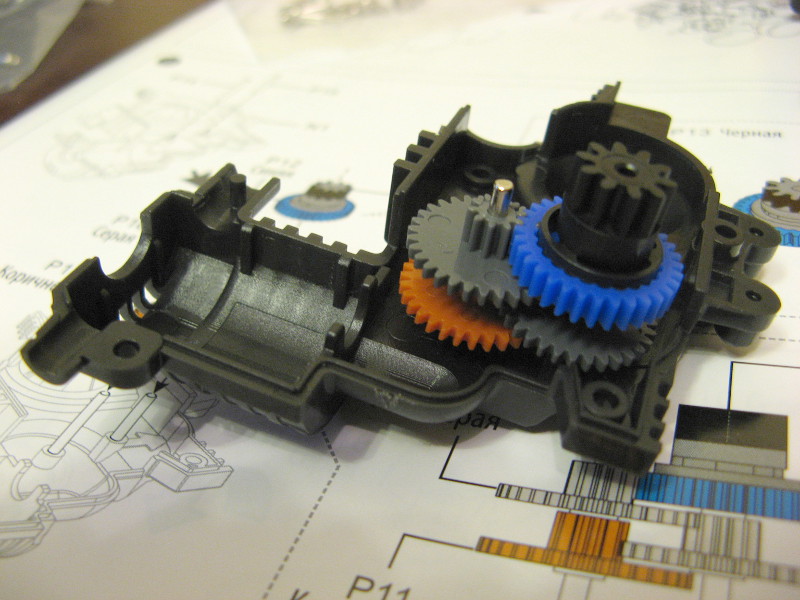
Install a motor that will be responsible for the grabbing movement of the manipulator:
Close the lid:
Install traction that will set in motion "claws":

We put the “claws” ourselves, having previously pasted rubber strips on their inner surfaces:
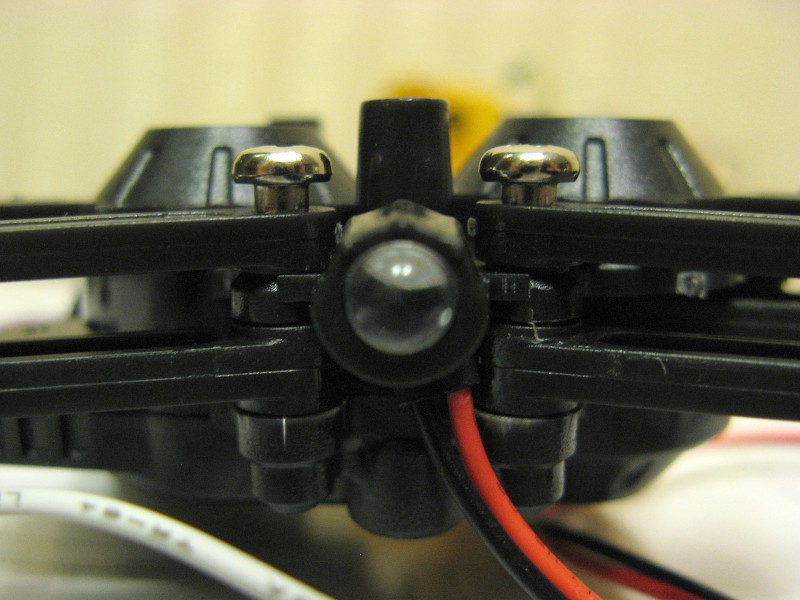
Between the "claws" insert the white LED backlight.
We cover the mechanism with a decorative cover.

Finally, we connect the second segment of the manipulator.
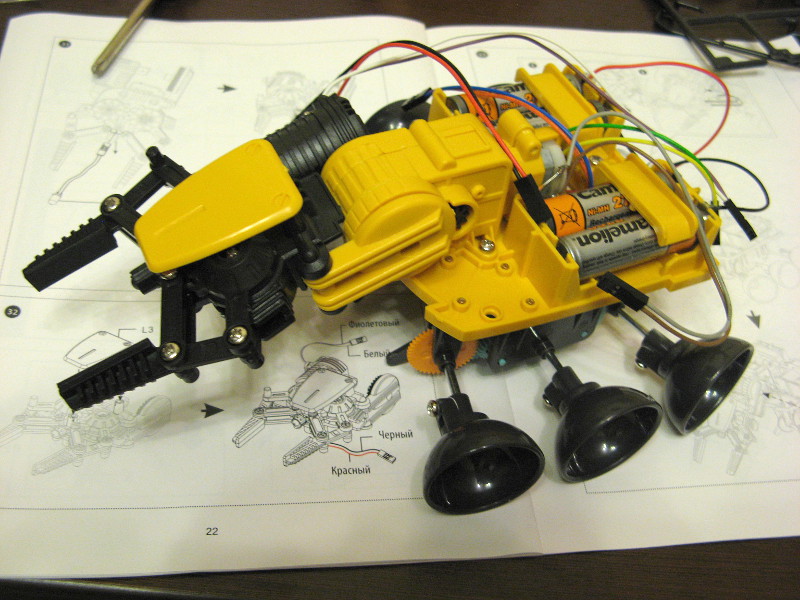
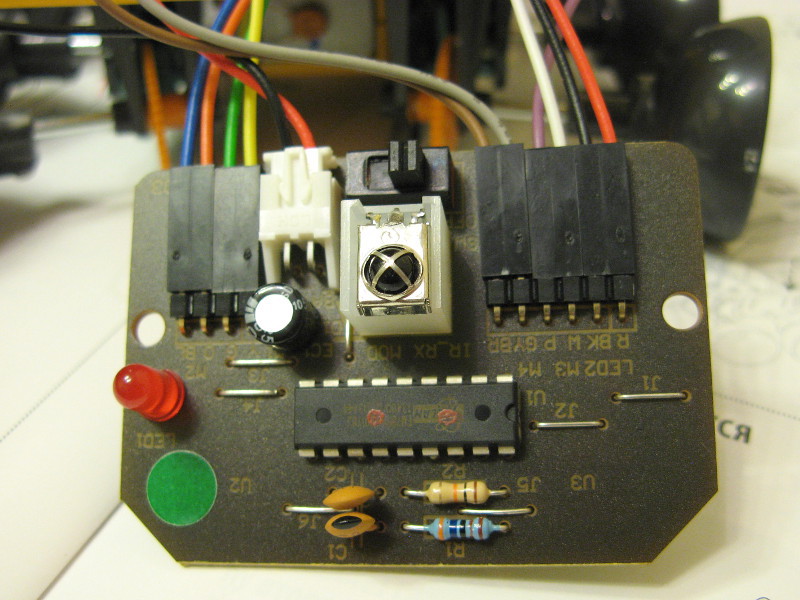
Electronics
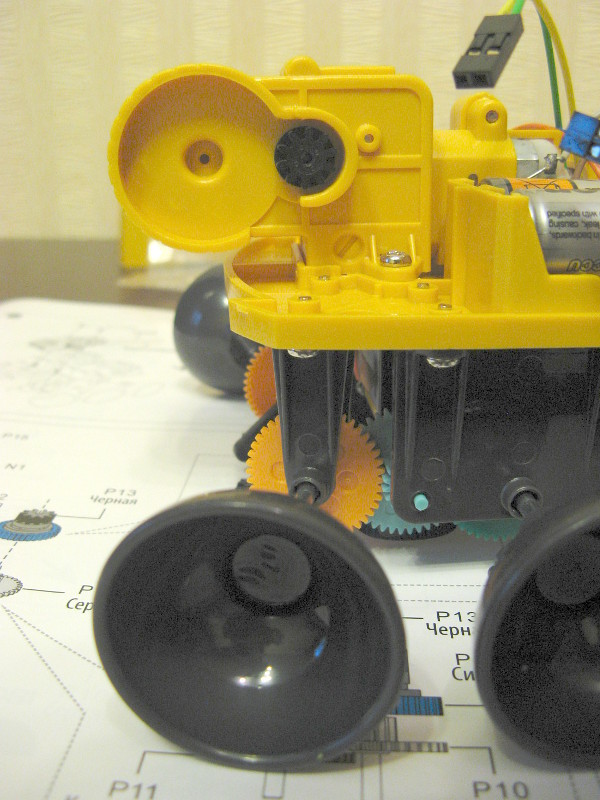
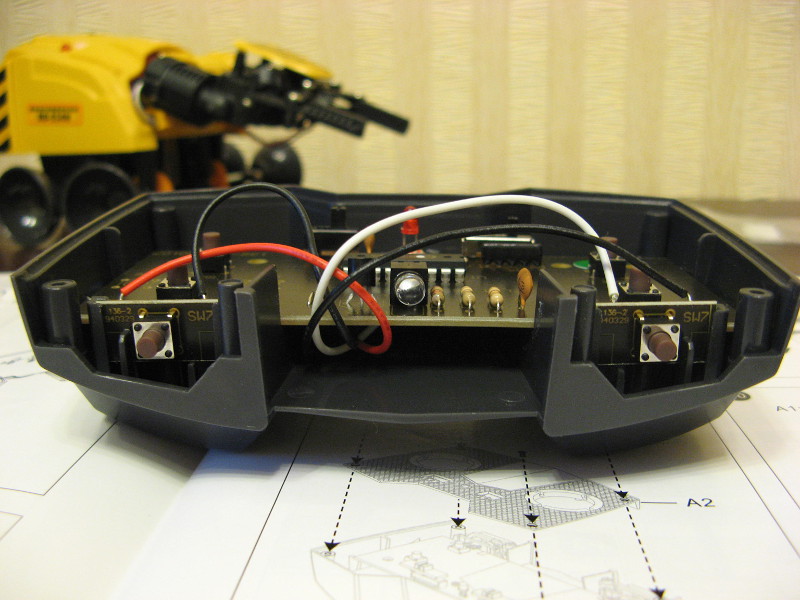
We connect wiring from motors and batteries to the board. The IR receiver is visible in the center.
Fasten the board to the inside of the top cover of the robot:
Put the lid in place:
Stickers
Decorating grabber with stickers:
Assembling the remote control
Install the battery terminals:

Insert the batteries themselves. As you can see, there is no quick access to the batteries in the remote, as well as in the robot itself:
We fasten the board. At this stage, it is necessary to turn on the power so that when the LED indicator lights up, make sure that good contact with the battery terminals is ensured:
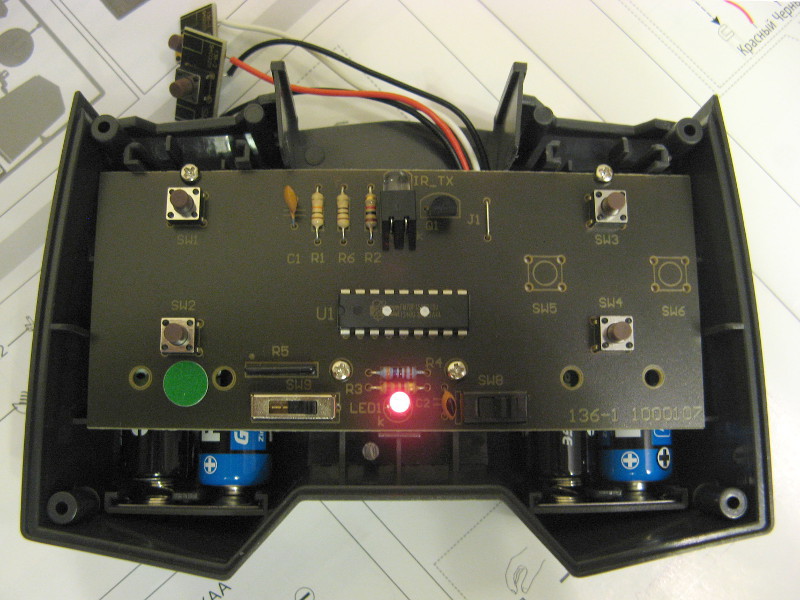
Insert two small scarves with side buttons into the slots:
Install transparent orange keys and switches:

Install a transparent insert in the front panel. Behind it will be an infrared emitter.

Fasten the front panel to the body:
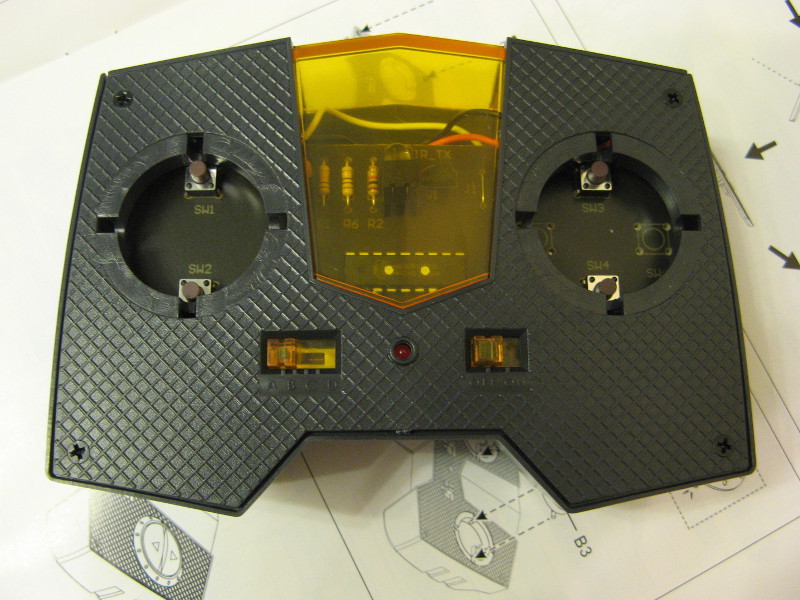
Insert two rocker keys of the direction switches and fix them with rings:
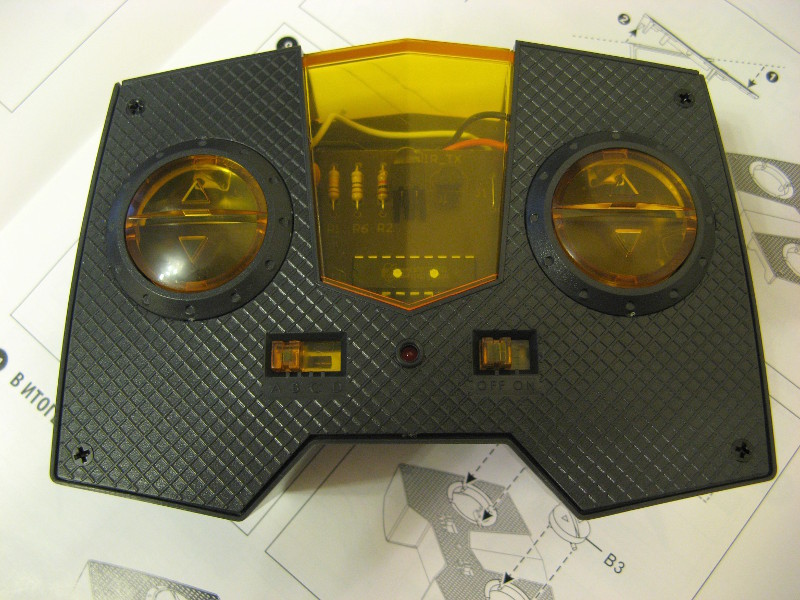
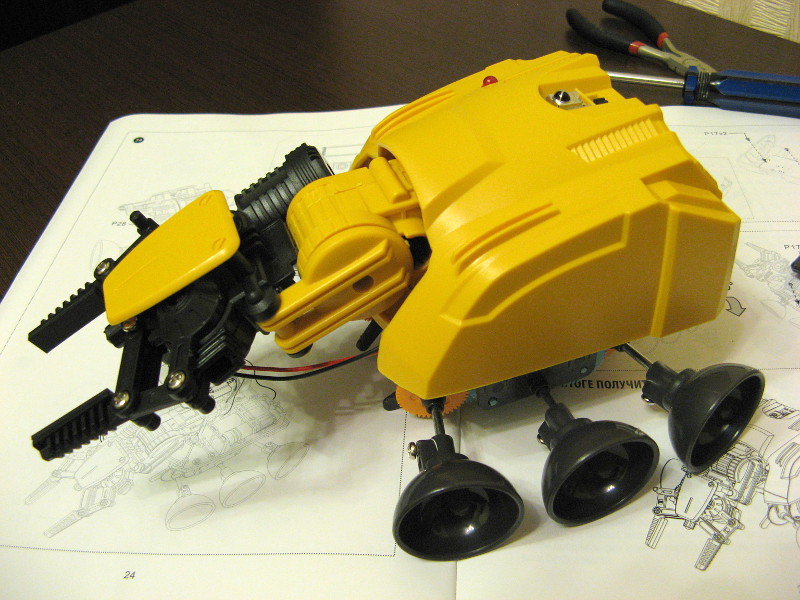
Sea trials
Unfortunately, you can only play on a smooth floor. On the carpet, the Hwathod is hopelessly stuck. The reason for this is a very small ground clearance, just a few millimeters:
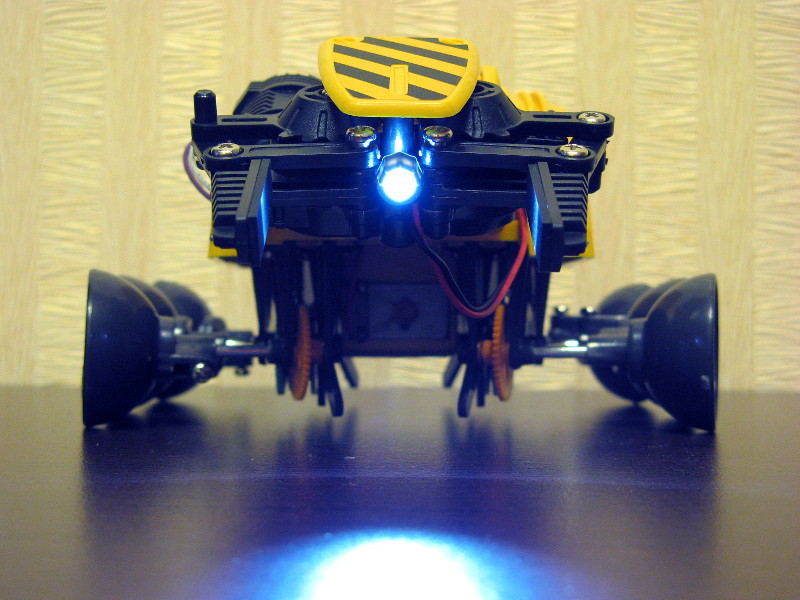
What prevented the manufacturer to make the wheels bigger, a mystery. Carrying the robot outside is also not worth it, the mechanism is not protected from dust and dirt. But on the laminate and tile, the robot drives pretty fast. The infrared control panel operates only in direct visibility. The arm-manipulator is surprisingly strong, it does not drop anything while driving. I made a small video where the Grapple demonstrates his abilities - first he transfers the rubber Am-Nyam, then he takes up the screwdriver.
Where can one buy?
The grabber can be bought in the Dadget at a price of 3,450 p. The price seems reasonable to me, the Yandex Market also offers more expensive options.
Naturally, the Korean manufacturer does not release this toy exclusively for Russia, and in the network you can easily find non-localized versions of the same designer (for example, under the brand name Beetle Robot Kit ).
PS: full-size photos, as well as additional pictures that I did not include in the review were shared here: https://goo.gl/QZqX2z
Source: https://habr.com/ru/post/365807/
All Articles