How to make your first 3D model?
To make a 3D model or print it already ready on a 3D printer, you just need to follow the instructions. No skills or abilities required. The main thing - just follow the simple instructions.

1. First of all we need to decide what we will do our 3D-model. Your choice - any package of 3D-modeling. Here is a short list of programs that can be used:
Blender (free);
Google SketchUp (free);
Openscad (free); (sent by user klirichek, artoym)
FreeCad (free); (sent by klirichek)
AutoCad (sent by user PHmaster)
3DS Max ;
Maya ;
Rhinoceros 3D ;
SolidWorks ;
Sculptris (sent by user Darth Biomech)
and many many others .
')
The main requirement is export to the format for 3D printing - .stl.
However, the easiest way is to model directly from the browser using the following services:
https://tinkercad.com/ ;
http://www.3dtin.com/ ;
http://tridiv.com/ ;
http://www.123dapp.com/Design (most recently the online project was closed);
https://www.tinkercad.com .
On the Internet there are many analogues. For the first time, we will try www.tinkercad.com as the easiest and fastest.
2. Next, follow the link. We are met by a cute little penguin:

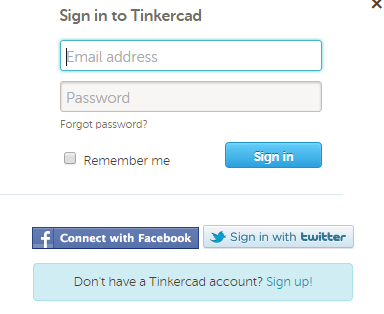
3. Then at the top right there are the entry buttons. Click "sign up for free account". This login can be used in other 123d products from autodesk. But more about that in the following articles.
4. Enter and install the plugin, if it is not already installed:
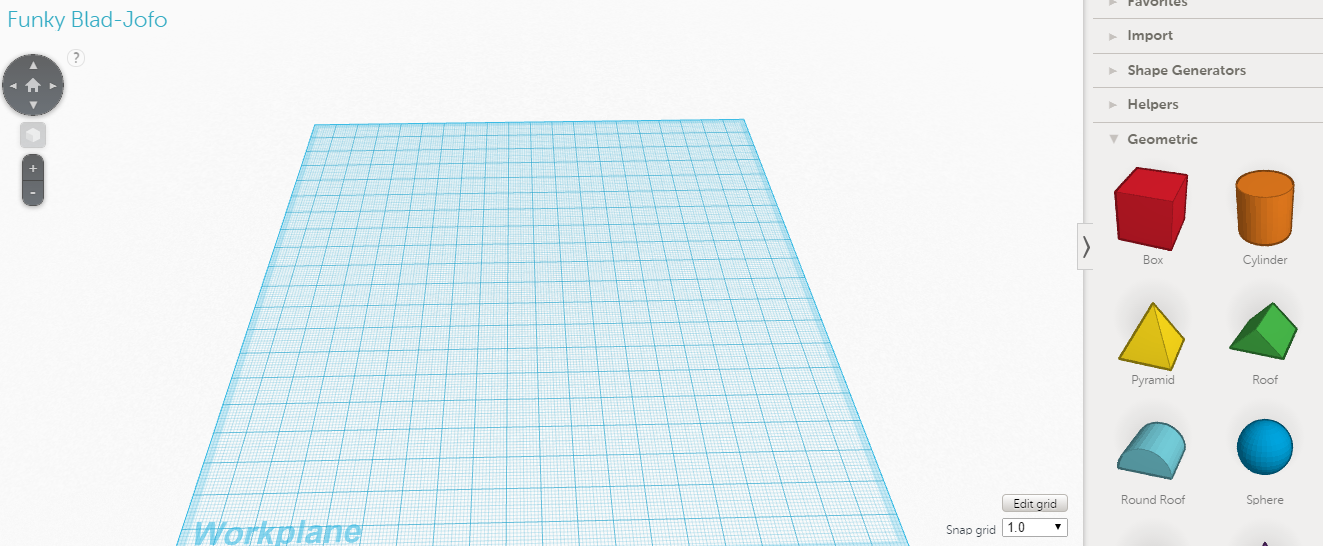
5. Click on the button "Create a new design":

6. An editor appears before us:
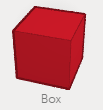
7. Drag cube onto our field:
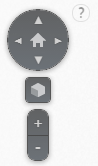
8. For navigation, you can use the right and middle mouse buttons or the navigation bar on the left:
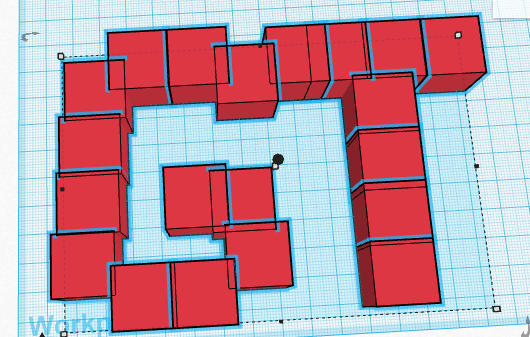
9. Now we need to make any 3D model by dragging the cubes. Here you will need to use your imagination:

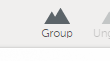
10. After that, select everything that happened:
11. Click the “Group” button:
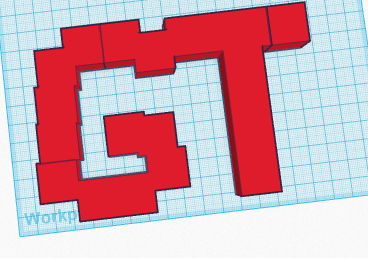
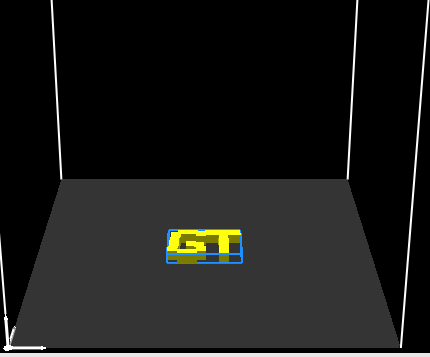
12. This model is now ready for printing:
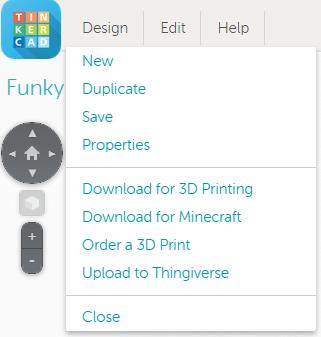
13. The most important thing is to save. Push the Design button.
14. Download for 3d printer.
15. Choose to save .stl:

16.Now we have a ready file to send to the printer. If you don’t have a 3D printer at home, you can search nearby 3D services that are ready to help print.
17. We have a PICASO 3d designer printer and software for it - Polygon. Run the program:
18. Then everything is simple:
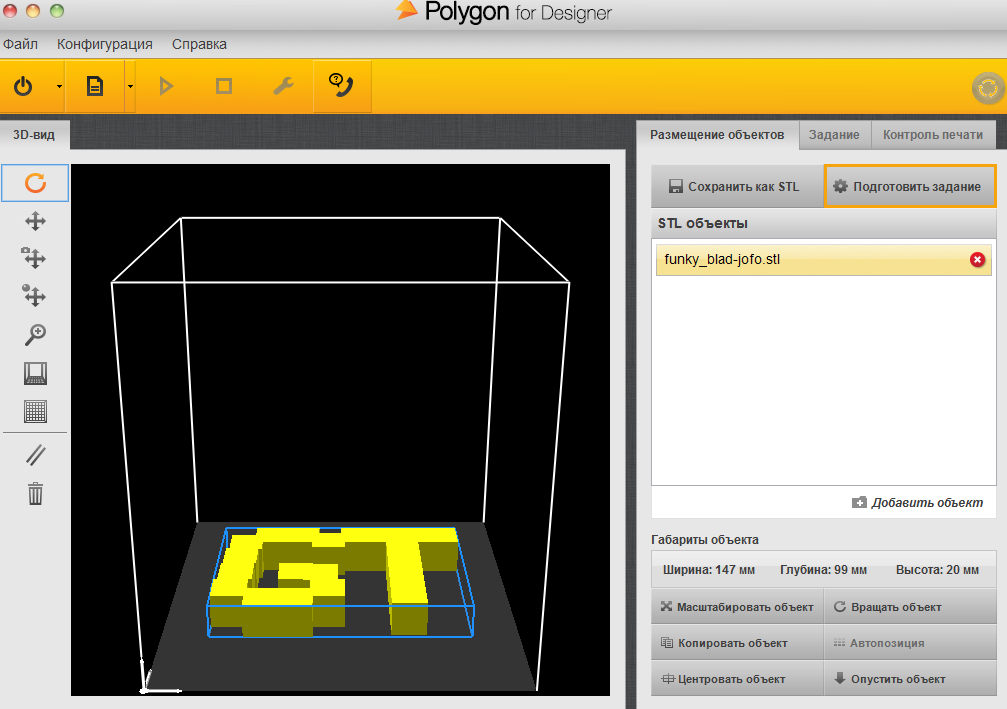
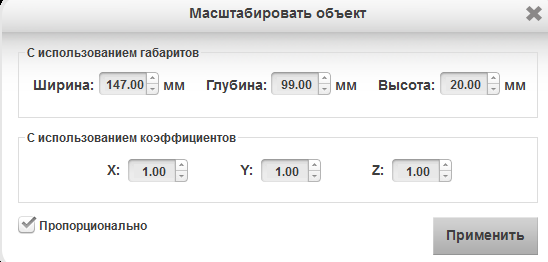
19. Scale the part to save materials and time:
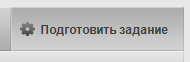
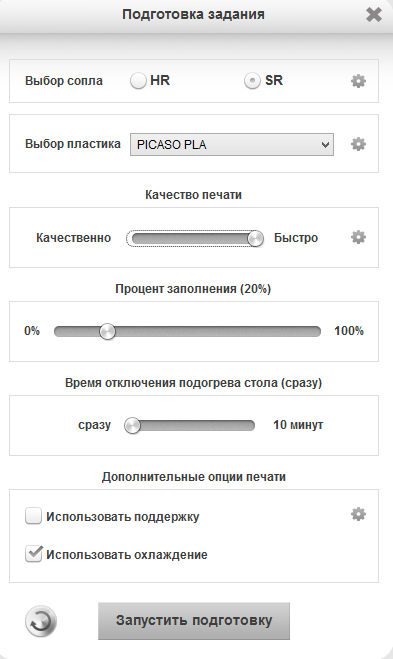
20. We will prepare the task:
21. From the settings we set a high speed, everything else is by default. We press to start training
22. The computer counts the task a little and gives us the results:

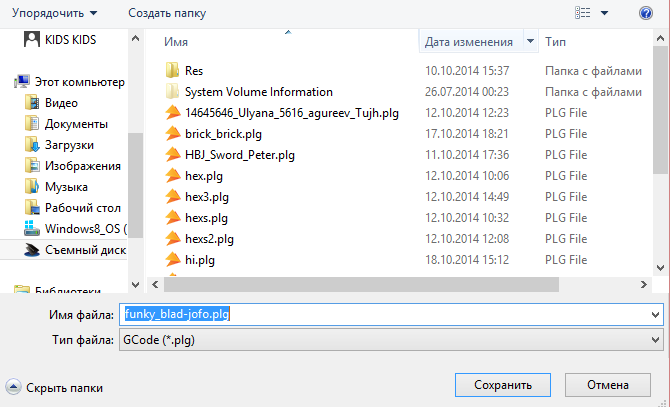
23. Just save a task on a microSD flash drive:

24. Insert the USB flash drive into the printer:

25. Select the menu:

26. Select the SD card:

27. Select the file, find the one we need and send it to print.

28. Everything, the printer began to warm up.
30. We are waiting for 13 minutes.
31. Our product is ready!
32. ???
33. Profit:

http://habrastorage.org/files/29c/92c/4e9/29c92c4e92d84b319ed615a6df9d8a6e.jpg
http://habrastorage.org/files/b8d/a77/3b8/b8da773b8234448e9356353225fe0f18.jpg
PS If anyone knows the services of online modeling, you can safely add to the comments.
1. First of all we need to decide what we will do our 3D-model. Your choice - any package of 3D-modeling. Here is a short list of programs that can be used:
Blender (free);
Google SketchUp (free);
Openscad (free); (sent by user klirichek, artoym)
FreeCad (free); (sent by klirichek)
AutoCad (sent by user PHmaster)
3DS Max ;
Maya ;
Rhinoceros 3D ;
SolidWorks ;
Sculptris (sent by user Darth Biomech)
and many many others .
')
The main requirement is export to the format for 3D printing - .stl.
However, the easiest way is to model directly from the browser using the following services:
https://tinkercad.com/ ;
http://www.3dtin.com/ ;
http://tridiv.com/ ;
http://www.123dapp.com/Design (most recently the online project was closed);
https://www.tinkercad.com .
On the Internet there are many analogues. For the first time, we will try www.tinkercad.com as the easiest and fastest.
2. Next, follow the link. We are met by a cute little penguin:
3. Then at the top right there are the entry buttons. Click "sign up for free account". This login can be used in other 123d products from autodesk. But more about that in the following articles.
4. Enter and install the plugin, if it is not already installed:
5. Click on the button "Create a new design":
6. An editor appears before us:
7. Drag cube onto our field:
8. For navigation, you can use the right and middle mouse buttons or the navigation bar on the left:
9. Now we need to make any 3D model by dragging the cubes. Here you will need to use your imagination:
10. After that, select everything that happened:
11. Click the “Group” button:
12. This model is now ready for printing:
13. The most important thing is to save. Push the Design button.
14. Download for 3d printer.
15. Choose to save .stl:
16.Now we have a ready file to send to the printer. If you don’t have a 3D printer at home, you can search nearby 3D services that are ready to help print.
17. We have a PICASO 3d designer printer and software for it - Polygon. Run the program:
18. Then everything is simple:
19. Scale the part to save materials and time:
20. We will prepare the task:
21. From the settings we set a high speed, everything else is by default. We press to start training
22. The computer counts the task a little and gives us the results:
23. Just save a task on a microSD flash drive:
24. Insert the USB flash drive into the printer:
25. Select the menu:
26. Select the SD card:
27. Select the file, find the one we need and send it to print.
28. Everything, the printer began to warm up.
30. We are waiting for 13 minutes.
31. Our product is ready!
32. ???
33. Profit:
http://habrastorage.org/files/29c/92c/4e9/29c92c4e92d84b319ed615a6df9d8a6e.jpg
http://habrastorage.org/files/b8d/a77/3b8/b8da773b8234448e9356353225fe0f18.jpg
PS If anyone knows the services of online modeling, you can safely add to the comments.
Source: https://habr.com/ru/post/362069/
All Articles