Build projects with dapp. Part 2: JavaScript (frontend)

This material continues the cycle about building Docker images for applications in various programming languages using the dapp utility. The previous article was about building Java applications - now let's talk about JavaScript applications. For a start, this will be a frontend application, and in the next part we plan to tell about building a backend and launching everything in Kubernetes.
As an illustration, the nodejs-pool and poolui applications will be used. Yes, let's prepare for the launch in Kubernetes your mining pool with blockchain and payouts!
')
Mining pool is an application for coordinating miner programs. The pool distributes miners tasks and collects answers from them. If by common efforts we managed to find a block that the network recognizes as valid, then the reward for this block is divided among the participants of the pool according to a particular strategy. Nodejs-pool is the server side of the pool with which miner programs communicate. Poolui is a frontend application with which participants interact with the pool: they register, see the general and their statistics on blocks, miners, and payments.
Build the poolui application "as is"
The first description of the assembly may be a repetition of the finished Dockerfile (as in the article on Java ), but if there is no such, then it is enough to start by running the application in the container according to the recommendations of the developers. In our case it is written in the README that to build and run, it suffices to execute the
npm start command — this is where we will begin.Take the official node image, which already has npm, for example, version 9.11-alpine . You need to add the application source code to the image, and the container will be launched with the
npm start command using the dapp dimg run . Sources are usually added to some directory — for example, / app — so the docker.WORKDIR directive is needed so that the command docker.WORKDIR in the correct directory and not in the root of the image. The result was such a simple dappfile.yaml : dimg: poolui from: node:9.11-alpine git: - add: / to: /app docker: WORKDIR: /app Build command:
dapp dimg build (For details on some of the conveniences for working with this build team, see the article from a colleague .)
Application launch command:
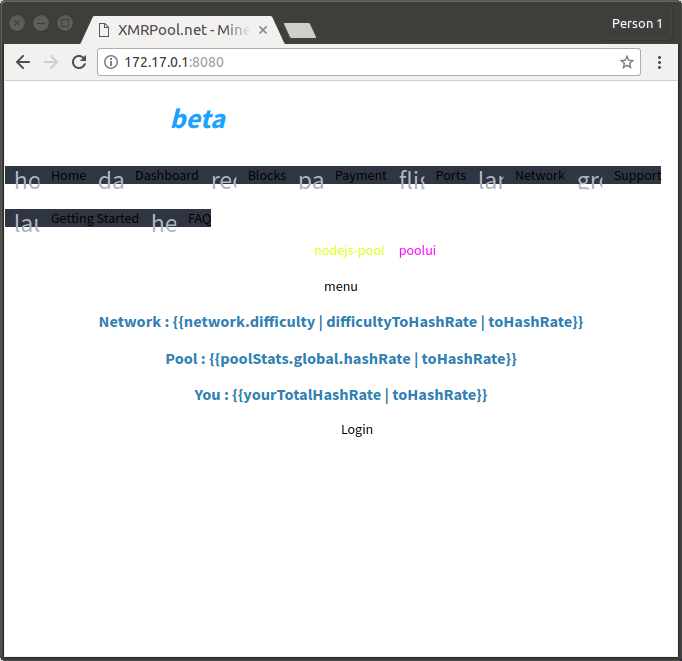
dapp dimg run poolui -p 8080:8080 -ti --rm -- npm start After such a start, the application in the browser will look something like this:
Improved dappfile.yaml
By the look of the page, it can be understood that one
npm start command is not enough to fully launch the application as a container.Such a launch “as is” does not work for all projects, but it can be used to “observe” the launch of an unfamiliar application in a container. Having a
Dockerfile in the project Dockerfile it easy to create dappfile.yaml , because immediately see all the commands to create an image.To create
dappfile.yaml for a project without a Dockerfile , you need to determine from the description of the application assembly which commands to run. Our company engineers do this work either on the basis of their knowledge of utilities in different languages (npm, gulp, maven, composer, etc.), or in some cases, together with the customer’s developers, change the description files ( package.json , gulpfile.js , pom.xml , composer.json ), so that the application build describes all the necessary dependencies.Usually, everything starts with the
beforeInstall stage, where installation of system packages is described, for example, if there are not enough tools in the selected base image. Then the install stage is added, where the application sources are already available and you can run the build tools. After successfully assembling an image with two stages, you can go ahead and highlight some commands into other stages ( beforeSetup , setup ), as well as describe sets of directories and files, changes in which will lead to reassembly.A similar launch "as is" for projects that do not have a
Dockerfile is usually not applicable in the production environment. For rolling out an application in production, you need to work on defining commands for each stage of image assembly and on defining dependency files for these stages.The project under consideration has three description files:
package.json- description of dependencies and actions for npm;bower.json- description of application dependencies;gulpfile.js- description of tasks.
From
package.json can see that gulp and bower will be needed for the build - these tools can be installed at the beforeInstall stage, since their version will not change often. At the same stage git will be added, since It is needed for downloading dependencies. In the same file you can see the commands that were not enough: npm install , bower install . These commands will go to the install stage, where dependencies are downloaded. The difference is small - for simplicity, bower install is performed with the --allow-root key. Rebuilding the install stage depends on changes in the package.json and bower.json description files.npm start runs the gulp command, which will execute the default task from gulpfile.js . This task sequentially launches three others: build , connect , watch . Those. build and launch tasks are merged. This is convenient for a quick start, but in order to build an image, you will have to explicitly call the gulp build at the setup stage and install the reassembly setup depending on the changes in the app directory and the gulpfile.js file.To start the application,
gulp connect now used not npm start , but. You gulp watch not need to run gulp watch , because This is a team to simplify development.The final
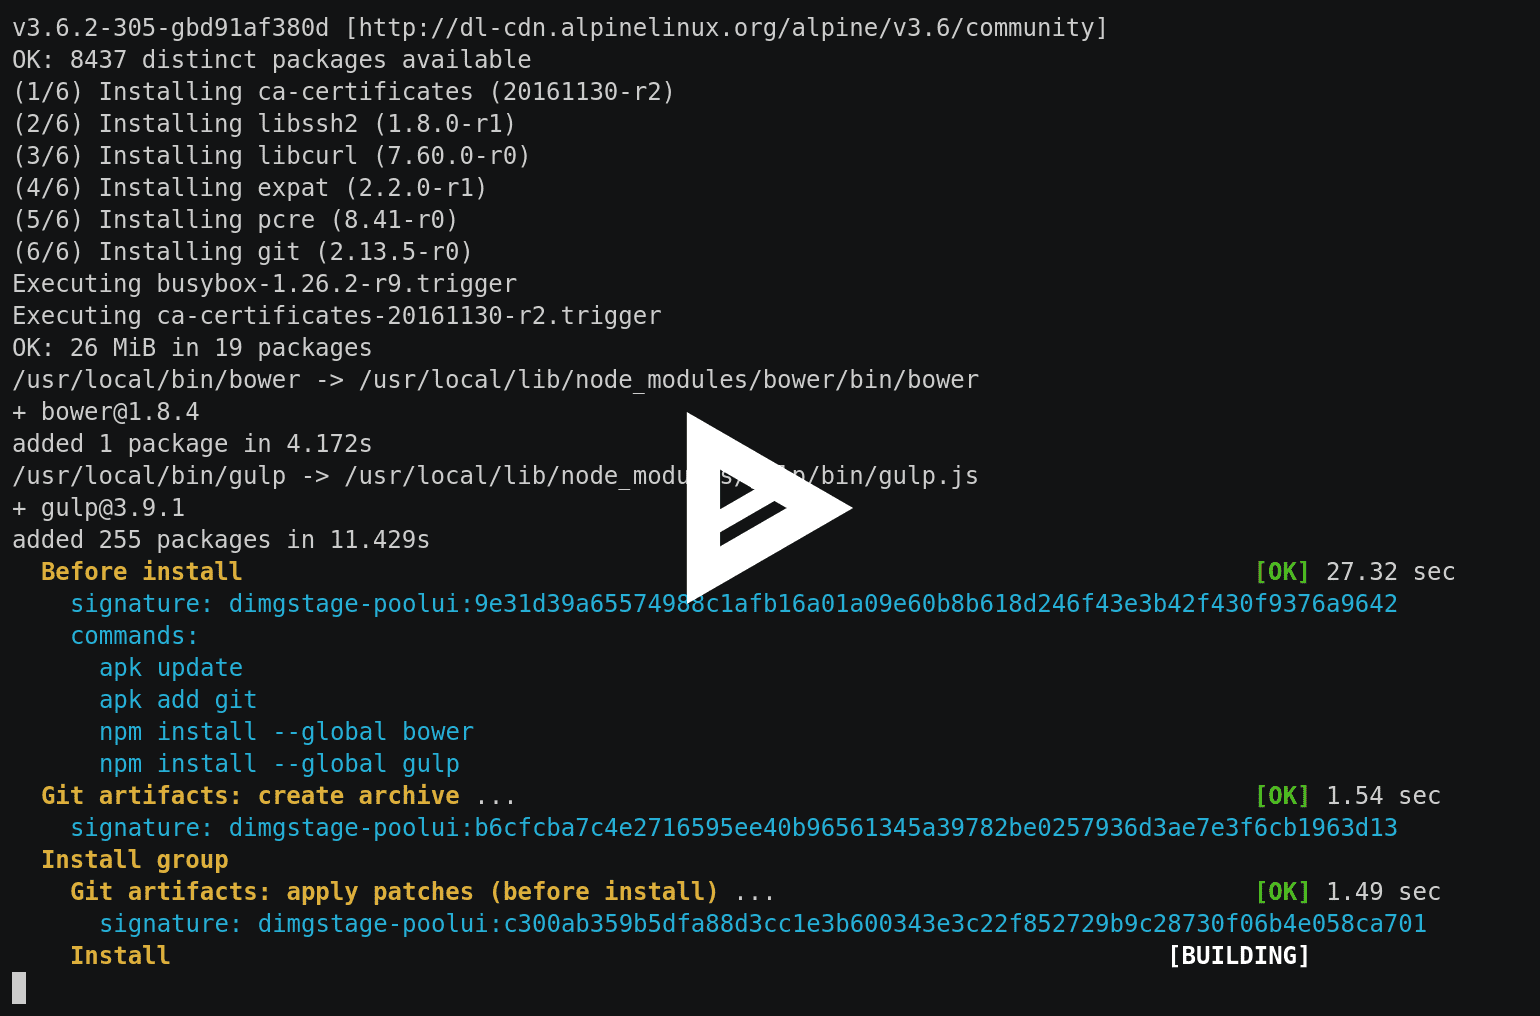
dappfile.yaml looks like this: dimg: poolui from: node:9.11-alpine git: - add: / to: /app stageDependencies: install: - package.json - bower.json beforeSetup: - app - gulpfile.js shell: beforeInstall: - apk update - apk add git - npm install --global bower - npm install --global gulp install: - cd /app - npm install - bower install --allow-root beforeSetup: - cd /app - gulp build docker: WORKDIR: "/app" CMD: ["gulp", "connect"] The application build log can be seen in this asciicast:
To check, if you run the assembly again, then everything will be collected from the cache:

Now you can start the application with the
dapp dimg run poolui -p 8080:8080 -ti --rm :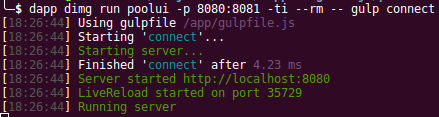
In the launch output, the following line is noticeable:
Server started http://localhost:8080 .This means that you will not be able to connect to the server from a browser on the host machine. You need to fix
gulpfile.js so that the server gulpfile.js on the address 0.0.0.0. Changes need to commit and run dapp dimg build to build a new image. Since gulpfile.js changes, then only the beforeSetup stage needs to be rebuilt. The result can be seen in this asciicast:
dapp dimg run poolui -p 8080:8080 -ti --rm with dapp dimg run poolui -p 8080:8080 -ti --rm :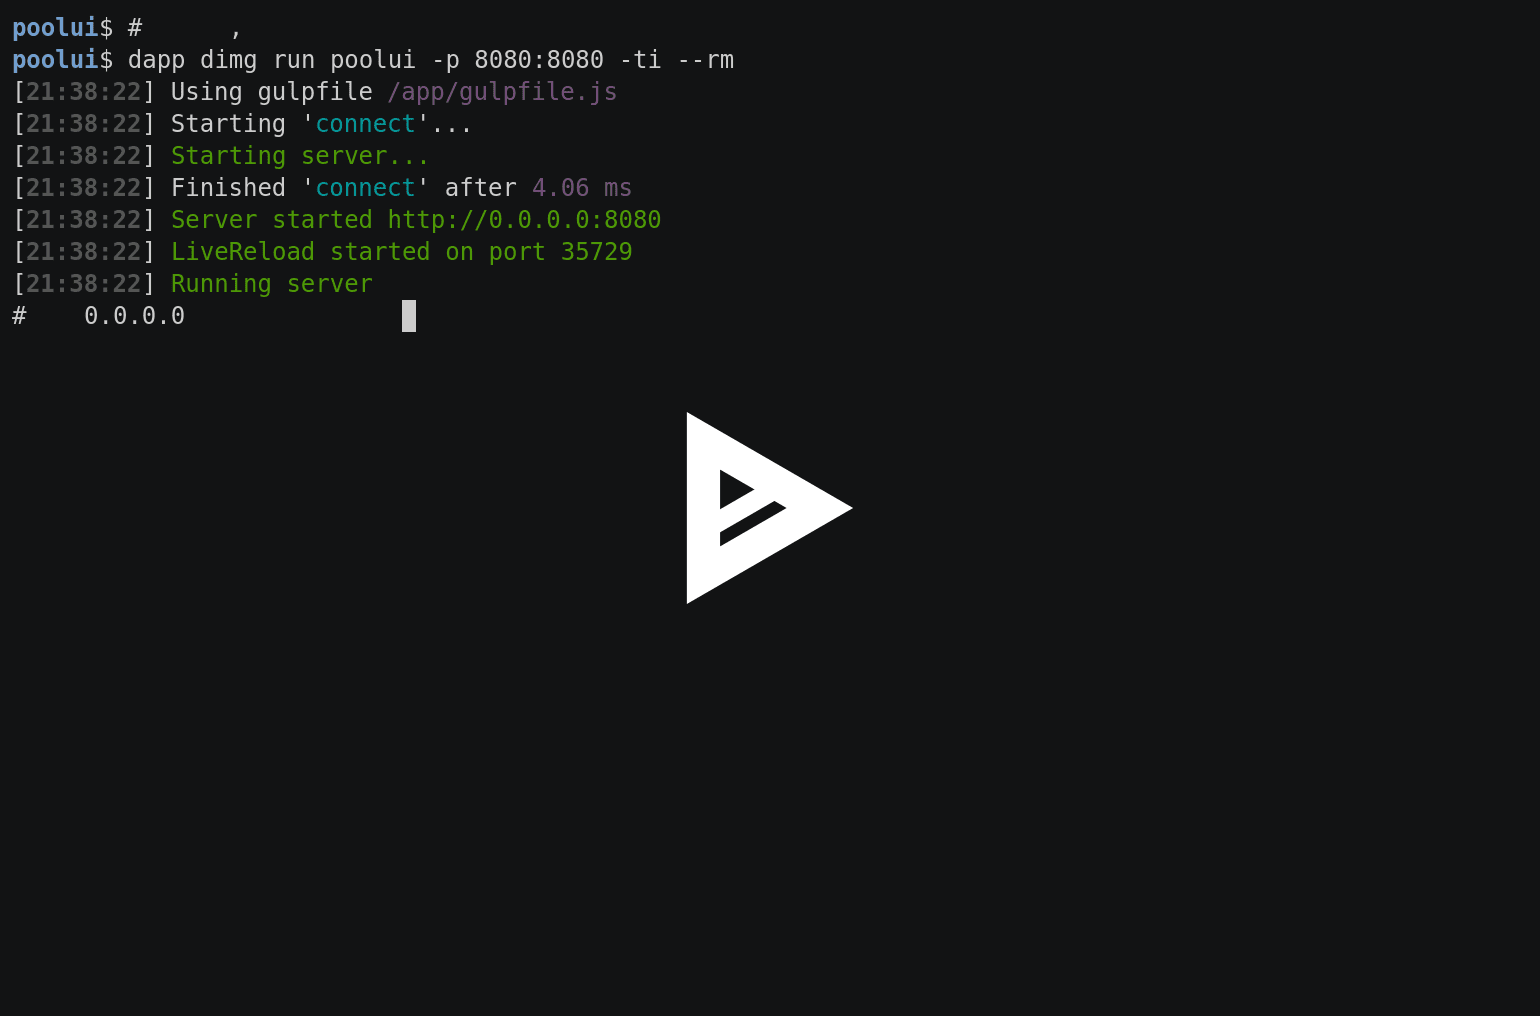
If you connect to the application with a browser (go to
http://localhost:8080 ), then you can see a similar page: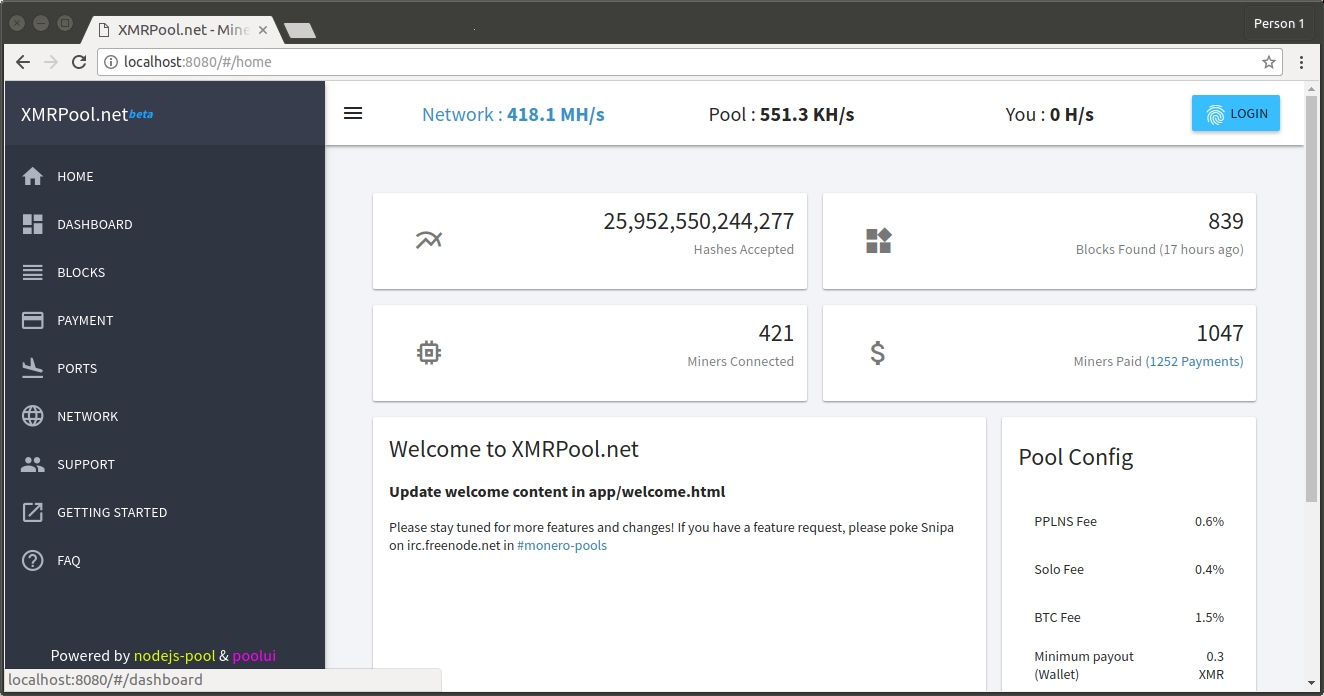
Done! The frontend pool is running and looks good. However,
gulp connect is a module designed for development, and for production I would like to pack the application “correctly”. This option could be an image with nginx where the contents of the /app/build directory will be copied. In dapp there are artifacts and intermediate or instrumental images - this feature will be used further.Packing in an image with nginx
The application is assembled into the
/app/build directory and it suffices to turn the described dimg into an artifact. It is worth noting that artifact cannot contain Docker directives, so they need to be removed, but otherwise there are no differences from dimg. Now you need to add a second dimg based on, for example, nginx: stable-ansible. The ready nginx image is configured to return static files from /usr/share/nginx/html — import /app/build into this directory. The finished dappfile.yml looks like this: artifact: poolui-builder from: node:9.11-alpine git: - add: / to: /app stageDependencies: install: - package.json - bower.json beforeSetup: - app - gulpfile.js shell: beforeInstall: - apk update - apk add git - npm install --global bower - npm install --global gulp install: - cd /app - npm install - bower install --allow-root beforeSetup: - cd /app - gulp build --- dimg: poolui from: nginx:stable-ansible import: - artifact: poolui-builder add: /app/build to: /usr/share/nginx/html after: install The build command does not change:
dapp dimg build But the startup command must be changed - nginx listens on port 80.
dapp dimg run poolui -p 8080:80 -ti --rm When accessing localhost: 8080, the result is the same as with the launch of
gulp connect : the page is shown in full.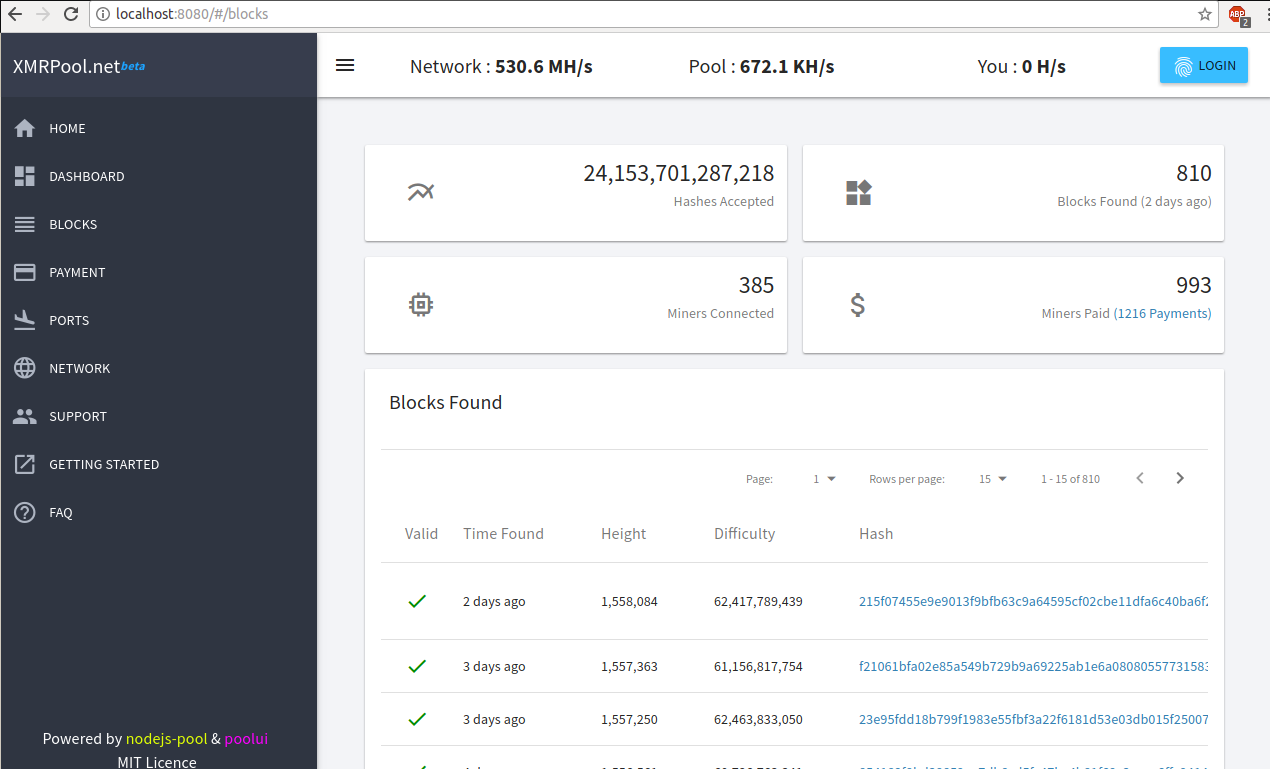
In the build log, you can look at the id stages and estimate the size of the intermediate and final images.
# dimgstage-poolui 0e27eaebff1f23312d18f83370ee30000a97139311fa141b86aa3f34b15e544d 6a1a7fc1aa98 8 minutes ago 25.1MB # poolui-builder dimgstage-poolui f000dbe70d25a5abb998997e6c0530db52f228fee4cdd0390046657bdb3a6d32 8f300d169e5e 17 minutes ago 241MB Now the frontend part is exactly ready! Next you need to build and run the backend, which is somewhat more complicated and will be described in the next article.
Conclusion
The application is quite simple, but even with such an example it can be shown that the containerization of applications originally written without regard to Docker requires some thoughtful analysis. But as a result,
dappfile.yaml may turn dappfile.yaml , which will reassemble only the necessary stages, speeding up the incremental builds.The specificity of containerization of applications in JavaScript is precisely this - in determining what needs to be run at the assembly stage, since There are a lot of tools and each customer has their own set of developers.
PS
Read also in our blog:
- “ Build projects with dapp. Part 1: Java ;
- “ Build and heat applications in Kubernetes using dapp and GitLab CI ”;
- " Practice with dapp. Part 1: Build simple applications ";
- " Practice with dapp. Part 2. Deploying Docker images in Kubernetes with the help of Helm ”;
- “ We assemble Docker images for CI / CD quickly and conveniently along with dapp (review and video of the report) ”;
- " Officially present dapp - a DevOps utility to maintain the CI / CD ."
Source: https://habr.com/ru/post/359204/
All Articles