Image Optimization for the web

There are enough articles and projects on the Internet for resizing images. Why is another one needed? In this article I will tell why we were not satisfied with the current decisions and had to cut our own.
Problem
Let's first understand why we did resize pictures. We, as a web service, are interested in the fastest possible loading of pages by the user. Users like this and increase conversion. If the user has a slow or mobile Internet, then it is extremely important that the pages are light, not waste the user's traffic and processor resources. One of the points that helps with this is the resizing of images.
We solve two problems. The first problem is that the images are often not compressed for the necessary resolution, that is, the client has to not only download unnecessary data, but also spend CPU resources on resizing the images by the browser. Solution: give the user pictures in the resolution in which they will be shown in the browser.
The second problem is that the images are usually not well compressed enough, that is, you can encode them more optimally, which will increase the page loading speed without subjective loss of image quality. Solution: optimize the pictures before returning to the client.
')
As an example, how to do it is not necessary to look at the main page of such a famous site like github.com . With a weight of 2 MB pages, 1.2 of them are occupied by useless images that can be optimized and not downloaded.

The second example is our Habr. I will not give a screenshot, so as not to stretch the article, the results of the link . On Habré pictures change the resolution to the right, but do not optimize them. This would reduce their size by 650 Kb (50%).
In many places on the site, smaller versions of images are needed, for example, to show a smaller version of a news picture in the news feed. We implement this as follows - on our server only the picture in the maximum quality is stored, and, if necessary, insert its resolved version you need to add the required resolution through the "@" to the end of the URL. Then the request will not be sent for the file, but on our resizing backend and will return the optimized and optimized version of the image.
Common Solutions
All that will be said below relates to JPEG and PNG images, since These are the most popular formats on the Internet.
Having driven something like “image resize backend” into google you will see that in half of the cases Nginx is suggested to be used, the other part is various self-written services, most often Node.js.
From nginx, or rather from libgd, which is used in the nginx module, we were able to squeeze 63 RPS on the test image , which is not bad, but I would like to have faster and more flexibility. Graphicsmagick is also not suitable, because its speed is too low. In addition, both of these solutions produce non-optimized images. Most other solutions, such as Node, suggest using Sharp for resizing, MozJPEG for optimizing JPEG images, and pngquant for optimizing PNG.
For quite a long time we ourselves used a handwritten bunch of Nods, Libvips and MozJPEG with pngquant, but one day we wondered - “Can we make the resize faster and less demanding of resources?”.
Spoiler: you can. ;)
Now it would be nice to find out how to speed up our application. After examining the application code, we found out that imagemin, which was used for optimization, and in particular its MozJPEG and pngquant plug-ins, work with the same-name utilities through os.Exec. We will unequivocally cut out this business and use only bindings for the CI's. For resizing, the Sharp module was used, which is a binding to the Libvips C library.
Our implementation
Guglezh showed that Libvips is still the leader in speed and only OpenCV can compete with it. So we will use Libvips and in our implementation, this is a proven solution and it has a ready binding for Go. It's time to try to write a prototype and see what comes of it.
A few words about why Golang was chosen to attempt this problem. Firstly, it is fast enough, you still remember that we want to make a quick resize. The code on it is easy to read and maintain. The last requirement was the ability to work with the C library, it will be useful to us.
We quickly wrote a prototype, tested it and realized that despite the larger number of internal spins, Libvips still delivers non-optimized images for output. With this we need to do something. Again, we turn to all-powerful Google and find out that the best option is still MozJPEG. This is where doubts start to creep in, that we now write the same thing that was on Node, only on Go. But carefully reading the description of MoZJPEG, we learn that it is a fork of libjpeg-turbo and is compatible with it.
Looks very promising. Things are easy - to assemble your version of Libvips, in which jpeg-turbo is replaced by the version from Mozila. To build, we chose Alpine Linux, because the application still planned to publish with the help of Docker and Alpine has a very nice package config format, very similar to that used in Arch Linux.
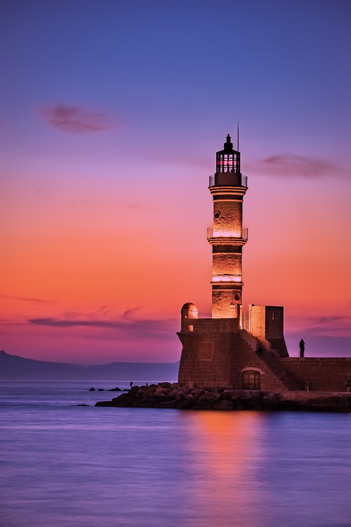
| Original jpeg 351x527 79 Kb | Optimized 351x527 17 Kb |
|---|---|
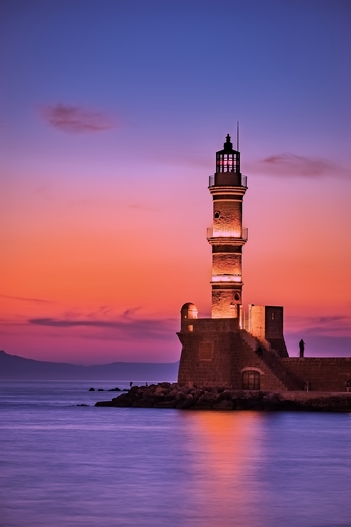 |  |
Collected, tested. Now Libvips immediately when resizing produces an optimized version. That is, in the Node version of the version, we first resized, and then once again passed the picture through the decoder-encoder. Now we are only doing a resize.
With JPEG figured out, and what to do with png. To solve this problem was found library libpngquant. It is not very popular, despite the fact that the pngquant console utility, which is based on it, is used in many solutions. It was also found for her binding on Go, a little abandoned and with a memory leak, I had to fork it to fix, add documentation and everything else that befits a decent project. Libpngquant we also assembled as an Alpine package for easy installation.
Due to the fact that the image is no longer required to be saved to a file for processing using pngquant, we can optimize the process a little. For example, do not compress the image when resizing in Libvips, but only after processing in pngquant. This will save some precious CPU time. Needless to say, we are also very saving due to the fact that calling the C library is much faster than running a console utility.
| Original PNG 450x300 200 Kb | Optimized 450x300 61 KB |
|---|---|
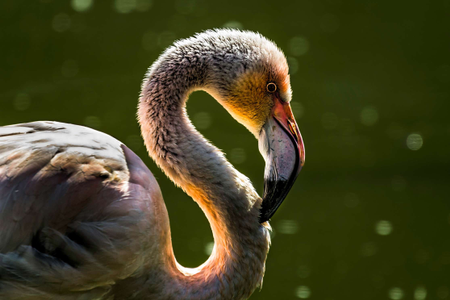 |  |
| Original PNG 351x527 270 Kb | Optimized 351x527 40 Kb |
|---|---|
 | 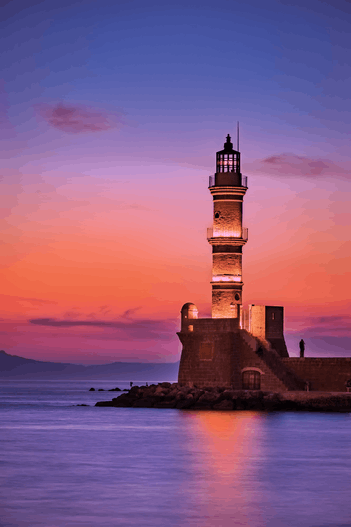 |
After the prototype was written, tested on my PC and gave a decent 25 RPS on the mobile two nuclear process, devouring the entire CPU, I wanted to see how much you can squeeze out of it on a normal hardware. Run the code on the six nuclear machine, set Jmeter and WTF ??? We get 30 RPS. We try to figure out what the garbage.
Libvips itself implements multithreading, that is, we only need to initialize the library and in the future we can safely access it from any thread. But for some reason, Libvips works in one thread for us, which limits us to one core. Another 1 core takes pngquant. In total, it turns out that our super fast resizing is working fine only on a developer’s laptop, and on other machines it cannot utilize all the resources. ;)
We look at the source code for the Libvips binding and see that there CONCURRENCY is set to 1 by default because of the data races in Libvips. But judging by the bug tracker, these problems have long been fixed. Exposed CONCURRENCY back, we test. Nothing has changed, Libvips still refused to resize images multithreadedly. All attempts to overcome this problem failed and to tell the truth, I was tired of solving it and decided to work around the problem at a different level.
All more or less modern Linux kernels (3.9+ and 2.6.32-417 + on CentOS 6) support the SO_REUSE option, which allows one port to be used by several instances of an application. This approach is more convenient than balancing by means of third-party software, such as HAProxy, because does not require configuration and allows you to quickly add and remove instances.
Therefore, we used the SO_REUSE and the "--scale" option in Docker compose, which allows you to specify the number of running instances.
Time to measure
It's time to evaluate the result of our labors.
Configuration:
- CPU: Intel Xeon E5-1650 v3 @ 3.50GHz 6 cores (12 vCPU)
- RAM: 64 Gb (used about 1-2 Gb)
- Number of workers: 12
Results:
| FIle | Output resolution | Node RPS | Go rps |
|---|---|---|---|
| bird_1920x1279.jpg | 800x533 | 34 | 73 |
| clock_1280x853.jpg | 400x267 | 69 | 206 |
| clock_6000x4000.jpg | 4000x2667 | 1.9 | 5.6 |
| fireworks_640x426.jpg | 100x67 | 114 | 532 |
| cc_705x453.png | 405x260 | 21 | 33 |
| penguin_380x793.png | 280x584 | 28 | 69 |
| wine_800x800.png | 600x600 | 27 | 49 |
| wine_800x800.png | 200x200 | 55 | 114 |
More benchmarks (but no comparison with the Node version) on the wiki page .
As you can see, we did not change the resize in vain, the speed increase was from 30 to 400% (in some cases). If you need to resize even faster, then you can twist the "speed" and "quality" knobs in libimagequant. They will make it possible to further reduce the size or increase the coding speed at the price of a loss in image quality.
Project ID on github .
Binding Go to libimagequant also on GitHub .
Source: https://habr.com/ru/post/351246/
All Articles