Font (more) Awesome - patterned invention
Hi, Habr! I present to your attention the translation of the article "Font (More) Awesome - an iconic invention" by Pubudu Dodangoda.
Whether you are creating a website, a mobile or a desktop application, there are a few things you cannot avoid. Proper use of graphics and icons is one such basic need. Stylish icons are as important as alignment and color combinations - simply because one icon can express something that hardly fits in a hundred words.

While there are many ways to add an icon to a website, the most popular option is to use the Font Awesome library. Having made one configuration, you can very easily add the desired icon:
<i class="fa fa-bell"></i> However, there are situations where the set of icons offered by Font Awesome is insufficient. For example, recently I wanted to use the Facebook, Twitter and Airbnb logos on my website. However, I was extremely surprised - the Airbnb icon is not included in Font Awesome. It turned out that the community requested this icon about 3 years ago . And it is not in the official set so far.
Also, if you want to add not the most popular icon, the easiest way is to use the img tag. Compared to using Font Awesome, this requires too much effort. On the other hand, the Font Awesome team cannot handle all requests for icons.
Therefore, I started searching for a simple way to connect the icons I needed. Fortunately, I found a tool called Calligraphr . I will explain how I used this tool (I’ll need some knowledge of CSS), and I’ll show you some simple tricks that will allow you to do something like the following in your code:
<i class="fa fa-troll"/> <i class="fa fa-like-a-boss"/> <i class="fa fa-lol"/> 
Looks good, right? Then let's make the Font even more awesome!
Font creation
The first step in our adventure is to create a font Font More Awesome, which can be done using the instructions on their website . First you need to download the template. Here is an example:
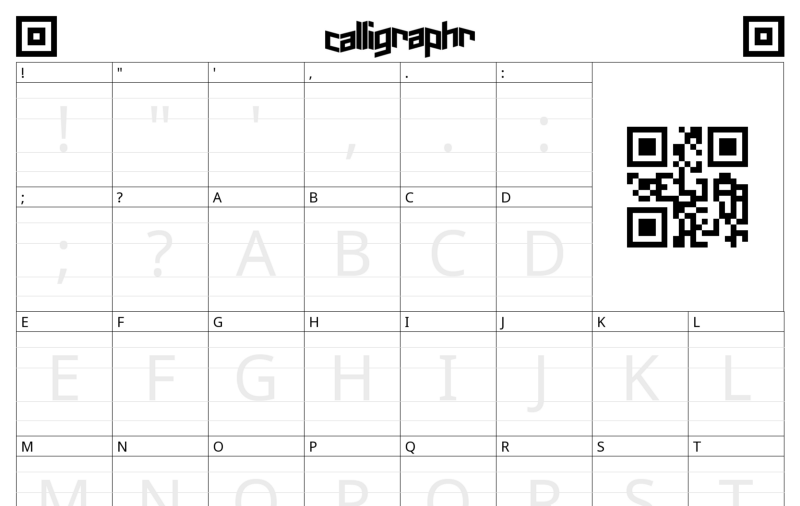
Now we have to fill in the sections with the desired images. You can print the template and draw in it icons by hand, or use a tool like Adobe Photoshop, GIMP with images that you download from the Internet.
Note translator. Do not try to use color and even gray images on Calligraphr - the probability of a successful conversion will be extremely small. Use only black and white images.
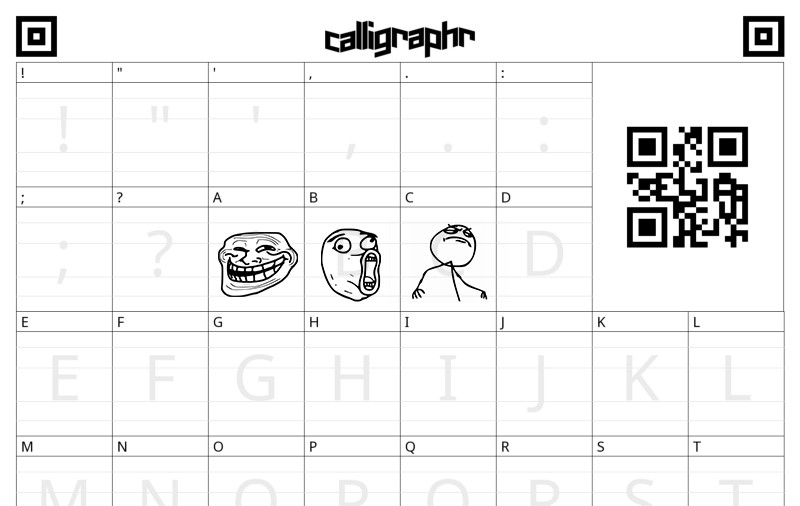
After filling in the template, it will look something like this:
The next thing you have to do is quite simple. Download the completed template to calligraphr, and click on the “build font” button - and BOOM! You can download your personal font. Let's call it FontMoreAwesome.otf .
If you are wondering what kind of magic has just happened - this is called graphics vectorization . Due to the impact of special algorithms that produce vectorization, you may notice some differences between the image used and the icon created. But, after converting to a vector format, the image can be scaled without loss of quality.
Integration with Font Awesome
Of course, you can view the new font as a separate set of icons. But wouldn't it be cool to expand the Font Awesome set itself? Let's do that!
The only thing you need to understand is that we will inherit the CSS styles defined by the Font Awesome CSS file. For example, it will contain something like this:
.fa { display: inline-block; font: normal normal normal 14px/1 FontAwesome; font-size: inherit; text-rendering: auto; -webkit-font-smoothing: antialiased; -moz-osx-font-smoothing: grayscale; } This means that when we define the icon element as follows, it will inherit the display , font-size and text-rendering styles from the code above:
<i class="fa fa-troll"/> Now let's define our own CSS file. Name the file font-more-awesome.css .
The first entry in this file is the declaration of the font-face rule. Can be done as below. It is not difficult. Just a little basic CSS.
@font-face { font-family: 'FontMoreAwesome'; src: url('../fonts/FontMoreAwesome.otf'); font-weight: normal; font-style: normal; } Next we can define the desired icons:
.fa-troll:before { font-family: FontMoreAwesome; content: "A"; } .fa-lol:before { font-family: FontMoreAwesome; content: "B"; } .fa-like-a-boss:before { font-family: FontMoreAwesome; content: "C"; } Notice that we define icons as pseudo-elements using the before selector. Thus, we can embed the content we need inside the element that uses the declared classes.
In the font we created, the FontMoreAwesome “A”, “B” and “C” are indicated by icons for Troll, Lol and Like-a-boss respectively. Although it is not the best way to do it.
Font Awesome uses areas for private use (Unicode Private Use Area, PUA) to insure screen readers from reading random characters, which are icons.
But, for simplicity of the story, in our example we will keep the letters of the English alphabet.
Another point worth mentioning is that in the example above, when introducing our content onto a page, we overwrite the font-family rule defined by Font Awesome.
Font More Awesome in action
Finally, load this CSS file into our index.html .
<link href="css/font-more-awesome.css" rel="stylesheet"> Now you can use these icons like any other fa icon. For example, the following icon will be large and spinning:
<i class="fa fa-troll fa-spin fa-lg"/> That's all. Successful customization!
Note translator. When translating this article, I experienced the described practice, making icons for Habr, Giktayms and Toaster. The result can be found in this repository .
')
Source: https://habr.com/ru/post/351130/
All Articles