React + SVG game development. Part 2
TL; DR: In these episodes, you'll learn how to get React and Redux to control SVG elements to create a game. The knowledge gained in this series will allow you to create animation not only for games. You can find the final version of the source code developed in this part on GitHub.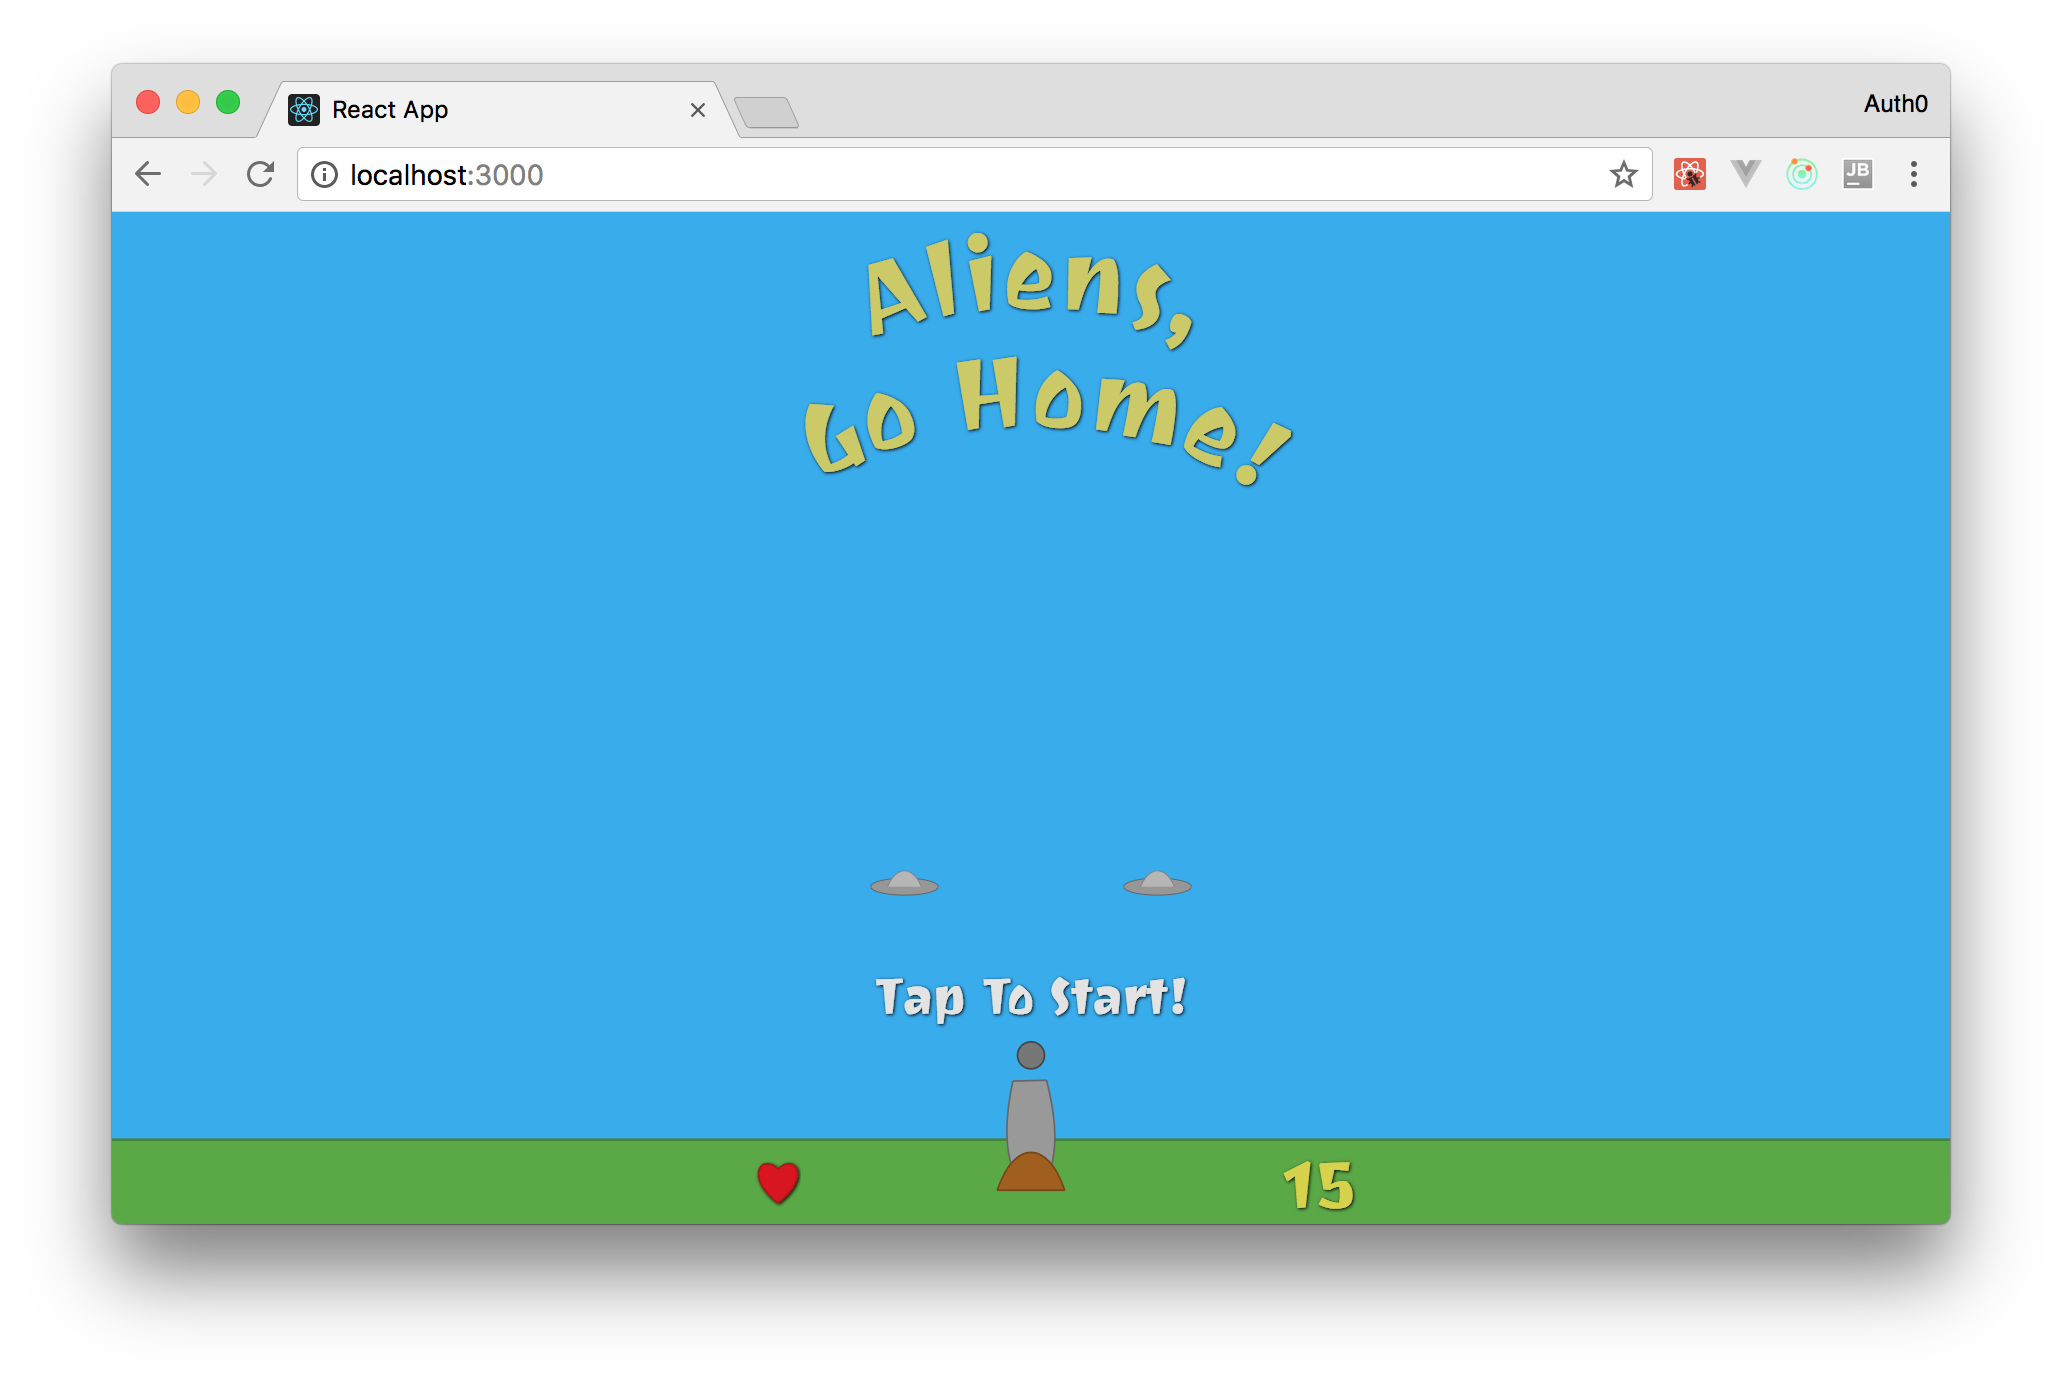
The name of the game: "Aliens, go home!"
The game, the development of which you will be engaged in this series, is called "Aliens, go home!". The idea of the game is simple: you will have a gun with which you will shoot down "flying discs" that are trying to invade Earth. To destroy these UFOs, you need to fire a cannon by hovering the cursor and clicking the mouse.
If you're interested, you can find and run the final version of the game here . But do not get carried away with the game, you have a job!
Earlier in the first part
In the first series, you used create-react-app to quickly launch your React application. Install and configure Redux to control the state of the game. Then you learned how to use SVG with React components, creating Sky , Ground , CannonBase , and CannonPipe game elements. And finally, you mounted the sight for your gun, using the event listener and the interval ( setInterval ) to launch the Redux action, which changes the angle of the CannonPipe .
With these exercises, you have “mastered” your skills in creating a game (and not only) with the help of React, Redux and SVG.
Note: if for some reason you do not have the code written in the previous section , just copy it from GitHub . After copying follow the further instructions.
Create more components
The following subsections describe the creation of the remaining elements of your game. Their reading may seem long, but in reality they are simple and similar. It may take just a few minutes to complete the instructions.
After reading this section, you will be presented with the most interesting topics in this series. They are called "Creating Flying Objects in Random Order" and "Using CSS Animation to Move Flying Objects".
Create a React-component Cannonball
The next step is to create the Cannonball element ( cannonball ). Note that at this stage you will leave this element without movement. But do not worry! Soon (after creating the rest of the elements), your gun will be able to repeatedly shoot with nuclei and you will “fry” a couple of aliens.
To create a component, add a new CannonBall.jsx file with the following code:
import React from 'react'; import PropTypes from 'prop-types'; const CannonBall = (props) => { const ballStyle = { fill: '#777', stroke: '#444', strokeWidth: '2px', }; return ( <ellipse style={ballStyle} cx={props.position.x} cy={props.position.y} rx="16" ry="16" /> ); }; CannonBall.propTypes = { position: PropTypes.shape({ x: PropTypes.number.isRequired, y: PropTypes.number.isRequired }).isRequired, }; export default CannonBall; As you can see, to display the Cannonball component on your canvas, you must give it x and y coordinates (by passing an object containing the x and y properties). If you do not have much experience with Prop-types , perhaps here you first encountered PropTypes.shape . Fortunately, this feature requires no explanation.
After creating the component, you can take a look at it. To do this, simply add the following tag to the SVG element of the Canvas component (you will also have to add import CannonBall from './CannonBall'; ):
<CannonBall position={{x: 0, y: -100}}/> Just keep in mind that if you add it before an element that occupies the same position, you will not see it. To avoid this, place it last (immediately after <CannonBase /> ). After that, you can open the game in the browser to view the new component.
If you forget how to do it, just run npm start in the project root and then open http: // localhost: 3000 in your browser. Also, do not forget to commit the code to the repository before moving on.
Create Current Score component
The next step is to create the CurrentScore component. As the name suggests, this component shows users the points they currently have. That is, each time a flying disc is destroyed, the value of this component increases by one.
Before you create this component, it is recommended to develop a neat font for it. In fact, it is worth setting the font for the whole game so that it does not look monotonous. You can find and select the font where you want, but if you don’t want to spend time on it, simply add the following line at the top of the ./src/index.css file:
@import url('https://fonts.googleapis.com/css?family=Joti+One'); /* ... */ This will load the font Joti One font from Google into the game.
After that, create a CurrentScore.jsx file with the following code inside the ./src/components directory:
import React from 'react'; import PropTypes from 'prop-types'; const CurrentScore = (props) => { const scoreStyle = { fontFamily: '"Joti One", cursive', fontSize: 80, fill: '#d6d33e', }; return ( <g filter="url(#shadow)"> <text style={scoreStyle} x="300" y="80"> {props.score} </text> </g> ); }; CurrentScore.propTypes = { score: PropTypes.number.isRequired, }; export default CurrentScore; Note: If you have not configured the font for Joti One (or if you prefer it to any other font), you need to change this code accordingly. In addition, this font will be used in other components that you create, so you will have to update them too.
As you can see, the CurrentScore component needs only one property ( props ): score (points). Since at this stage of development in the game is not counting points, to view the component, set it a fixed value. To do this, inside the Canvas component, add <CurrentScore score={15} /> as the last element inside the svg element. Also add import to extract the specified component ( import CurrentScore from './CurrentScore'; ).
Right now you will not be able to evaluate your new component. This is due to the fact that the component uses a shadow filter. Although such a filter is not mandatory, it will make the image in your game more attractive. In addition, adding a shadow to SVG elements is quite simple. To do this, add the following at the top of the svg
<defs> <filter id="shadow"> <feDropShadow dx="1" dy="1" stdDeviation="2" /> </filter> </defs> As a result, your Canvas component will look like:
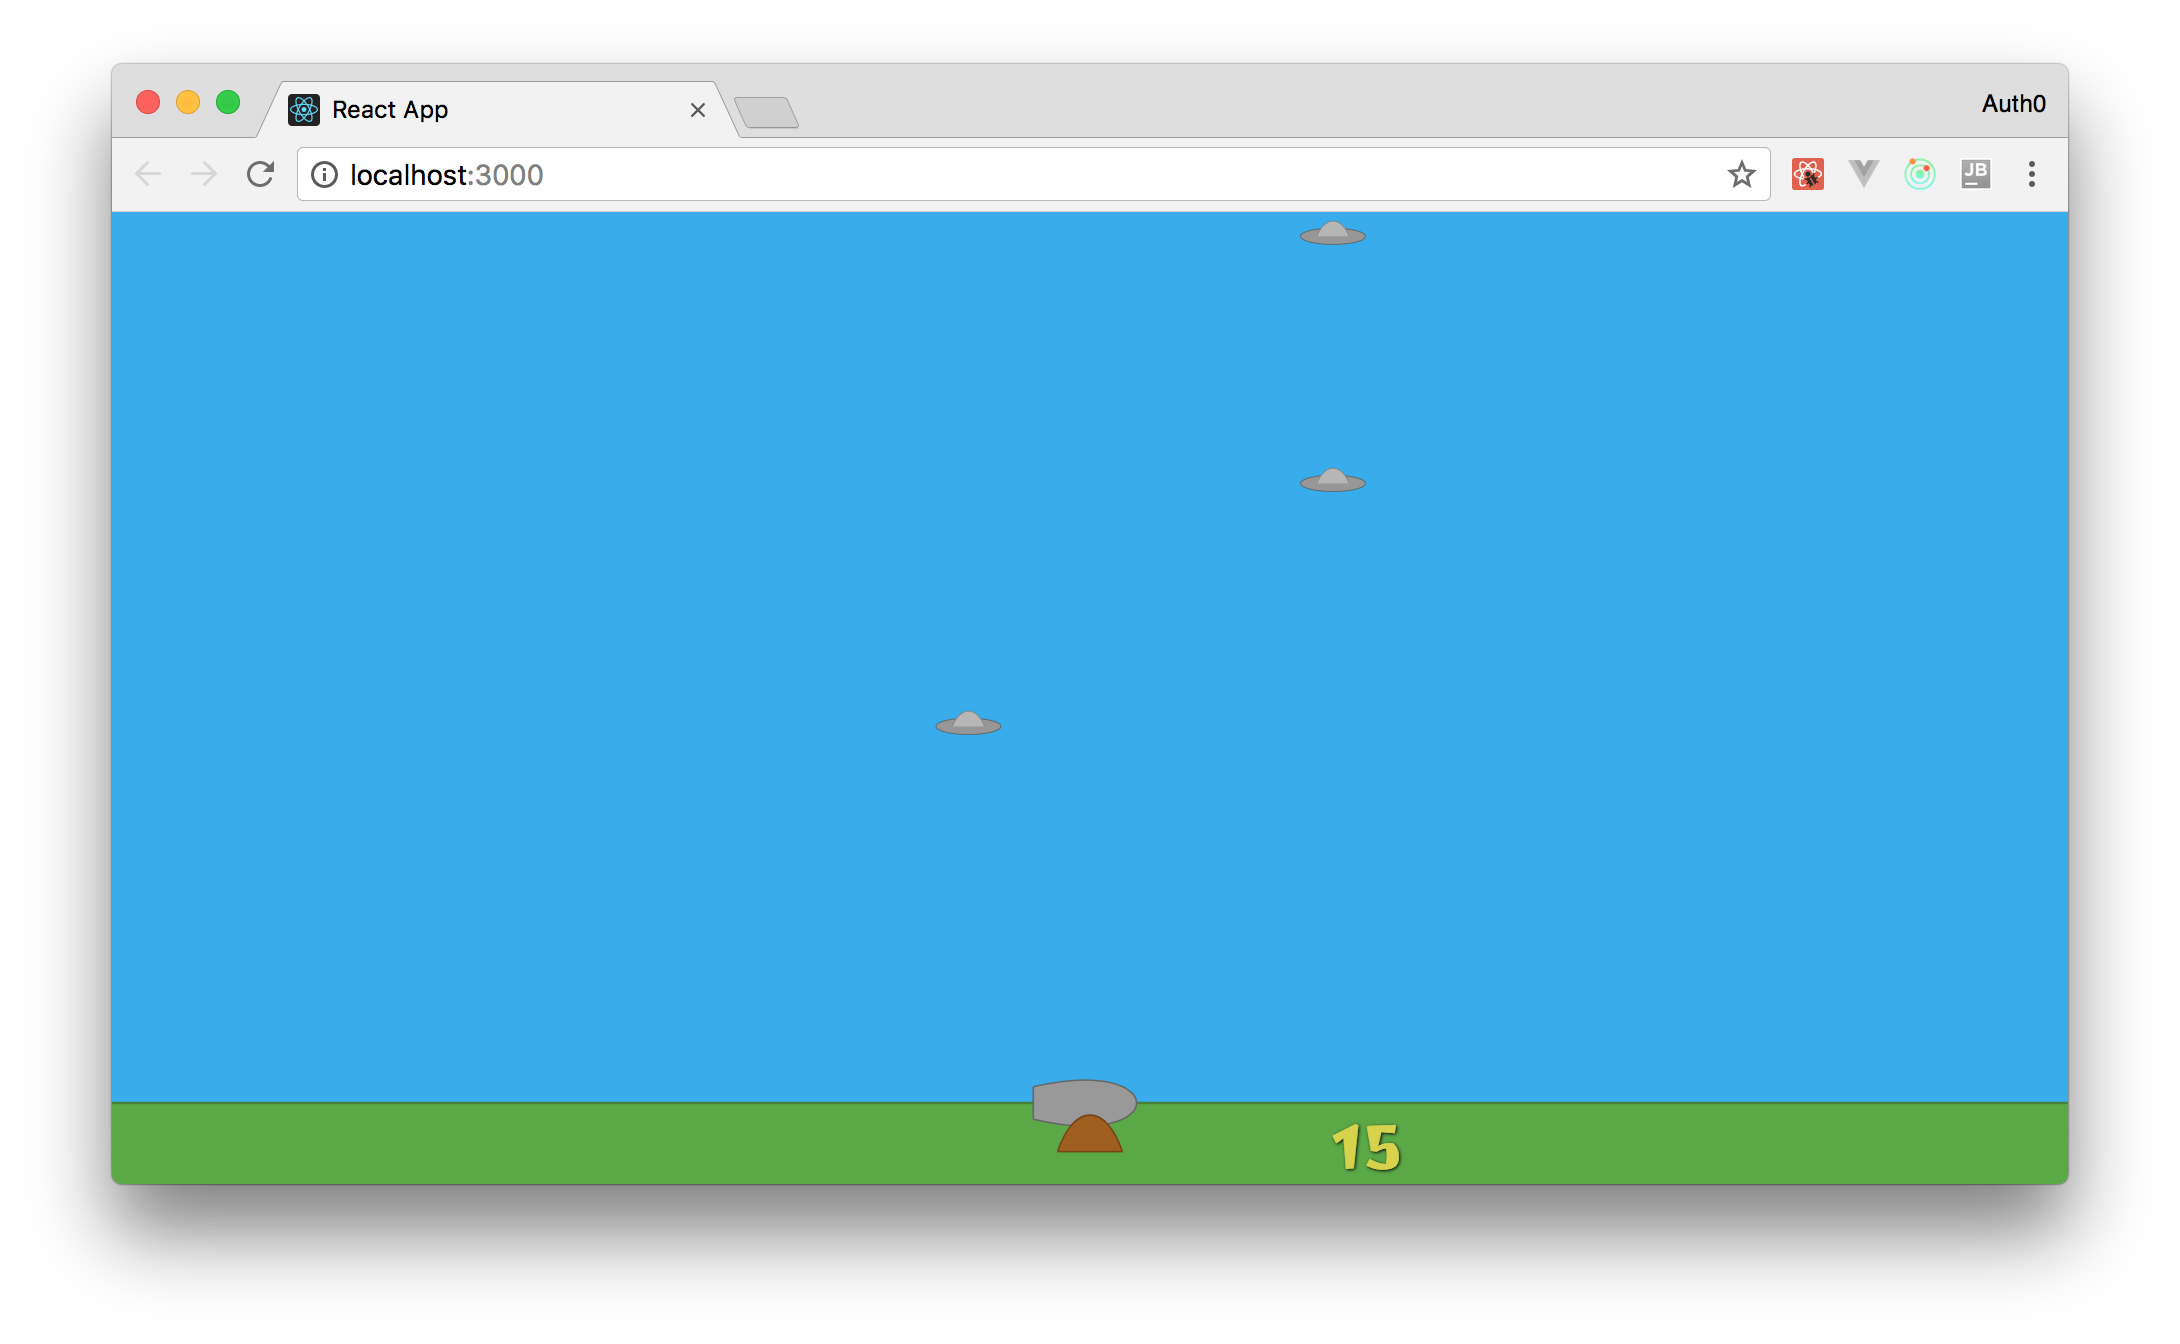
import React from 'react'; import PropTypes from 'prop-types'; import Sky from './Sky'; import Ground from './Ground'; import CannonBase from './CannonBase'; import CannonPipe from './CannonPipe'; import CannonBall from './CannonBall'; import CurrentScore from './CurrentScore'; const Canvas = (props) => { const viewBox = [window.innerWidth / -2, 100 - window.innerHeight, window.innerWidth, window.innerHeight]; return ( <svg id="aliens-go-home-canvas" preserveAspectRatio="xMaxYMax none" onMouseMove={props.trackMouse} viewBox={viewBox} > <defs> <filter id="shadow"> <feDropShadow dx="1" dy="1" stdDeviation="2" /> </filter> </defs> <Sky /> <Ground /> <CannonPipe rotation={props.angle} /> <CannonBase /> <CannonBall position={{x: 0, y: -100}}/> <CurrentScore score={15} /> </svg> ); }; Canvas.propTypes = { angle: PropTypes.number.isRequired, trackMouse: PropTypes.func.isRequired, }; export default Canvas; And you get this picture:
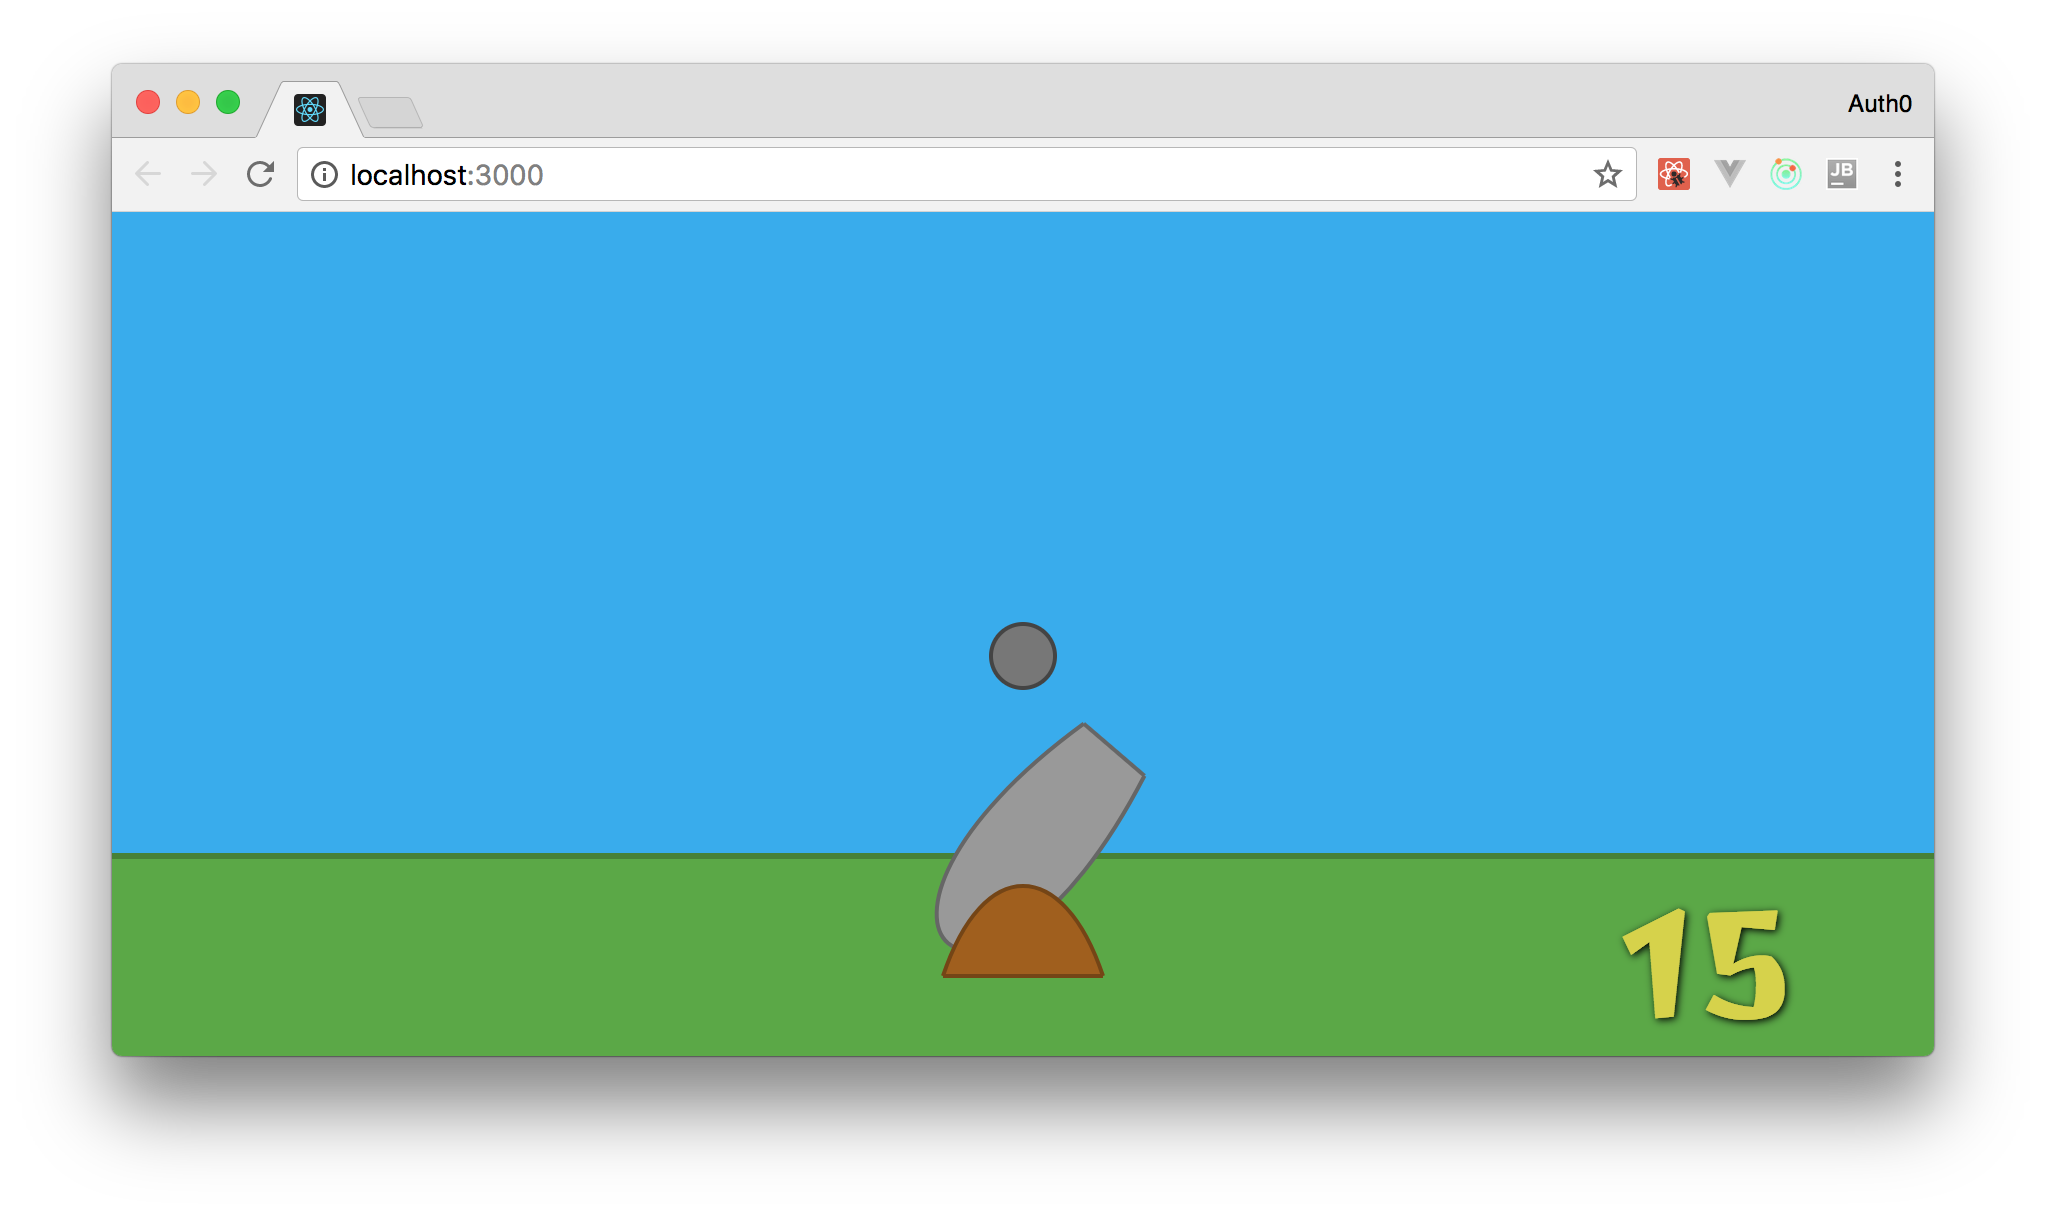
Not bad, huh ?!
Creating a Flying Object React Component (flying object)
How about starting to develop flying objects with React-components? These objects are not described by circles or rectangles. Usually they consist of two rounded parts (tops and bottoms). Therefore, to create them you will use two components: FlyingObjectBase (base) and FlyingObjectTop (top).
A cubic Bezier curve will be used to determine the shape of one of these components. The second will be described by an ellipse.
You can start by creating the first component, FlyingObjectBase , in the new FlyingObjectBase.jsx file inside the ./src/components directory. The code for defining the component is shown below:
import React from 'react'; import PropTypes from 'prop-types'; const FlyingObjectBase = (props) => { const style = { fill: '#979797', stroke: '#5c5c5c', }; return ( <ellipse cx={props.position.x} cy={props.position.y} rx="40" ry="10" style={style} /> ); }; FlyingObjectBase.propTypes = { position: PropTypes.shape({ x: PropTypes.number.isRequired, y: PropTypes.number.isRequired }).isRequired, }; export default FlyingObjectBase; Then draw the top of the object. To do this, create the FlyingObjectTop.jsx file inside the ./src/components directory and add the following code there:
import React from 'react'; import PropTypes from 'prop-types'; import { pathFromBezierCurve } from '../utils/formulas'; const FlyingObjectTop = (props) => { const style = { fill: '#b6b6b6', stroke: '#7d7d7d', }; const baseWith = 40; const halfBase = 20; const height = 25; const cubicBezierCurve = { initialAxis: { x: props.position.x - halfBase, y: props.position.y, }, initialControlPoint: { x: 10, y: -height, }, endingControlPoint: { x: 30, y: -height, }, endingAxis: { x: baseWith, y: 0, }, }; return ( <path style={style} d={pathFromBezierCurve(cubicBezierCurve)} /> ); }; FlyingObjectTop.propTypes = { position: PropTypes.shape({ x: PropTypes.number.isRequired, y: PropTypes.number.isRequired }).isRequired, }; export default FlyingObjectTop; If you do not know the principles of the operation of cubic Bezier curves, open the previous article.
The described actions are sufficient for the image of several flying objects, but you need them to randomly appear in the game, and it will be more convenient to process them as one element. To do this, add another FlyingObject.jsx to the two existing files:
import React from 'react'; import PropTypes from 'prop-types'; import FlyingObjectBase from './FlyingObjectBase'; import FlyingObjectTop from './FlyingObjectTop'; const FlyingObject = props => ( <g> <FlyingObjectBase position={props.position} /> <FlyingObjectTop position={props.position} /> </g> ); FlyingObject.propTypes = { position: PropTypes.shape({ x: PropTypes.number.isRequired, y: PropTypes.number.isRequired }).isRequired, }; export default FlyingObject; Now you can use only one component to add flying objects to the game. Check out how this works by updating the Canvas as follows:
// ... import FlyingObject from './FlyingObject'; const Canvas = (props) => { // ... return ( <svg ...> // ... <FlyingObject position={{x: -150, y: -300}}/> <FlyingObject position={{x: 150, y: -300}}/> </svg> ); }; // ... propTypes 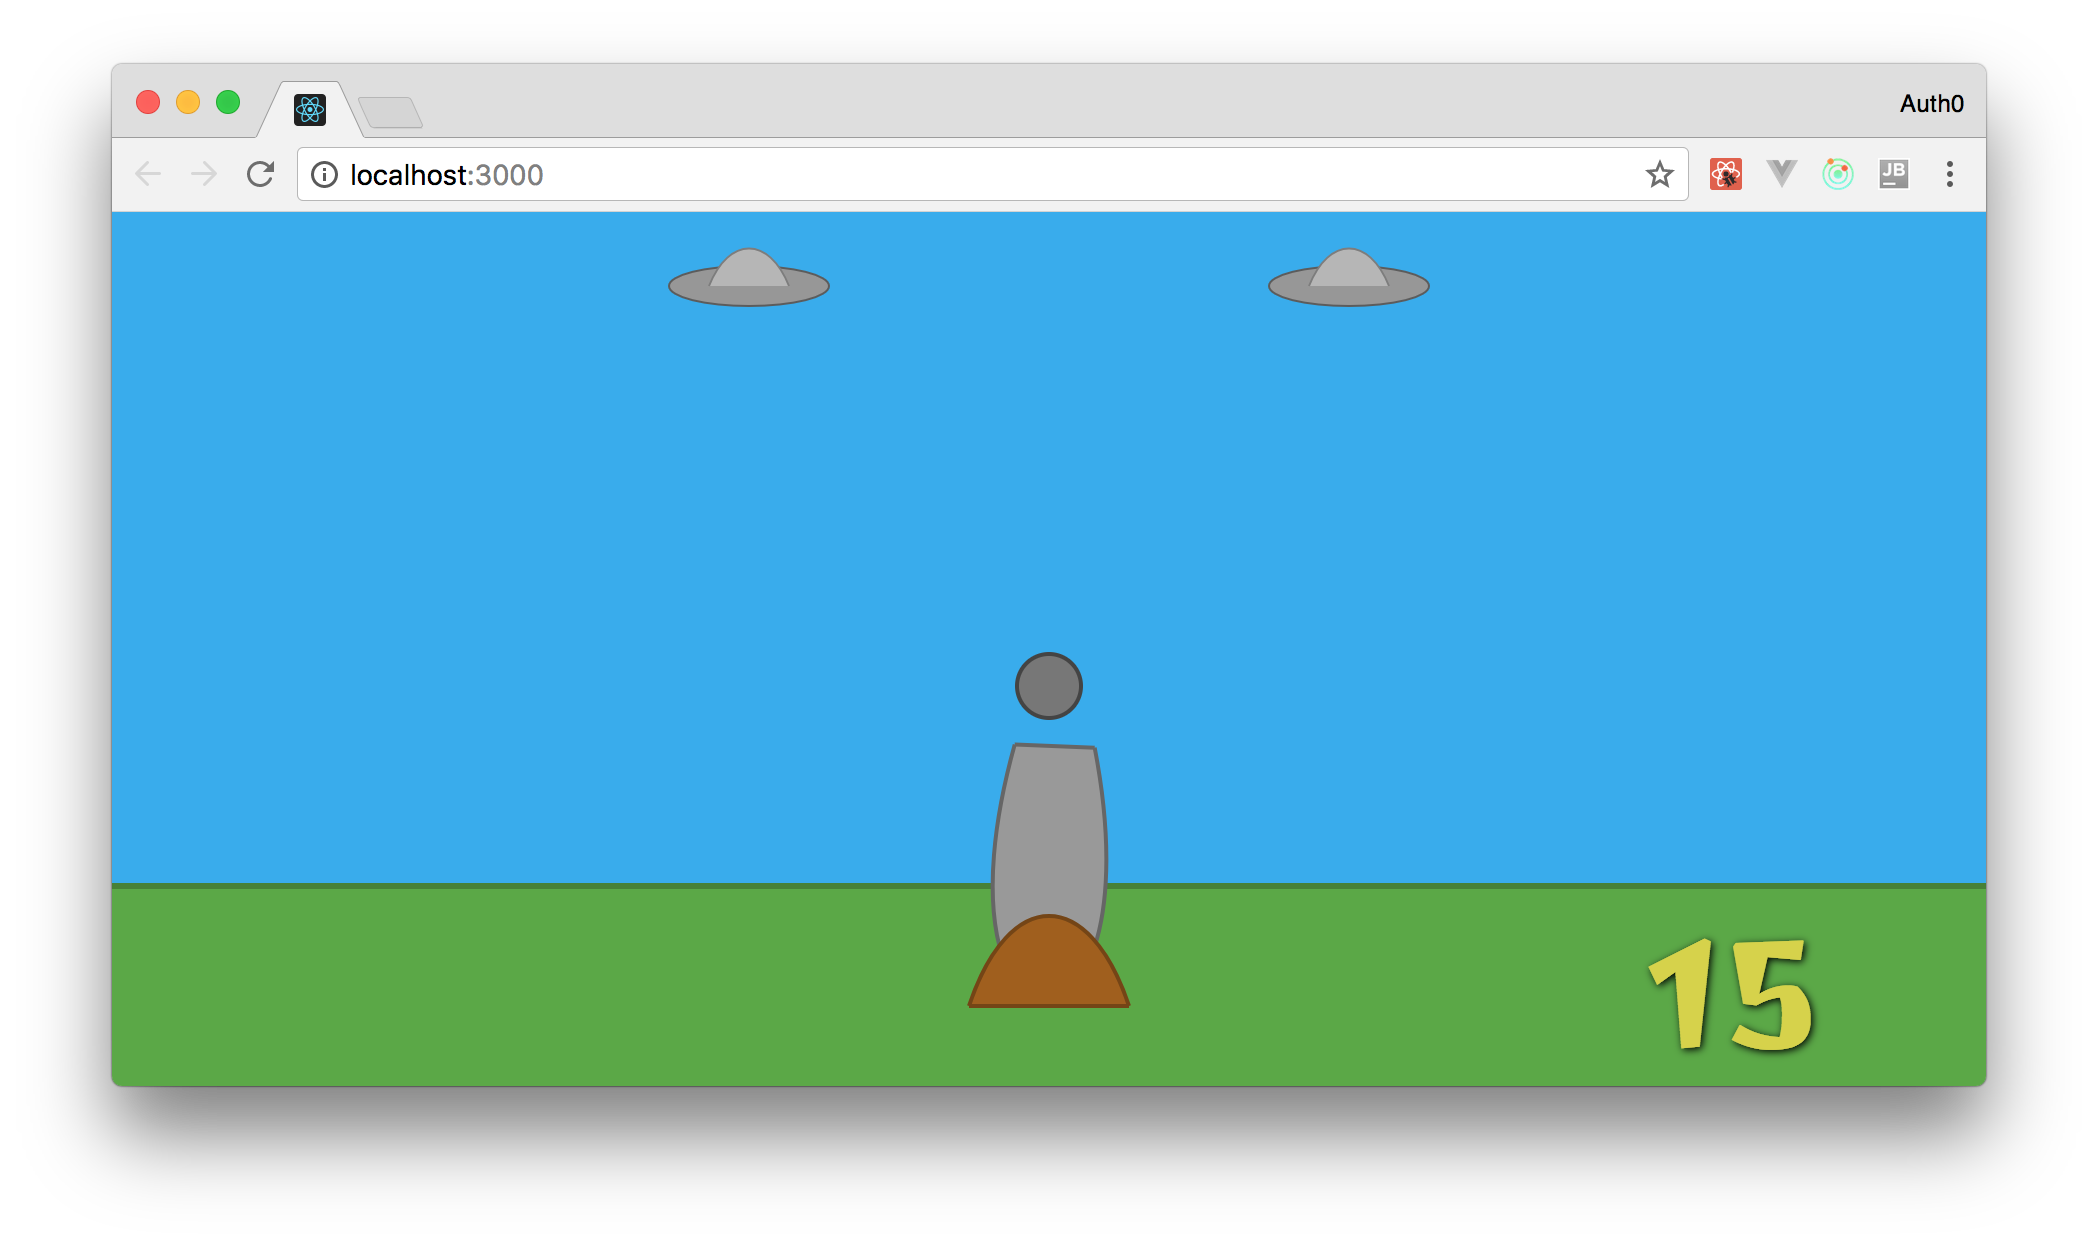
Create the Heart component
The next component should display on the screen the remaining "life" of players. Do not come up with an icon better than the heart - Heart . So, create a file called Heart.jsx :
import React from 'react'; import PropTypes from 'prop-types'; import { pathFromBezierCurve } from '../utils/formulas'; const Heart = (props) => { const heartStyle = { fill: '#da0d15', stroke: '#a51708', strokeWidth: '2px', }; const leftSide = { initialAxis: { x: props.position.x, y: props.position.y, }, initialControlPoint: { x: -20, y: -20, }, endingControlPoint: { x: -40, y: 10, }, endingAxis: { x: 0, y: 40, }, }; const rightSide = { initialAxis: { x: props.position.x, y: props.position.y, }, initialControlPoint: { x: 20, y: -20, }, endingControlPoint: { x: 40, y: 10, }, endingAxis: { x: 0, y: 40, }, }; return ( <g filter="url(#shadow)"> <path style={heartStyle} d={pathFromBezierCurve(leftSide)} /> <path style={heartStyle} d={pathFromBezierCurve(rightSide)} /> </g> ); }; Heart.propTypes = { position: PropTypes.shape({ x: PropTypes.number.isRequired, y: PropTypes.number.isRequired }).isRequired, }; export default Heart; As you can see, to describe the shape of the heart using SVG, you must use two cubic Bezier curves, one for each half of the heart. Also, we had to add the position property to the component. You need this in order to portray each of the hearts in its own position, since in the game you will have more than one "life."
For now, just add one heart to the canvas to make sure that it works as it should. Open the Canvas component and add:
<Heart position={{x: -300, y: 35}} /> The development of the elements inside the svg should end there. Also do not forget to add imoprt ( import Heart from './Heart'; ).
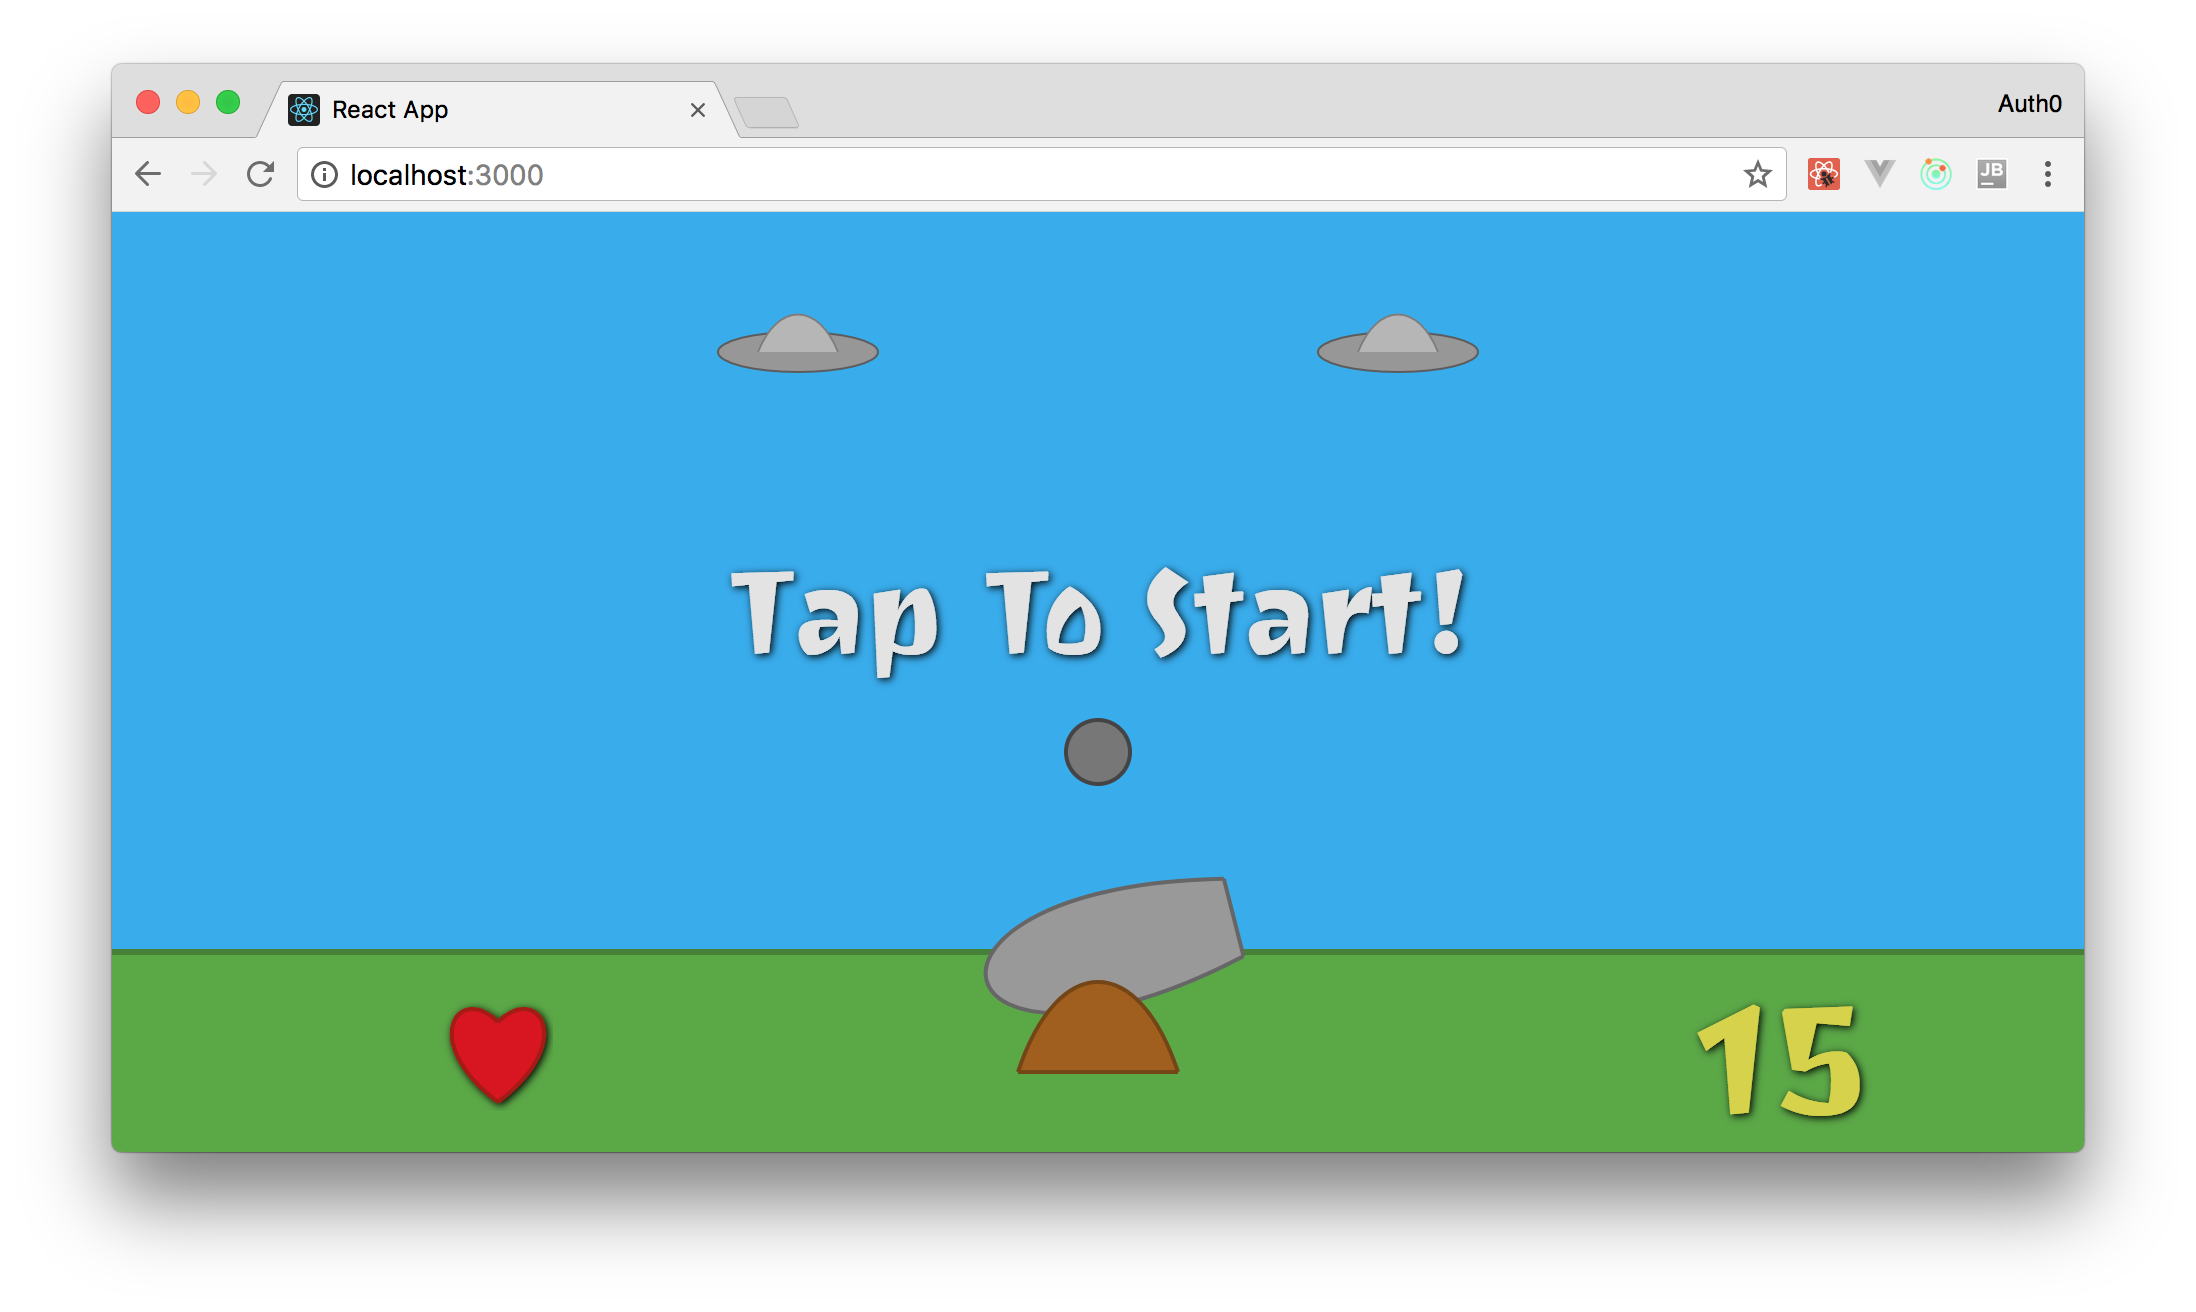
Create a button "Start Game" (Start Game)
Each game must have a launch button. So that your game and this, add the file StartGame.jsx and the following code to it:
import React from 'react'; import PropTypes from 'prop-types'; import { gameWidth } from '../utils/constants'; const StartGame = (props) => { const button = { x: gameWidth / -2, // y: -280, // "" ( ) width: gameWidth, height: 200, rx: 10, // border ry: 10, // border style: { fill: 'transparent', cursor: 'pointer', }, onClick: props.onClick, }; const text = { textAnchor: 'middle', // x: 0, // X y: -150, // 150 ( Y) style: { fontFamily: '"Joti One", cursive', fontSize: 60, fill: '#e3e3e3', cursor: 'pointer', }, onClick: props.onClick, }; return ( <g filter="url(#shadow)"> <rect {...button} /> <text {...text}> Tap To Start! </text> </g> ); }; StartGame.propTypes = { onClick: PropTypes.func.isRequired, }; export default StartGame; Since you do not need several buttons on the screen at the same time, you described its location statically (with x: 0 and y: -150 coordinates). In addition, there are two other differences between this component and the one described earlier:
- First, the component expects the
onClickfunction. By clicking on the button, this function calls the Redux-action, which tells the application to start a new game. - Secondly, the component uses the
gameWidthconstantgameWidthis not yet defined. This constant will describe the area that can be used. Any other area is needed only to expand the application to full screen.
To define the gameWidth constant gameWidth open the ./src/utils/constants.js file and write:
export const gameWidth = 800; After that, you can add the StartGame component to your Canvas by adding <StartGame onClick={() => console.log('Aliens, Go Home!')} /> As the last element in svg . And, as usual, do not forget to add import ( import StartGame from './StartGame'; ):
Create a title
The final component to develop in this series will be Title . Your game already has a name: "Aliens, Go Home!" ( Aliens, go home ). Making it a headline is very simple by creating a file (inside the ./src/components directory) with the code:
import React from 'react'; import { pathFromBezierCurve } from '../utils/formulas'; const Title = () => { const textStyle = { fontFamily: '"Joti One", cursive', fontSize: 120, fill: '#cbca62', }; const aliensLineCurve = { initialAxis: { x: -190, y: -950, }, initialControlPoint: { x: 95, y: -50, }, endingControlPoint: { x: 285, y: -50, }, endingAxis: { x: 380, y: 0, }, }; const goHomeLineCurve = { ...aliensLineCurve, initialAxis: { x: -250, y: -780, }, initialControlPoint: { x: 125, y: -90, }, endingControlPoint: { x: 375, y: -90, }, endingAxis: { x: 500, y: 0, }, }; return ( <g filter="url(#shadow)"> <defs> <path id="AliensPath" d={pathFromBezierCurve(aliensLineCurve)} /> <path id="GoHomePath" d={pathFromBezierCurve(goHomeLineCurve)} /> </defs> <text {...textStyle}> <textPath xlinkHref="#AliensPath"> Aliens, </textPath> </text> <text {...textStyle}> <textPath xlinkHref="#GoHomePath"> Go Home! </textPath> </text> </g> ); }; export default Title; To make the header have a curved shape, you use a combination of path and textPath with a cubic Bezier curve. You also set the header to a static position, as for the Start button StartGame .
To make the title appear on the canvas, add <Title/> svg import ( import Title from './Title'; ) Canvas.jsx ) . However, if you launch the application now, you will see that the new elements are not displayed on the screen. This is due to the fact that in your application there is not enough vertical space yet.
Making the game responsive (responsive)
In order to resize in the game and make it responsive ( adaptive, that is, the size of the game elements changes when the browser window is changed - translator note ), you need to do two things. First, attach the onresize event onresize to the global window object. It's simple to do this: open the ./src/App.js file and add the following code to the componentDidMount() method:
window.onresize = () => { const cnv = document.getElementById('aliens-go-home-canvas'); cnv.style.width = `${window.innerWidth}px`; cnv.style.height = `${window.innerHeight}px`; }; window.onresize(); After that, the size of your canvas will be equal to the size of the user window, even if the browser window is resized. Also, during the initial playback of the application, the window.onresize function is executed.
The second point: you need to change the viewBox property on the canvas. Now, instead of calculating the value of the top point along the Y axis as 100 - window.innerHeight (if you forgot where this formula came from, see the first part and that the height of the viewBox is equal to the height of the innerHeight window , you use the following:
const gameHeight = 1200; const viewBox = [window.innerWidth / -2, 100 - gameHeight, window.innerWidth, gameHeight]; In this case, you specify a height value of 1200, which allows you to correctly display your new header. In addition, increasing the vertical space will give gamers more time to destroy aliens: it is more convenient to aim and shoot.
Letting users start the game
Given the new components and new sizes, it’s time to think about how to give users the opportunity to play the game. To do this, you can reorganize the game so that it starts by pressing the Start Game button. After clicking the state of the game should change significantly. However, to simplify the task, you can start by removing the Title and StartGame components from the screen after the user clicks the button.
To do this, we create a new action, which will be processed by the reducer to change the flag (the flag is a kind of variable whose values are usually true/false - the translator’s comment ). To create such an action, open the ./src/actions/index.js file and add the following code there (do not touch the old one!):
// ... MOVE_OBJECTS ( MOVE_OBJECTCS) export const START_GAME = 'START_GAME'; // ... moveObjects (, moveObjects) export const startGame = () => ({ type: START_GAME, }); After that, you can refactor the ./src/reducers/index.js file to handle the new action. Here is the new version:
import { MOVE_OBJECTS, START_GAME } from '../actions'; import moveObjects from './moveObjects'; import startGame from './startGame'; const initialGameState = { started: false, kills: 0, lives: 3, }; const initialState = { angle: 45, gameState: initialGameState, }; function reducer(state = initialState, action) { switch (action.type) { case MOVE_OBJECTS: return moveObjects(state, action); case START_GAME: return startGame(state, initialGameState); default: return state; } } export default reducer; As you can see, a child object appeared inside initialState , which contains three game properties:
started: a flag indicating whether the game is running or not;kills: the number of downed flying objects;lives: the number of remaining "lives";
In addition, you added a new case to the switch case . This case (which is triggered when an START_GAME action comes to the reducer) calls the startGame function. This function includes the started flag inside the gameStart property. In addition, whenever the user starts the game again, the function resets the number of kills ( kills ) and again gives three lives .
To implement the startGame function startGame create a new file called startGame.js inside the ./src/reducers directory with the code:
export default (state, initialGameState) => { return { ...state, gameState: { ...initialGameState, started: true, } } }; As you can see, the code in the new file is quite simple. It only returns a new state object to the Redux store, where the start flag ( started ) is set to true and resets everything else inside the gameState property. So users again get three lives, and their keels kills are reset.
After this function is implemented, you need to transfer it to the game. You also need to pass a new gameState property. To do this, modify the ./src/containers/Game.js file as follows:
import { connect } from 'react-redux'; import App from '../App'; import { moveObjects, startGame } from '../actions/index'; const mapStateToProps = state => ({ angle: state.angle, gameState: state.gameState, }); const mapDispatchToProps = dispatch => ({ moveObjects: (mousePosition) => { dispatch(moveObjects(mousePosition)); }, startGame: () => { dispatch(startGame()); }, }); const Game = connect( mapStateToProps, mapDispatchToProps, )(App); export default Game; Summing up, we note the main changes in the file:
- mapStateToProps : so you told Redux that the App component "cares" about the gameState property;
- mapDispatchToProps : Redux passes the startGame function to the startGame component to initiate a new action.
Both new components ( gameState and startGame ) are not used directly by the App component. In fact, the Canvas component uses them, so you need to pass them to it. To do this, open the ./src/App.js file and convert it like this:
// ... ... class App extends Component { // ... constructor(props) ... // ... componentDidMount() ... // ... trackMouse(event) ... render() { return ( <Canvas angle={this.props.angle} gameState={this.props.gameState} startGame={this.props.startGame} trackMouse={event => (this.trackMouse(event))} /> ); } } App.propTypes = { angle: PropTypes.number.isRequired, gameState: PropTypes.shape({ started: PropTypes.bool.isRequired, kills: PropTypes.number.isRequired, lives: PropTypes.number.isRequired, }).isRequired, moveObjects: PropTypes.func.isRequired, startGame: PropTypes.func.isRequired, }; export default App; Then open the ./src/components/Canvas.jsx file and replace its code with the following:
import React from 'react'; import PropTypes from 'prop-types'; import Sky from './Sky'; import Ground from './Ground'; import CannonBase from './CannonBase'; import CannonPipe from './CannonPipe'; import CurrentScore from './CurrentScore' import FlyingObject from './FlyingObject'; import StartGame from './StartGame'; import Title from './Title'; const Canvas = (props) => { const gameHeight = 1200; const viewBox = [window.innerWidth / -2, 100 - gameHeight, window.innerWidth, gameHeight]; return ( <svg id="aliens-go-home-canvas" preserveAspectRatio="xMaxYMax none" onMouseMove={props.trackMouse} viewBox={viewBox} > <defs> <filter id="shadow"> <feDropShadow dx="1" dy="1" stdDeviation="2" /> </filter> </defs> <Sky /> <Ground /> <CannonPipe rotation={props.angle} /> <CannonBase /> <CurrentScore score={15} /> { ! props.gameState.started && <g> <StartGame onClick={() => props.startGame()} /> <Title /> </g> } { props.gameState.started && <g> <FlyingObject position={{x: -150, y: -300}}/> <FlyingObject position={{x: 150, y: -300}}/> </g> } </svg> ); }; Canvas.propTypes = { angle: PropTypes.number.isRequired, gameState: PropTypes.shape({ started: PropTypes.bool.isRequired, kills: PropTypes.number.isRequired, lives: PropTypes.number.isRequired, }).isRequired, trackMouse: PropTypes.func.isRequired, startGame: PropTypes.func.isRequired, }; export default Canvas; As you can see, the new version is organized in such a way that the StartGame and Title components appear only when the gameState.started property is gameState.started to false . You also hid flying objects ( FlyingObject ) until the user clicks the Start Game button.
( npm start , [] ), . , , .
() Start game , . , ( ). , - .
, . , . , . ./src/utils/constants.js :
// ... skyAndGroundWidth gameWidth export const createInterval = 1000; export const maxFlyingObjects = 4; export const flyingObjectsStarterYAxis = -1000; export const flyingObjectsStarterPositions = [ -300, -150, 150, 300, ]; , (1000 ) . , -1000 Y ( flyingObjectsStarterYAxis ). , ( flyingObjectsStarterPositions ) X, . .
, , createFlyingObjects.js ./src/reducers :
import { createInterval, flyingObjectsStarterYAxis, maxFlyingObjects, flyingObjectsStarterPositions } from '../utils/constants'; export default (state) => { if ( ! state.gameState.started) return state; // const now = (new Date()).getTime(); const { lastObjectCreatedAt, flyingObjects } = state.gameState; const createNewObject = ( now - (lastObjectCreatedAt).getTime() > createInterval && flyingObjects.length < maxFlyingObjects ); if ( ! createNewObject) return state; // const id = (new Date()).getTime(); const predefinedPosition = Math.floor(Math.random() * maxFlyingObjects); const flyingObjectPosition = flyingObjectsStarterPositions[predefinedPosition]; const newFlyingObject = { position: { x: flyingObjectPosition, y: flyingObjectsStarterYAxis, }, createdAt: (new Date()).getTime(), id, }; return { ...state, gameState: { ...state.gameState, flyingObjects: [ ...state.gameState.flyingObjects, newFlyingObject ], lastObjectCreatedAt: new Date(), } } } . . :
- (..
! state.gameState.started), . - ,
createIntervalmaxFlyingObjects, , .createNewObject. createNewObjecttrue,Math.floor0 3 (Math.random() * maxFlyingObjects), , .- ,
newFlyingObject. - ( state )
lastObjectCreatedAt.
, , , . , ( action ), . MOVE_OBJECTS 10 , . moveObjects ( ./src/reducers/moveObjects.js ) :
import { calculateAngle } from '../utils/formulas'; import createFlyingObjects from './createFlyingObjects'; function moveObjects(state, action) { const mousePosition = action.mousePosition || { x: 0, y: 0, }; const newState = createFlyingObjects(state); const { x, y } = mousePosition; const angle = calculateAngle(0, 0, x, y); return { ...newState, angle, }; } export default moveObjects; moveObjects :
- -,
mousePosition,action. , ,mousePosition. - -,
newStatecreateFlyingObjects; . - ,
newState, .
App Canvas , , ./src/reducers/index.js initialState :
// ... ... const initialGameState = { // ... ... flyingObjects: [], lastObjectCreatedAt: new Date(), }; // ... ... , , — flyingObjects PropTypes App :
// ... ... // ... App ... App.propTypes = { // ... other propTypes definitions ... gameState: PropTypes.shape({ // ... other propTypes definitions ... flyingObjects: PropTypes.arrayOf(PropTypes.shape({ position: PropTypes.shape({ x: PropTypes.number.isRequired, y: PropTypes.number.isRequired }).isRequired, id: PropTypes.number.isRequired, })).isRequired, // ... other propTypes definitions ... }).isRequired, // ... other propTypes definitions ... }; export default App; Canvas , . FlyingObject :
// ... ... const Canvas = (props) => { // ... ... return ( <svg ... > // ... svg react ... {props.gameState.flyingObjects.map(flyingObject => ( <FlyingObject key={flyingObject.id} position={flyingObject.position} /> ))} </svg> ); }; Canvas.propTypes = { // ... PropTypes ... gameState: PropTypes.shape({ // ... PropTypes ... flyingObjects: PropTypes.arrayOf(PropTypes.shape({ position: PropTypes.shape({ x: PropTypes.number.isRequired, y: PropTypes.number.isRequired }).isRequired, id: PropTypes.number.isRequired, })).isRequired, }).isRequired, // ... PropTypes ... }; export default Canvas; Voila! , .
: Start Game , . - - , . X. .
CSS .
. JavaScript . , . — CSS. , , .
, , , . , NPM- CSS React. styled-components .
( "" — . ) CSS,styled-componentsCSS- . — ! —styled-components.
, ( ) :
npm i styled-components FlyingObject ( ./src/components/FlyingObject.jsx ) :
import React from 'react'; import PropTypes from 'prop-types'; import styled, { keyframes } from 'styled-components'; import FlyingObjectBase from './FlyingObjectBase'; import FlyingObjectTop from './FlyingObjectTop'; import { gameHeight } from '../utils/constants'; const moveVertically = keyframes` 0% { transform: translateY(0); } 100% { transform: translateY(${gameHeight}px); } `; const Move = styled.g` animation: ${moveVertically} 4s linear; `; const FlyingObject = props => ( <Move> <FlyingObjectBase position={props.position} /> <FlyingObjectTop position={props.position} /> </Move> ); FlyingObject.propTypes = { position: PropTypes.shape({ x: PropTypes.number.isRequired, y: PropTypes.number.isRequired }).isRequired, }; export default FlyingObject; FlyingObjectBase FlyingObjectTop Move . - g SVG,
css , moveVertically . , , styled-components , " CSS " MDN .
, / , ( CSS) , ( transform: translateY(0); ) ( transform: translateY(${gameHeight}px); ).
, gameHeight ./src/utils/constants.js . , , flyingObjectsStarterYAxis , , . , .
, constants.js :
// ... export const flyingObjectsStarterYAxis = -1100; // flyingObjectsStarterPositions ... export const gameHeight = 1200; , 4 , . , ./src/reducers/moveObjects.js :
import { calculateAngle } from '../utils/formulas'; import createFlyingObjects from './createFlyingObjects'; function moveObjects(state, action) { const mousePosition = action.mousePosition || { x: 0, y: 0, }; const newState = createFlyingObjects(state); const now = (new Date()).getTime(); const flyingObjects = newState.gameState.flyingObjects.filter(object => ( (now - object.createdAt) < 4000 )); const { x, y } = mousePosition; const angle = calculateAngle(0, 0, x, y); return { ...newState, gameState: { ...newState.gameState, flyingObjects, }, angle, }; } export default moveObjects; , flyingObjects ( gameState ) , , 4000 (4 ).
Start Game , , SVG . , , , .
, . CSS .
')
Source: https://habr.com/ru/post/350278/
All Articles