Developing a game on SVG + React. Part 1
TL; DR: In these episodes, you'll learn how to get React and Redux to control SVG elements to create a game. The knowledge gained in this series will allow you to create animation not only for games. You can find the final version of the source code developed in this part on GitHub .
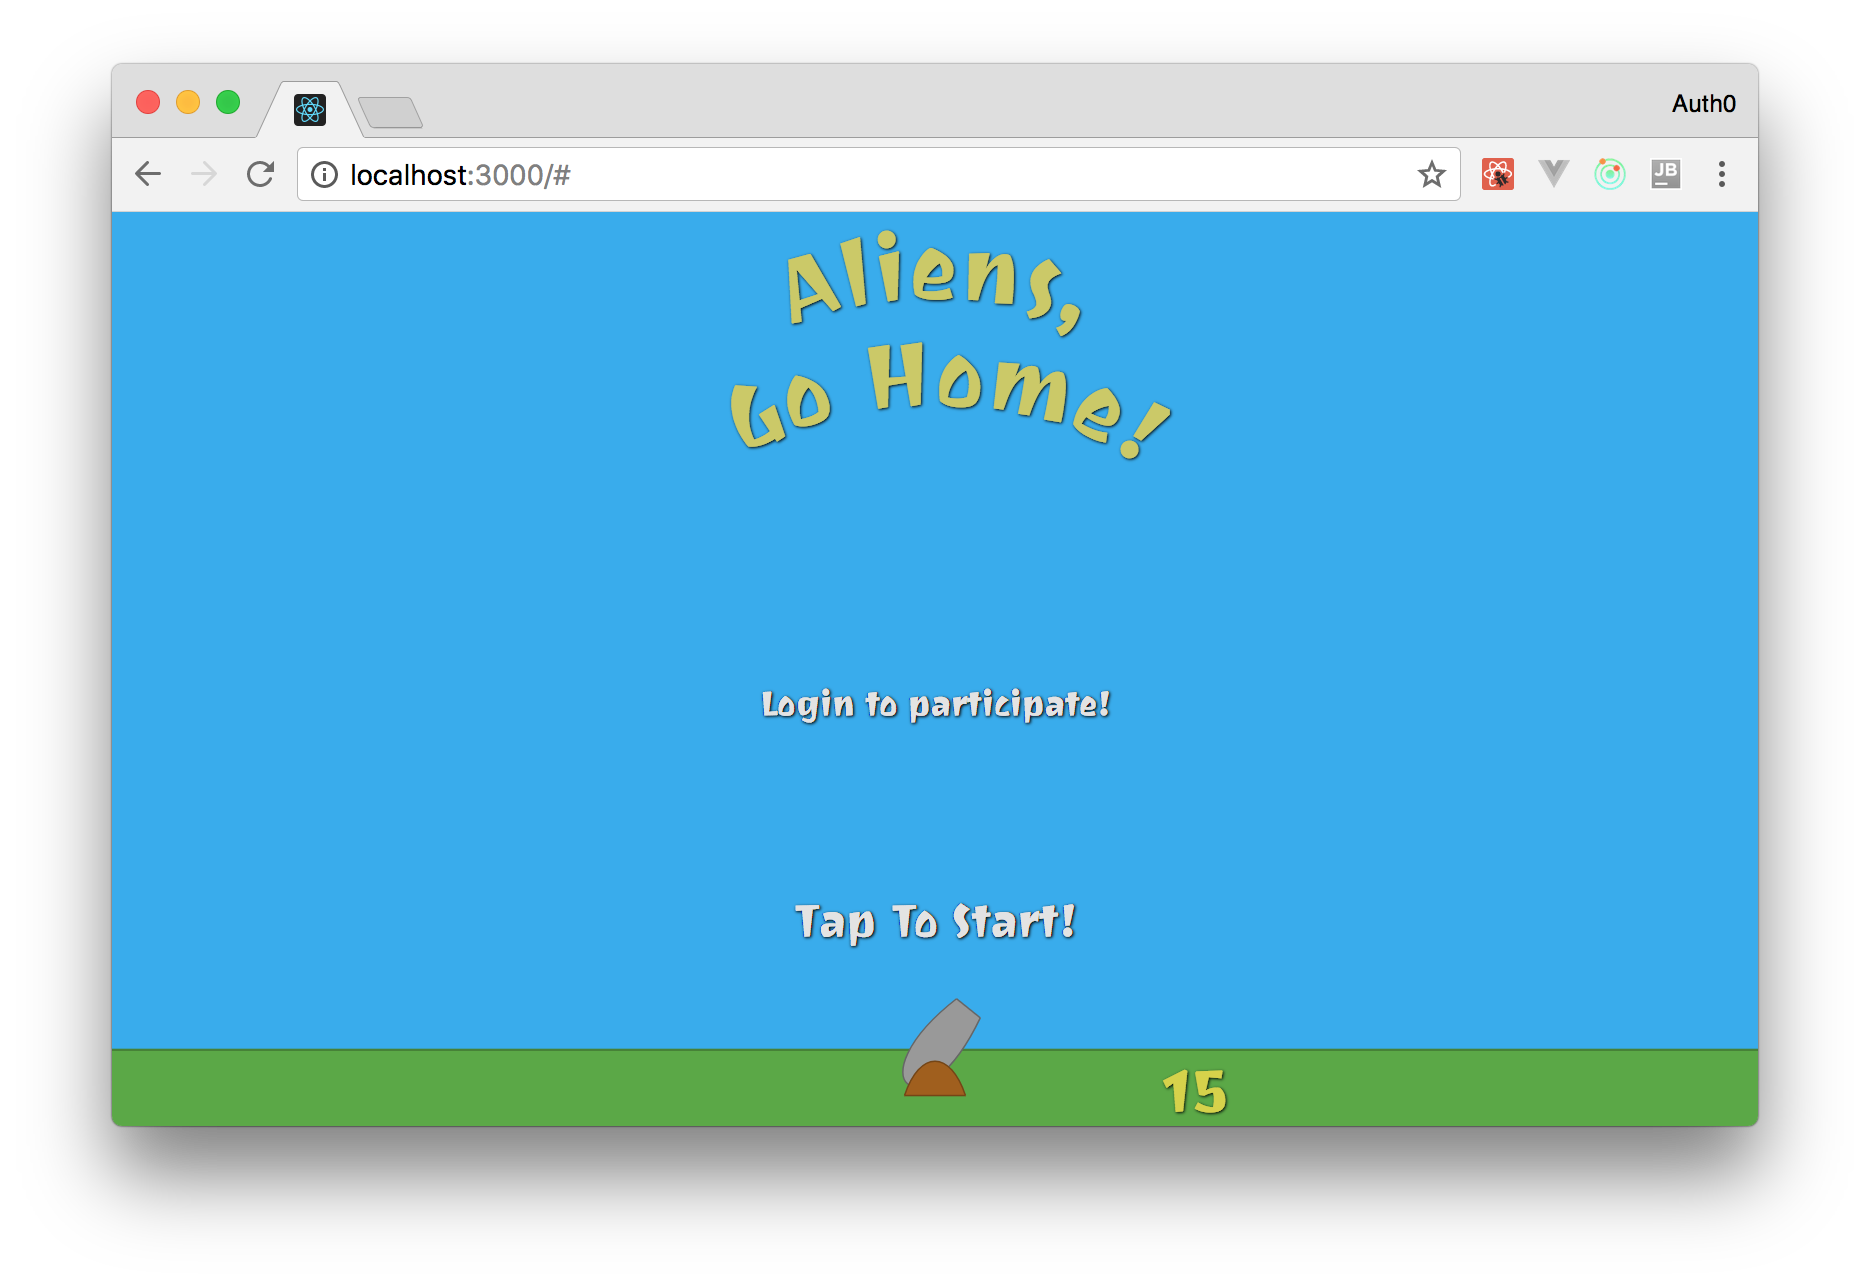
The name of the game: "Aliens, go home!"
The game, the development of which you will be engaged in this series, is called "Aliens, go home!". The idea of the game is simple: you will have a gun with which you will shoot down "flying discs" that are trying to invade Earth. To destroy these UFOs, you need to fire a cannon by hovering the cursor and clicking the mouse.
If you are interested, you can find and launch the final version of the game here ( link died - comment of the translator ). But do not get carried away with the game, you have a job!
Prerequisites
To successfully read the article, you need to have a certain level of knowledge about web development (mainly about JavaScript) and a computer with preinstalled Node.js and NPM . You will not need in-depth knowledge of JavaScript, React, Redux and SVG to successfully complete this series of tutorials. However, if you are in the subject line, it will be easier for you to understand some parts and their correspondence to each other.
However, the series contains links to relevant articles, posts and documents that will help to better explain topics that deserve increased attention.
Before you start
Although there was no mention of Git in the previous section, it is worth noting that this is a good tool for solving some problems. All professional developers use Git (or another version control system, for example, Mercurial or SVN) in the course of their activities, even in the course of "home" projects.
Why create a project without backup? You don't even have to pay for it. You can use services such as GitHub (the best!) Or BitBucket (not bad, to be honest) and keep your code in reliable cloud infrastructures.
Using such tools will give you confidence in the safety of your code and facilitate the development process directly. For example, when you create a new version of the application with "bugs", you can easily return to the previous version of the code by performing just a few simple steps using Git.
Another significant advantage is the ability to monitor each section in this series and commit the code developed in stages. This will easily allow you to see changes in the code after each section has been completed . Make your life easier now as you go through this tutorial.
In general, do yourself a favor and install Git. Also create an account on GitHub (if you don’t have one yet) and a repository to save your project. Then, after completing each section, commit the changes to the repository. Oh, and do not forget to push your changes .
Quick start a project using the Create-React-App
Your very first step in creating a game with React, Redux and SVG is to use the create-react-app to get your project up create-react-app quickly. As you probably already know (no big deal if this is not the case), create-react-app is an open source tool supported by Facebook that helps developers get started instantly with React. Having Node.js and NPM installed (the latter version should be 5.2 and higher), you can use create-react-app without even installing it:
# npx ( ) # create-react-app npx create-react-app aliens-go-home # cd aliens-go-home This "tool" will create a structure similar to the one below:
|- node_modules |- public |- favicon.ico |- index.html |- manifest.json |- src |- App.css |- App.js |- App.test.js |- index.css |- index.js |- logo.svg |- registerServiceWorker.js |- .gitignore |- package.json |- package-lock.json |- README.md The create-react-app tool is popular, well documented, and has good community support. If you're interested in going into details, you can check out the create-react-app repository on the githaba and read the user guides .
Right now you can get rid of the files listed below, because in the future they will not be useful to us:
App.css: although theAppcomponent is important, styles will be defined in other components;App.test.js: tests may be a topic for another article. Now you do not have to use them.logo.svg: the React logo is not used in this game.
Deleting these files may result in an error if you try to start the project. This is easily fixed by removing the two “imports” from the ./src/App.js file:
// ./src/App.js import logo from './logo.svg'; import './App.css'; And also by refactoring the render() method:
// ... ( ) render() { return ( <div className="App"> <h1>We will create an awesome game with React, Redux, and SVG!</h1> </div> ); } // ... ( - , ) Do not forget to make a commit!
Installing Redux and PropTypes
After deploying the project and removing unnecessary files from it, Redux should be configured as the only valid data source in your application . You should also install PropTypes , this will help avoid some common mistakes . Both tools can be installed with one command:
npm i redux react-redux prop-types As you can see, the above command includes the third NPM package: react-redux . It is not recommended to use Redux directly with React. The react-redux package performs some performance optimization cumbersome for manual processing.
Configure Redux and use PropTypes
Using the described packages, you can configure your application to use Redux. It's easy, you just need to create a container (a smart component), a presentation component (a stupid component) and a reducer. The difference between smart and stupid components is that the first simply connects the stupid components to Redux. The third item you create, the reducer, is the main component in the Redux store. This component is responsible for executing "actions" (actions) triggered by various events in your application, and for applying functions to modify the "story" (data source) based on these actions.
If you have no idea about all this, you can read this article , where the components (stupid) and containers (smart) components are described in more detail, and also open the Redux practical guide to familiarize yourself with the actions , reduction gear and stor . Despite the fact that the study of these concepts is strongly recommended, you can continue to study without bothering yourself with additional reading.
It is more convenient to start the process by creating a reducer, since this element does not depend on others (in fact, the opposite is true). To preserve structuredness, you can create a new directory called reducers , place src inside it and add a file named index.js . This file may contain the following source code:
const initialState = { message: `React Redux , ?`, }; function reducer(state = initialState) { return state; } export default reducer; Thus, your reducer simply initializes the state of the application with a ( message ) that React and Redux can be easily integrated. Soon in this file you will begin to define actions and process them.
You can then refactor the App component to display this message to users. It's time to use PropTypes . To do this, open the ./src/App.js file and replace its contents with the following text:
import React, {Component} from 'react'; import PropTypes from 'prop-types'; class App extends Component { render() { return ( <div className="App"> <h1>{this.props.message}</h1> </div> ); } } App.propTypes = { message: PropTypes.string.isRequired, }; export default App; As you can see, using PropTypes very easy to determine the types that your component expects. You only need to set the PropTypes properties of the App component with the necessary parameters. The network has cheat sheets (for example, this one , this one and this one ), which describe how to create basic and advanced PropTypes definitions. Check them out if needed.
After determining the initial state of your store ( store ) and what your App component should display, you need to link these elements together. This is what containers are needed for. To create a container in our structure, you need to create a directory named ontainers inside the src directory. After that, in the new directory, create a component called Game inside the Game.js file. This container will use the connect function from react-redux to pass state.message to the message components of the App component:
import { connect } from 'react-redux'; import App from '../App'; const mapStateToProps = state => ({ message: state.message, }); const Game = connect( mapStateToProps, )(App); export default Game; We proceed to the final stage. The final step in linking everything together is refactoring the ./src/index.js file to initialize the Redux store ( store ) and transfer it to the Game container (which will then receive a message and send ( prokinet ) them to the App ). The following code shows what the ./src/index.js file will look like after refactoring:
import React from 'react'; import ReactDOM from 'react-dom'; import { Provider } from 'react-redux'; import { createStore } from 'redux'; import './index.css'; import Game from './containers/Game'; import reducer from './reducers'; import registerServiceWorker from './registerServiceWorker'; /* eslint-disable no-underscore-dangle */ const store = createStore( reducer, /* preloadedState, */ window.__REDUX_DEVTOOLS_EXTENSION__ && window.__REDUX_DEVTOOLS_EXTENSION__(), ); /* eslint-enable */ ReactDOM.render( <Provider store={store}> <Game /> </Provider>, document.getElementById('root'), ); registerServiceWorker(); You did it! To evaluate how everything works, go to the project root in the terminal and execute npm start . Thus, you launch the application in development mode ( in dev-mode ), and it will open in the default browser.
Creating SVG Components with React
In this series, you will appreciate the simplicity of creating SVG components using React. In fact, there is almost no difference between creating React components with HTML or SVG. The main difference is that new elements are introduced into SVG and these elements are drawn on the SVG canvas.
Before you start creating your own components with SVG and React, it will be helpful to briefly familiarize yourself with SVG.
SVG Overview
SVG is one of the coolest and most flexible web standards. SVG, which stands for Scalable Vector Graphics (scalable vector graphics), is a markup language that allows developers to describe two-dimensional vector graphics. SVG language is quite similar to HTML. Both are both XML-based markup languages and work well with other web standards such as CSS and DOM. From this it follows that CSS rules are equally applicable to both SVG and HTML, including animation.
Over the course of this series, you will create more than a dozen SVG components using React. We even have to compose (group) SVG elements to form game objects (a cannon firing cannonballs).
A more detailed study of SVG is impossible within the framework of our article; it will make it too long. If you want to learn more about the SVG markup language, you can familiarize yourself with the tutorial provided by Mozilla , as well as the material described in this article about the SVG coordinate system.
However, before you start creating your own components, it is important to learn several characteristics of the SVG. First, using SVG in conjunction with the DOM allows developers to "do things." Using SVG with React is easy.
Secondly, the SVG coordinate system is similar to the Cartesian plane, turned upside down. Accordingly, by default, negative vertical values will be displayed above the X axis. Horizontal values are the same as in the Cartesian plane, that is, negative values are to the left of the Y axis. This behavior can be easily changed by applying the transform to the SVG canvas . However, it would be better to adhere to the default settings in order to avoid confusion among developers. You will quickly get used to it.
Finally, remember that SVG has many new elements (such as circle , rect and path ). To use these elements, it is not enough just to define them inside the HTML element. First you need to define the svg element (your canvas), where you will draw all your SVG components.
SVG, path elements and cubic Bezier curves
Drawing SVG elements can be done in three ways. First, you can use basic elements such as rect , circle and line . However, these elements are not particularly flexible. They allow you to draw simple shapes according to their name (rectangle, circle and line).
The second way is to combine the basic elements for more complex shapes. For example, you can use a rectangle ( rect ) with the same sides (you get a square) and two lines to draw a house. However, such an approach still quite pretty limits.
The third and most flexible way is to use path elements . This option allows developers to create fairly complex forms. Drawing a shape occurs by specifying certain commands to the browser. For example, to draw an "L", you can create a path element that contains three commands:
M 20 20: command the browser to move its pen to the X and Y coordinates defined afterM(i.e.20, 20);V 80: command the browser to draw a line from the previous point to position80along the Y axis;H 50: command the browser to draw a line from the previous point to position50along the X axis;
<svg> <path d="M 20 20 V 80 H 50" stroke="black" stroke-width="2" fill="transparent" /> </svg> Path elements accept many other commands. One of the most important is the team of cubic Bezier curves. It allows you to add any "smoothed" curves using two anchor points and two control points.
"A cubic Bezier curve for each point takes two control points. Thus, to create a cubic Bezier curve, you need to specify three sets of coordinates. The last set of coordinates describes the point at which the curve ends. The other two sets are control points. [...]. Essentially, control points describe the slope of your line at a given point. The Bezier function creates a smooth curve from the slope you set at the beginning of the line to the slope set at the end. " - Mozilla Developer Network
For example, to draw "U", do the following:
<svg> <path d="M 20 20 C 20 110, 110 110, 110 20" stroke="black" fill="transparent"/> </svg> In this case, the commands passed to the path element point to the browser:
- Start drawing from point
20,20; - The coordinates of the first control point:
20, 110; - Coordinates of the second control point:
110, 110; - The coordinates of the end point of the curve:
110 20;
Do not despair if you still do not understand the principle of the operation of cubic Bezier curves. You will have the opportunity to practice this series. In addition, you can find many guides about this feature on the Internet, where you can always practice tools such as JSFiddle and Codepen .
Creating the Canvas component
(this is not about the <canvas></canvas> , but about the Canvas react-component (Canvas in Russian) - translator's comment)
After you have created the structure of your project and learned the basics of SVG, you can start creating the game. The first element to create is the SVG canvas, which is used to draw the elements of the game.
This component is characterized as presentational (stupid). Thus, you can create the components directory, inside the ./src directory for storing the new component and its "brothers and sisters" ( neighboring / child elements - translator's note ). Since this will be your canvas, it’s hard to come up with a more natural name for it than Canvas . Create a new file called Canvas.jsx inside the ./src/components/ directory and add the following code:
import React from 'react'; const Canvas = () => { const style = { border: '1px solid black', }; return ( <svg id="aliens-go-home-canvas" preserveAspectRatio="xMaxYMax none" style={style} > <circle cx={0} cy={0} r={50} /> </svg> ); }; export default Canvas; Rewrite the App component so that it uses the Canvas component:
import React, {Component} from 'react'; import Canvas from './components/Canvas'; class App extends Component { render() { return ( <Canvas /> ); } } export default App; If you run the project ( npm start ) and test your application, you will see that the browser draws only a quarter of this circle. This is due to the fact that by default the origin point is located in the upper left corner of the screen. In addition, you will see that the svg element does not occupy the entire screen.
For more interesting and convenient control, make your canvas ( <Canvas/> ) suitable for drawing on the whole screen. You can move its beginning to the center of the X axis and make it closer to the bottom (you will later add your gun to the original). To meet both conditions, you need to change two files: ./src/components/Canvas.jsx and ./src/index.css .
You can start by replacing the contents of the Canvas , apply the following code:
import React from 'react'; const Canvas = () => { const viewBox = [window.innerWidth / -2, 100 - window.innerHeight, window.innerWidth, window.innerHeight]; return ( <svg id="aliens-go-home-canvas" preserveAspectRatio="xMaxYMax none" viewBox={viewBox} > <circle cx={0} cy={0} r={50} /> </svg> ); }; export default Canvas; In this version of the component, you specified the viewBox attribute for the svg tag. This attribute allows you to determine that your canvas and its contents must correspond to a specific container (in this case, the inner window / browser area). As you can see, the viewBox attribute consists of four numbers:
min-x: this value defines the leftmost point that users can see. Thus, to get the axis (and the circle) displayed in the center of the screen, the screen width is divided by 2 with a "-" sign (window.innerWidth / -2) to get the attribute value (min-x). Please note that it is necessary to divide it precisely by (-2) in order for your canvas to show the same number of points in both directions from the origin.min-y: defines the topmost point of the canvas. Here you need to subtract the value ofwindow.innerHeightfrom100to set a specific area (100points) from the beginning of Y.widthandheight: determine the number of points along the X and Y axes that the user will see on his screen.
In addition to defining the viewBox attribute in the new version, an attribute called preserveAspectRatio is also set. You used xMaxYMax none on it to force a uniform scaling of your canvas and its elements.
( my preserveAspectRatio installation caused a warning from react - comment of the translator )
After refactoring your canvas, you need to add the following rule to the ./src/index.css file:
/* ... body definition ... */ html, body { overflow: hidden; height: 100%; } This is done so that the html and body elements (tags) hide (and disable) scrolling. In addition, items will be displayed on full screen.
If you check the app right now, you will find that the circle is located at the bottom of the screen in the center horizontally.
Creating component Sky (Sky)
After the resolution on the entire screen is set on your canvas and the origin is placed in its center, you can start creating real game elements. — . Sky.jsx ./src/components/ :
import React from 'react'; const Sky = () => { const skyStyle = { fill: '#30abef', }; const skyWidth = 5000; const gameHeight = 1200; return ( <rect style={skyStyle} x={skyWidth / -2} y={100 - gameHeight} width={skyWidth} height={gameHeight} /> ); }; export default Sky; , ( 5000 1200 ). , . , , .
, . 1200 , . , , .
( Sky ), Canvas.jsx :
import React from 'react'; import Sky from './Sky'; const Canvas = () => { const viewBox = [window.innerWidth / -2, 100 - window.innerHeight, window.innerWidth, window.innerHeight]; return ( <svg id="aliens-go-home-canvas" preserveAspectRatio="xMaxYMax none" viewBox={viewBox} > <Sky /> <circle cx={0} cy={0} r={50} /> </svg> ); }; export default Canvas; ( npm start ), , - , .
: Sky circle , . , SVG z-index . SVG , "", . circle Sky , - .
Ground ()
Sky Ground . Ground.jsx ./src/components/ :
import React from 'react'; const Ground = () => { const groundStyle = { fill: '#59a941', }; const division = { stroke: '#458232', strokeWidth: '3px', }; const groundWidth = 5000; return ( <g id="ground"> <rect id="ground-2" data-name="ground" style={groundStyle} x={groundWidth / -2} y={0} width={groundWidth} height={100} /> <line x1={groundWidth / -2} y1={0} x2={groundWidth / 2} y2={0} style={division} /> </g> ); }; export default Ground; . rect () line (). , , 5000 , . , .
, utils ./src/ constants.js . :
// , export const skyAndGroundWidth = 5000; Sky Ground , .
Ground (, (.. Sky circle )). - , , .
Cannon ()
, . . , , . . , , .
, : , . , d path , : M 20 20 C 20 110, 110 110, 110 20 .
, formula.js ./src/utils/ , :
export const pathFromBezierCurve = (cubicBezierCurve) => { const { initialAxis, initialControlPoint, endingControlPoint, endingAxis, } = cubicBezierCurve; return ` M${initialAxis.x} ${initialAxis.y} c ${initialControlPoint.x} ${initialControlPoint.y} ${endingControlPoint.x} ${endingControlPoint.y} ${endingAxis.x} ${endingAxis.y} `; }; , () ( initialAxis , initialControlPoint , endControlPoint , endAxis ) cubicBezierCurve , .
, . : CannonBase () CannonPipe ().
CannonBase CannonBase.jsx ./src/components :
import React from 'react'; import { pathFromBezierCurve } from '../utils/formulas'; const CannonBase = (props) => { const cannonBaseStyle = { fill: '#a16012', stroke: '#75450e', strokeWidth: '2px', }; const baseWith = 80; const halfBase = 40; const height = 60; const negativeHeight = height * -1; const cubicBezierCurve = { initialAxis: { x: -halfBase, y: height, }, initialControlPoint: { x: 20, y: negativeHeight, }, endingControlPoint: { x: 60, y: negativeHeight, }, endingAxis: { x: baseWith, y: 0, }, }; return ( <g> <path style={cannonBaseStyle} d={pathFromBezierCurve(cubicBezierCurve)} /> <line x1={-halfBase} y1={height} x2={halfBase} y2={height} style={cannonBaseStyle} /> </g> ); }; export default CannonBase; . - ( #75450e ) "" - ( #a16012 ).
CannonPipe CannonBase . , pathFromBezierCurve , . , transform .
CannonPipe.jsx ./src/components/ :
import React from 'react'; import PropTypes from 'prop-types'; import { pathFromBezierCurve } from '../utils/formulas'; const CannonPipe = (props) => { const cannonPipeStyle = { fill: '#999', stroke: '#666', strokeWidth: '2px', }; const transform = `rotate(${props.rotation}, 0, 0)`; const muzzleWidth = 40; const halfMuzzle = 20; const height = 100; const yBasis = 70; const cubicBezierCurve = { initialAxis: { x: -halfMuzzle, y: -yBasis, }, initialControlPoint: { x: -40, y: height * 1.7, }, endingControlPoint: { x: 80, y: height * 1.7, }, endingAxis: { x: muzzleWidth, y: 0, }, }; return ( <g transform={transform}> <path style={cannonPipeStyle} d={pathFromBezierCurve(cubicBezierCurve)} /> <line x1={-halfMuzzle} y1={-yBasis} x2={halfMuzzle} y2={-yBasis} style={cannonPipeStyle} /> </g> ); }; CannonPipe.propTypes = { rotation: PropTypes.number.isRequired, }; export default CannonPipe; CannonBase CannonPipe . :
import React from 'react'; import Sky from './Sky'; import Ground from './Ground'; import CannonBase from './CannonBase'; import CannonPipe from './CannonPipe'; const Canvas = () => { const viewBox = [window.innerWidth / -2, 100 - window.innerHeight, window.innerWidth, window.innerHeight]; return ( <svg id="aliens-go-home-canvas" preserveAspectRatio="xMaxYMax none" viewBox={viewBox} > <Sky /> <Ground /> <CannonPipe rotation={45} /> <CannonBase /> </svg> ); }; export default Canvas; :
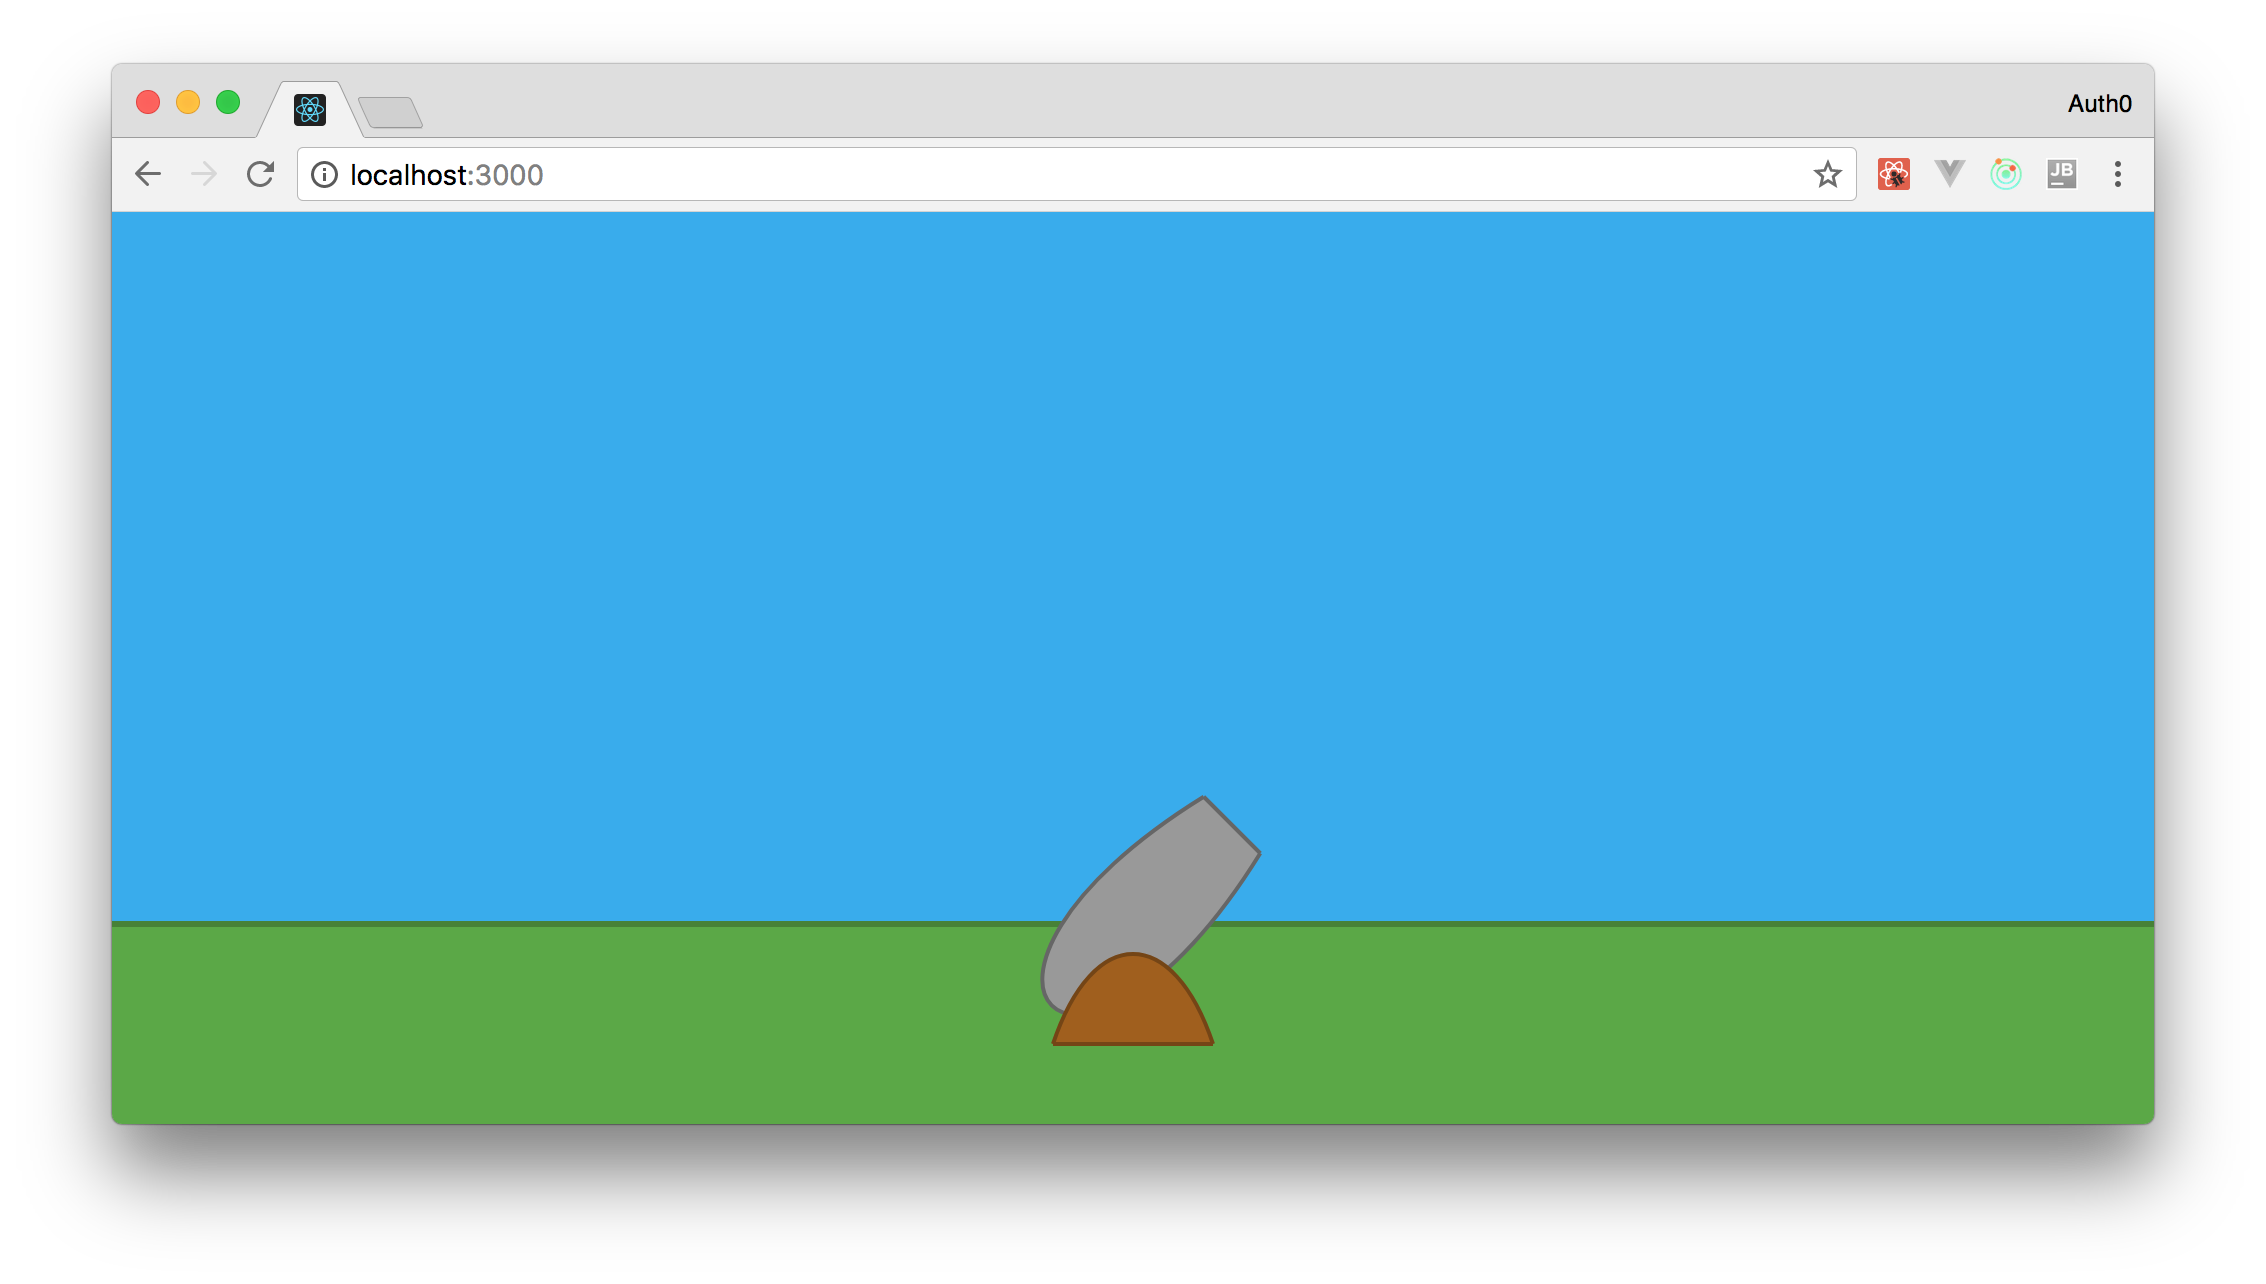
! ( Sky Ground ) ( CannonBase + CannonPipe ). . , - , . onmousemove , .. , , .
, , CannonPipe . onmousemove , - () . ( ), ( Redux).
Redux action ( , ) ( — ). , Actions ./src/ . index.js , :
export const MOVE_OBJECTS = 'MOVE_OBJECTS'; export const moveObjects = mousePosition => ({ type: MOVE_OBJECTS, mousePosition, }); : MOVE_OBJECTS , . .
( index.js ./src/reducers/ ):
import { MOVE_OBJECTS } from '../actions'; import moveObjects from './moveObjects'; const initialState = { angle: 45, }; function reducer(state = initialState, action) { switch (action.type) { case MOVE_OBJECTS: return moveObjects(state, action); default: return state; } } export default reducer; , , MOVE_OBJECTS , moveObjects . , , ( initial state ) , angle 45 . .
, moveObjects . , , , . moveObjects.js ./src/reducers/ :
import { calculateAngle } from '../utils/formulas'; function moveObjects(state, action) { if (!action.mousePosition) return state; const { x, y } = action.mousePosition; const angle = calculateAngle(0, 0, x, y); return { ...state, angle, }; } export default moveObjects; , x y mousePosition calculateAngle . , , ( ) .
, , calculateAngle formula.js , ? , , , , StackExchange , , . , formula.js ( ./src/utils/formulas ):
export const radiansToDegrees = radians => ((radians * 180) / Math.PI); // https://math.stackexchange.com/questions/714378/find-the-angle-that-creating-with-y-axis-in-degrees export const calculateAngle = (x1, y1, x2, y2) => { if (x2 >= 0 && y2 >= 0) { return 90; } else if (x2 < 0 && y2 >= 0) { return -90; } const dividend = x2 - x1; const divisor = y2 - y1; const quotient = dividend / divisor; return radiansToDegrees(Math.atan(quotient)) * -1; }; : atan , Math , . . radiansToDegrees .
, , . Redux, action ( ) moveObjects props ( ) App . Game . Game.js ( ./src/containers ) :
import { connect } from 'react-redux'; import App from '../App'; import { moveObjects } from '../actions/index'; const mapStateToProps = state => ({ angle: state.angle, }); const mapDispatchToProps = dispatch => ({ moveObjects: (mousePosition) => { dispatch(moveObjects(mousePosition)); }, }); const Game = connect( mapStateToProps, mapDispatchToProps, )(App); export default Game; ( mapStateToProps mapDispatchToProps ) App props . App.js ( ./src/ ) :
import React, {Component} from 'react'; import PropTypes from 'prop-types'; import { getCanvasPosition } from './utils/formulas'; import Canvas from './components/Canvas'; class App extends Component { componentDidMount() { const self = this; setInterval(() => { self.props.moveObjects(self.canvasMousePosition); }, 10); } trackMouse(event) { this.canvasMousePosition = getCanvasPosition(event); } render() { return ( <Canvas angle={this.props.angle} trackMouse={event => (this.trackMouse(event))} /> ); } } App.propTypes = { angle: PropTypes.number.isRequired, moveObjects: PropTypes.func.isRequired, }; export default App; , . :
componentDidMount: ( lifecycle method ) ( setInterval ),moveObjects;trackMouse:canvasMousePositionApp.moveObjects. , HTML-. .canvasMousePosition.render: ( angle )trackMouseCanvas.angletrackMouseSVG .App.propTypes: :anglemoveObjects. , . e, moveObjects — , .
App formula.js :
export const getCanvasPosition = (event) => { // mouse position on auto-scaling canvas // https://stackoverflow.com/a/10298843/1232793 const svg = document.getElementById('aliens-go-home-canvas'); const point = svg.createSVGPoint(); point.x = event.clientX; point.y = event.clientY; const { x, y } = point.matrixTransform(svg.getScreenCTM().inverse()); return {x, y}; }; , , StackOverflow .
, — Canvas . Canvas.jsx ( ./src/components ) :
import React from 'react'; import PropTypes from 'prop-types'; import Sky from './Sky'; import Ground from './Ground'; import CannonBase from './CannonBase'; import CannonPipe from './CannonPipe'; const Canvas = (props) => { const viewBox = [window.innerWidth / -2, 100 - window.innerHeight, window.innerWidth, window.innerHeight]; return ( <svg id="aliens-go-home-canvas" preserveAspectRatio="xMaxYMax none" onMouseMove={props.trackMouse} viewBox={viewBox} > <Sky /> <Ground /> <CannonPipe rotation={props.angle} /> <CannonBase /> </svg> ); }; Canvas.propTypes = { angle: PropTypes.number.isRequired, trackMouse: PropTypes.func.isRequired, }; export default Canvas; :
CannonPipe.rotation: . Redux store ( (mapStateToProps mapDispatchToProps) connect, Game — . ).svg.onMouseMove: , .Canvas.propTypes:angletrackMouse.
It is finished! . npm start ( ). http://localhost:3000/ - . .
, ?!
, . create-react-app , , . , . , .
, , . .
!
!
From translator
, "" . What do you think?
')
Source: https://habr.com/ru/post/350274/
All Articles