How to choose good lighting for realistic interiors?
Rodrigo Lloret showed the way he achieved such a realistic picture for his latest work in UE4.

My name is Rodrigo Lloret , I am a leading artist of environments, I live in Malmo and now I work at Massive Entertainment as a leading artist of props. I’ve been involved in video games since 2005, when I started working at PyroStudios, but most of the time I was the game artist of the Castlevania Lords of Shadow series at MercurySteam.
I wanted to explore the UE more deeply, learn more about it, experiment with lighting and color. Looking through my Pinterest, I found the basis for my work and decided to recreate it in the UE. But I wanted something clear so that I didn’t have to work carefully on every detail of every texture or every fragment of the scene, as in my past projects. I wanted to focus on the overall picture and achieve the feeling of a holistic scene.
On the other hand, I set myself the task of creating all the tiles in Substance Designer , because I never made textures for a project in Designer and the time was right for that.
')
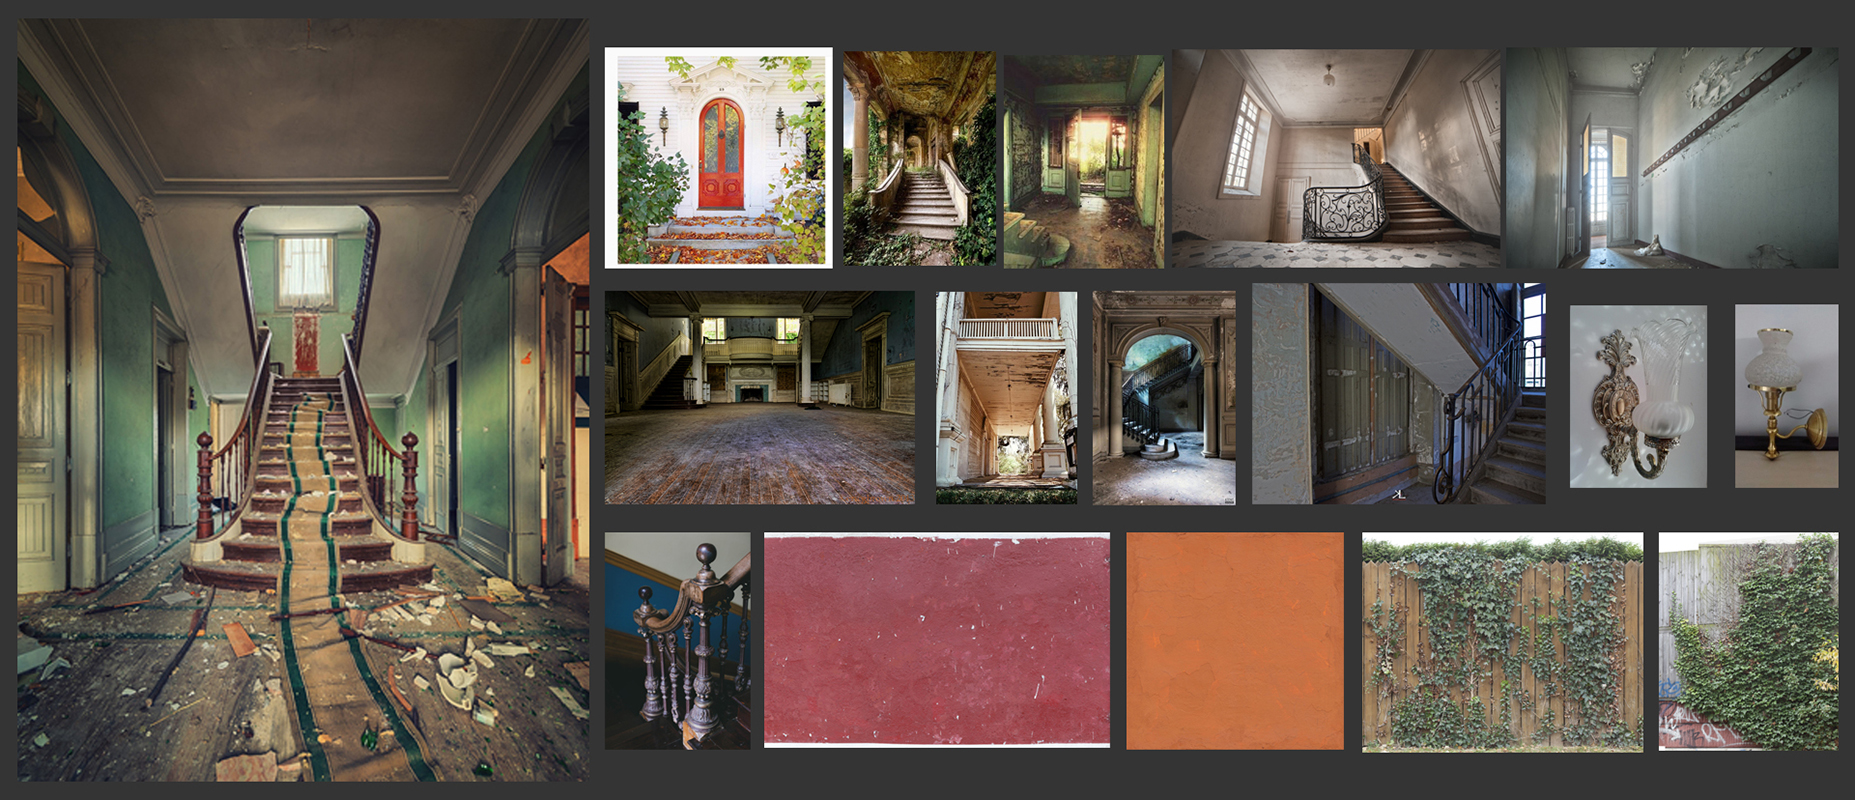
Reference materials (references)
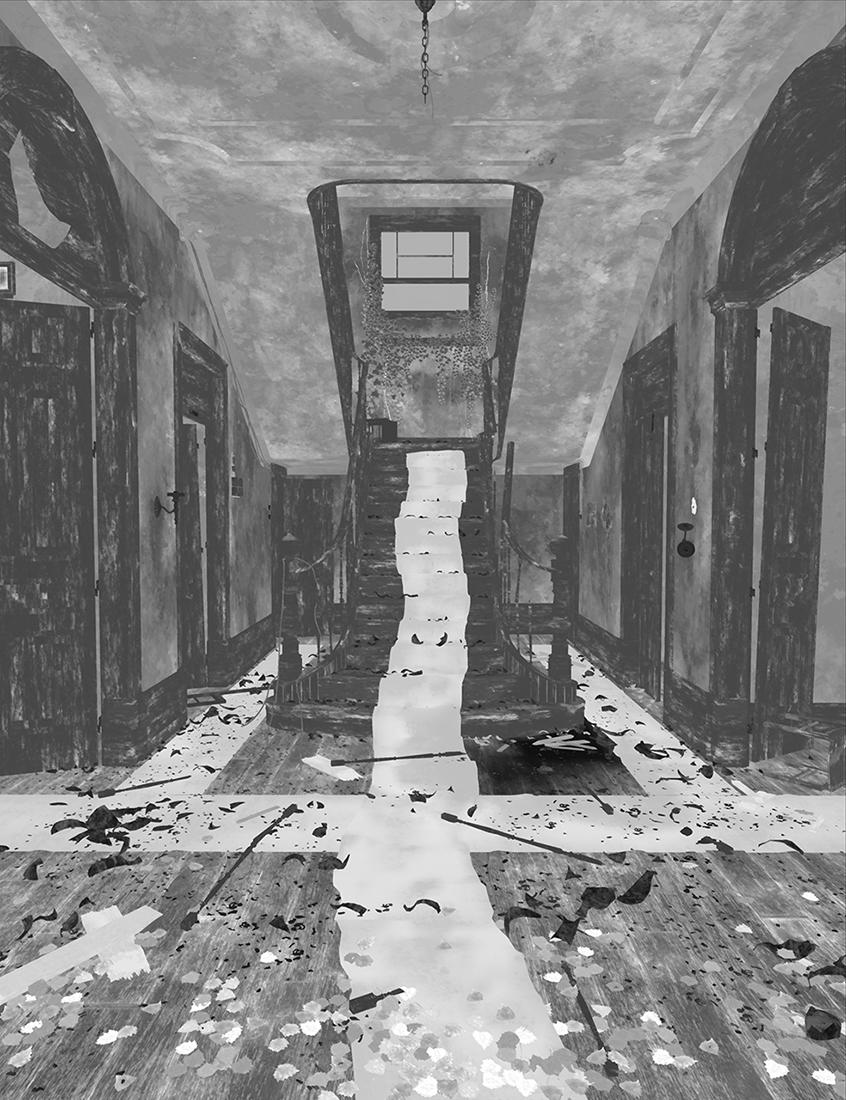
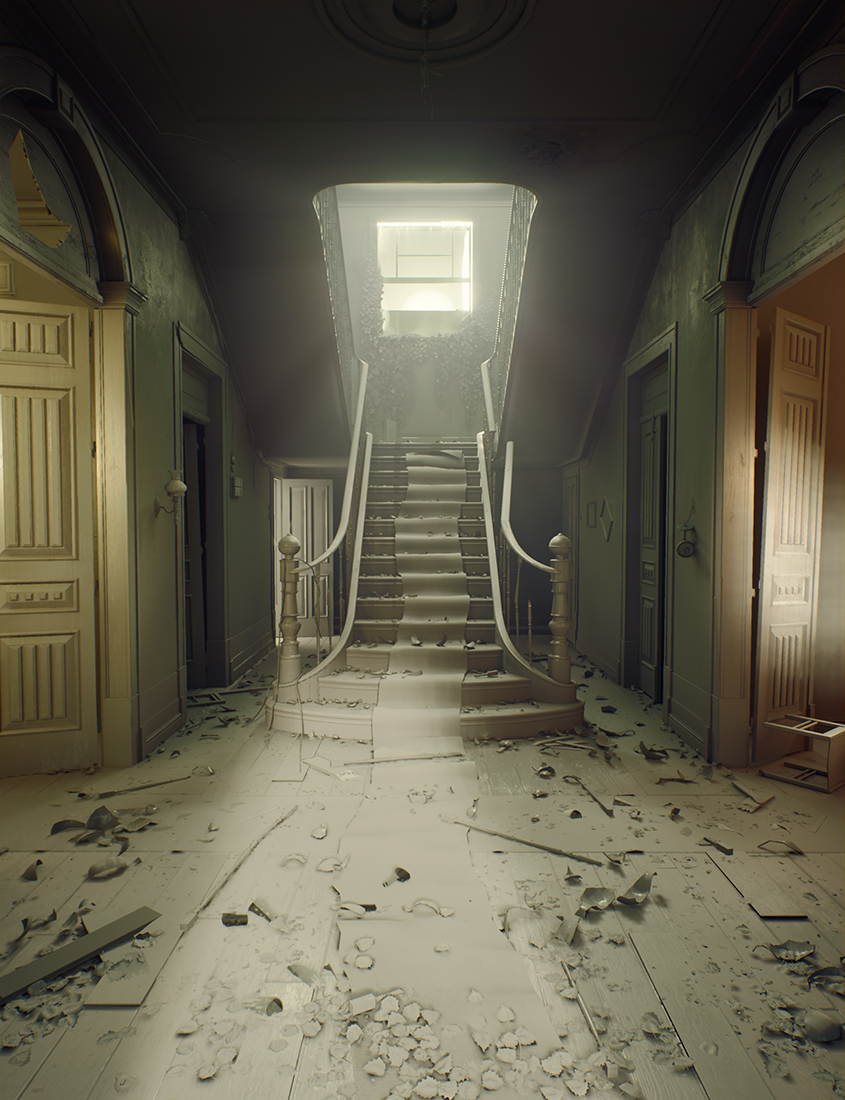
The first thing I understood when I looked at the main reference is that the composition is highly symmetrical, and the symmetry is quite interesting, but in the end it often turns out to be boring, so I had to break it with broken shapes, objects and details, and in the final, with lighting.
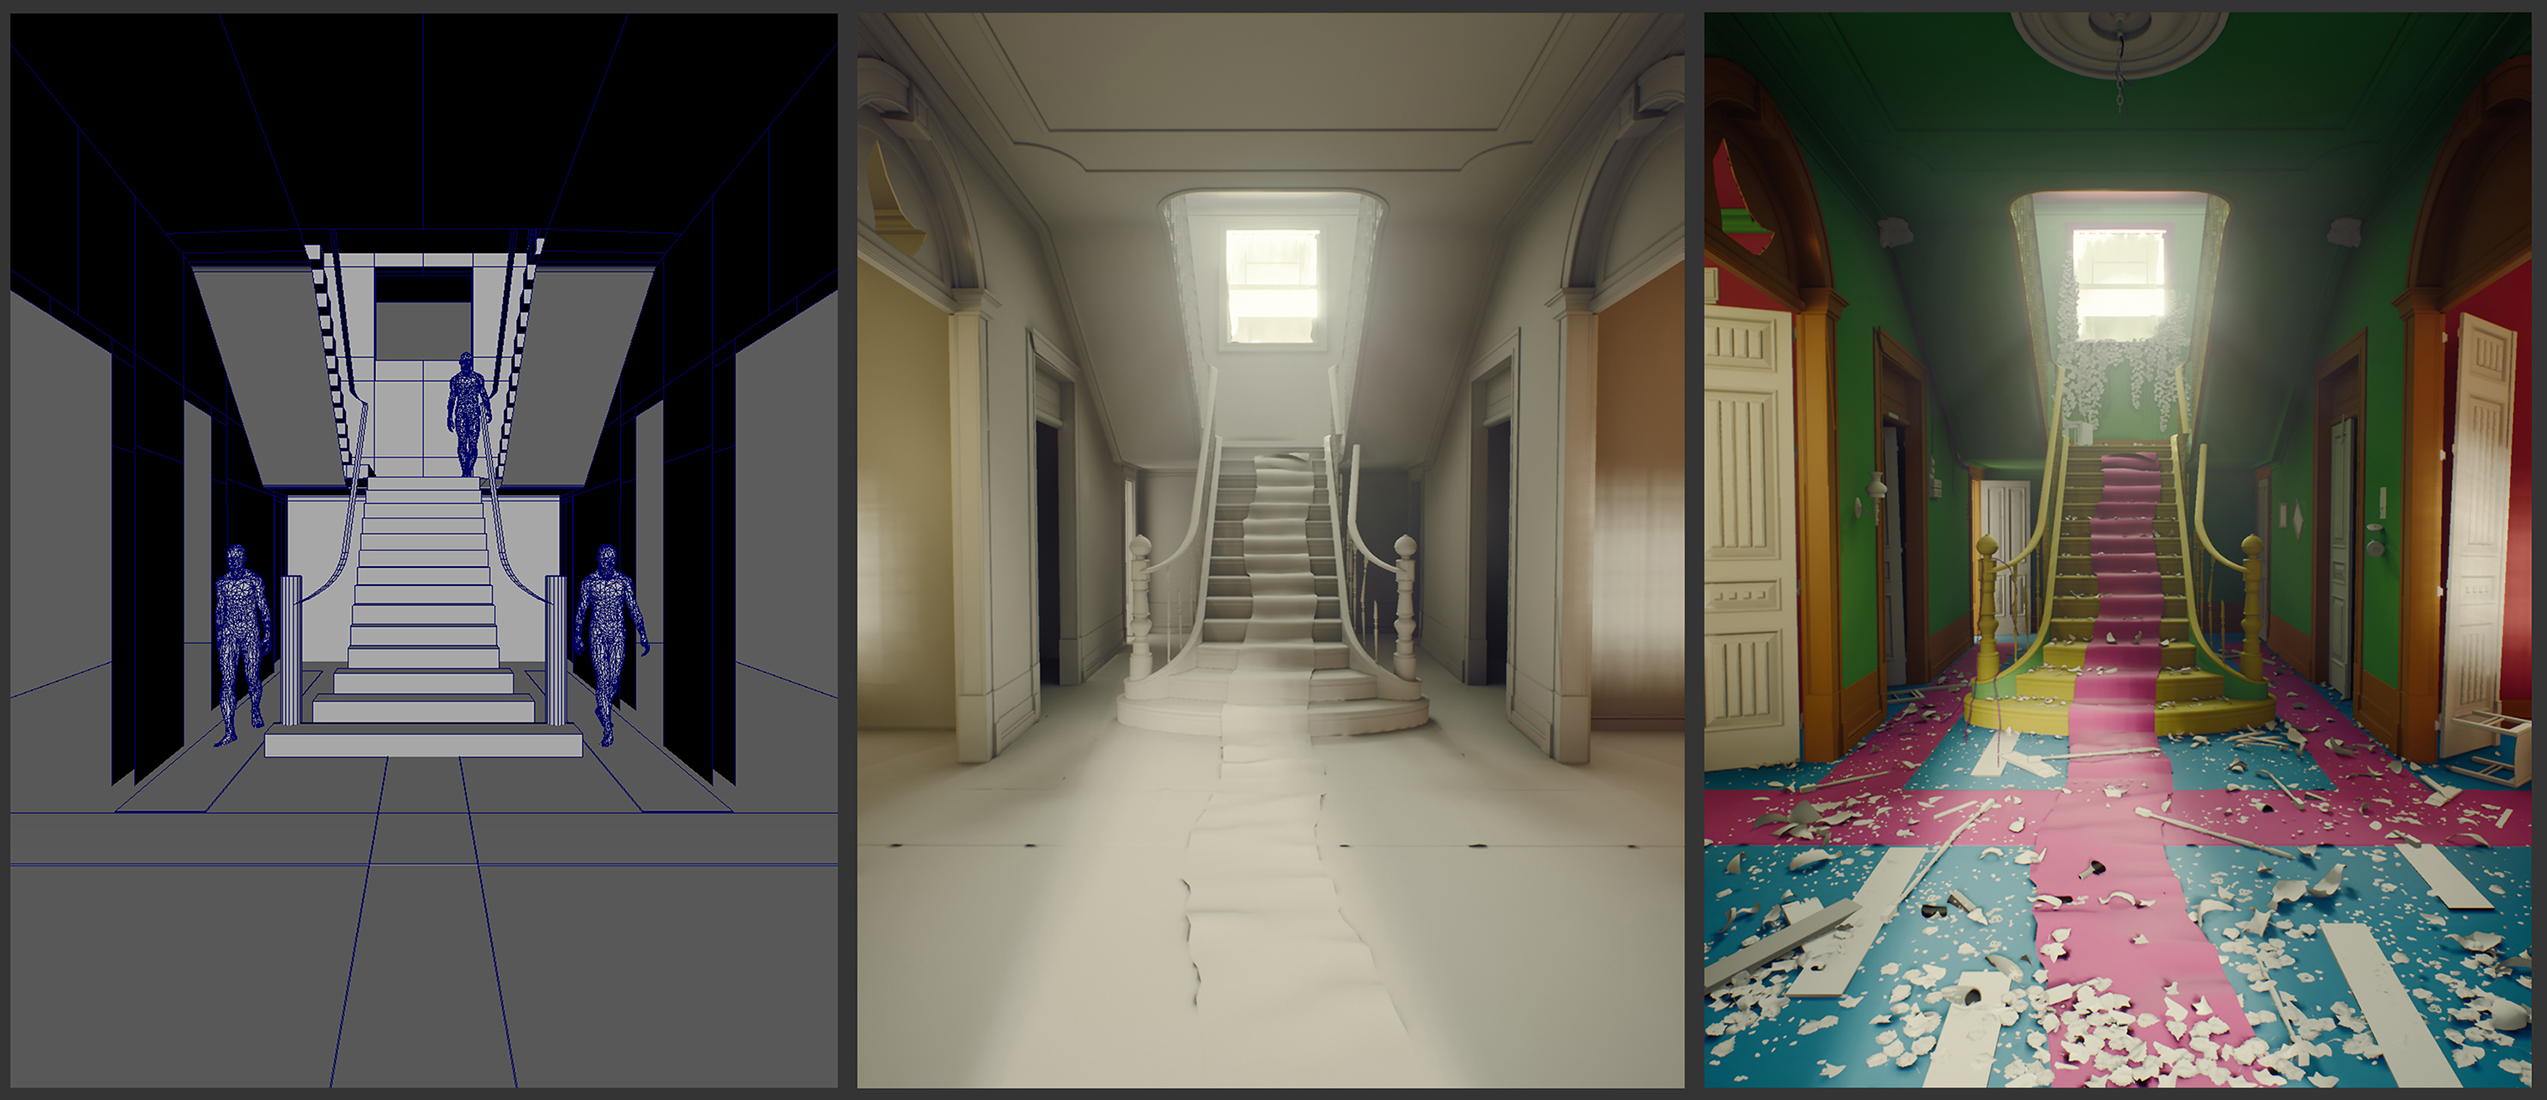
Then I took my model of a person, which I usually use to realize the proportions, and began to cover the scene. When I got the first elements: the main walls, doorways and simple stairs, I added a camera to Maya and tried to achieve perspective and exported the scene to make sure everything worked out correctly. After that, I continued to fill the stage, for example, with carpets on the sides, to give it a sense of depth, as well as a rough staircase and a window.
The scene is very small, and besides, the aim of the project was to create several images of the scene, so I did not need to work with modular elements. I decided to collect all of the large meshes, but taking into account the materials and lighting maps, because I did not want to have a lot of meshes with a bunch of materials. On the other hand, I wanted to be able to set the quality of the lighting maps to optimize the scene. As a result, I received such meshes as the main walls with the ceiling, the second floor, the walls of the rooms, the stairs, the apertures and baseboards, the window ... But other objects, such as doors, props, ivy, garbage, etc. I moved to the UE to experiment with them.

Symmetry breaking
Procurement, main meshes and meshes, broken by materials with lighting maps (white meshes transferred to UE)
I understood that in order to scatter garbage, I would need a lot of props, which will allow me to work flexibly and conveniently, because I wanted to achieve the feeling of naturally scattered debris.
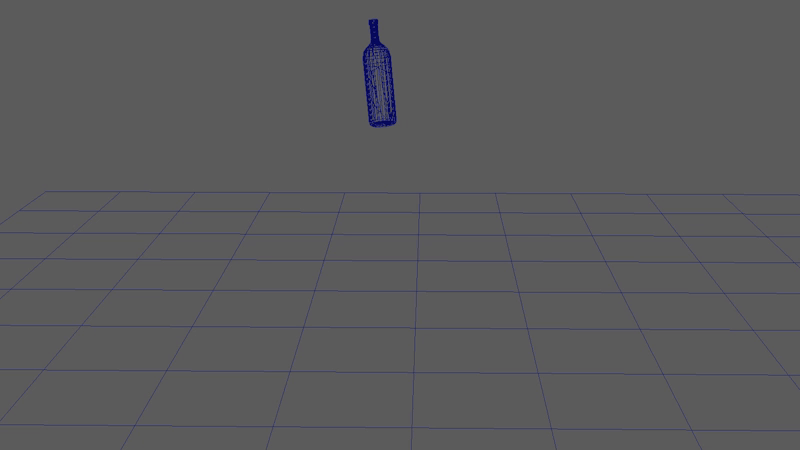
Therefore, for fragments of ceramic vases, plates and bottles, I conducted tests with simple volumes, fractures and physics. They turned out to be quite good and I decided to create various trash using physics. After that, I made better meshes and reduced their size. Of course, I tried several times to achieve the effect of scattered, closely spaced and leveled garbage, in order to make work with it more flexible.
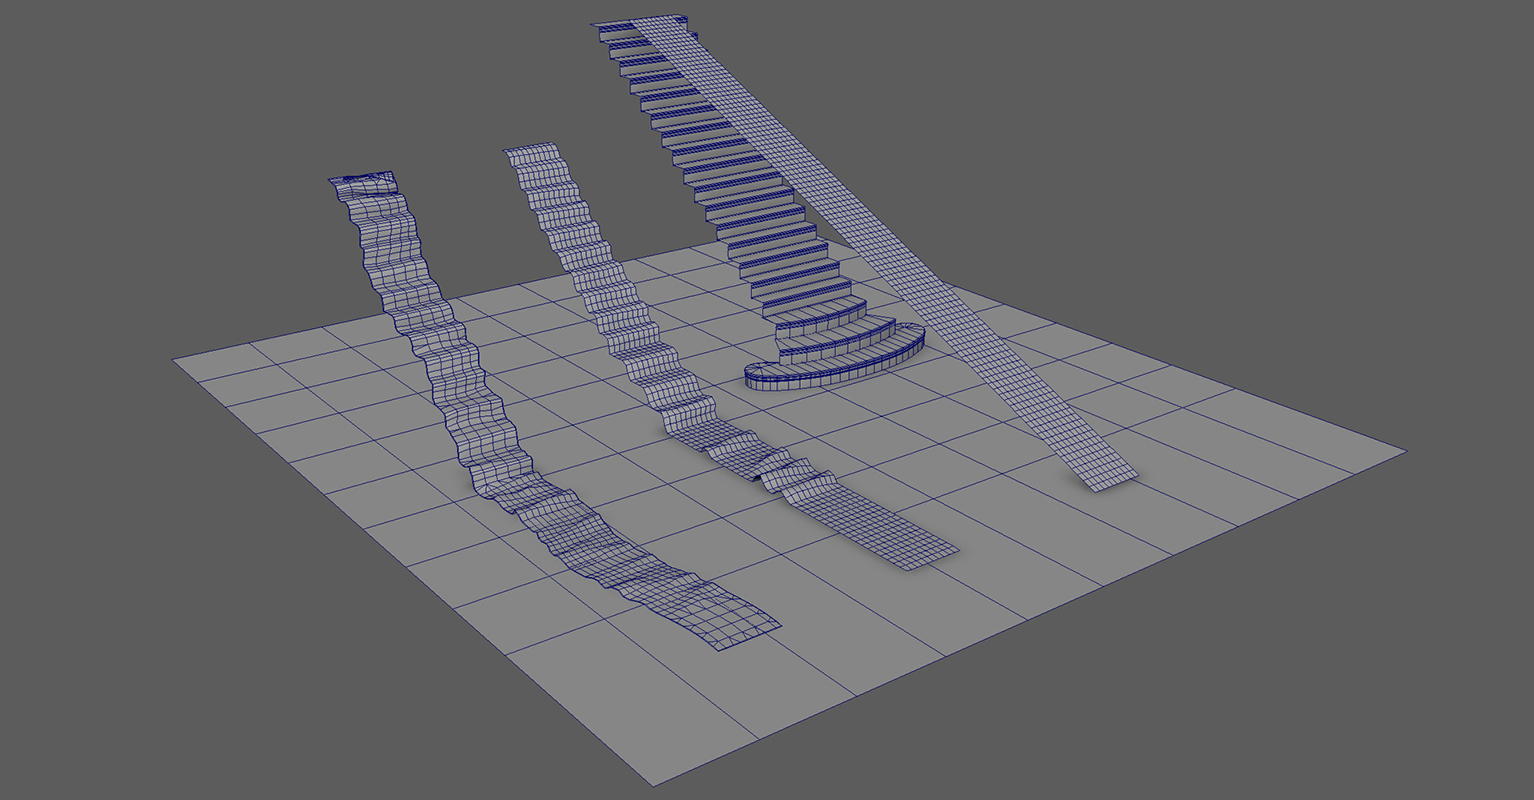
Small debris was created with alpha transparency textures and planes of broken fragments. For wooden trash, I created four different ladder states with rungs and a pile of broken wood debris with which I could fill in empty spaces and dilute monotony.
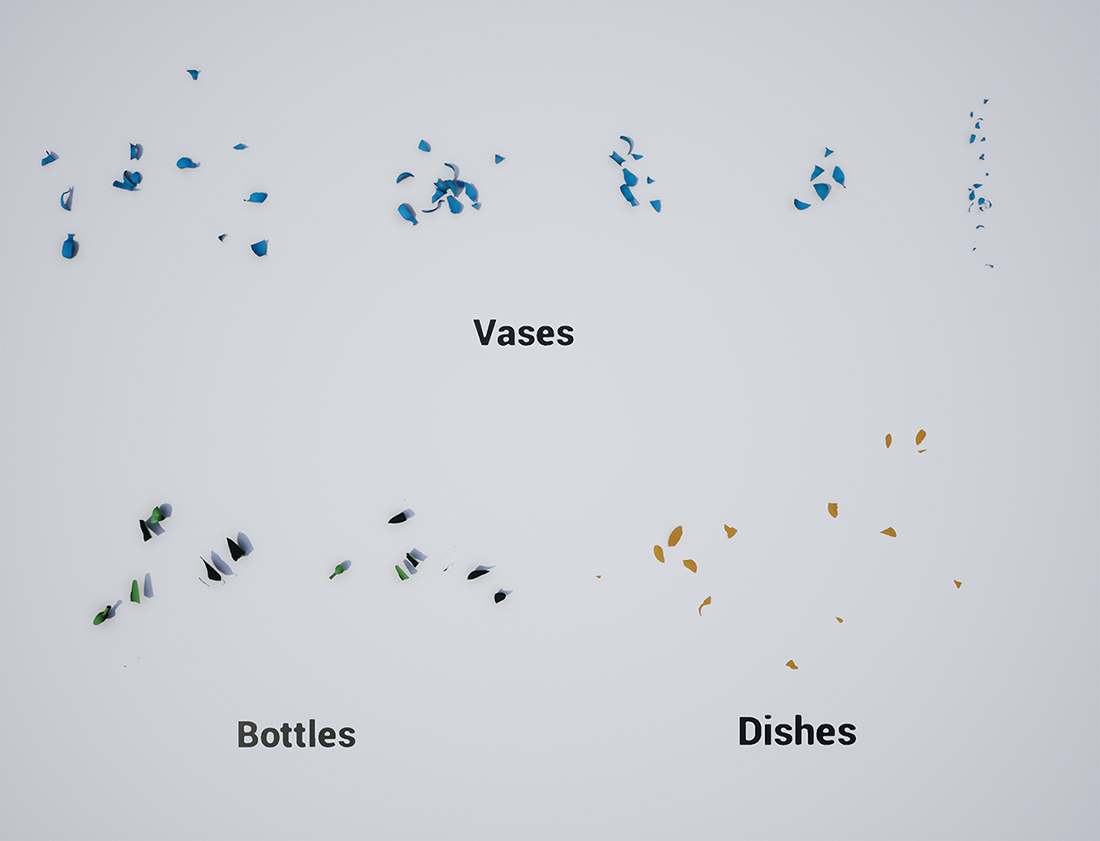
Scattered debris (vases, bottles, plates)
I located the debris in the UE manually, always trying to achieve a sense of naturalness. For example, I placed the garbage closer to the walls and mixed large pieces with small ones, imitating the natural accumulation of garbage in the corners or under the objects.

Garbage in the UE
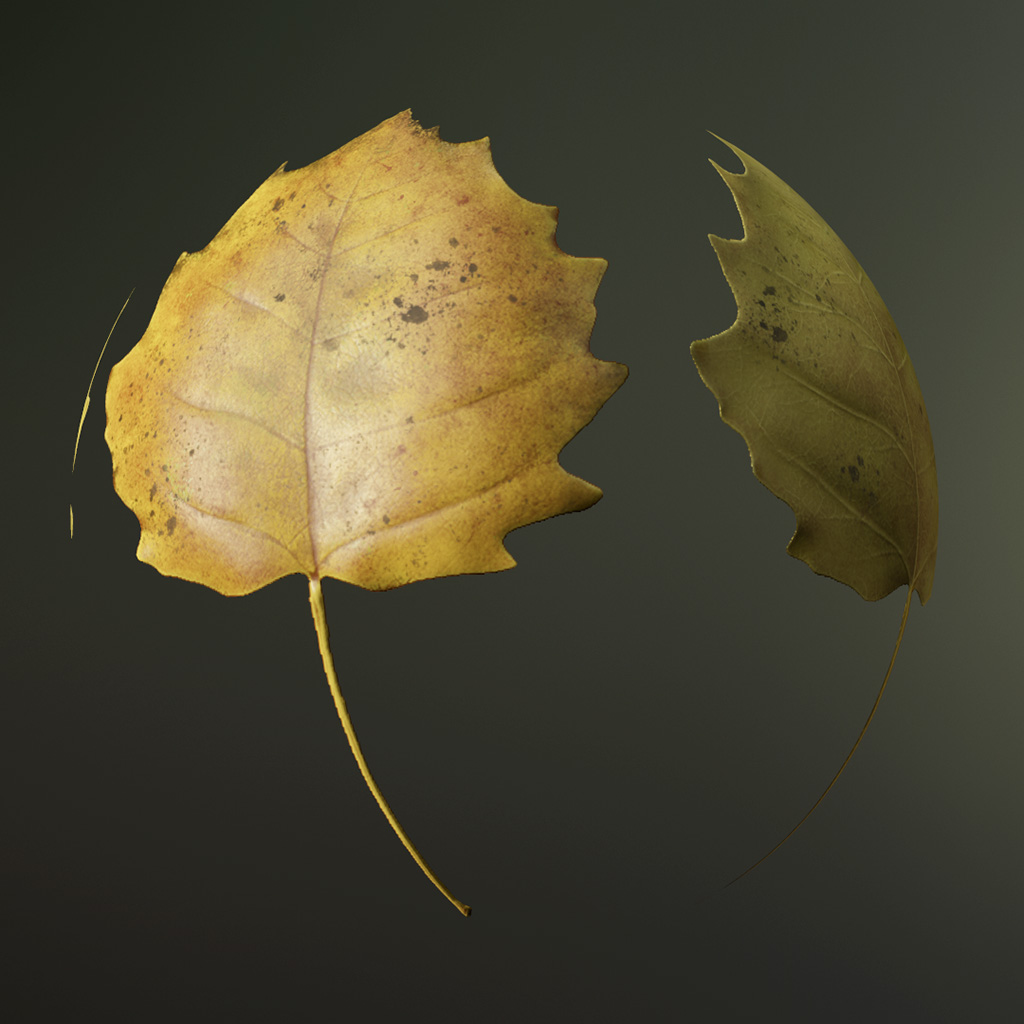
I created ivy with several branches with leaves from and without 3D planes. I took dry leaves from an old project; I have never used it, but finally it came in handy.
People asked me how I did the carpet on the stairs. I created the first model by simulating a cloth in Maya , but I started with a quadrilateral mesh, not triangulated, as is usually the case in tissue simulation programs, so it was easier for me to improve and correct the mesh and also reduce the number of vertices after the simulation.
Carpet on the stairs
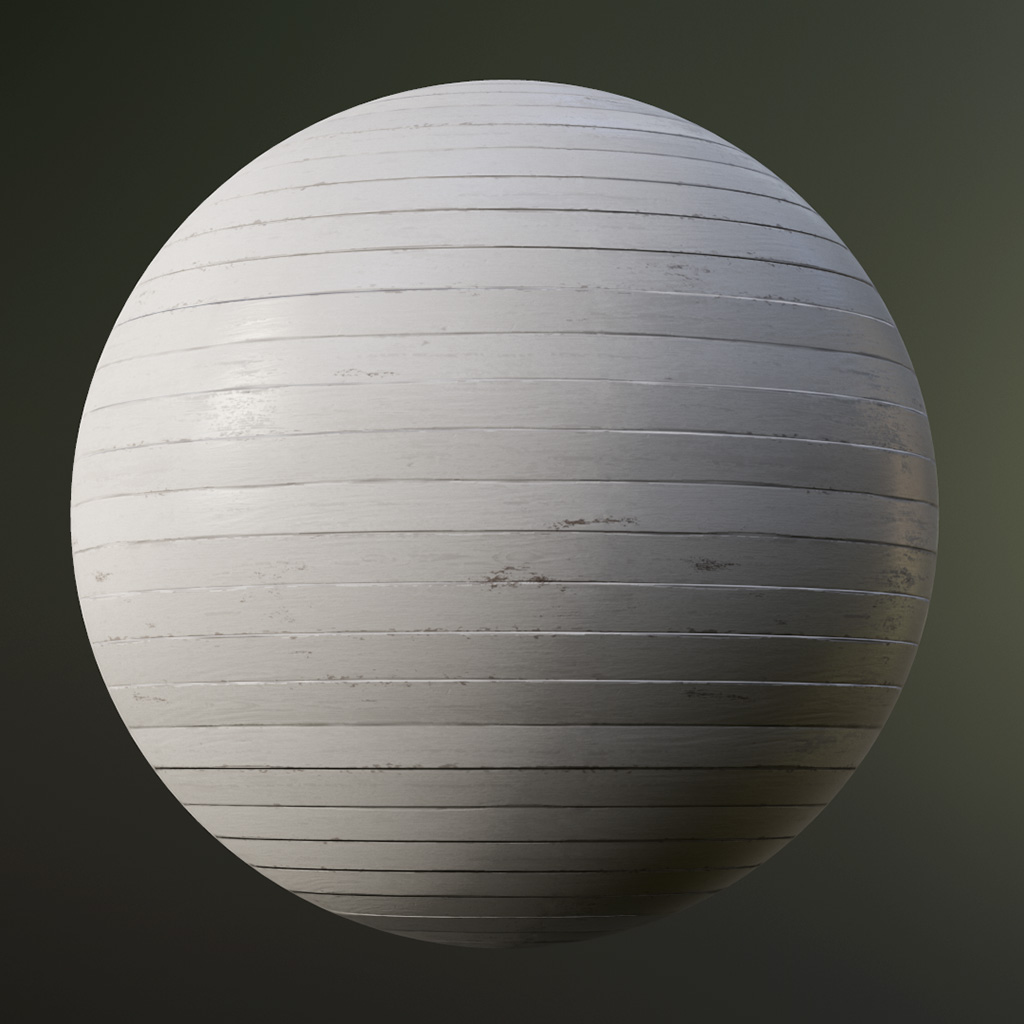
As I said above, I wanted to deal with Designer, so I created tiles in Designer, and the rest of things in Painter. But this time there was no heap of details on the materials, as in my other projects. That is, I created textures taking into account the overall picture, rather than small details.

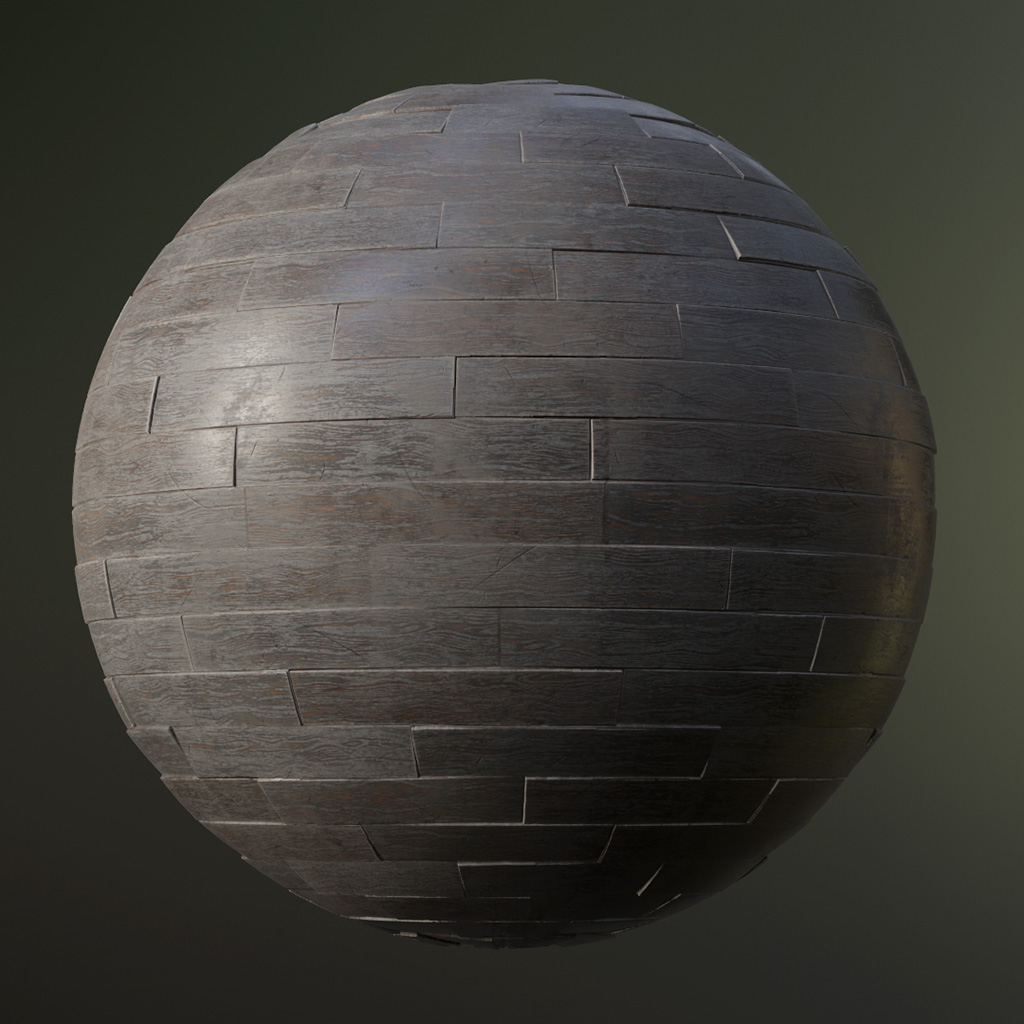

Basic materials
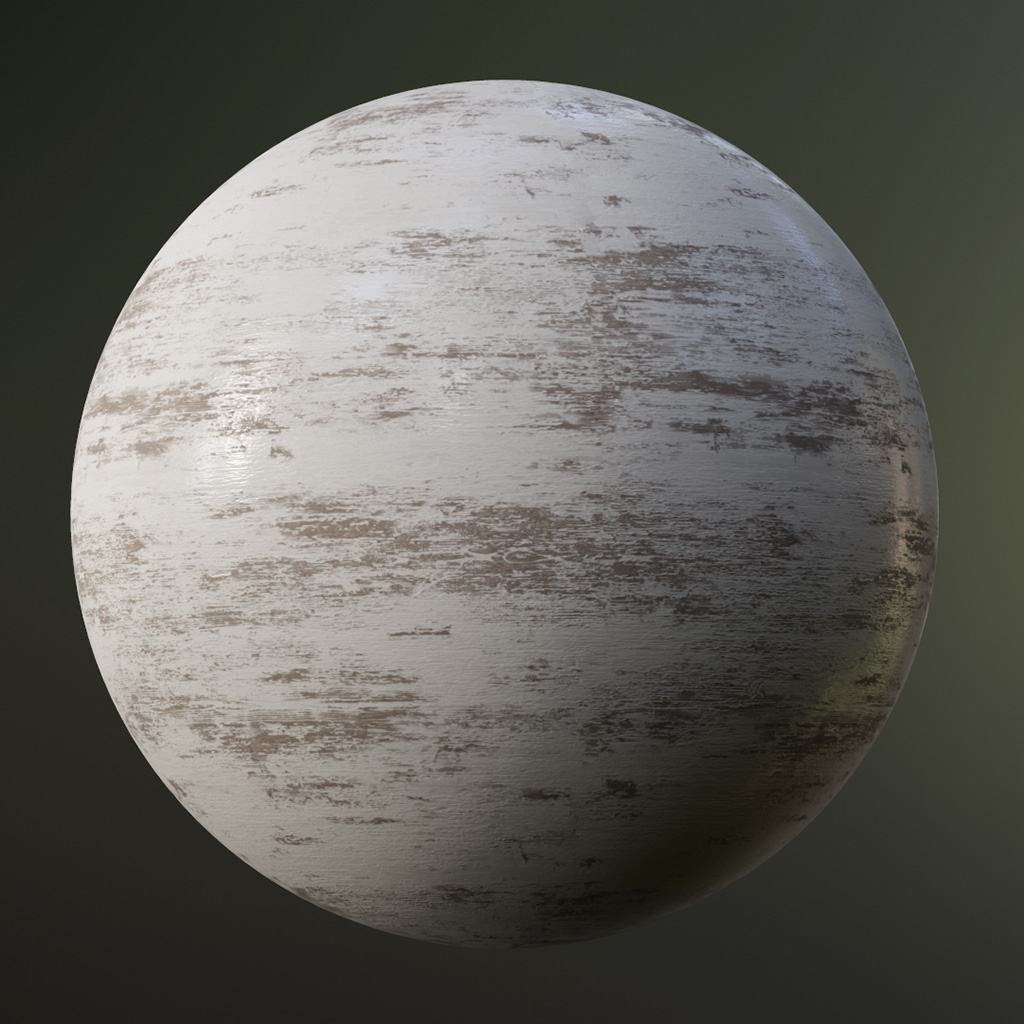
When you have a good color variation, you get an interesting texture in areas without enough reflections, and with interesting roughness, and shiny areas look just great. I always strive to create clearly defined roughness levels in textures, as well as in the scenes themselves, in order to achieve a more interesting contrast between flat and shiny surfaces.
Roughness
In order to achieve variability in tiles, I usually use two different states of one texture, one standard, and the other more dirty, dusty, wet ... and mix them with vertex color and mask texture. Thanks to this process, as a result, we get more variation of roughness and colors, more detailed and interesting areas.
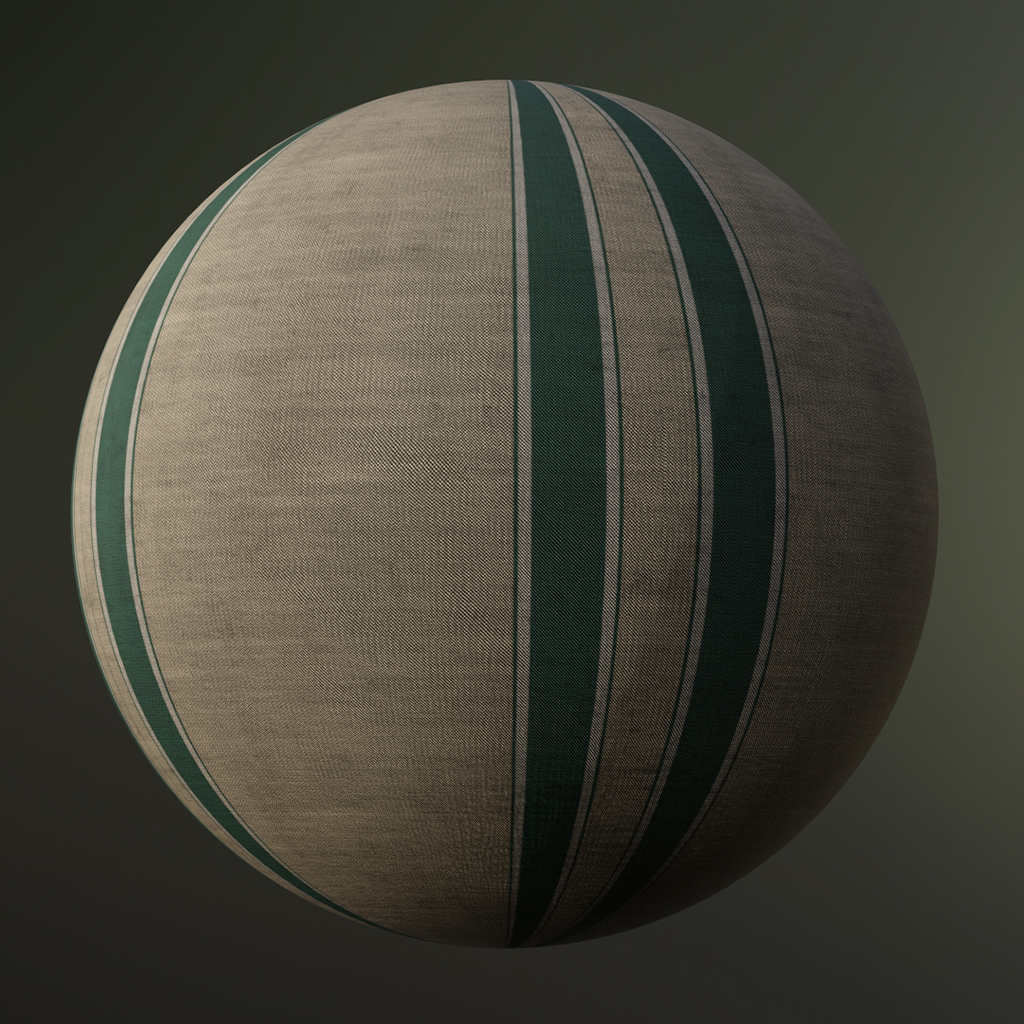
For the carpet, I used three variations of the texture, the first was the standard old carpet, the second with divorces and mud, and for the third I implemented the moisture effect through a shader in the UE.
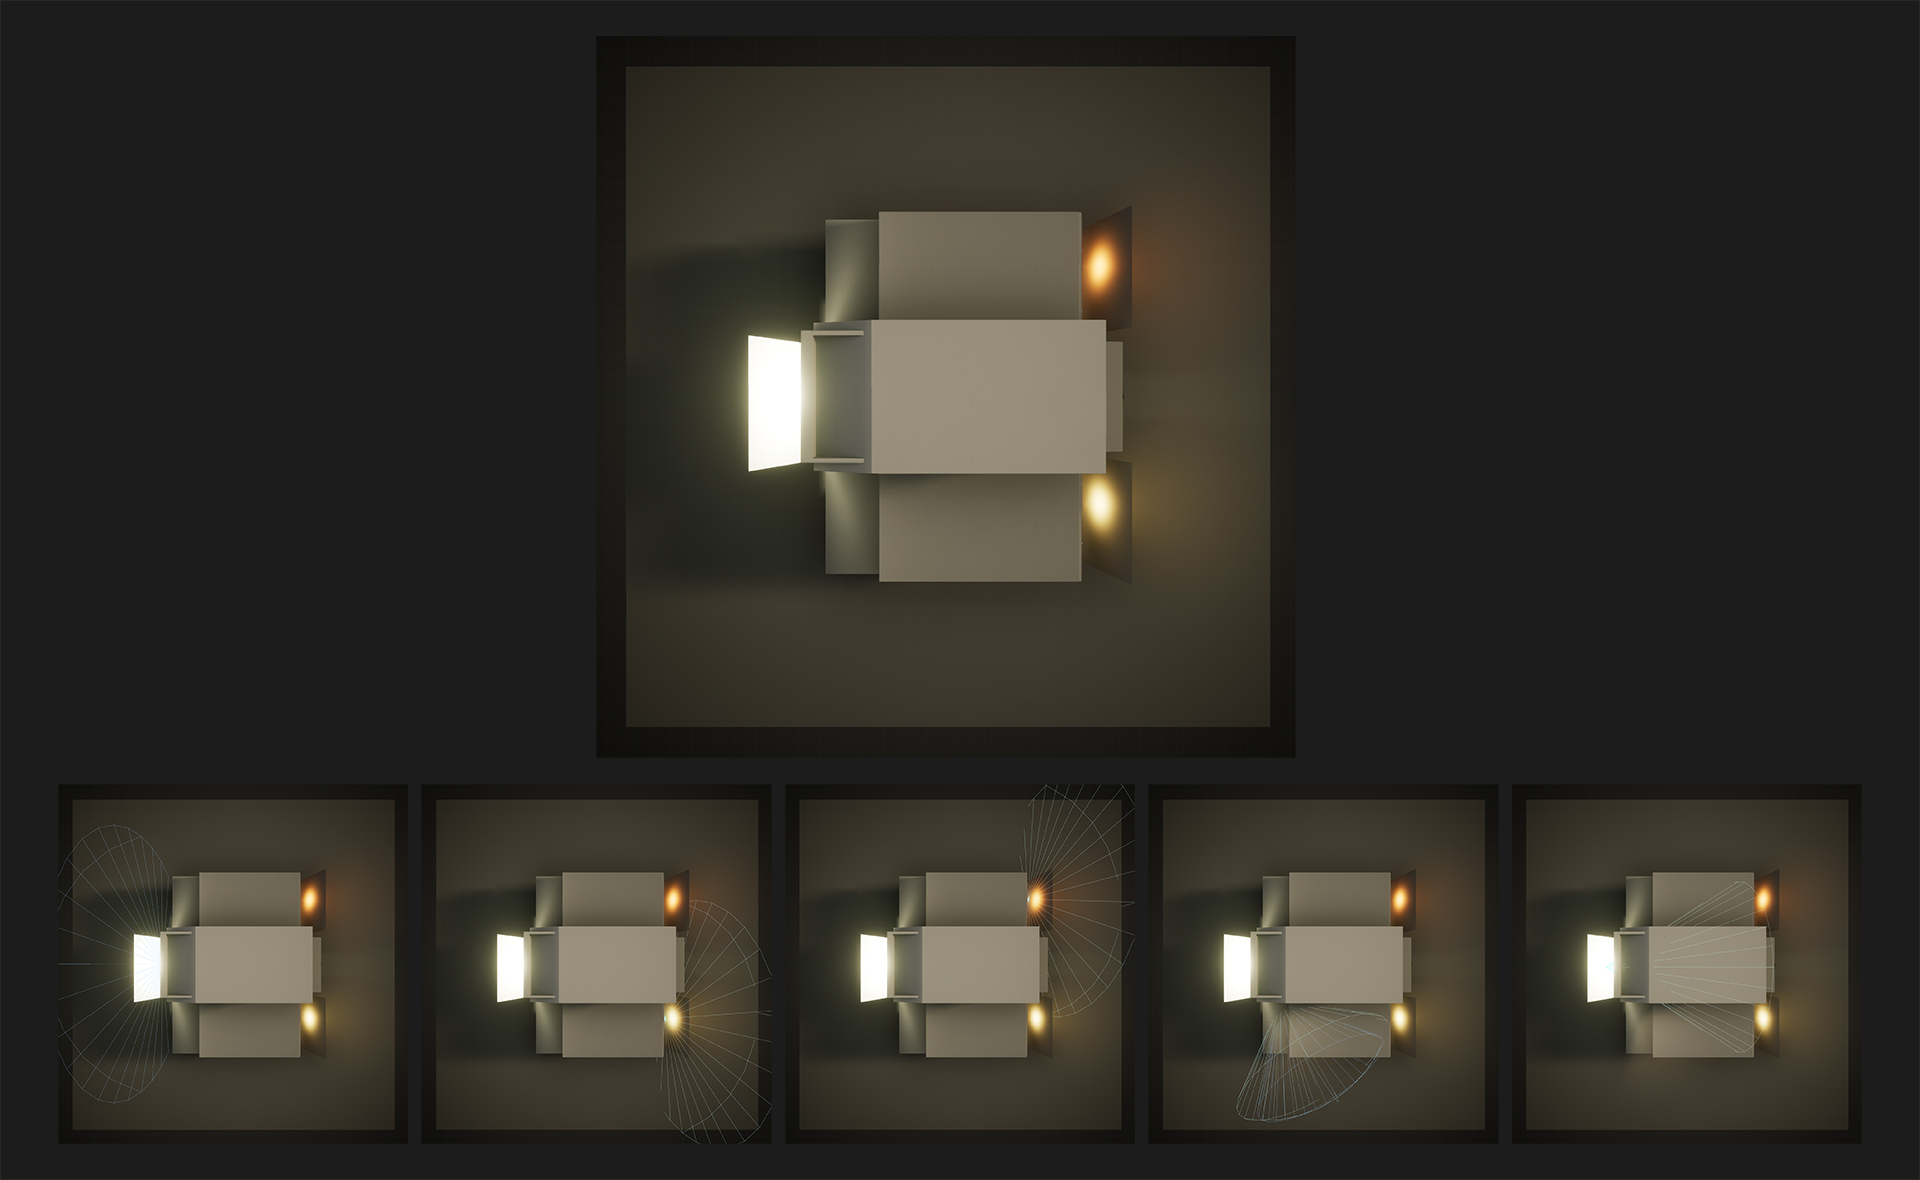
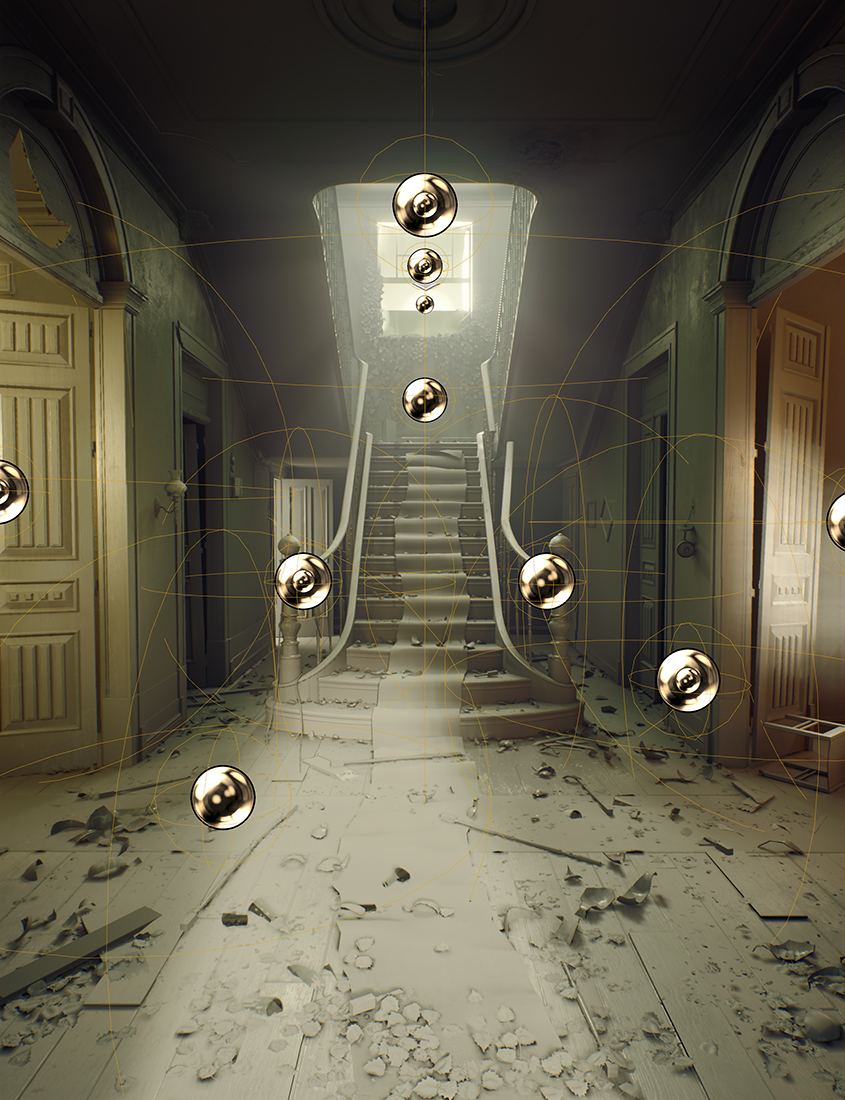
In search of good ways to create realistic lighting, I delved into the forums on the UE and found information with which to start. People use reflector cards in the engine, similar to the huge white panels of reflectors that can be seen in photo studios and on film. These panels are the basis of the correct setting of the light, because they give a good diffused interior lighting. However, when used, the computation time increases exponentially.
In the end I got 6 light sources. One for anti-aircraft lighting, one for each room, one for the window and one more light source in the window for fog. I tried to balance the light levels by making the brightest light in the window, and then, in descending order, in the side rooms, at the door and in the farthest room.
Finally, I experimented with the color of the light sources to further break the symmetry and create a more interesting and warm feeling. As with the light levels, I kept the color order. To increase the order of color saturation, first comes the light from the window and from the door, then the farthest room, the left room and the right room.
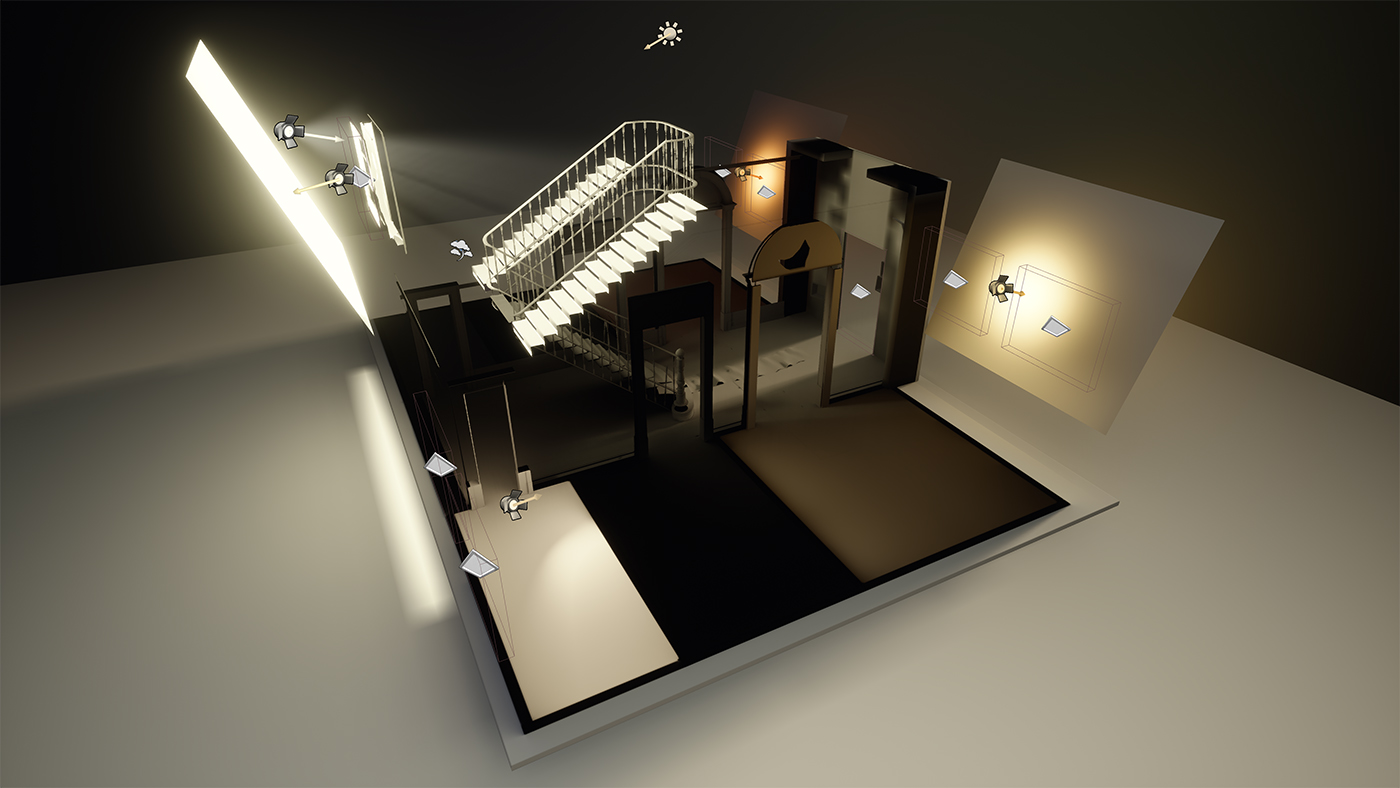
Spheres Reflection turned out to be very useful for me. I used them to get interesting reflections in the form of bright spots on doorways, stairs, the floor ... They were very helpful in creating a finished look.
Lighting details and spherical reflections
Rodrigo Lloret-Crespo , 3D Artist, Massive, Ubisoft
Introduction
My name is Rodrigo Lloret , I am a leading artist of environments, I live in Malmo and now I work at Massive Entertainment as a leading artist of props. I’ve been involved in video games since 2005, when I started working at PyroStudios, but most of the time I was the game artist of the Castlevania Lords of Shadow series at MercurySteam.
Project
I wanted to explore the UE more deeply, learn more about it, experiment with lighting and color. Looking through my Pinterest, I found the basis for my work and decided to recreate it in the UE. But I wanted something clear so that I didn’t have to work carefully on every detail of every texture or every fragment of the scene, as in my past projects. I wanted to focus on the overall picture and achieve the feeling of a holistic scene.
On the other hand, I set myself the task of creating all the tiles in Substance Designer , because I never made textures for a project in Designer and the time was right for that.
')
Reference materials (references)
Creating a Preset and Breaking Symmetry
The first thing I understood when I looked at the main reference is that the composition is highly symmetrical, and the symmetry is quite interesting, but in the end it often turns out to be boring, so I had to break it with broken shapes, objects and details, and in the final, with lighting.
Then I took my model of a person, which I usually use to realize the proportions, and began to cover the scene. When I got the first elements: the main walls, doorways and simple stairs, I added a camera to Maya and tried to achieve perspective and exported the scene to make sure everything worked out correctly. After that, I continued to fill the stage, for example, with carpets on the sides, to give it a sense of depth, as well as a rough staircase and a window.
The scene is very small, and besides, the aim of the project was to create several images of the scene, so I did not need to work with modular elements. I decided to collect all of the large meshes, but taking into account the materials and lighting maps, because I did not want to have a lot of meshes with a bunch of materials. On the other hand, I wanted to be able to set the quality of the lighting maps to optimize the scene. As a result, I received such meshes as the main walls with the ceiling, the second floor, the walls of the rooms, the stairs, the apertures and baseboards, the window ... But other objects, such as doors, props, ivy, garbage, etc. I moved to the UE to experiment with them.
Symmetry breaking
Procurement, main meshes and meshes, broken by materials with lighting maps (white meshes transferred to UE)
Scattering of elements and garbage
I understood that in order to scatter garbage, I would need a lot of props, which will allow me to work flexibly and conveniently, because I wanted to achieve the feeling of naturally scattered debris.
Therefore, for fragments of ceramic vases, plates and bottles, I conducted tests with simple volumes, fractures and physics. They turned out to be quite good and I decided to create various trash using physics. After that, I made better meshes and reduced their size. Of course, I tried several times to achieve the effect of scattered, closely spaced and leveled garbage, in order to make work with it more flexible.
Small debris was created with alpha transparency textures and planes of broken fragments. For wooden trash, I created four different ladder states with rungs and a pile of broken wood debris with which I could fill in empty spaces and dilute monotony.
Four GIFs with examples of debris physics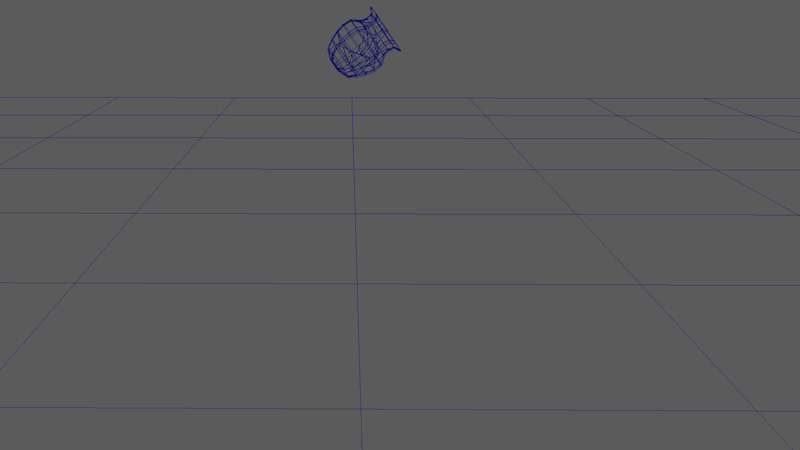

Scattered debris (vases, bottles, plates)
I located the debris in the UE manually, always trying to achieve a sense of naturalness. For example, I placed the garbage closer to the walls and mixed large pieces with small ones, imitating the natural accumulation of garbage in the corners or under the objects.
Garbage in the UE
I created ivy with several branches with leaves from and without 3D planes. I took dry leaves from an old project; I have never used it, but finally it came in handy.
People asked me how I did the carpet on the stairs. I created the first model by simulating a cloth in Maya , but I started with a quadrilateral mesh, not triangulated, as is usually the case in tissue simulation programs, so it was easier for me to improve and correct the mesh and also reduce the number of vertices after the simulation.
Carpet on the stairs
Carpet physics gif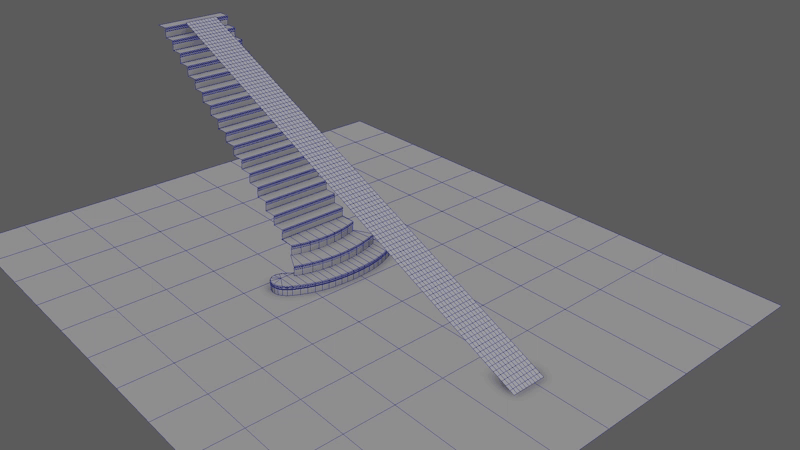
Materials and Textures
As I said above, I wanted to deal with Designer, so I created tiles in Designer, and the rest of things in Painter. But this time there was no heap of details on the materials, as in my other projects. That is, I created textures taking into account the overall picture, rather than small details.
Basic materials
When you have a good color variation, you get an interesting texture in areas without enough reflections, and with interesting roughness, and shiny areas look just great. I always strive to create clearly defined roughness levels in textures, as well as in the scenes themselves, in order to achieve a more interesting contrast between flat and shiny surfaces.
Roughness
In order to achieve variability in tiles, I usually use two different states of one texture, one standard, and the other more dirty, dusty, wet ... and mix them with vertex color and mask texture. Thanks to this process, as a result, we get more variation of roughness and colors, more detailed and interesting areas.
For the carpet, I used three variations of the texture, the first was the standard old carpet, the second with divorces and mud, and for the third I implemented the moisture effect through a shader in the UE.
Lighting
In search of good ways to create realistic lighting, I delved into the forums on the UE and found information with which to start. People use reflector cards in the engine, similar to the huge white panels of reflectors that can be seen in photo studios and on film. These panels are the basis of the correct setting of the light, because they give a good diffused interior lighting. However, when used, the computation time increases exponentially.
In the end I got 6 light sources. One for anti-aircraft lighting, one for each room, one for the window and one more light source in the window for fog. I tried to balance the light levels by making the brightest light in the window, and then, in descending order, in the side rooms, at the door and in the farthest room.
Finally, I experimented with the color of the light sources to further break the symmetry and create a more interesting and warm feeling. As with the light levels, I kept the color order. To increase the order of color saturation, first comes the light from the window and from the door, then the farthest room, the left room and the right room.
Spheres Reflection turned out to be very useful for me. I used them to get interesting reflections in the form of bright spots on doorways, stairs, the floor ... They were very helpful in creating a finished look.
Lighting details and spherical reflections
Rodrigo Lloret-Crespo , 3D Artist, Massive, Ubisoft
Source: https://habr.com/ru/post/349584/
All Articles