Flask Mega-Tutorial, Part 2: Patterns (Edition 2018)
Miguel grinberg
This article is a translation of the second part of the new edition of Miguel Greenberg’s textbook, the issue of which the author plans to complete in May 2018. The previous translation has long since lost its relevance.
I, for my part, will try to keep up with the translation.
In this second installment of the Flask Mega-Tutorial series, I’ll talk about how to work with templates.
For reference, below is a list of articles in this series.
- Chapter 1: Hello world!
- Chapter 2: Templates (This article)
- Chapter 3: Web Forms
- Chapter 4: Database
- Chapter 5: User Logins
- Chapter 6: Profile Page and Avatars
- Chapter 7: Error Handling
- Chapter 8: Subscribers, Contacts, and Friends
- Chapter 9: Pagination
- Chapter 10: Email Support
- Chapter 11: Reconstruction
- Chapter 12: Date and Time
- Chapter 13: I18n and L10n
- Chapter 14: Ajax
- Chapter 15: Improving Application Structure
- Chapter 16: Full Text Search
- Chapter 16: Full Text Search
- Chapter 17: Deploying to Linux
- Chapter 18: Deploying to Heroku
- Chapter 19: Deploying to Docker Containers
- Chapter 20: JavaScript Magic
- Chapter 21: User Notifications
- Chapter 22: Background Tasks
- Chapter 23: Application Programming Interfaces (APIs)
Note 1: If you are looking for old versions of this course, this is here .
Note 2: If suddenly you would like to speak in support of my (Miguel) work on this blog, or simply do not have the patience to wait for a week of the article, I (Miguel Greenberg) offer a full version of this guide a packed e-book or video. For more information, visit learn.miguelgrinberg.com .
Brief repetition
After completing Chapter 1, you should have a fully working but simple web application with the following file structure:
microblog\ venv\ app\ __init__.py routes.py microblog.py To run the application, you set FLASK_APP=microblog.py in the terminal session, and then launch flask. It will launch a web server with an application that you can open by typing http://localhost:5000 / URL in the address bar of your web browser.
In this chapter, you will continue working on the same application, and, in particular, you will learn how to create more complex web pages that have a more sophisticated structure and a lot of dynamic components. If anything about the application or development process is unclear, review Chapter 1 before proceeding.
GitHub links for this chapter: Browse , Zip , Diff .
What are templates?
I want the home page of my microblogging app to have a headline that greets the user. At the moment I will ignore the fact that the application does not yet have the concept of users, as this will happen later. Instead, I'm going to use a fictitious (mock) user, which I'm going to implement as a Python dictionary, like this:
user = {'username': 'Miguel'} Creating mock objects is a useful method that allows you to focus on one part of the application, without worrying about other parts of the system that do not yet exist. I want to create the home page of my application, and I don’t want the user’s lack of system to distract me. So I just create a user object.
The view function in the application returns a simple string. Now I want to extend this return string to a full HTML page, perhaps something like this:
from app import app @app.route('/') @app.route('/index') def index(): user = {'username': 'miguel'} return ''' <html> <head> <title>Home Page - Microblog</title> </head> <body> <h1>Hello, ''' + user['username'] + '''!</h1> </body> </html>''' If you are not familiar with HTML, I recommend that you read Markup HTML on Wikipedia for a brief introduction.
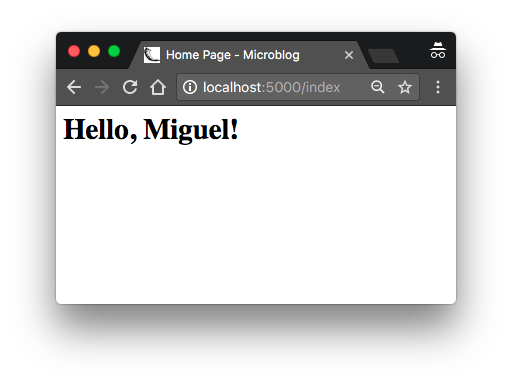
Update the presentation function as shown above and see in your browser.

I hope you will agree with me that the solution used above is not good enough. Think how complicated the code in this view will be when I get blog posts from users who are constantly changing. The application will also have more browsing features that will be associated with other URLs, so imagine if one day I decide to change the layout of this application and have to update the HTML in each view. This is clearly not an option that will scale as the application grows.
If you could keep the logic of your application separate from the layout or presentation of your web pages, then everything would be much better organized, wouldn’t it? You can even hire a web designer to create a killer website when you encode application logic in Python.
Templates help achieve this separation between presentation and business logic. In Flask, templates are recorded as separate files stored in the templates folder, which is located inside the application package. Therefore, after making sure that you are in the microblog directory, create a directory in which the templates will be stored:
(venv) $ mkdir app/templates or so:
(venv) C:\microblog>mkdir app\templates Below you can see your first template, which is similar in functionality to the HTML page returned by the index() view function above. Write this file in app/templates/index.html :
<html> <head> <title>{{ title }} - Microblog</title> </head> <body> <h1>Hello, {{ user.username }}!</h1> </body> </html> This is a standard, very simple HTML page. The only interesting thing on this page is that for dynamic content there are several placeholders enclosed in {{...}} sections. These placeholders represent parts of the page that are variables and will only be determined at run time.
Now that the page presentation has been uploaded to the HTML template, the browsing function can be simplified (file \ app \ routes.py ):
# -*- coding: utf-8 -*- from flask import render_template from app import app @app.route('/') @app.route('/index') def index(): user = {'username': 'Miguel'} return render_template('index.html', title='Home', user=user) It looks much better, right? Try this new version of the app to see how the template works. Once you load the page into your browser, you can view the source HTML code and compare it with the source template.
An operation that converts a template into a complete HTML page is called rendering. To display the template, I had to import a function that comes with a flag infrastructure called render_template() . This function takes the name of the template file and the variable argument list of the template and returns the same template, but all the placeholders in it are replaced with actual values.
The render_template() function calls the Jinja2 template Jinja2 that ships with Flask. Jinja2 replaces the blocks {{...}} with the corresponding values given by the arguments specified in the render_template() call.
Conditional statements
You have seen Jinja2 replacing placeholders with actual values during rendering, but this is just one of many powerful operations that Jinja2 supports in template files. For example, templates also support control statements defined inside {% ...%} blocks. The next version of the index.html template adds a conditional expression:
<html> <head> {% if title %} <title>{{ title }} - Microblog</title> {% else %} <title>Welcome to Microblog!</title> {% endif %} </head> <body> <h1>Hello, {{ user.username }}!</h1> </body> </html> Now the template is a bit smarter. If the viewer forgets to pass a variable value to the placeholder header, instead of showing an empty title, the template will provide a default value. You can try how this condition works by removing the title argument in the render_template() call to the view function ( \ app \ routes.py file ).
Cycles
The logged in user will probably want to see the latest posts from the connected users on the home page, so now I'm going to expand the application to support this.
Once again, I use a fake object trick to create some users and some messages to demonstrate:
# -*- coding: utf-8 -*- from flask import render_template from app import app @app.route('/') @app.route('/index') def index(): user = {'username': ' '} posts = [ { 'author': {'username': 'John'}, 'body': 'Beautiful day in Portland!' }, { 'author': {'username': 'Susan'}, 'body': 'The Avengers movie was so cool!' }, { 'author': {'username': ''}, 'body': ' !!' } ] return render_template('index.html', title='Home', user=user, posts=posts) For the presentation of custom messages, I use a list where each element is a dictionary that has the Author and Body fields. When I get to realizing the users and blog posts for real, I will try to keep these field names so that all the work that I did to design and test the homepage template using these temporary objects continued to work even when I introduced real users. and messages from the database.
On the template side, I have to solve a new problem. The message list can have any number of items. How many messages will be displayed on the page? A template cannot make any assumptions about how many records exist, so it must be ready to display as many messages as it sends the presentation in a general way.
For this type of problem, Jinja2 offers for a control structure (file app / templates / index.html):
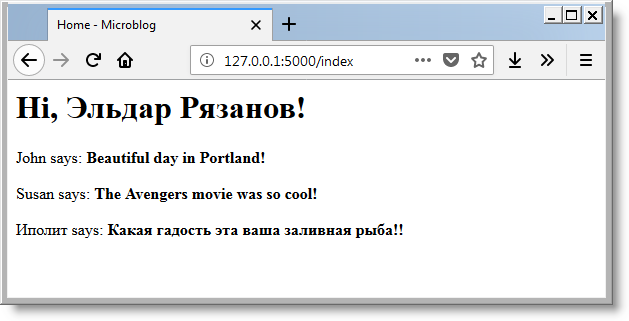
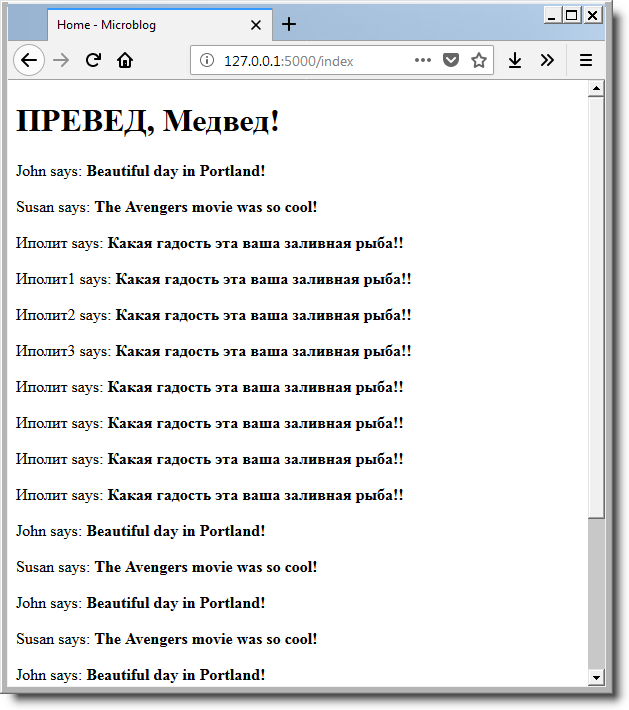
<html> <head> {% if title %} <title>{{ title }} - Microblog</title> {% else %} <title>Welcome to Microblog</title> {% endif %} </head> <body> <h1>Hi, {{ user.username }}!</h1> {% for post in posts %} <div><p>{{ post.author.username }} says: <b>{{ post.body }}</b></p></div> {% endfor %} </body> </html> Simple, isn't it? Try this new version of the application and do not forget to play with the addition of more content to the list of messages to see how the template adapts and always displays all the messages sent by the presentation function.

Note: Everything is not so simple with encodings. I tried to replace the greeting with and got an error. Watch the encoding of the index.html file. It should be stored in utf-8.

Pattern Inheritance
Most web applications have a navigation bar at the top of the page with a few frequently used links, such as a link for editing your profile, login, logout, etc. I can easily add a navigation bar to the index.html template with some HTML, but as the application grows, I will need the same navigation bar on other pages. It would not be desirable to support multiple copies of the navigation bar in many HTML templates, it is good practice to do without duplicating the code, if possible.
Jinja2 has a template inheritance function that specifically solves this problem. Essentially, you can move portions of the page layout that are common to all templates to a basic template from which all other templates are derived.
So, now I define the base template base.html , which includes a simple navigation bar, as well as the header logic that I implemented earlier. You need to write the following template in the app/templates/base.html :
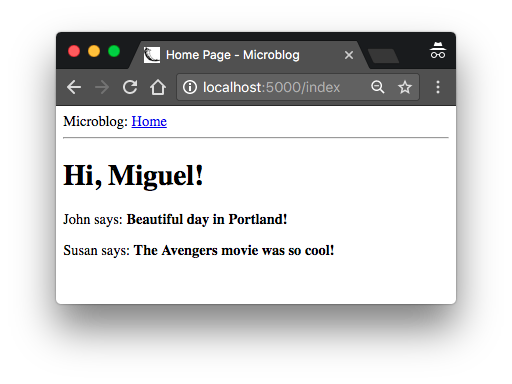
<html> <head> {% if title %} <title>{{ title }} - Microblog</title> {% else %} <title>Welcome to Microblog</title> {% endif %} </head> <body> <div>Microblog: <a href="/index">Home</a></div> <hr> {% block content %}{% endblock %} </body> </html> In this template, I used a block control operator to determine where the derived templates can be inserted. Blocks are assigned a unique name, which derived templates can refer to when they provide their content.
With the base template, I can now simplify index.html by inheriting it from base.html :
{% extends "base.html" %} {% block content %} <h1>Hi, {{ user.username }}!</h1> {% for post in posts %} <div><p>{{ post.author.username }} says: <b>{{ post.body }}</b></p></div> {% endfor %} {% endblock %} Since the base.html template will now take care of the overall structure of the page, I deleted all these elements from index.html and left only a part of the content. The extends operator establishes an inheritance link between two templates, so Jinja2 knows that when it is asked to render index.html , it must embed it in base.html . Two templates have consistent block statements with content names, and this is how Jinja2 knows how to combine two templates into one. Now, if I need to create additional pages for the application, I can create them as derived templates from the same base.html template, and this is how I can have all the pages of the application that look and look the same without duplication.

')
Source: https://habr.com/ru/post/346340/
All Articles