Preparation for programming ESP8266 on micropython
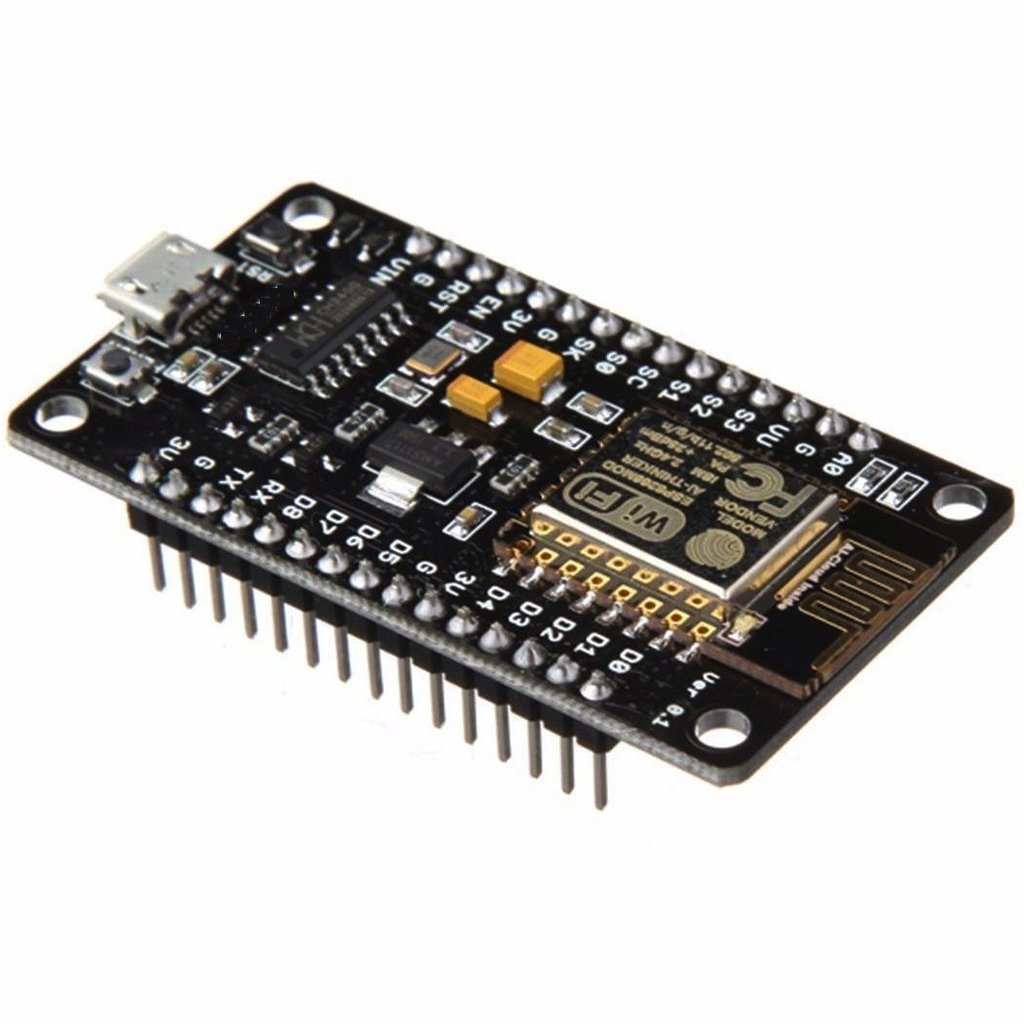
Micropython is a Python 3 implementation written in C that is optimized for microcontrollers. Nodemcu v1.0 - the most convenient board with an ESP8266 microcontroller and support for Wi-Fi. The combination of it and micropython is the power, speed and ease of writing. Since this is my first experience with micropython (and with MK in principle), I was faced with a number of nuances, the solutions to which I want to share with the reader. Examples will be for MacOS, however they are easily adaptable for Linux and Windows.
First you need to install the driver. It's easy, I will not stop here. For MacOS, I used ch340g-ch34g-ch34x-mac-os-x-driver
Now you need to upload the micropython firmware to your ESP8266. The process is described in detail and qualitatively in the micropython documentation for ESP8266, so I will only briefly highlight the main points.
Download the firmware here . I recommend the last stable build.
Install esptool:
')
Pip is a python package management system. If you do not have pip or python in general, you must first install them.
Next, clear the flash memory device:
And flashing:
Port
For example:
Pay attention, I use baud rate 115200 as standard for esp.
Great, now our microcontroller is equipped with a micropython, which means that you can connect to it and execute commands in the REPL (Read Evaluate Print Loop). In fact, this is an analogue of the command line interpreter of classical Python. You can connect via the serial port or via WiFi. Detailed usage information is available here , and I will provide it with a few comments.
For MacOS it is convenient to use picocom:
After executing the command, the console will go online.
To exit use Control-A, then Control-X (without pressing Control).
The author of the utility actively responds to issues on the githab, for someone it can play an important role. Also, starting from version 3, a non-interactive mode has been added, which allows picocom to be used in writing its own scripts.
You can also use screen:
To exit: Control-A, Control- \
Before the transition to programming, I recommend to complete the tutorial completely, it will take only a few hours, and the benefits will be tangible.
They played with the REPL, the diode blinked, TCP sockets were used. What's next? A quick way to deliver our esp code is required. We will not write everything through the REPL. IDE comes to mind immediately. So I downloaded ESPlorer 0.2.0-rc6 . Support for micropython is in active development and, as I understand it, was added quite recently, in rc3. After some time spent in this IDE, I ran into a number of bugs that prevent you from properly writing files to flash and executing code. I wrote an issue on the githab and put off ESPlorer until better times. For Windows, there are several alternatives: espcut , EsPy .
I decided to write the code in Sublime - everything is simple and clear. And how to deliver it to MK?
Fortunately, there is a wonderful ampy utility and it does just what we need - it allows you to send files through a serial connection. It also allows you to execute files and create / delete folders.
For ease of use, I wrote a simple script that is a wrapper for ampy.
He can do only two things:
The script is available on github . Put it in the folder where your code is.
To see the help, just call the script with no arguments.
ESP8266 is mainly used for simple tasks, so these simple tools will be quite enough.
So, we crafted our esp8266, set up the necessary software for communicating with the MK, and secured ourselves a quick and convenient development using ampy and ampyw, which gives us independence from IDE. Now all that is required of you is to write the code and create the device of your dreams!
Driver
First you need to install the driver. It's easy, I will not stop here. For MacOS, I used ch340g-ch34g-ch34x-mac-os-x-driver
Firmware
Now you need to upload the micropython firmware to your ESP8266. The process is described in detail and qualitatively in the micropython documentation for ESP8266, so I will only briefly highlight the main points.
Download the firmware here . I recommend the last stable build.
Install esptool:
')
pip install esptool Pip is a python package management system. If you do not have pip or python in general, you must first install them.
Next, clear the flash memory device:
esptool.py --port /dev/ttyUSB0 erase_flash And flashing:
esptool.py --port /dev/ttyUSB0 --baud 115200 write_flash --flash_size=detect 0 esp8266-20170108-v1.8.7.bin Port
/dev/ttyUSB0 needs to be replaced with your own. For MacOS, you can simply substitute /dev/$(ls /dev | grep cu.wchusbserial) and the desired port will be automatically /dev/$(ls /dev | grep cu.wchusbserial) .For example:
esptool.py --port /dev/$(ls /dev | grep cu.wchusbserial) erase_flash Pay attention, I use baud rate 115200 as standard for esp.
REPL
Great, now our microcontroller is equipped with a micropython, which means that you can connect to it and execute commands in the REPL (Read Evaluate Print Loop). In fact, this is an analogue of the command line interpreter of classical Python. You can connect via the serial port or via WiFi. Detailed usage information is available here , and I will provide it with a few comments.
For MacOS it is convenient to use picocom:
picocom /dev/$(ls /dev | grep cu.wchusbserial) -b115200 After executing the command, the console will go online.
To exit use Control-A, then Control-X (without pressing Control).
The author of the utility actively responds to issues on the githab, for someone it can play an important role. Also, starting from version 3, a non-interactive mode has been added, which allows picocom to be used in writing its own scripts.
You can also use screen:
screen /dev/$(ls /dev | grep cu.wchusbserial) 115200 To exit: Control-A, Control- \
Before the transition to programming, I recommend to complete the tutorial completely, it will take only a few hours, and the benefits will be tangible.
IDE
They played with the REPL, the diode blinked, TCP sockets were used. What's next? A quick way to deliver our esp code is required. We will not write everything through the REPL. IDE comes to mind immediately. So I downloaded ESPlorer 0.2.0-rc6 . Support for micropython is in active development and, as I understand it, was added quite recently, in rc3. After some time spent in this IDE, I ran into a number of bugs that prevent you from properly writing files to flash and executing code. I wrote an issue on the githab and put off ESPlorer until better times. For Windows, there are several alternatives: espcut , EsPy .
I decided to write the code in Sublime - everything is simple and clear. And how to deliver it to MK?
Fortunately, there is a wonderful ampy utility and it does just what we need - it allows you to send files through a serial connection. It also allows you to execute files and create / delete folders.
For ease of use, I wrote a simple script that is a wrapper for ampy.
He can do only two things:
- If called with the -f option, then it transfers to the MK all Python files that are in the same folder as the script.
- If called without parameters, all arguments are passed directly to ampy (eliminating the need to constantly specify the port in ampy).
The script is available on github . Put it in the folder where your code is.
To see the help, just call the script with no arguments.
ESP8266 is mainly used for simple tasks, so these simple tools will be quite enough.
Results
So, we crafted our esp8266, set up the necessary software for communicating with the MK, and secured ourselves a quick and convenient development using ampy and ampyw, which gives us independence from IDE. Now all that is required of you is to write the code and create the device of your dreams!
Source: https://habr.com/ru/post/345912/
All Articles