Securely sign Android builds from Jenkins
Translation https://www.detroitlabs.com/blog/2017/05/24/securely-signing-jenkins-android-builds/

The secure signature of Android assemblies in Jenkins CI (Continuous Integration, then simply CI) is a common problem. We tried several options for all the development time and each of them looked a little dirty ... except one.
First, a quick introduction: CI is a very significant tool for the development team. When it is used correctly and often, it can significantly reduce the time spent on debugging and conflict resolution. The problems are visible to the whole team and can be quickly resolved, the build results help determine the root of the problem, and testing helps prevent regression errors. CI also automates the delivery of your builds, so testers or customers instantly get the latest work results.
So, our options are:
Include the signing certificate for the build directly into the repository itself: Bad!
Only if you do not use a closed repository, do you actually open your certificate to the whole world. Even if you use a closed repository, you place the certificate on each developer's machine, which greatly increases the chances that the certificate will leak.
Upload the signing certificate to the Jenkins file system and refer to it from Gradle: Not bad ...
This is not bad because it allows us to use the minimum number of places and can be protected by the same means that regulate access to Jenkins. One caveat is that you still need to save your password and key name somewhere in the file system. Finding a way to do it safely can be tricky. This solution may also not be the easiest to use if you have several projects and several assemblies and each of them needs a certificate.
Using the plugin to sign Android apps (Android Signing Plugin): Great!
This is a great, clean storage and signing solution for your Jenkins application. The plugin uses the standard Jenkins repository to work with your certificates. Which limits the number of developers who need to know passwords, helps to store certificates safely, and allows all builds to easily access the certificate.
How to configure and use the Jenkins Android Signing Plugin:
The first thing you need to do is make sure that the Credentials Plugin is installed in your Jenkins.
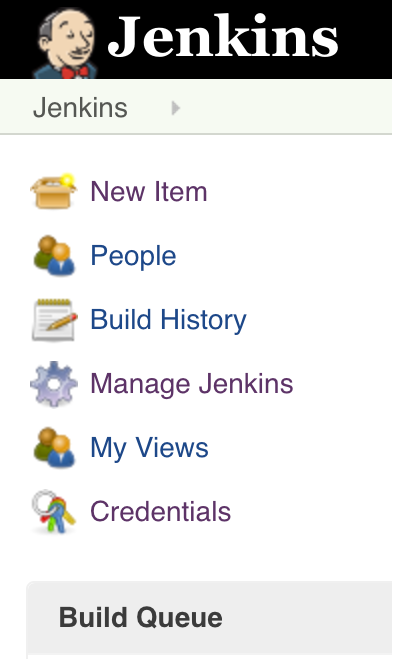
This can easily be checked by looking at the left panel in your Jenkins. If you see the "Credentials" section as shown below, then it is installed.
If you do not have the "Credentials" section, you need to remember to install the Credentials Plugin, this can be done simultaneously with the installation of the Android Signing Plugin.
Installing the plugin takes place in a few simple steps:
Select the “Manage Jenkins” section as shown below.
Select "Manage Plugins."

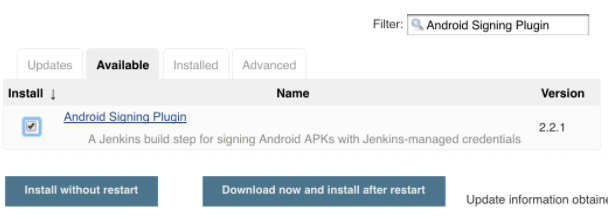
You will need to see available updates for current plugins. At the top of the screen, select the "Available" tab.
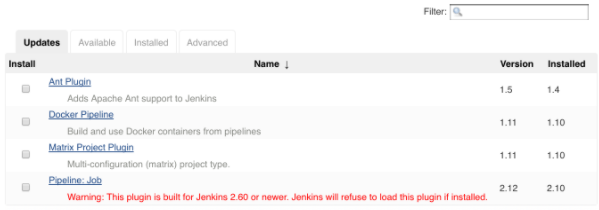
- Now you can use the search in the upper right corner in order to find the "Credentials Plugin" (If not installed) and the "Android Signing Plugin". Check the boxes on the left side for each plug-in, then click "Download now and install after restart" at the bottom of the screen.
Fine!
Now that everything is installed, you can add at least one certificate to sign applications. Detailed instructions for using the "Credentials Plugin" are not the topic of this article, but can be easily found on the Internet . You need to add one new certificate as shown below.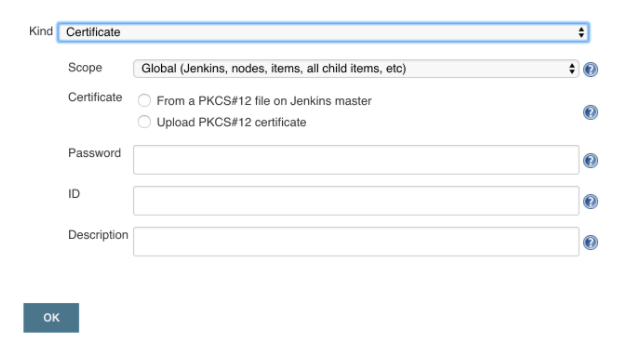
As you can see, the plugin only supports PKCS12 certificates. Unfortunately, the latest version of Android Studio gives JKS certificates that are incompatible with the plugin.
It is good that we have a convenient command line utility "keytool", which can turn our "JKS" into "PKCS12".
keytool -importkeystore -srckeystore {REPLACE_WITH_JKS_FILE} -srcstoretype JKS -deststoretype PKCS12 -destkeystore ConvertedCertificate.p12 Once you have the "PKCS12" file, you can download it. Be sure to enter the password before you upload the certificate, otherwise Jenkins will not be able to download the file. Now you are ready to use this certificate for any Android builds.
The only requirement for the source code is that you need to leave the " signingConfig " empty for the "buildType", which will be used when building Jenkins. Then an unsigned APK will be created, which can be signed by the plugin. Keep in mind that the standard debug build is signed by an automatically generated certificate.
Now everything is ready for signing applications, you need to add the step "Sign Android APKs" to your build. Below is a simple example, first we run the Gradle command to build an unsigned release build. After that, in the next step we can sign the build. You must select the certificate you would like to use from the certificate store, specify the key alias and the path to the unsigned APK.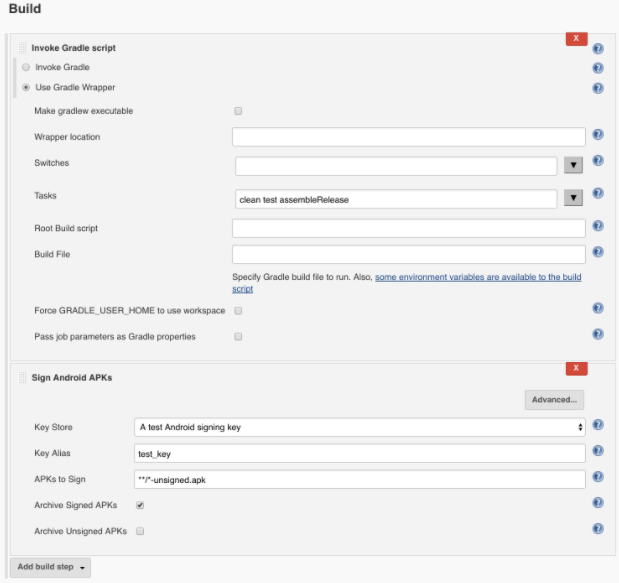
It's all! You now have a signed build ready for distribution immediately after building.
By the way, Google has its own certificate store , which partially solves the problem of safe key storage.
')
Source: https://habr.com/ru/post/345910/
All Articles