Virtual nuclear installations: full development cycle for Oculus Rift in one person (UPD 12/18/2017)
It was possible to make a very long and interesting introduction to the subject of anti-terrorism measures at critical infrastructure facilities, but this is not the main direction of Khabrkhabr, so I will try to make a brief injection, not burdened by terminology.
And yet, for those who decide to skip the long introduction, look for the subtitle "What about virtual reality?".
Who is interested only in the result and "Best practice", then immediately in the "Conclusion".
')
Update from 12/18/2017: video has been added, accelerated 4 times.
For those who can afford 20 minutes of rest, check out the video with sound in FB.
Specifically, in this case, we are talking about specialists in the protection of nuclear installations. Globally, dozens or even hundreds of thousands of specialists are waiting for primary or next training, and there are not enough training and training centers (more details below under the spoiler).
Task : We need a virtual object to visualize errors in the design of security systems, to present the best practices in the design, to work out various scenarios and practical skills in the daily operation of security tools.
PS - the task is certainly not for the final product, but for the demonstration of working technology at the largest conference in the field of nuclear safety.

Screenshots of virtual polygon and class with avatar
To show all the beauty and possibilities of using virtual reality, I needed the following:
Since I did not have any experience in developing games or applications (except for the 4 months mentioned above), I did everything according to the logic and previous small experience.
My plan was as follows:
To say that I was too optimistic, to say nothing. Of course, this plan could not be adhered to in reality, but the sequence was observed (mainly due to the 16-hour working day and the 6-day working week).
It so happened that exactly before the start of the development of this project, a conversation took place with potential customers. Part of the TK was taken from the points of interest, the rest of it consisted of what I advertised as existing solutions (of course there was nothing).
What we wanted:
Since up to this point I have never worn virtual reality glasses (even a cardbox), I had no idea what to expect inside. Before that, I believed that virtual reality is still far from comfortable use and any satisfactory sensations from its use in games or applications.
In my opinion, I was wrong. The level of graphics, the speed of reaction and the convenience of the controllers made me more than a positive impression. During the testing of Dead & Buried, Robo Recall and Toy Box, I already mentally borrowed the elements of user interaction with the menu and the world around that I liked.
In general, everything seemed very easy to understand and logical. This effect lasted exactly until a few people from the environment of the boss tried to play. It turned out that not everyone understands the game logic like me: many people were afraid to press buttons or did it chaotically without any logic and analysis of the results. Thus, it turned out that after 10 minutes of playing Robo Recall, people still did not understand where the weapon comes from and how to reload it or teleport it to a new place. This did not happen 100% of the time, but more than half was lost for a long time, which finally disappointed them and they hurriedly took off their glasses without even reaching the stage of nausea.
I spent a week more than the planned time for studying the framework, because ... I was stupid for a long time.
Thus, I came to the conclusion that I definitely need an introductory scene for educating the user in a relaxed atmosphere, where he can spend 5 minutes understanding the environment in which he found himself, and I can also experiment with what I will implement.
There were two scenes at the beginning of this stage (at the beginning of the article there are two screenshots of these two scenes):
Creating models is a very interesting process, but it can last forever. I did the first scene myself almost 80%, and, having spent a million times on low-poly models, I realized that I would not have time to make good models in the allotted time.
I decided to find the maximum of free models (it doesn't matter with or without textures) and adapt them, especially since I needed my own scans for texturing (I'll explain why later).
I managed to find in a couple of days a lot of suitable models in various formats, opening in 3d's Max. The following sites came in handy:
Of course there were others, but some of the links I can not find.
The main problems when working with ready-made models:
At that moment I already knew about LOD, but I always thought it was an automatic process. The truth was more cunning, but it was too late. Models with LOD = 1 and = 2 in the end, I did only partially and not paying much attention to their quality.
The first scene took much more time than it should have been given. In many ways, it was my fault. All the elements of the room were standard office items, of which there was a lot of free access, but for some reason I decided to do some of them myself, for which I paid an extra week of work. In addition, their number did not exceed 20 unique objects for the whole room, so even non-optimized models would fit without any problems.
The second scene already consisted of 99% of the previously downloaded models, but they were not optimized at all and there were several hundred of them.
In parallel, I had to fill the bumps in preparation for the export and import of models in Unity. In the "Conclusion" will definitely bring a few tips.
In short, it was long, tedious and nervous. The whole texture story can be divided into my first and second scenes.
The first was made according to the principle: one object - one material. Very inefficient, but allows you to achieve an incredible realistic effect.
The second was made according to the principle: 100 objects - one material.
On the Internet you can find very few options for working with atlases, so everyone comes up with their own wheel. The texture atlas allows us to use one material with a texture in Unity for multiple objects at once. At once I will make a reservation that for tiling'a - that is, for automatic copying of a piece of texture to the entire surface of an object, this method is not suitable.
My recipe is below. You can also use the inversion of this method, perhaps someone will find it more acceptable.
Since Unity allows you to use 8k textures, and Substance Painter allows you to create them, this program was chosen.
How to work with SP is fortunately not a problem to find, because there are so many good tutorials on the network, and in our case we need only basic knowledge, for which training videos from the SP developer company are enough.
In the Unity Store there were plug-ins that allowed creating atlases from the available materials automatically without physically combining objects at runtime, and their price was no higher than 30-40 cu, but I did not have a budget at all, so I did with crutches and prostheses .
During the work on the previous project, I gained little experience in writing code using Unity Script, which is C #. Knowledge, and especially skills, mine were limited to the use of various cycles and deferred functions. Often I needed to change or add scripts from the same framework for Oculus Rift (OR), but I didn’t know how to rewrite the protected variables or functions, so some ideas had to be rejected on the move or again to put crutches for which normal programmers would eat me . But as it was, so it was ... time went on, it was necessary working, and not beautiful.
The first thing I had to give up was “grabbing” objects with both hands at the same time. This could be brought to mind by the Oculus framework, but it would be wiser to use an OR-compatible plug-in for interaction in which this function has already been implemented. By this time I was already familiar with the native Oculus plugin, so I decided not to change anything and not risk it.
Doors, gates, etc. became the second time killer. - all that is spinning on hinges and should be opened by the handle. I spent a day or two to abandon this idea to a more appropriate point in time. He stopped at the option: he touched the handle with his hand - the door opened.
The third killer was a “tablet”, which the user had on his left hand and was used for inventory, informative messages, etc. I wanted to push the buttons like in real life - touching the screen, but it caused too many false clicks. It was necessary to recycle the system of triggers at the fingertips, for which there was no time. Therefore, I added a laser pointer like in Oculus Home and set up interaction at the level of pressing the trigger trigger.
The fourth killer of time was the desire to dial a PIN code by pressing buttons, and not by touching them. It looked very cool: you press a button with your finger, it sinks into the case and then only a number appears. You remove your finger and the button pops back. The problem was that the buttons were planted on Spring Joint and periodically Unity physics lost them or they flew away, etc. I brought this chip to working condition, but it was worth too much time.
Thanks to a million triggers and their simplicity. I very quickly implemented the algorithm for detecting user interaction with various objects and detecting events based on colliders and triggers. It can be very primitive, but it works clearly and quickly, although it takes a lot of “space” in the code.
Needed inventory. I really liked the idea of a wearable device like a Toy Box. What was done in the form of a tablet, as I mentioned earlier. In this case, the tablet was on the inside of the left forearm. The hands were free and the review did not close anything; at the same time, any actions in the “game” could be carried out quickly and conveniently. True for people of small stature, this turned out to be quite inconvenient, since it was necessary to stretch the arm too far from oneself.
Everything had to be logical and intuitive, and so it seemed to me. Remember I wrote that the experience of observing other players. Always remembering them, each new element or interaction option was added with the thought of the most "tight" users. By the way, the second observation of other users was that they almost never read the messages on the screen. Then I realized that I would not do without a pleasant girl’s voice.
This voice was the voice of the Win 10 speech generator and the eSpeak program. It was free, fast, understandable and even very sweet. In the end, I recorded more than 20 phrases and instructions in English that always accompanied the player and complemented the effect of presence.
Again, many things could not be added, such as the ability to press or turn off the light in the room by pressing a finger on the switch or actually press the buttons on the device to enter the PIN code. But I needed a WOW effect at least in some moments. For some interactions, I had to add colliders to each avatar hand, they worked together with Avatar SDK and generated about 50 kilobytes of garbage every frame. Because of this, it was impossible to check the application in the editor. The GC killed the entire frame rate and did not evaluate the performance of the application. In the build, things were a little better.
I will write right there about light in Unity. Everything was going well, until it turned out that creating a lightmap for individual items does not work - apparently a version bug, and baking the whole world took 8 hours to miscalculate! 8 hours to see the test result and start baking again. At lower settings, many artifacts pop up due to inconsistencies in texture resolution and shadow maps, etc.
All the light I had was "baked", so the performance problems because of it I did not have to solve. I didn’t refuse this idea, because otherwise I’d definitely go beyond the 90 fps I needed.
In general, I mastered the external light and I was satisfied with the result, but the problem appeared inside the building. I did not find out the reasons, but inside the building it was not known what happened, there was a sea of artifacts and it was scary to watch. The building was modular, I prepared modules for walls, floor, ceiling, doors and windows. Very quickly, everything was assembled with the function of attracting vertices and it was possible to quickly build the necessary room. Everything was wonderful, until all the seams came out while baking the light. That is, all modules cast shadows on all modules and created ambient occlusion on their edges. I spent 5 days trying to fix everything, but the result was the same. It was decided to simply turn off all the lighting for this building and room. It turned out to be completely flat and cartoony because of this, but there was no more time.
One of the highlights was the use of culling for a camera from a script for individual layers. Camera settings allow you to select only the general viewing range, which is very inconvenient and does not give the desired effect, but culling called from the script is very flexible.
In the last week of development, a new version of Unity was released, or rather, it was already there, but for some reason I decided to update it before the build to 2017.2.2f3. I had to update some scripts and deal with some features of Post Effects. Everything was fine until I discovered an error during the build - it was connected to standard shaders. I have long scoured the forums and found exactly the same message, but without any imputed decision. In the end, I decided to roll back to the previous version, which again took time to fix the scripts. Thank God, in the previous version everything worked and worked.
I tested everything for the first and last time before leaving for the conference, right at night. Everything worked and was beautiful, except for the place with the building where the light and shadows had to be removed, and accordingly the volume. I was pleased with my work, and it really looked very decent, but after the first visitor I learned a lot of new things, including that my vestibular apparatus is much stronger than I thought, and many more interesting things about user experience and the importance of their participation in testing applications for virtual reality.
Game development has clearly become more accessible even to non-professionals, which is in itself a very interesting fact. True, in some moments, when communicating with professional developers, who also presented similar products at the conference, I began to think about what distinguishes us not so much, but these are lyrics.
On business, a set of tips to enjoy the development and the end result with the least amount of nerves.
I was a developer, indie developer, you can say, which I am very pleased with and liked. It is possible that this experience will change something in my life in the future, because it usually happens this way: things that would never have occurred to me change life.
Behind the scenes, there are many hours of work that can not be described in one article, but I very much hope not to be limited only to this publication.
And yet, for those who decide to skip the long introduction, look for the subtitle "What about virtual reality?".
Who is interested only in the result and "Best practice", then immediately in the "Conclusion".
')
Update from 12/18/2017: video has been added, accelerated 4 times.
For those who can afford 20 minutes of rest, check out the video with sound in FB.
What kind of problem is this?
Specifically, in this case, we are talking about specialists in the protection of nuclear installations. Globally, dozens or even hundreds of thousands of specialists are waiting for primary or next training, and there are not enough training and training centers (more details below under the spoiler).
Task : We need a virtual object to visualize errors in the design of security systems, to present the best practices in the design, to work out various scenarios and practical skills in the daily operation of security tools.
PS - the task is certainly not for the final product, but for the demonstration of working technology at the largest conference in the field of nuclear safety.
Screenshots of virtual polygon and class with avatar
More on nuclear threats
Almost from the very appearance of the peaceful atom, the problem of terrorists, crime and internal violators has been one of the main topics immediately after ensuring the technical safety of operation - this is the one with which the Chernobyl disaster and the Fukushima accident are connected.
Of course, this issue is most acute in countries that possess nuclear weapons, since they must also take care of the safety of strategically important materials of direct use - such that in a short time can be turned into an improvised nuclear explosive device by the efforts of several specialists without advanced military technology.
It is in the Russian Federation and the USA that there are large testing grounds for the protection of such particularly important objects and, of course, training of specialists. In most cases, they are half closed to the public, which means that the exchange of information with the international community, although announced as open, is very limited.
In spite of all the threats to the peaceful atom, it is very actively implemented in the third world countries and simply developing countries. Today, more than 1,000 nuclear facilities for various purposes and different categories are in operation and their number continues to grow. Training centers, in turn, are so few that they can be counted on the fingers, and their capacity is not enough to reach all those in need. In addition, safety is a mandatory point for launching a reactor, but it is never dated by the state, and therefore, under the capitalist system, it is always only an expenditure part, which is always attempted to be optimized.
Multiplying and not so small costs for high turnover of personnel and the inability to use real objects for training and training future specialists, we get a set of problems in educational and training approaches that last the last 20 years and, despite the money of the whole world (and the IAEA is part of the UN where, in the literal sense, they dispose of the money of the whole world for the improvement of the life of mankind), no advanced solution was proposed until this year .
Alpha version without attachments
To show all the beauty and possibilities of using virtual reality, I needed the following:
- I, an engineer for the operation of nuclear installations, without education in the field of computer science. 30 years, experience with 3D's Max 1,5 years - 15 years ago, 4 months of experiments with Unity3D with a small build under Windows in the form of a simple model of a nuclear installation with the ability to walk around the territory and a couple of features in the form of interaction with the environment - its video presentation for 2 minutes ;
- 2 calendar months of time without other duties in the workplace and complete freedom of action regarding the graphics, code, functionality, etc .;
- Oculus Rift + Touch just purchased for this project;
- 3D's Max 2014;
- Substance Painter;
- Unity 2017;
- 0.0 $ budget for models, scripts, plugins or textures.
What about virtual reality?
Since I did not have any experience in developing games or applications (except for the 4 months mentioned above), I did everything according to the logic and previous small experience.
My plan was as follows:
- 2 days to draw up TK for oneself;
- 1 week to study the points themselves (including the study of 6 games complete with touch controllers) and Oculus Rift's Unity Sample Framework;
- 2 weeks to prepare models;
- 1 week for texturing;
- 3 weeks to build a level from models, physics, user interface and everything you need to successfully build a build and show it at a conference not from the Unity editor;
- 1 week for testing and eliminating possible bugs.
To say that I was too optimistic, to say nothing. Of course, this plan could not be adhered to in reality, but the sequence was observed (mainly due to the 16-hour working day and the 6-day working week).
TK
It so happened that exactly before the start of the development of this project, a conversation took place with potential customers. Part of the TK was taken from the points of interest, the rest of it consisted of what I advertised as existing solutions (of course there was nothing).
What we wanted:
- Realistic complex objects with PBR textures and appropriate lighting, so that from what they see the brain does not have “cube” associations;
- The movement of the character is based on Locomotion, since it was necessary to perform the tasks of inspecting extended sections and searching for previously unknown places;
- Wearable inventory with multimeter, ladder, spare parts, etc. - The usual set of equipment or engineer at the site of the perimeter;
- Optional optional elements: cameras, guard towers, detectors, etc. with further adjustment;
- Visualization of detection zones of detectors of various principles of action at the request of the user;
- Realistic interaction with objects in the style of "take the plug - insert it into the connector on the device - adjust the device with hands to the desired level of the signal on the multimeter - turn off everything, close the covers and check the operation of the device";
- Comfortable readable text, audio or video information in glasses at the right time for the user.
Oculus Rift + Touch
Since up to this point I have never worn virtual reality glasses (even a cardbox), I had no idea what to expect inside. Before that, I believed that virtual reality is still far from comfortable use and any satisfactory sensations from its use in games or applications.
In my opinion, I was wrong. The level of graphics, the speed of reaction and the convenience of the controllers made me more than a positive impression. During the testing of Dead & Buried, Robo Recall and Toy Box, I already mentally borrowed the elements of user interaction with the menu and the world around that I liked.
In general, everything seemed very easy to understand and logical. This effect lasted exactly until a few people from the environment of the boss tried to play. It turned out that not everyone understands the game logic like me: many people were afraid to press buttons or did it chaotically without any logic and analysis of the results. Thus, it turned out that after 10 minutes of playing Robo Recall, people still did not understand where the weapon comes from and how to reload it or teleport it to a new place. This did not happen 100% of the time, but more than half was lost for a long time, which finally disappointed them and they hurriedly took off their glasses without even reaching the stage of nausea.
I spent a week more than the planned time for studying the framework, because ... I was stupid for a long time.
Thus, I came to the conclusion that I definitely need an introductory scene for educating the user in a relaxed atmosphere, where he can spend 5 minutes understanding the environment in which he found himself, and I can also experiment with what I will implement.
Modeling and adaptation of free models
There were two scenes at the beginning of this stage (at the beginning of the article there are two screenshots of these two scenes):
- Training class with the course of the "young fighter" for 5 minutes and the menu to go to the next scene, which is available after the completion of training.
- A hypothetical nuclear installation with very detailed protection elements, since this is the main goal in this project.
Creating models is a very interesting process, but it can last forever. I did the first scene myself almost 80%, and, having spent a million times on low-poly models, I realized that I would not have time to make good models in the allotted time.
I decided to find the maximum of free models (it doesn't matter with or without textures) and adapt them, especially since I needed my own scans for texturing (I'll explain why later).
I managed to find in a couple of days a lot of suitable models in various formats, opening in 3d's Max. The following sites came in handy:
Of course there were others, but some of the links I can not find.
The main problems when working with ready-made models:
- A closed stack without the ability to deactivate previously imposed modifiers such as TurboSmooth, MeshSmooth, etc. As a result, a huge amount of unnecessary polygons.
- Often unpredictable mesh behavior when using the ProOptimizer modifier. The result is similar to the first item plus the inability to make a low-quality model for Unity LOD.
- Chaotic inverted polygons after converting Editable Mesh to Editable Poly. At the same time, Max himself could display everything correctly, and the fact of the defect was detected after importing into Unity.
At that moment I already knew about LOD, but I always thought it was an automatic process. The truth was more cunning, but it was too late. Models with LOD = 1 and = 2 in the end, I did only partially and not paying much attention to their quality.
The first scene took much more time than it should have been given. In many ways, it was my fault. All the elements of the room were standard office items, of which there was a lot of free access, but for some reason I decided to do some of them myself, for which I paid an extra week of work. In addition, their number did not exceed 20 unique objects for the whole room, so even non-optimized models would fit without any problems.
The second scene already consisted of 99% of the previously downloaded models, but they were not optimized at all and there were several hundred of them.
In parallel, I had to fill the bumps in preparation for the export and import of models in Unity. In the "Conclusion" will definitely bring a few tips.
Texturing
In short, it was long, tedious and nervous. The whole texture story can be divided into my first and second scenes.
The first was made according to the principle: one object - one material. Very inefficient, but allows you to achieve an incredible realistic effect.
The second was made according to the principle: 100 objects - one material.
On the Internet you can find very few options for working with atlases, so everyone comes up with their own wheel. The texture atlas allows us to use one material with a texture in Unity for multiple objects at once. At once I will make a reservation that for tiling'a - that is, for automatic copying of a piece of texture to the entire surface of an object, this method is not suitable.
My recipe is below. You can also use the inversion of this method, perhaps someone will find it more acceptable.
Since Unity allows you to use 8k textures, and Substance Painter allows you to create them, this program was chosen.
- I decided that for each object, depending on its size, I need a texture ranging in size from 512x512 px to 2048x2048 px, which means that, based on the minimum size on the side of 8192 px, fit 16 squares of 512 px. I note right away that in the course of working with Substance Painter (SP) I revised my approach and made one square not 512x512, but 1024x1024, I’ll say a little lower why.
- So, we create in the 3d editor a plane with an 8x8 mesh of polygons.

- Create a new material and apply it to our plane.
- In the Unwrap UVW modifier, we set the settings so that our virtual grid on the plane coincides with the grid in the modifier so that we can clearly see the border between different textures when we “unfold” the model.
- We export our plane as .fbx for import into SP
- Open SP, create a new project and add our plane as a low-poly model.
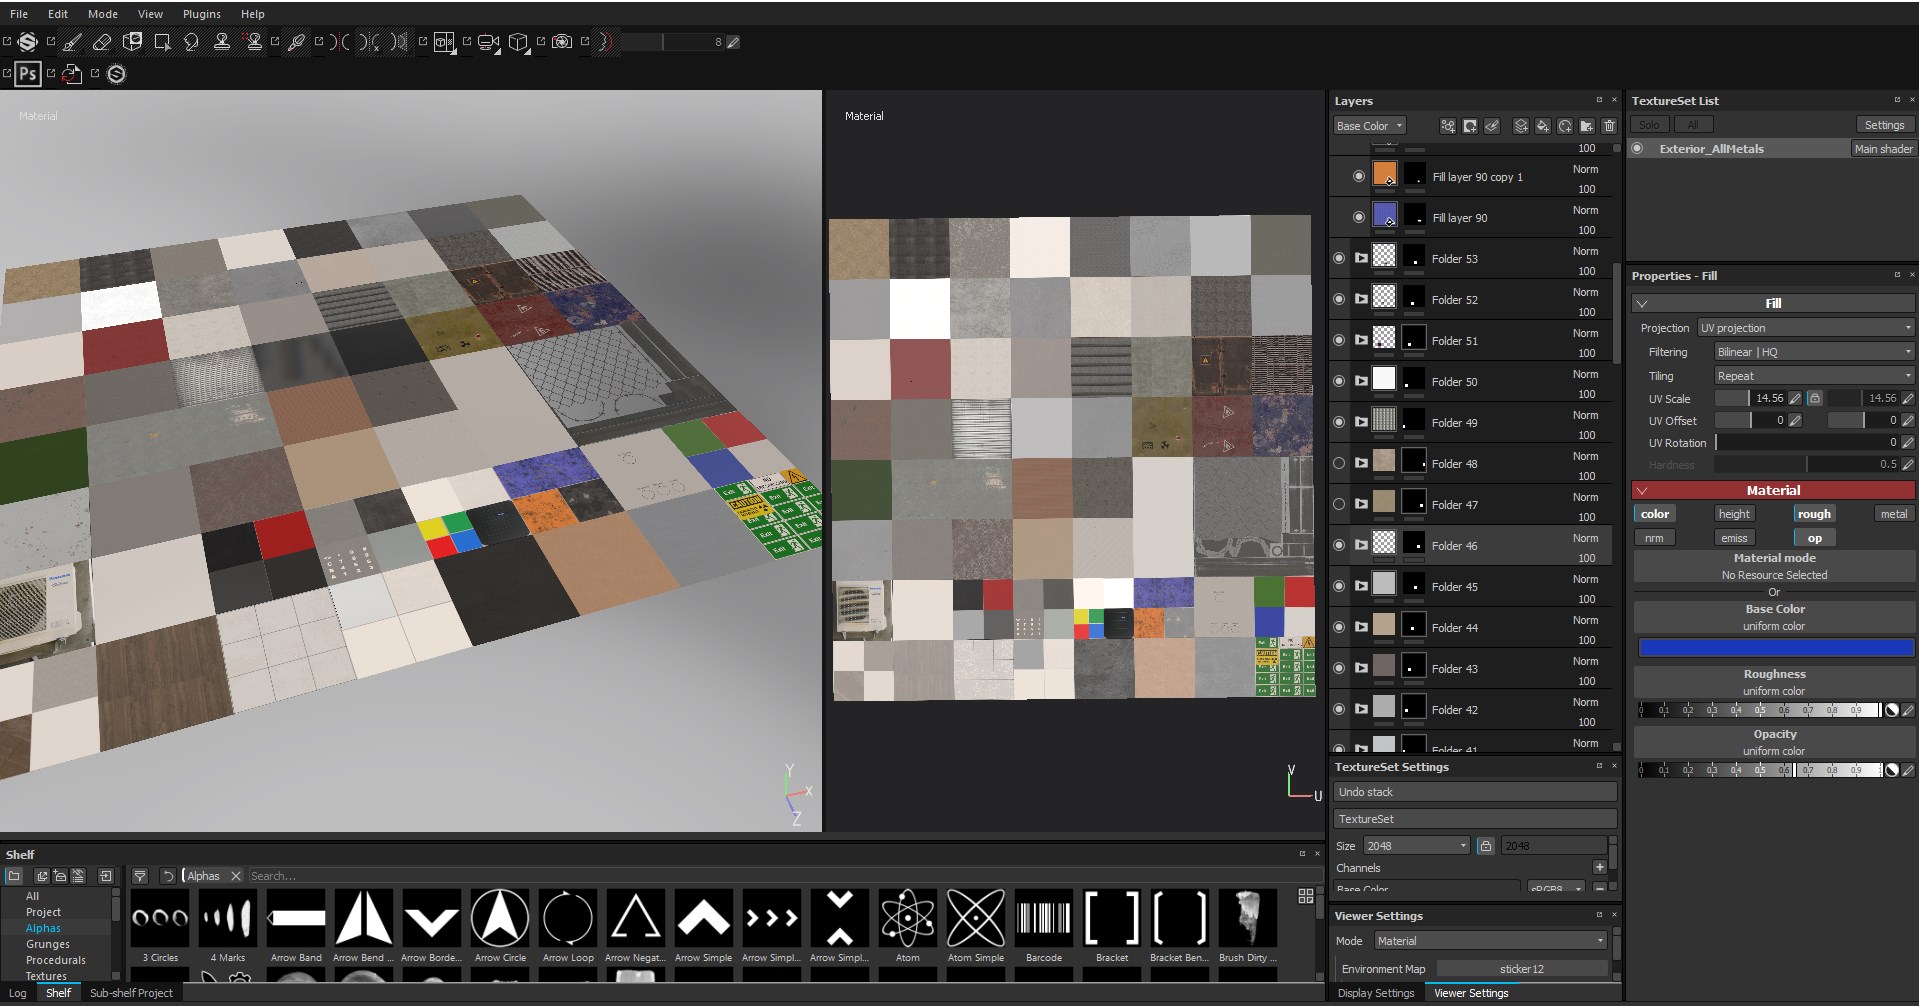
- We create 64 folders and impose black masks to everyone, with each imposing a white mask on the corresponding polygon folder.

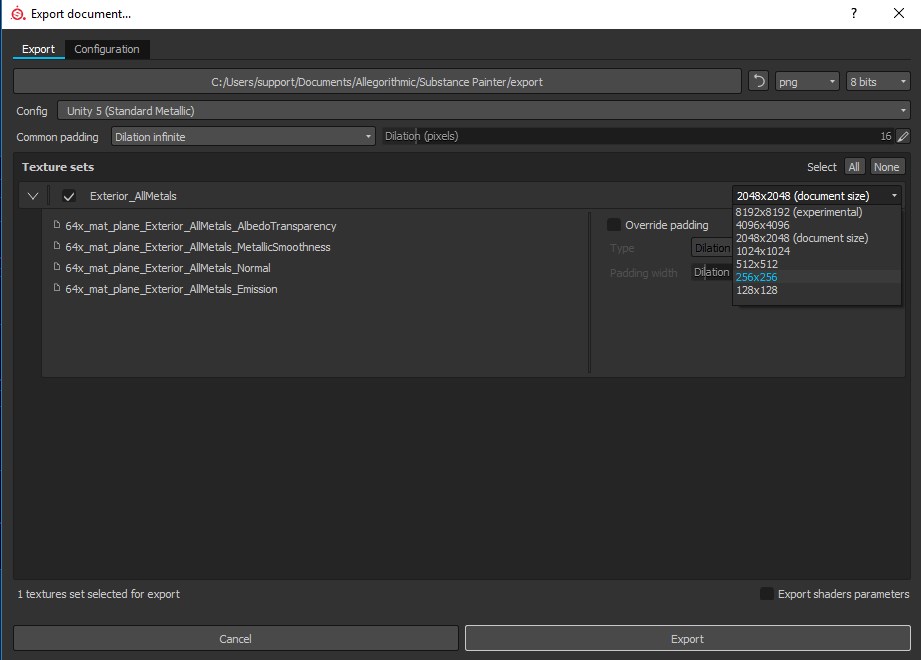
- Create the necessary textures, export them in the desired resolution (I did 8k) and import into Unity, not forgetting in the import settings to allow using them as 8k.
How to work with SP is fortunately not a problem to find, because there are so many good tutorials on the network, and in our case we need only basic knowledge, for which training videos from the SP developer company are enough.
In the Unity Store there were plug-ins that allowed creating atlases from the available materials automatically without physically combining objects at runtime, and their price was no higher than 30-40 cu, but I did not have a budget at all, so I did with crutches and prostheses .
Unity
During the work on the previous project, I gained little experience in writing code using Unity Script, which is C #. Knowledge, and especially skills, mine were limited to the use of various cycles and deferred functions. Often I needed to change or add scripts from the same framework for Oculus Rift (OR), but I didn’t know how to rewrite the protected variables or functions, so some ideas had to be rejected on the move or again to put crutches for which normal programmers would eat me . But as it was, so it was ... time went on, it was necessary working, and not beautiful.
The first thing I had to give up was “grabbing” objects with both hands at the same time. This could be brought to mind by the Oculus framework, but it would be wiser to use an OR-compatible plug-in for interaction in which this function has already been implemented. By this time I was already familiar with the native Oculus plugin, so I decided not to change anything and not risk it.
Doors, gates, etc. became the second time killer. - all that is spinning on hinges and should be opened by the handle. I spent a day or two to abandon this idea to a more appropriate point in time. He stopped at the option: he touched the handle with his hand - the door opened.
The third killer was a “tablet”, which the user had on his left hand and was used for inventory, informative messages, etc. I wanted to push the buttons like in real life - touching the screen, but it caused too many false clicks. It was necessary to recycle the system of triggers at the fingertips, for which there was no time. Therefore, I added a laser pointer like in Oculus Home and set up interaction at the level of pressing the trigger trigger.
The fourth killer of time was the desire to dial a PIN code by pressing buttons, and not by touching them. It looked very cool: you press a button with your finger, it sinks into the case and then only a number appears. You remove your finger and the button pops back. The problem was that the buttons were planted on Spring Joint and periodically Unity physics lost them or they flew away, etc. I brought this chip to working condition, but it was worth too much time.
Thanks to a million triggers and their simplicity. I very quickly implemented the algorithm for detecting user interaction with various objects and detecting events based on colliders and triggers. It can be very primitive, but it works clearly and quickly, although it takes a lot of “space” in the code.
Needed inventory. I really liked the idea of a wearable device like a Toy Box. What was done in the form of a tablet, as I mentioned earlier. In this case, the tablet was on the inside of the left forearm. The hands were free and the review did not close anything; at the same time, any actions in the “game” could be carried out quickly and conveniently. True for people of small stature, this turned out to be quite inconvenient, since it was necessary to stretch the arm too far from oneself.
Everything had to be logical and intuitive, and so it seemed to me. Remember I wrote that the experience of observing other players. Always remembering them, each new element or interaction option was added with the thought of the most "tight" users. By the way, the second observation of other users was that they almost never read the messages on the screen. Then I realized that I would not do without a pleasant girl’s voice.
This voice was the voice of the Win 10 speech generator and the eSpeak program. It was free, fast, understandable and even very sweet. In the end, I recorded more than 20 phrases and instructions in English that always accompanied the player and complemented the effect of presence.
Again, many things could not be added, such as the ability to press or turn off the light in the room by pressing a finger on the switch or actually press the buttons on the device to enter the PIN code. But I needed a WOW effect at least in some moments. For some interactions, I had to add colliders to each avatar hand, they worked together with Avatar SDK and generated about 50 kilobytes of garbage every frame. Because of this, it was impossible to check the application in the editor. The GC killed the entire frame rate and did not evaluate the performance of the application. In the build, things were a little better.
I will write right there about light in Unity. Everything was going well, until it turned out that creating a lightmap for individual items does not work - apparently a version bug, and baking the whole world took 8 hours to miscalculate! 8 hours to see the test result and start baking again. At lower settings, many artifacts pop up due to inconsistencies in texture resolution and shadow maps, etc.
All the light I had was "baked", so the performance problems because of it I did not have to solve. I didn’t refuse this idea, because otherwise I’d definitely go beyond the 90 fps I needed.
In general, I mastered the external light and I was satisfied with the result, but the problem appeared inside the building. I did not find out the reasons, but inside the building it was not known what happened, there was a sea of artifacts and it was scary to watch. The building was modular, I prepared modules for walls, floor, ceiling, doors and windows. Very quickly, everything was assembled with the function of attracting vertices and it was possible to quickly build the necessary room. Everything was wonderful, until all the seams came out while baking the light. That is, all modules cast shadows on all modules and created ambient occlusion on their edges. I spent 5 days trying to fix everything, but the result was the same. It was decided to simply turn off all the lighting for this building and room. It turned out to be completely flat and cartoony because of this, but there was no more time.
One of the highlights was the use of culling for a camera from a script for individual layers. Camera settings allow you to select only the general viewing range, which is very inconvenient and does not give the desired effect, but culling called from the script is very flexible.
Last week and build
In the last week of development, a new version of Unity was released, or rather, it was already there, but for some reason I decided to update it before the build to 2017.2.2f3. I had to update some scripts and deal with some features of Post Effects. Everything was fine until I discovered an error during the build - it was connected to standard shaders. I have long scoured the forums and found exactly the same message, but without any imputed decision. In the end, I decided to roll back to the previous version, which again took time to fix the scripts. Thank God, in the previous version everything worked and worked.
I tested everything for the first and last time before leaving for the conference, right at night. Everything worked and was beautiful, except for the place with the building where the light and shadows had to be removed, and accordingly the volume. I was pleased with my work, and it really looked very decent, but after the first visitor I learned a lot of new things, including that my vestibular apparatus is much stronger than I thought, and many more interesting things about user experience and the importance of their participation in testing applications for virtual reality.
Conclusion
Game development has clearly become more accessible even to non-professionals, which is in itself a very interesting fact. True, in some moments, when communicating with professional developers, who also presented similar products at the conference, I began to think about what distinguishes us not so much, but these are lyrics.
On business, a set of tips to enjoy the development and the end result with the least amount of nerves.
Before developing
- Unity coaches constantly in their presentations repeat that you first need to make the game interesting, and only then work on optimization. I do not agree with this statement at least for VR, because 80% of the optimization is already at the design stage and long before working with Unity. If you ignore this moment, then at the end of the development it will be impossible to achieve the required framerate of 90 fps.
- Make sketches of all the scenes, including the menu. Since you have to use world-space canvas with VR and most likely not one, their initially thoughtful design can also save a fraction or several ms of rendering time
- Think ahead of the layout of the scene and divide it into several plans. Later you can “bake” the far plan in your skybox (it may take several repetitions), make the middle scene static and apply one texture atlas for it, and optimize all nearby objects and active elements with the most appropriate techniques.
Initial scene:
Scene with an active distance plan: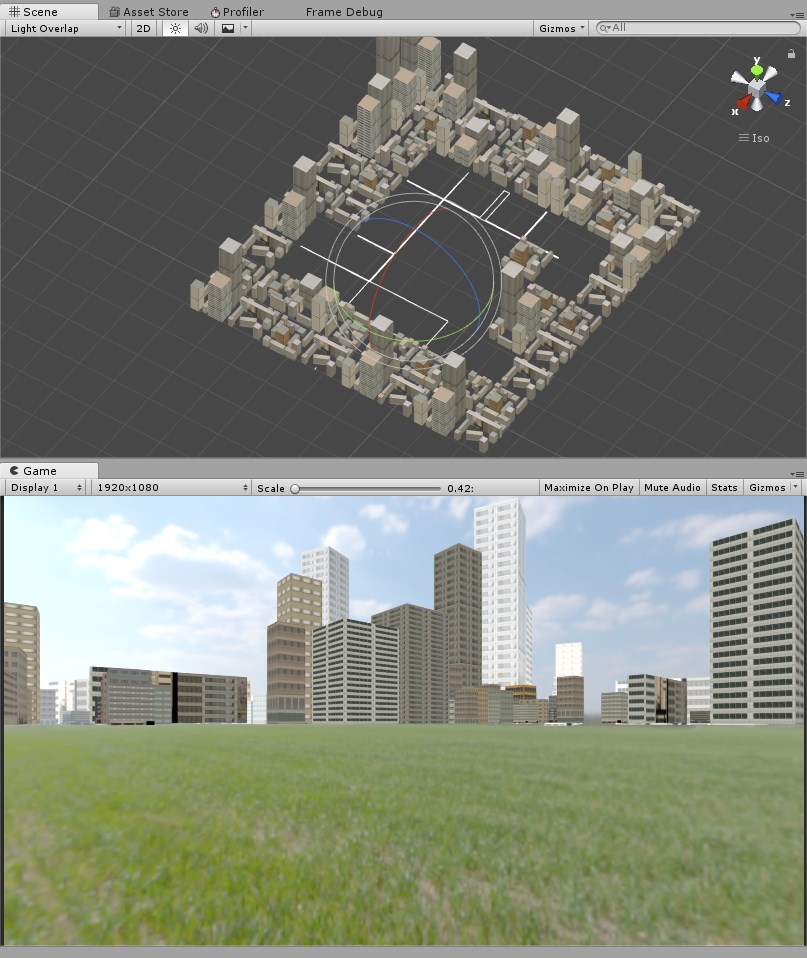
Scene with an active close-up and background after 2 procedures:
Modeling
- If you have a budget for the model, buy them. Developing your models makes sense only when you need an absolutely unique character or object. Most everyday things can be found for free with good detail.
- Be sure to create at least one version of the model with the number of polygons 10-15 times smaller than the original. It comes in handy during the development phase of Unity.
- Adjust all models to one scale so that when importing / exporting, do not change the scale factors in Unity, and even more so not to change the Scale values in the Transform class.
- Export all models only with the position (0,0,0) in absolute coordinates, and forward exhibited along the Z axis, if you set the Y axis as vertical in the export settings. Also move the Pivot point to the most advantageous place to use. This is especially true of objects to which later external forces and connections will be applied.
- Do not forget to reset the Transform / Scale after working on the model, otherwise the final scale value may cause unpleasant consequences in Unity.
- Create 1 or 2 models with a reduced number of polygons and center it with the parent. Export the parent and child models together so that after adding to Unity you don’t have to put them in one point again.
- Check the model in Unity immediately after export, so that you do not return to the modeling stage later.
Texturing
- For VR, the effect of using Height textures is minimal and is not recommended at all for high-quality optimization.
- Use square textures with a resolution of 128x128. The video card will process such data faster than random textures with a resolution of 1070x981.
- Atlases textures your all. The amount of materials used should be kept to a minimum.
Unity
- All decorations must be marked as static objects, and all objects that will change their position by a script or physics command must have the Rigidbody component.
- skybox , .
- () . , Dead&Buried Thump Stick 3 . , «» .
- Unity. , , Enable GPU Instancing , .
- Oculus recommends no more than 100 Draw Calls and no more than 1000 Batch for the required speed. Depending on the PC you use, you can get 90 frames per second with 400 Draw Calls and 3000 Batch, as in my case.
I was a developer, indie developer, you can say, which I am very pleased with and liked. It is possible that this experience will change something in my life in the future, because it usually happens this way: things that would never have occurred to me change life.
Behind the scenes, there are many hours of work that can not be described in one article, but I very much hope not to be limited only to this publication.
Source: https://habr.com/ru/post/344570/
All Articles