WiFiBeat: We detect suspicious traffic in a wireless network

In this article we will talk about WiFiBeat, an agent that can send 802.11 frames to Elasticsearch, where we can analyze them, build graphs and detect attacks. This whole system is built entirely on free software.
Introduction
→ Official utility website
→ GitHub
WiFiBeat allows you to work with a Wi-Fi adapter in monitor mode, create objects from JSON frames and send them to the database of the analytical engine Elasticsearch . In addition, WiFiBeat can read frames from a PCAP file.
The analysis of the collected information takes place in another Elastic free product - the Kibana visualizer.
')
WiFiBeat officially works steadily on Ubuntu 16.04, but, of course, it can be run on other distributions, however, there may be difficulties with dependencies and the inconsistency of the versions of the libraries under which the utility was written. We will use the 64-bit Ubuntu 16.04, which is connected to the USB Wi-Fi adapter TP-LINK TL-WN722N in monitor mode, to launch WiFiBeat.
Elasticsearch and Kibana will be deployed on 64-bit Debian 9.
Installing WiFiBeat
The installation process is described in detail on GitHub .
Install libtins
wget https://github.com/mfontanini/libtins/archive/v3.5.tar.gz tar -zxf v3.5.tar.gz cd libtins-3.5 apt-get install libpcap-dev libssl-dev build-essential libboost-all-dev mkdir build cd build cmake ../ -DLIBTINS_ENABLE_CXX11=1 make make install ldconfig Installing missing packages in the system
apt-get install libyaml-cpp-dev libpoco-dev rapidjson-dev libtsan0 libboost-all-dev libb64-dev libwireshark-data build-essential libnl-3-dev libnl-genl-3-dev libnl-idiag-3-dev Install Codelite to build WiFiBeat
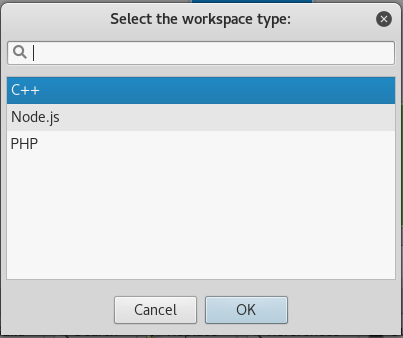
apt-get install codelite codelite-plugins Run the codelite and create a new workspace

C ++ type
Remember the directory
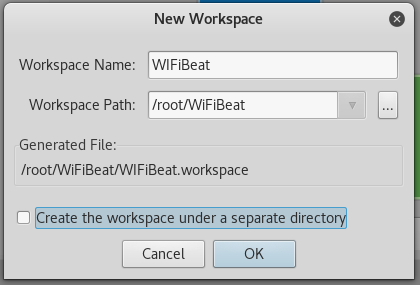
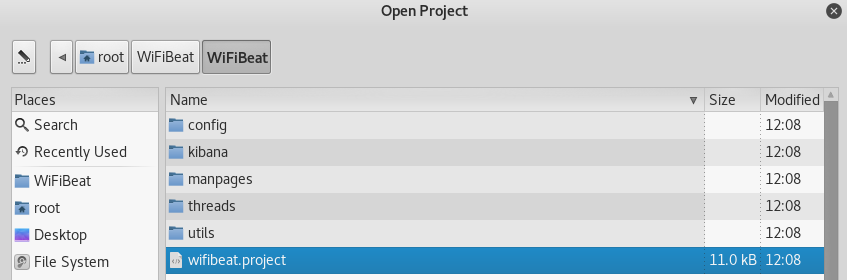
When the workspace is created, go to the directory and download the WiFiBeat and libraries from GitHub.
cd /root/WiFiBeat git clone https://github.com/WiFiBeat/WiFiBeat git clone https://github.com/WiFiBeat/elasticbeat-cpp git clone https://github.com/WiFiBeat/simplejson-cpp Add all 3 projects to our workspace in codelite
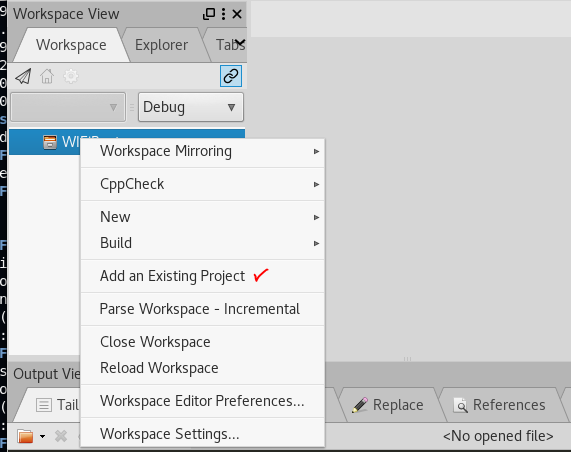
The result should be the following

After double clicking on wifibeat in the project list, it should stand out
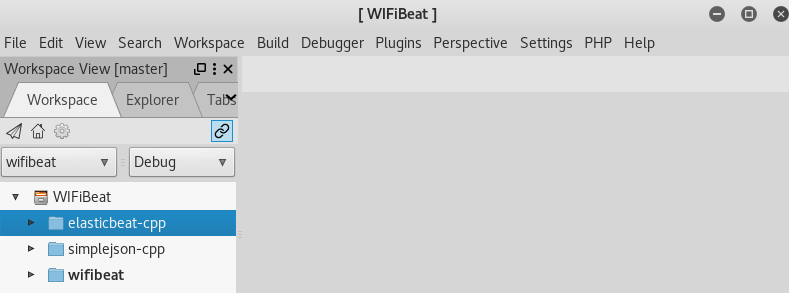
Right click on wifibeat select Build

Choose a compiler if not selected, and again Build
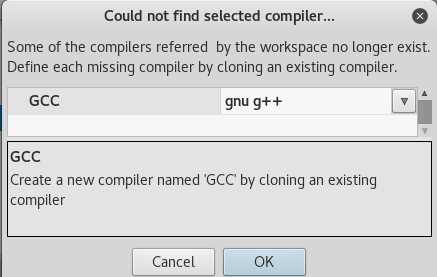
If all the dependencies are installed in the system and you did everything correctly before this, then at the end of the compilation process you will see a message about the absence of errors.
====0 errors, 2 warnings, total time: 00:01:13 seconds==== Customization
The installation process for Elasticsearch and Kibana will not be covered in this article. There are enough materials on this topic on the net. We assume that they work on the machine 192.168.1.30, and WiFiBeat on the machine 192.168.1.31. Elasticsearch listens on HTTP port 9200 and does not require authentication.
By car 192.168.1.31 I connected the Wi-Fi adapter and put it into monitor mode.
In the system, it is displayed as mon0.
From the directory with WiFiBeat we copy the configuration file to etc and edit
cp wifibeat.yml /etc vi /etc/wifibeat.yml This file is well documented, briefly go through the main options.
I'm going to analyze the traffic of one network operating on the fifth channel of the 2.4 GHz band.
Therefore, I leave one entry in the interface settings. It is possible to analyze several channels at once and for each set the listening time.
wifibeat.interfaces.devices: mon0: [5] Delete everything from the Output file section
In the section with PCAP-filters, I ask the following
wifibeat.interfaces.filters: mon0: type mgt Here filters are specified as in Wireshark , and in this case I indicate that I am only interested in 802.11 frames. These include:
- Authentication frame
- Deauthentication frame
- Association request frame
- Association response frame
- Reassociation request frame
- Reassociation response frame
- Disassociation frame
- Beacon frame
- Probe request frame
- Test response frame
- Request to Send (RTS) frame
- Clear to Send (CTS) frame
- Acknowledgment (ACK) frame
I commented out everything in the sections Local file and Decryption, I will not need the encryption keys in my example and I will not read from the PCAP file either.
I will not change anything in the Queues section and in the Outputs section I will set the address and port of Elasticsearch.
output.elasticsearch: enabled: true protocol: "http" # Array of hosts to connect to. hosts: [ "192.168.1.30:9200" ] Save and go to the directory with WiFiBeat and the Debug subdirectory. This should contain the compiled wifibeat executable.
Launch
We start Elasticsearch and Kibana by car 192.168.1.30. Make sure that port 9200 (Elasticsearch) and Kibana (5601) are tapped.
On the machine 192.168.1.31 we verify that we did not make mistakes in the configuration
./wifibeat -d You should see the parsing of the configuration file. If there are errors, wifibeat will report the problem. If everything is good, then run
./wifibeat -f The -f switch allows you to run wifibeat in non-daemon mode. For us, this is more convenient.
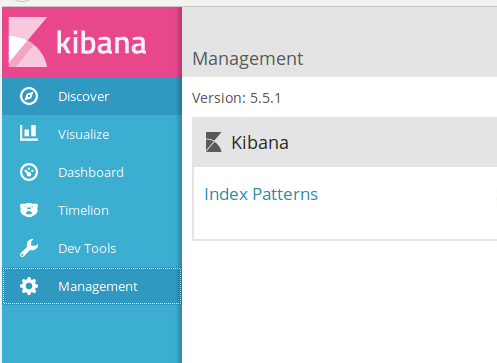
Now, if you open Kibana and check the indexes, you should see that the new wifibeat index has appeared *

Let's set up Kibana. Go to Management, Index Patterns
Create a new template.
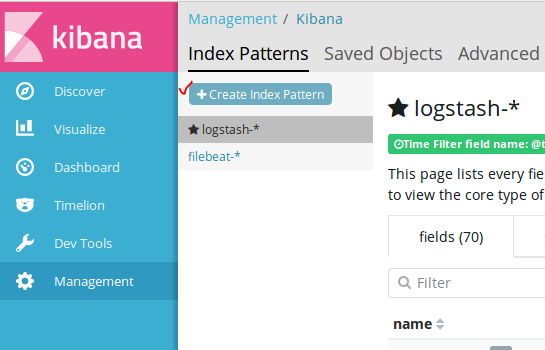

We mark it as the main

Now import the Dashboards and Visualizations that come with WiFiBeat
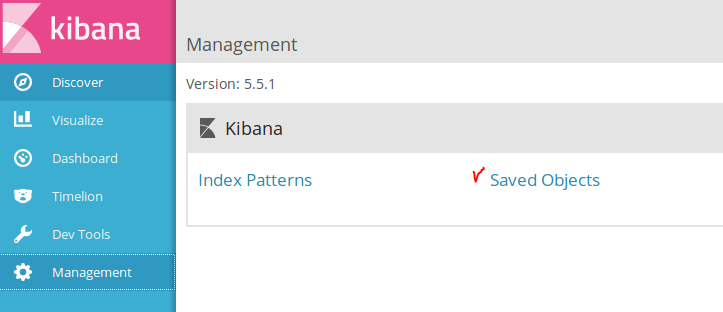

Select the kibana.json file from the WiFiBeat / kibana directory
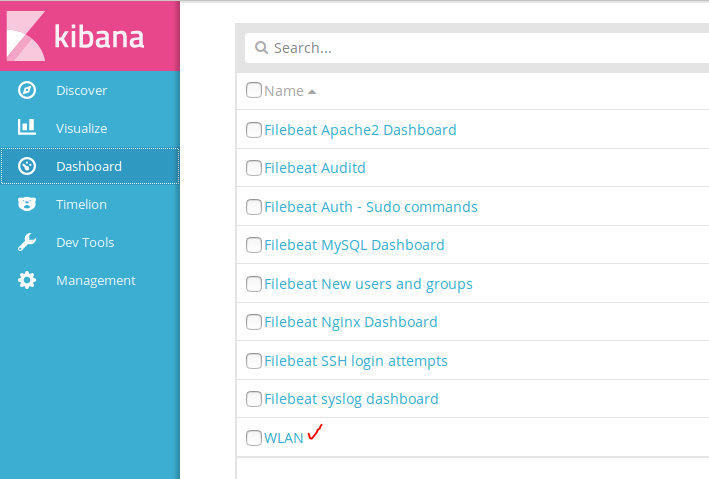
If the import was successful, you can go to the Dashboard tab and find WLAN there.
If you do not use filters in wifibeat.yml, it will look like this
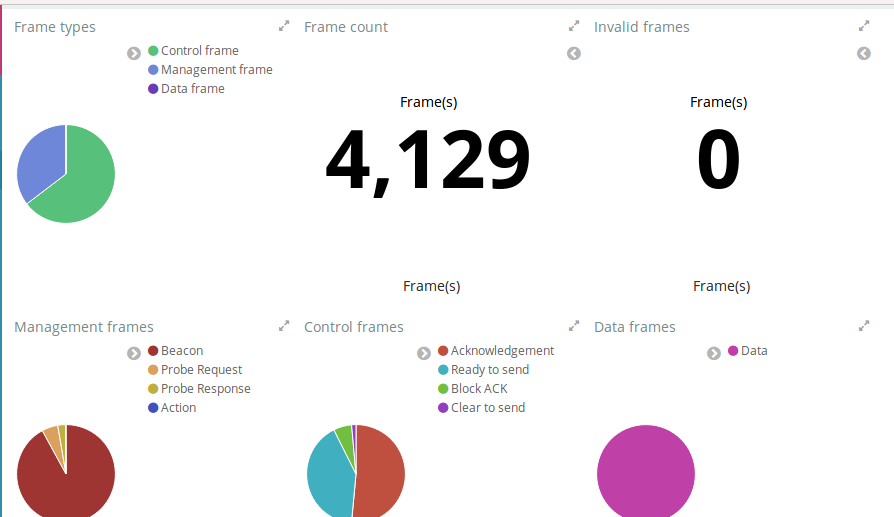
With filters (in our case), we will not see data on Control Frames and Data Frames.
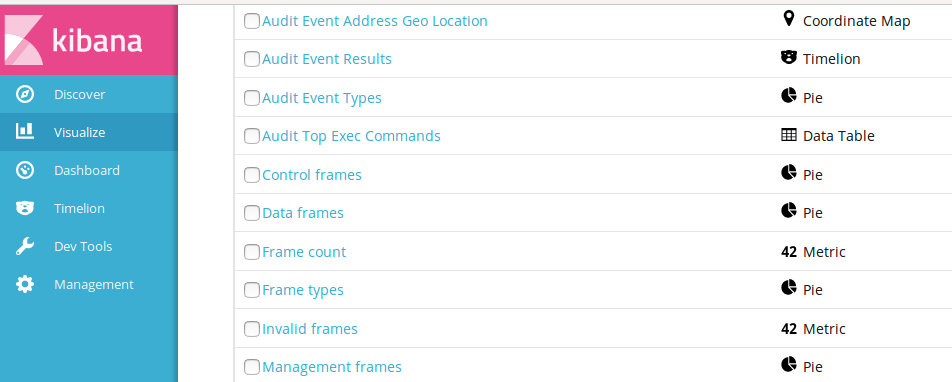
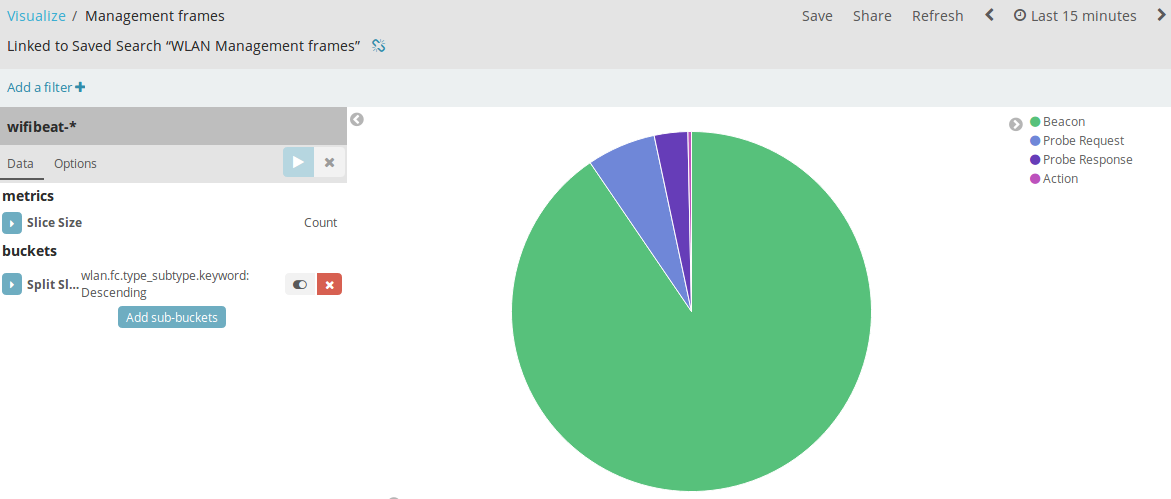
In addition to the dashboards, we have new visualizations.
In custody
Further, using another component of the Elasitc package - X-Pack, you can configure actions when it detects, say a burst of deauthentication frames, which can mean a DoS attack or an attempt to get a handshake for brute force. In this way, it is possible to assemble a system for detecting attacks on a wireless network.
Source: https://habr.com/ru/post/335134/
All Articles