How To Make Progressive Web Apps: A Beginner's Guide
Svetlana Shapovalova, the editor of the blog " Netologii ", adapted the article by user uve , which tells how to make Progressive Web Apps.
I'm sure you've heard of Progressive Web Apps, or PWA for short. I will not go into details about what it is and how it works. A simple PWA definition, which can be added to the main screen of the phone, will work for our purposes, and it will work offline.
')
I know HTML, CSS, JavaScript and I can use GitHub. However, I am still new to web development and I don’t always want to delve deeply into the principles of this or that phenomenon. Most often, I just need a clear way to do the right thing, without looking at tons of articles. Therefore, I hope that this post will give you everything you need to create your own PWA.
So, to make PWA, you need a website. Here it is assumed that you are able to do sites that are highly scalable on all screens and devices. Fortunately, if you do not know how, you can take a template. I like the ones on HTML5 UP and Start Bootstrap . Select and download a theme, replacing all the content with your own in index.html. You can even change colors if you have the courage to get into CSS.
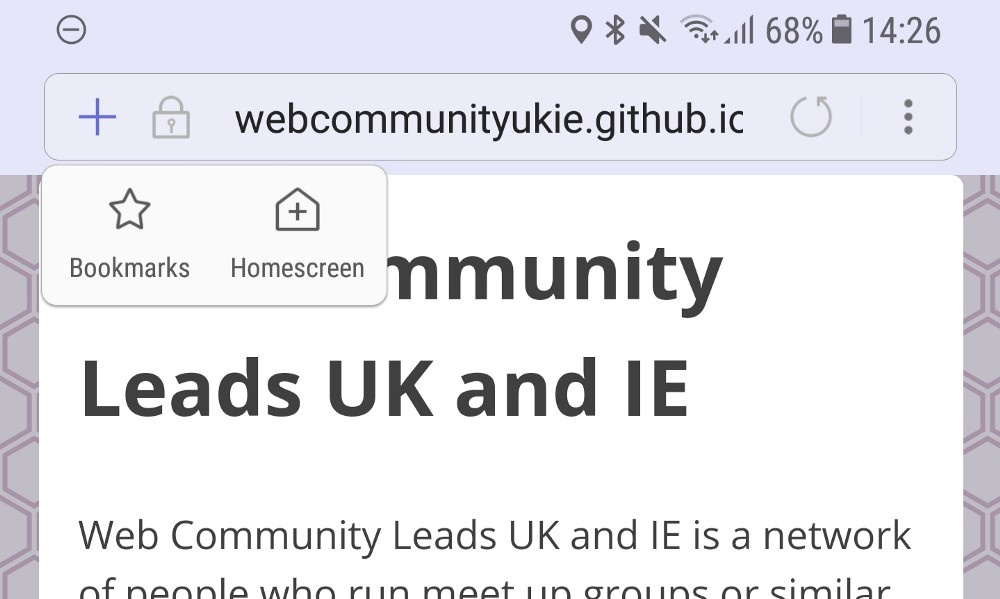
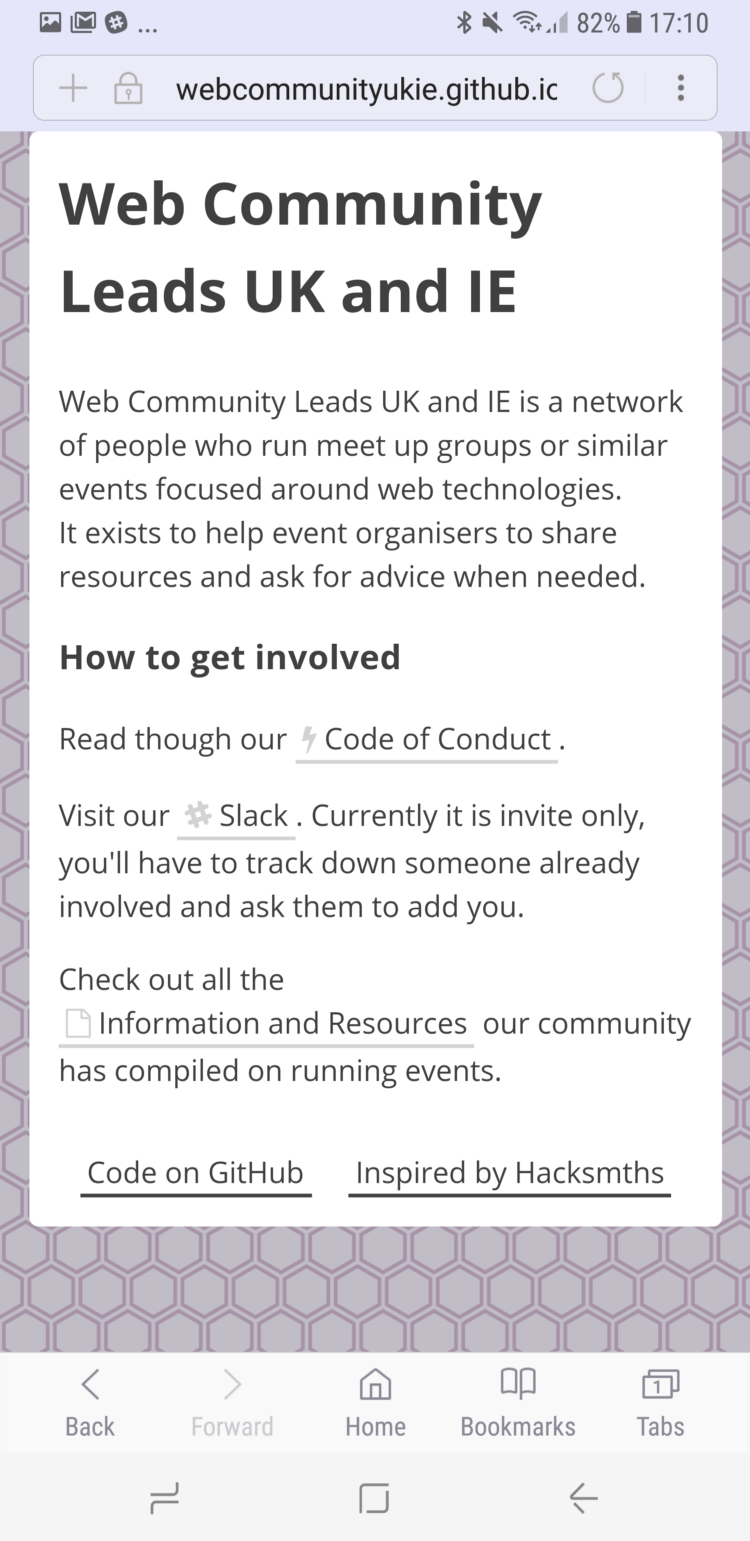
For my project, I made Landing Web Community Leads UK and IE . Most users don't need it in the PWA format, and I don't expect someone to add it to themselves. I just needed an example of a small and uncomplicated website.
I liked Hacksmiths , and since it was open source, I downloaded it and gutted it. Also saved a link to it and to the code so that you can branch out.
Now that you have a website, you can turn it into PWA. What is needed for this, I will tell further.
To check if the site works as PWA, you can take the Lighthouse . Lighthouse is an extension for Chrome that will show how PWA is fit and whether it can be improved.
After installation, open the site and click the beacon icon in the upper right corner of the browser, and then “Generate Report”. After a few seconds, a new tab with information about the site will open: you can read it all, or you can focus on the numbers on the top and ignore the rest:

The results of Lighthouse 36/100 before the start of work is not so bad, considering that I haven’t done anything with the site yet
The site will be located on the screen, which means you need an icon. No need to be a designer to make a good logo. For most small projects, I go to the bottom project and look for a couple of icons that I like. Then I combine them with the help of GIMP and add a background. Of course, you can use any other method, the main thing is to make sure that the icon is square.

My icon. With hindsight I understand that it was necessary to round the corners
You now have an app icon. It's time to attach it to the site. I did this with an online icon generator . Feed him a badge, and he spits out a bunch of different sized versions spiced with HTML code. Further:
- download the file that the generator will offer you, and unzip it;
- put the icons in the folder with the rest of your site;
- add the code issued by the generator to the from the index.html file;
- make sure the path to the icons works. I put them all in a subfolder, so I had to add “icons /” to each line.

The next thing to do is create a manifest. Manifest is a file containing data about the site: name, color theme, information about icons. We already have a manifesto created by the icon generator, but we will expand it.
Go to the manifest generator and fill out the information about the site. If you are not sure about something, leave the default value.
There is JSON data on the right side of the page. Copy and paste them on top of your manifest.json file, making sure that the formatting does not break: you may need to add a comma or delete a bracket somewhere. My manifesto ultimately looks like this . Run the Lighthouse again and see if the manifest works.

Lighthouse data after adding manifest and icons
Service worker is another file that we add to our project, it will allow the site to work offline. Having a service worker is also a requirement of PWA, so it is definitely necessary.
Service worker is a rather complicated thing. Fortunately, I was recommended to try the sw-toolbox and gave a link to the code. I copied the code and slightly simplified it by deleting one of the additional JavaScript files, instead registering everything in the service worker.
You can create a service worker in three steps.
- Register the service worker by adding this code to your index.html:
- Add sw-toolbox to your project - just drop this file into the root folder.
- Create a new file, name it “sw.js” and paste this into it:
Make sure all the file paths look correct, edit the original documentation, and list all the files you want to save offline. I only use index.html and style.css for my site, but you may have others.
Now test the site again with the Lighthouse:

After adding service worker - tested on localhost
If you want the service worker to do something other than simply saving certain pages, for example, to display a specific offline page when there is no Internet access, try pwabuilder , it has several different service worker scripts that you can use.
Now that you have PWA, it's time to share it with the world. I found the easiest way to do it for free and safely - through GitHub Pages. The GitHub GUI helps you put your code on Github, create a repository, and put code into it. After that, find your repository on the site, go to the settings, scroll down and turn on GitHub Pages by selecting the master branch. Must provide a live URL to your PWA.
Now the Lighthouse results are better, and you can share your site with friends or download it on the phone screen:

Lighthouse results after posting on GitHub Pages
→ Code
→ Ready site
The site looks exactly the same as at the beginning, but when viewed through Samsung Internet, the address bar changed to a light purple theme color. Appeared the plus icon, which allows you to add a site to the main screen, open it to full screen and use offline.
In the article I told far from everything about PWA: you can, for example, send push notifications when new content comes out. Learn more about PWA here .
I'm sure you've heard of Progressive Web Apps, or PWA for short. I will not go into details about what it is and how it works. A simple PWA definition, which can be added to the main screen of the phone, will work for our purposes, and it will work offline.
')
I know HTML, CSS, JavaScript and I can use GitHub. However, I am still new to web development and I don’t always want to delve deeply into the principles of this or that phenomenon. Most often, I just need a clear way to do the right thing, without looking at tons of articles. Therefore, I hope that this post will give you everything you need to create your own PWA.
So, to make PWA, you need a website. Here it is assumed that you are able to do sites that are highly scalable on all screens and devices. Fortunately, if you do not know how, you can take a template. I like the ones on HTML5 UP and Start Bootstrap . Select and download a theme, replacing all the content with your own in index.html. You can even change colors if you have the courage to get into CSS.
For my project, I made Landing Web Community Leads UK and IE . Most users don't need it in the PWA format, and I don't expect someone to add it to themselves. I just needed an example of a small and uncomplicated website.
I liked Hacksmiths , and since it was open source, I downloaded it and gutted it. Also saved a link to it and to the code so that you can branch out.
Now that you have a website, you can turn it into PWA. What is needed for this, I will tell further.
Test PWA
To check if the site works as PWA, you can take the Lighthouse . Lighthouse is an extension for Chrome that will show how PWA is fit and whether it can be improved.
After installation, open the site and click the beacon icon in the upper right corner of the browser, and then “Generate Report”. After a few seconds, a new tab with information about the site will open: you can read it all, or you can focus on the numbers on the top and ignore the rest:
The results of Lighthouse 36/100 before the start of work is not so bad, considering that I haven’t done anything with the site yet
Make an application icon
The site will be located on the screen, which means you need an icon. No need to be a designer to make a good logo. For most small projects, I go to the bottom project and look for a couple of icons that I like. Then I combine them with the help of GIMP and add a background. Of course, you can use any other method, the main thing is to make sure that the icon is square.
My icon. With hindsight I understand that it was necessary to round the corners
You now have an app icon. It's time to attach it to the site. I did this with an online icon generator . Feed him a badge, and he spits out a bunch of different sized versions spiced with HTML code. Further:
- download the file that the generator will offer you, and unzip it;
- put the icons in the folder with the rest of your site;
- add the code issued by the generator to the from the index.html file;
- make sure the path to the icons works. I put them all in a subfolder, so I had to add “icons /” to each line.
Register manifest
The next thing to do is create a manifest. Manifest is a file containing data about the site: name, color theme, information about icons. We already have a manifesto created by the icon generator, but we will expand it.
Go to the manifest generator and fill out the information about the site. If you are not sure about something, leave the default value.
There is JSON data on the right side of the page. Copy and paste them on top of your manifest.json file, making sure that the formatting does not break: you may need to add a comma or delete a bracket somewhere. My manifesto ultimately looks like this . Run the Lighthouse again and see if the manifest works.
Lighthouse data after adding manifest and icons
Add service worker
Service worker is another file that we add to our project, it will allow the site to work offline. Having a service worker is also a requirement of PWA, so it is definitely necessary.
Service worker is a rather complicated thing. Fortunately, I was recommended to try the sw-toolbox and gave a link to the code. I copied the code and slightly simplified it by deleting one of the additional JavaScript files, instead registering everything in the service worker.
You can create a service worker in three steps.
- Register the service worker by adding this code to your index.html:
<script> if ('serviceWorker' in navigator) { window.addEventListener('load', function() { navigator.serviceWorker.register('/sw.js').then( function(registration) { // Registration was successful console.log('ServiceWorker registration successful with scope: ', registration.scope); }, function(err) { // registration failed :( console.log('ServiceWorker registration failed: ', err); }); }); } </script> - Add sw-toolbox to your project - just drop this file into the root folder.
- Create a new file, name it “sw.js” and paste this into it:
'use strict'; importScripts('sw-toolbox.js'); toolbox.precache([“index.html”,”style/style.css”]); toolbox.router.get('/images/*', toolbox.cacheFirst); toolbox.router.get('/*', toolbox.networkFirst, { networkTimeoutSeconds: 5}); Make sure all the file paths look correct, edit the original documentation, and list all the files you want to save offline. I only use index.html and style.css for my site, but you may have others.
Now test the site again with the Lighthouse:
After adding service worker - tested on localhost
If you want the service worker to do something other than simply saving certain pages, for example, to display a specific offline page when there is no Internet access, try pwabuilder , it has several different service worker scripts that you can use.
Placement on GitHub
Now that you have PWA, it's time to share it with the world. I found the easiest way to do it for free and safely - through GitHub Pages. The GitHub GUI helps you put your code on Github, create a repository, and put code into it. After that, find your repository on the site, go to the settings, scroll down and turn on GitHub Pages by selecting the master branch. Must provide a live URL to your PWA.
Now the Lighthouse results are better, and you can share your site with friends or download it on the phone screen:
Lighthouse results after posting on GitHub Pages
→ Code
→ Ready site
The site looks exactly the same as at the beginning, but when viewed through Samsung Internet, the address bar changed to a light purple theme color. Appeared the plus icon, which allows you to add a site to the main screen, open it to full screen and use offline.
In the article I told far from everything about PWA: you can, for example, send push notifications when new content comes out. Learn more about PWA here .
Source: https://habr.com/ru/post/333544/
All Articles