How to overdo the door lock
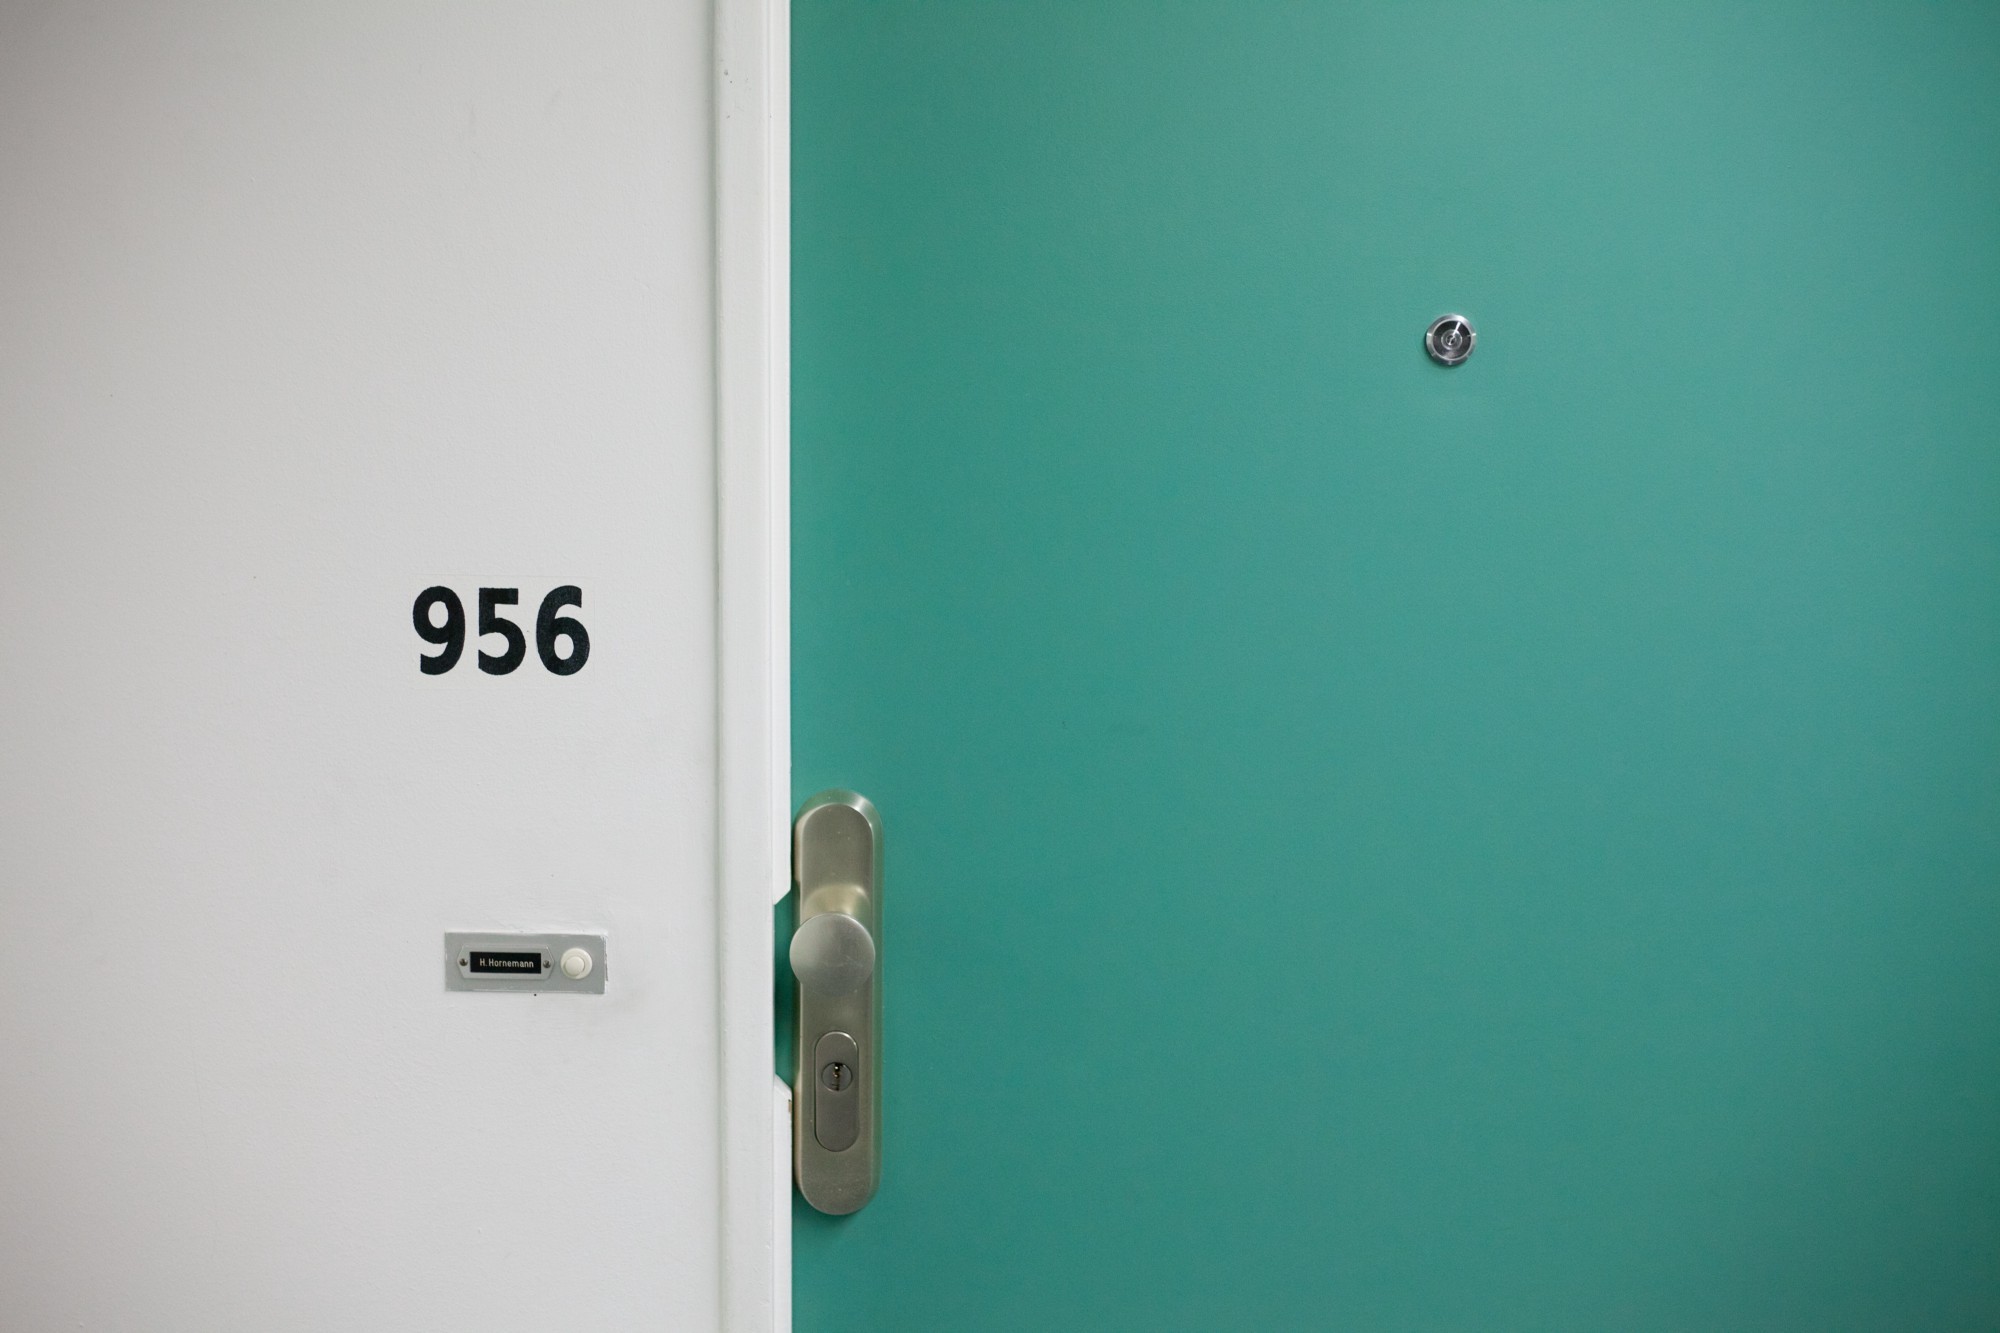
The third-party project of the Internet of things in my company began when we could not reinstall the door lock, which was inherited from the previous tenant. It was one of those little things that we learned about after moving to a new office.
Usually people just pay for a new castle. But for us it was too small, and no one wanted a doorbell. In addition, we are engineers - and wanted to play with some iron.
')
The goal was to open the door with a phone or a wearable gadget. There were several ways to approach the problem. In theory, we could use an application, integration into another platform, or anything else that could send a signal to open a lock.
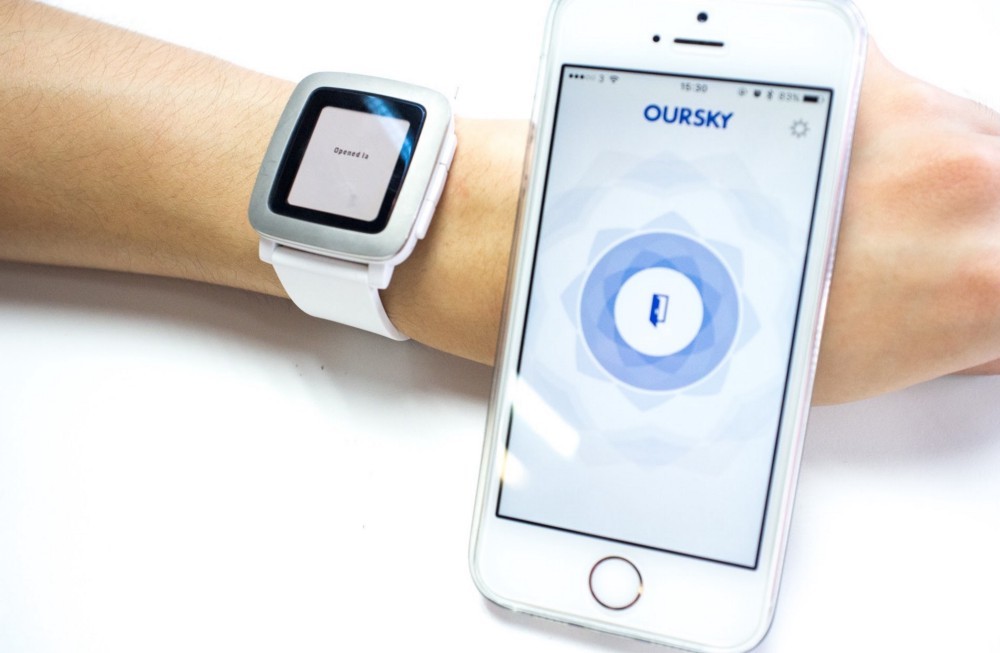
Chima Open Door on Pebble and iOS
To date, in our door experiment, we have developed solutions for integrating with Slack, native iOS and Android applications, Apple Watch and Pebble. I will dwell on the architecture of mobile applications. I admit that the final product is slightly over-complicated, but we love it so much!

Architecture project of our IoT door lock
What exactly happens when you press a button in your iOS / Android application? An HTTP request is sent to the cloud server, which is the signal to send a message to the doorbell daemon via the client server, which then tells the relay card to open the lock.
Traditionally, the door lock is opened by pressing a button next to the door. But modern technology allows you to go beyond the immediate physical buttons. In addition to the physical button that signals
Doorlock Daemon on the diagram, we added two more triggers: the cloud trigger and the Bluetooth Low Energy (BLE) trigger, thanks to our choice of hardware.This article describes the cloud trigger that your door lock relies on.
From the press of a button to a record stored on the Skygear server
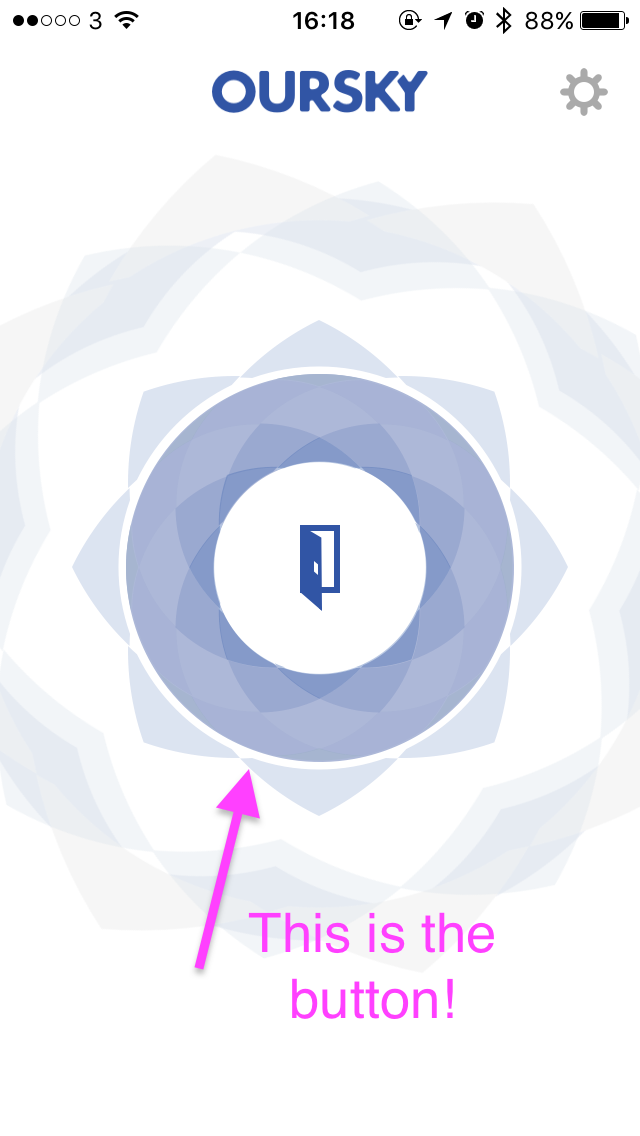
When the user presses the door open button in the mobile application, it accesses the cloud server.
Two things happen on a cloud server. First, the entry is saved. We chose the Skygear Cloud Database server, which allows you to synchronize data with the cloud. The server keeps a log of door opening requests.
SKYDatabase *db = [[SKYContainer defaultContainer] publicCloudDatabase]; SKYRecord *openDoor = [SKYRecord recordWithRecordType:@"OpenDoor"]; [db saveRecord:openDoor completion:^(SKYRecord *record, NSError *error) { NSLog(@"saveOpenDoorRecordWithCompletion failed: %@", error); if (completion) { completion(error); } }]; As soon as the record is saved, the
after_save function from the Skygear Cloud Functions set is triggered , which runs our code in the cloud without the need to deploy directly to the server.The
after_save function after_save called by the fact that the record was saved. Asynchronously called def after_open_door_save(record, original_record, db): when a record of the type 'OpenDoor' . This function publishes a message on the 'xxx-channel' . @skygear.after_save('OpenDoor', async=True) def after_open_door_save(record, original_record, db): publish('xxx-channel', { 'source': 'record-after-save', 'data': record.get('data', None), }) Node Client and Clojure Server on Raspberry Pi
The next step is to create a listener for the request. That's where it's time for the Node client and Clojure server on the Raspberry Pi. The Node client listens to messages on the specified channel of the Skygear server. The Clojure server is the only one who has the right to access the Raspberry Pi 3 scheme. The Node client issues a request to the Clojure server as soon as it receives a message.
Here is the Node client script, it contains the code associated with our specific Skygear configurations. The specified endPoint and API Key are needed to access the main server on Skygear.
skygear.on('xxx-channel', onReceiveOpenDoor) means a callback function ( onReceiveOpenDoor ) when receiving a message on the 'xxx-channel' . function onReceiveOpenDoor(data) { console.log('daemon-trigger-skygear: open door'); exec(`curl localhost:8090 --header 'X-Source: Skygear'`); } skygear.config({ endPoint: 'https://chimagun.skygeario.com/', apiKey: apiKey, }).then(() => { skygear.loginWithUsername('xxx', 'xxx').then(() => { skygear.on('xxx-channel', onReceiveOpenDoor); }); }); Clojure server directly controls the General Purpose Input / Output (GPIO) pins on the Raspberry Pi. The GPIO is the pins on the Raspberry Pi 3. They are connected to an external circuit that connects to the door magnet.

Here is the Clojure code that shows how the Raspberry Pi opens the door. When the Clojure server receives a request from the Node client, it opens the lock for three seconds. But if during these three seconds a new request is received, the timer is rearranged for another three seconds. When time ends, the door locks again.
; listen on unlock-chan for unlock events ; if a new unlock event is received before the 3000ms timeout, the door is kept open. (go-loop [unlock nil] (when unlock (sh "gpio" "write" "1" "1") (loop [[trigger _] [unlock nil]] (when trigger (log/info (str "Unlock triggered by " (:source trigger))) (recur (alts! [unlock-chan (timeout 3000)])))) (sh "gpio" "write" "1" "0") (log/info "Door Locked")) (recur (<! unlock-chan))) ; http event listener (run-server (fn [req] (>!! unlock-chan {:source (or (get-in req [:headers "x-source"]) :network)}) {:status 200}) {:ip "127.0.0.1" :port 8090}) Note: Skygear uses American AWS, while the door and Raspberry Pi are in Hong Kong. In fact, our request 芝麻開門 (Chima Open Door) travels around the world before it reaches the door.
Why Raspberry Pi?
You may ask why we chose the Raspberry Pi. We also considered Arduino boards, because we have such in our office. The fact is that we could not use a specific Arduino model, because we wanted to synchronize data with the Skygear JS SDK, and this particular Arduino did not allow installing the Node server.
In addition, the Raspberry Pi supports Bluetooth Low Energy (this means that we can open the door using the third method, Bluetooth).

Raspberry Pi with Linux is compatible with the open-source serverless platform Oursky

Additional integrations
Taking into account that the application is for internal use only, we have implemented the Slack
/chima-open-door opening command, since every Oursky employee has access to Slack.Later, other colleagues got involved in the project and wrote the WatchOS application and the Android application, which we posted on the internal platform. In addition to pressing the button inside the application, we also provide alternative ways to open the door, such as the touch of iOS 3D, the Today extension, the Android widget, and even integration with Pebble, as some of our developers wear such watches.
That's all done! Before you dive into development, consider two factors: reverse current (in this case for the Raspberry Pi) and the security of each of your integrations. For example, we also integrated Bluetooth application access via Bluetooth Low Energy (BLE), which is a self-implemented version of two-factor authentication. Among other integrations, you may consider notifications when the door is open (bell, LED).
If you want to know about any of the mentioned technologies, feel free to contact us!
I want to thank my colleagues David Ng, Boris ( akiroz ), Brian (b 貳 參 肆 零零) and May Young for working on the Android application, the implementation of the scheme and Clojure, the Pebble application and the text of this article, respectively. This is a team work!
Repository Links / Files
→ CloudCode
→ iOS Client
→ Android client
→ Pebble Client
Source: https://habr.com/ru/post/331470/
All Articles