Understanding the Conductor
Now the Conductor library is gaining momentum, however there is not a lot of information on its use in the network, and only official sources are available from official sources. This article is designed to give an introductory course on Conductor and remove some of the rakes from your path. The article is designed for those who already have some experience in the development of Android.
Conductor is positioned as a replacement for standard fragments. The basic idea is to wrap the View and give access to the life cycle methods. Conductor has its own life cycle, which is much simpler than the fragments, but it also has its own tricks (more on that later).
The main advantages that Conductor gives are:
- Code simplification
- Transactions are executed instantly
- Ability to build an application on a single Activity
- Does not limit the choice of application architecture
- Easily embedded animations
- No need to save states between configuration changes
Also in the box you will receive:
- Work with backstage
- Standard active callbacks are easily available.
- Several standard animations
- Binding of the life cycle to RxJava
- Quick integration with ViewPager
Next, we'll analyze a few typical use cases that are found in almost all applications and try to understand the life cycle of the controller.
Part 1
We begin with a simple example, even smaller than on the official website . Before reading the article, it is strongly recommended that you read the page is not large.
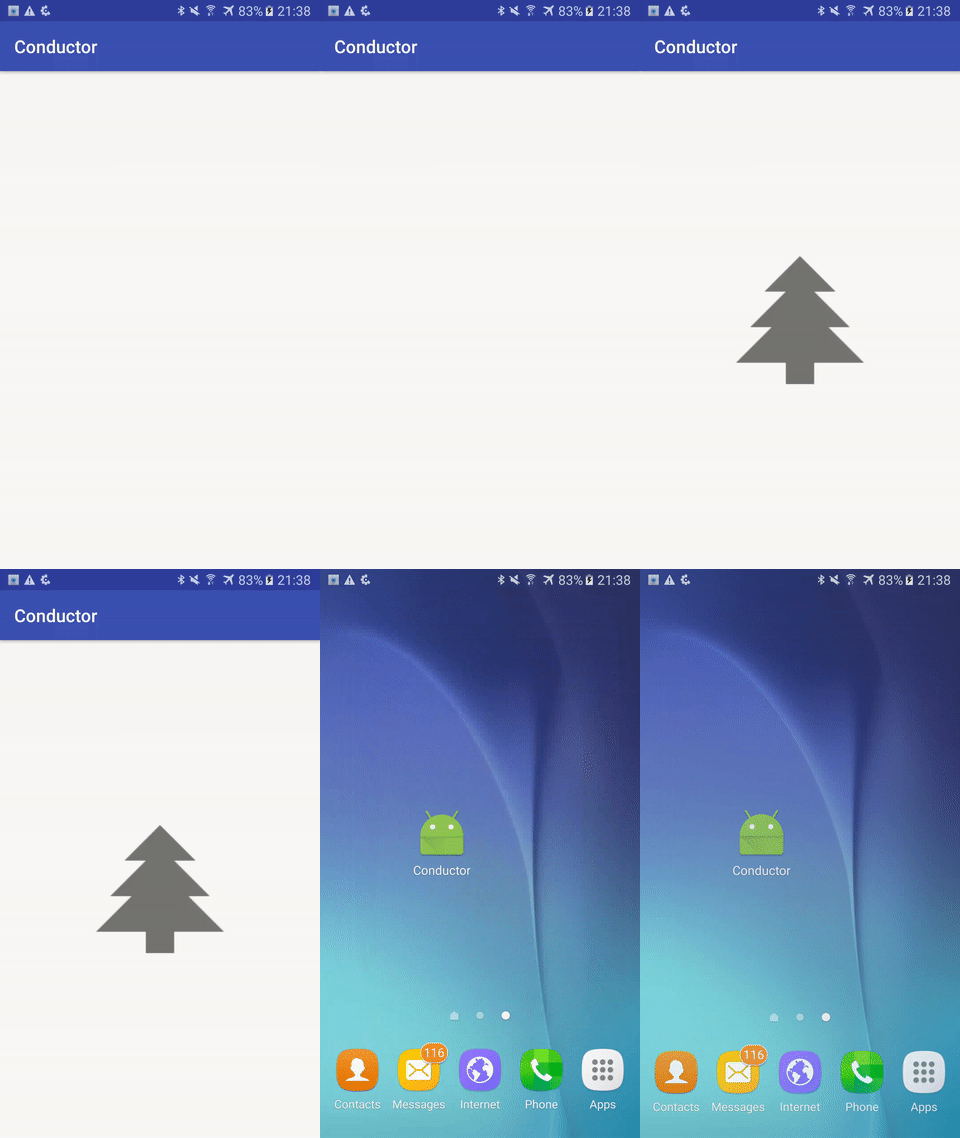
//File: MainActivity.java public class MainActivity extends AppCompatActivity { private Router router; @Override protected void onCreate(Bundle savedInstanceState) { super.onCreate(savedInstanceState); setContentView(R.layout.activity_main); ViewGroup container = (ViewGroup) findViewById(R.id.controller_container); router = Conductor.attachRouter(this, container, savedInstanceState); if (!router.hasRootController()) { router.setRoot(RouterTransaction.with(new HomeController())); } } } //File: HomeController.java public class HomeController extends Controller { @Override protected View onCreateView(@NonNull LayoutInflater inflater, @NonNull ViewGroup container) { return inflater.inflate(R.layout.controller_home, container, false); } } At startup, we will get a screen on which the controller_home layout will be displayed. Not too much, but let's see what is happening here.
The controller code is extremely simple and creates a View. But initialization is somewhat more complicated and even contains a condition. When creating the activation, Conductor::attachRouter binds the router to our activation and to its life cycle. Let's pay attention to the fact that in addition to the context and the container, we pass the still saved state - everything is correct, the router keeps all controllers in its stack and their state. Therefore, if the activation was not created again, but was restored, then the installation of the root controller is not required, because it was recreated from a saved state.
Nothing prevents us from removing this check, but then each time we create an activation, we will create a new controller and we will lose all the saved data.
Part 2
Take a deeper look at how and where the states are saved in the Conductor.
To do this, we have to complicate our example a little. We will not waste time and at the same time we will do what everyone should do in his life - we will grow a tree. Let it grow on tapu.
//File: HomeController.java public class HomeController extends Controller { private View tree; @NonNull @Override protected View onCreateView(@NonNull LayoutInflater inflater, @NonNull ViewGroup container) { View view = inflater.inflate(R.layout.controller_home, container, false); tree = view.findViewById(R.id.tree); view.setOnClickListener(new View.OnClickListener() { @Override public void onClick(View v) { tree.setVisibility(View.VISIBLE); } }); return view; } @Override protected void onDestroyView(@NonNull View view) { super.onDestroyView(view); tree = null; } } So far, nothing supernatural has happened, but note that we drop the link to the tree image in onDestroyView so that our view can be collected by the garbage collector when the controller is removed from the screen.
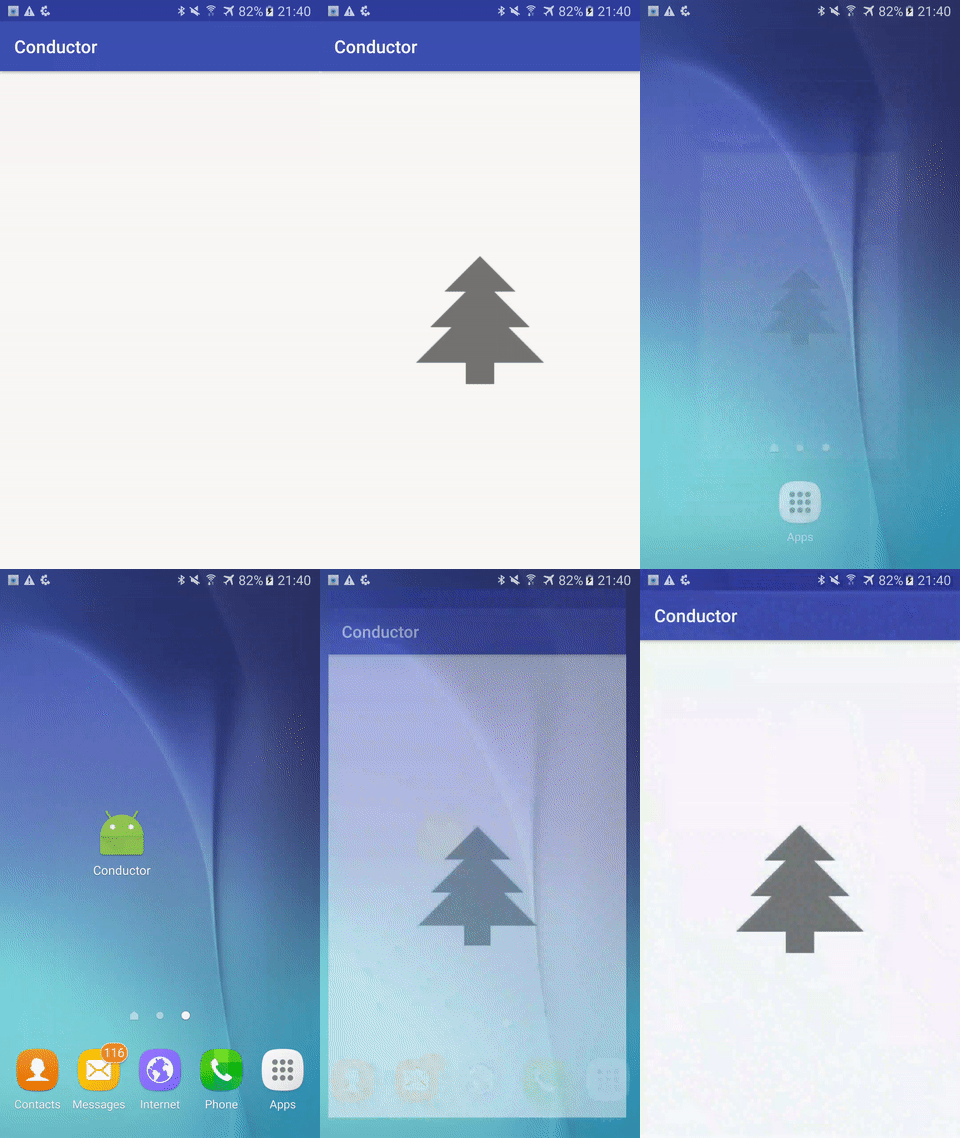
Now let's see what happens if we want to look at the tree from the other side. Let's change the screen orientation.

Unfortunately, the tree is gone. What can we do so that our work is not in vain?
The life cycle of controllers is tied to a fragment in the activation. The fragment is created inside the function Conductor::attachRouter and all the calls to the life-cycle methods are tied to it and to the activation, within which initialization was performed. The fragment has the property setRetainInstance(true) , which allows it, and therefore all controllers, to experience configuration changes. So the only thing that is required of us is to save our state to a variable in the controller.
//File: HomeController.java public class HomeController extends Controller { private boolean isGrown = false; private View tree; @NonNull @Override protected View onCreateView(@NonNull LayoutInflater inflater, @NonNull ViewGroup container) { View view = inflater.inflate(R.layout.controller_home, container, false); tree = view.findViewById(R.id.tree); view.setOnClickListener(new View.OnClickListener() { @Override public void onClick(View v) { isGrown = true; update(); } }); return view; } @Override protected void onAttach(@NonNull View view) { super.onAttach(view); update(); } private void update() { tree.setVisibility(isGrown ? View.VISIBLE : View.GONE); } @Override protected void onDestroyView(@NonNull View view) { super.onDestroyView(view); tree = null; } } We added an isGrown variable that stores the state of our controller and a method that updates the state of the tree image. Again - no difficulty.
We look at the result.

When you change the configuration, the activation is destroyed, but the fragment is not destroyed. But what if our activism is still destroyed by the system and not in the process of changing the configuration? We’ll put a checkmark in the keep the checkbox and don’t see what happens.

No miracle happened and we lost all our data. To solve this problem, the Conductor duplicates the onSaveInstanceState and onRestoreInstanceState . Let's implement them and make sure that everything works.
//File: HomeController.java ... @Override protected void onSaveInstanceState(@NonNull Bundle outState) { super.onSaveInstanceState(outState); outState.putBoolean("isGrown", isGrown); } @Override protected void onRestoreInstanceState(@NonNull Bundle savedInstanceState) { super.onRestoreInstanceState(savedInstanceState); isGrown = savedInstanceState.getBoolean("isGrown"); } 
Hooray! Now that our tree is safe and sound, we can move on to something more complicated.
Part 3
Let's find out how many cones our tree can bring. To do this, create a controller that takes as input the number of cones and displays them.
//File: ConeController.java public class ConeController extends Controller { private int conesCount = 0; private TextView textField; public ConeController(int conesCount) { this.conesCount = conesCount; } @NonNull @Override protected View onCreateView(@NonNull LayoutInflater inflater, @NonNull ViewGroup container) { View view = inflater.inflate(R.layout.controller_cone, container, false); textField = (TextView) view.findViewById(R.id.textField); return view; } @Override protected void onAttach(@NonNull View view) { super.onAttach(view); textField.setText("Cones: " + conesCount); } @Override protected void onDestroyView(@NonNull View view) { super.onDestroyView(view); textField = null; } } But this code will not compile. And will swear at the absence of another designer - let's see why he is needed.
As with the Fragments, there is a trick here. If, in the case of fragments, a constructor without parameters is invoked through reflection, then a constructor with the Bundle parameter will be invoked here.
If we just add a constructor, then. if our controller is destroyed, Conductor will re-create it, and we will lose information about our cones. To avoid this you need to write our data in args . Args are saved by the conductor when the controller is destroyed.
//File: ConeController.java public ConeController(int conesCount) { this.conesCount = conesCount; getArgs().putInt("conesCount", conesCount); } public ConeController(@Nullable Bundle args) { super(args); conesCount = args.getInt("conesCount"); } A more elegant option with BundleBuilder - you can see in the examples .
It remains to add a call to our controller and store the number of cones.
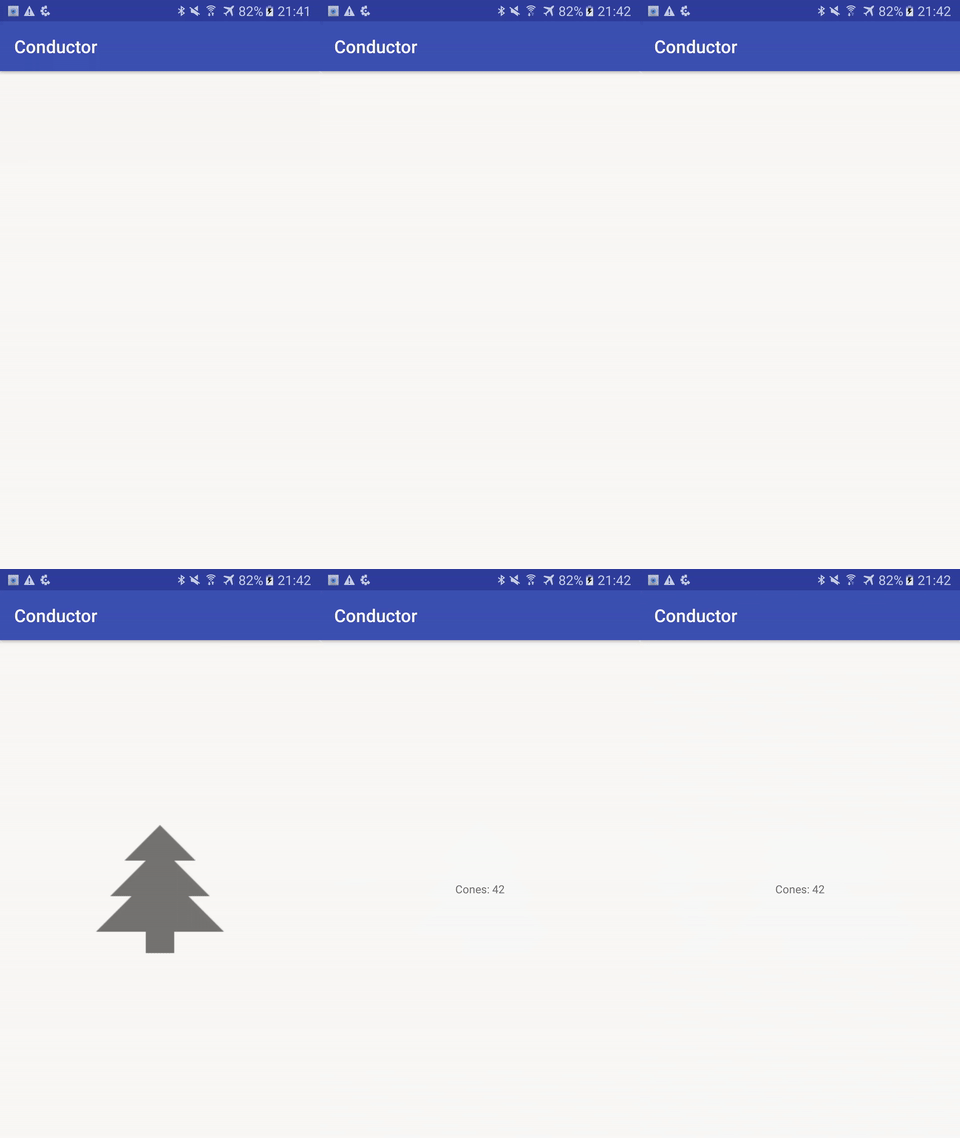
//File: HomeController.java public class HomeController extends Controller { private boolean isGrown = false; private int conesCount = 42; private View tree; @NonNull @Override protected View onCreateView(@NonNull LayoutInflater inflater, @NonNull ViewGroup container) { View view = inflater.inflate(R.layout.controller_home, container, false); tree = view.findViewById(R.id.tree); view.setOnClickListener(new View.OnClickListener() { @Override public void onClick(View v) { if (isGrown) { getRouter().pushController(RouterTransaction.with(new ConeController(conesCount))); } else { isGrown = true; update(); } } }); return view; } } At the first tap, we grow a tree, while later we show the number of cones on it. Finally, switching to another controller is done by simply calling pushController at the router, which adds our controller to the back-stack and displays it on the screen.

Everything is fine, but without restarting the application, we cannot go back - let's fix it.
//File: MainActivity.java @Override public void onBackPressed() { if (!router.handleBack()) { super.onBackPressed(); } } This code will work without problems in our application. However, let's take a closer look at the insides of onBackPressed .
Suppose we do not want the application to be hidden by the last transition back. The first thing I want to do is leave only the router.handleBack() call. However, the fact is that when handleBack returns false, this does not mean that no work has been done - this means that the last controller was destroyed and the existence of the activation (or any other container containing the router) needs to be stopped. It is worth paying attention to the fact that when you remove the root controller, its view is not removed from the scene. This is left so that when we close our activites, we can observe a “high-quality” closing animation.
Hence the rule that always, if handleBack returned false, the owner of this router must be destroyed.
This behavior can be changed by calling the setPopsLastView method with the false parameter.
Part 4
Now it is time to collect the fruits. Often there is a task to transfer data back to the previous controller. Let's try to collect a few cones from our tree.
We could just pass the listener to our controller, but the Android ecosystem says its not. What if the controller is destroyed? We will not be able to just restore the link to our listener. The easiest way to solve this problem is to use the setTargetController method setTargetController which allows you to remember a link to another controller and restore it itself when the controller is re-created.
It will be good practice not to specify the type of controller directly, but to indicate only the interface that it should inherit.
//File: ConeController.java public class ConeController extends Controller { private int conesCount = 0; private TextView textField; public <T extends Controller & ConeListener> ConeController(int conesCount, T listener) { this.conesCount = conesCount; getArgs().putInt("conesCount", conesCount); setTargetController(listener); } public ConeController(@Nullable Bundle args) { super(args); conesCount = args.getInt("conesCount"); } @NonNull @Override protected View onCreateView(@NonNull LayoutInflater inflater, @NonNull ViewGroup container) { View view = inflater.inflate(R.layout.controller_cone, container, false); textField = (TextView) view.findViewById(R.id.textField); view.findViewById(R.id.collectConeButton) .setOnClickListener(new View.OnClickListener() { @Override public void onClick(View v) { if (getTargetController() != null) { conesCount--; getArgs().putInt("conesCount", conesCount); update(); } } }); return view; } @Override protected void onAttach(@NonNull View view) { super.onAttach(view); update(); } @Override public boolean handleBack() { ((ConeListener) getTargetController()).conesLeft(conesCount); return super.handleBack(); } private void update() { textField.setText("Cones: " + conesCount); } @Override protected void onDestroyView(@NonNull View view) { super.onDestroyView(view); textField = null; } public interface ConeListener { void conesLeft(int count); } } //HomeController.java public class HomeController extends Controller implements ConeController.ConeListener { .... @NonNull @Override protected View onCreateView(@NonNull LayoutInflater inflater, @NonNull ViewGroup container) { View view = inflater.inflate(R.layout.controller_home, container, false); tree = view.findViewById(R.id.tree); view.setOnClickListener(new View.OnClickListener() { @Override public void onClick(View v) { if (isGrown) { getRouter().pushController(RouterTransaction.with(new ConeController(conesCount, HomeController.this))); } else { isGrown = true; update(); } } }); return view; } @Override public void conesLeft(int count) { conesCount = count; } In the constructor, we passed a parameter that must be a successor to Controller and implement our listener's interface. Remember it by calling the setTargetController method.
When leaving the controller, we update the number of cones in the HomeController calling the conesLeft(...) .
And the result!

Part 5
It remains to bring beauty. With a slight movement of the hand, transition animations are added to appear and hide the controller. The box has a basic set of animations - but you can also easily implement your own by redefining the ControllerChangeHandler or the classes inherited from it.
//File: MainActivity.java getRouter().pushController(RouterTransaction.with( new ConeController(conesCount, HomeController.this)) .popChangeHandler(new FadeChangeHandler()) .pushChangeHandler(new FadeChangeHandler()) ); Part 6
There are several other life-cycle methods in the Conductor , other than those shown on the diagram in the official documentation, which can be useful when you want to implement some unusual behavior. Let's take a look at them.
onAttach - called when the controller is shown on the screen
onDetach - called when removing the controller from the screen
onDestroyView - called when destroying the view attached to the controller
onCreateView - called when creating a view for the controller
onDestroy - called before the controller is destroyed
The methods described below also participate in the life cycle, but essentially duplicate the calls to the corresponding methods of the View and Activity classes:
onSaveViewState
onRestoreViewState
onSaveInstanceState
onRestoreInstanceState
The following methods are invoked during the life cycle, but in fact cannot be assigned to it. The order of their calls may depend on the transition animation. And rely on anything other than animation processing in them is not worth it.
onChangeStarted - called before the animation begins
onChangeEnded - called upon completion of the animation
When building the life cycle, everything turned out to be not as rosy as on the official page . For controllers, two life cycles are typical. One is its own cycle that works when switching between controllers and a second cycle that works when destroying and creating activit. They are different and that is why the chart has grown a bit.

Paired methods are highlighted in color. Actions highlighted by bold arrows are initiated by the user. Also note that only constructors without a parameter or with a Bundle parameter can be automatically called. Any other constructor can only be called by us manually.
→ Tutorial code
→ Conductor
→ Russian version
For assistance in the preparation of thanks to Vladimir Farafonov .
')
Source: https://habr.com/ru/post/329532/
All Articles