Loading real landscapes in unity 3d
Introduction
The theme of generating landscapes through the use of various sophisticated algorithms was widely covered in Habré ( one , two , three, and can continue to infinity). The listed examples relate to the random generation of some abstract terrain to enhance realism in the final gaming products. And what if you want to simulate some real terrain?
There are also quite a lot of different publications on this topic on the web. However, many of them rely on the use of paid applications or extensions for Unity. There are descriptions of “cheap” methods, but most of them are focused on obtaining the so-called heightmap — black-and-white square images of the terrain, where the gradations of gray determine the relative height level at a given point. There are a number of ways to generate such height maps using for example the GDAL toolkit. And this approach is not without flaws associated with a sufficiently cumbersome procedure for creating a map of heights and subsequent binding to the resulting terrain. Therefore, in this article some alternative approach will be stated and those interested are invited under cat.
1. Extraction of geodata
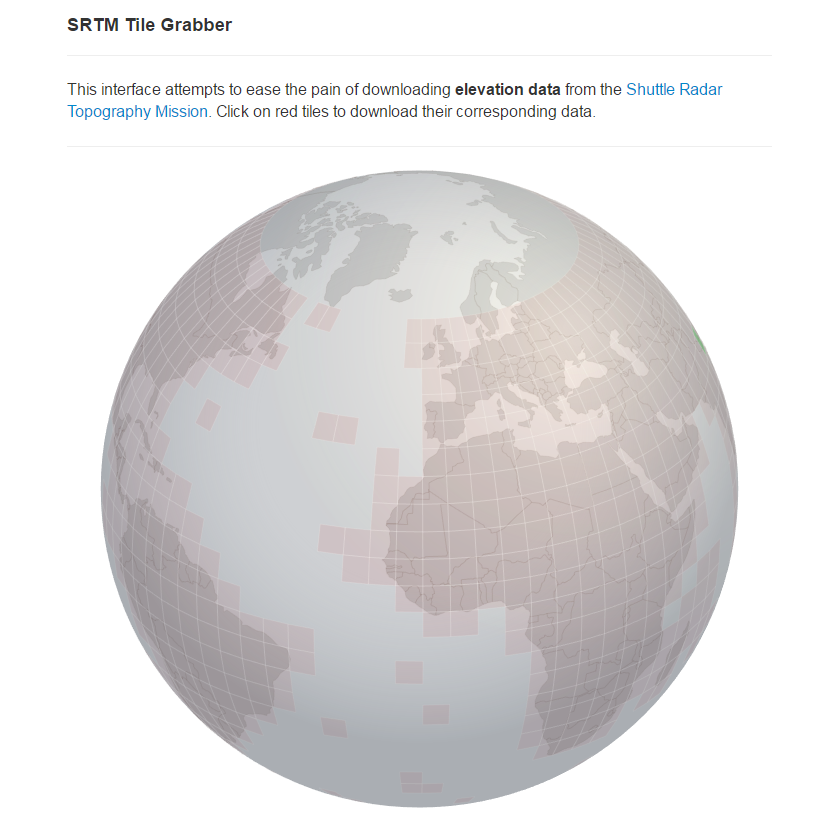
Everything has been invented before us long ago, for which we should thank NASA, who at one time completed the SRTM (Shuttle Radar Topography Mission) program on radar mapping of the earth's surface. The data obtained during the mission are publicly available here . We follow this link and observe our native “ball” divided into zones.
')
To demonstrate the described method, we select the region of the "roof of the world", Mount Everest. To do this, click on the desired piece of the map and click the "Download" button.
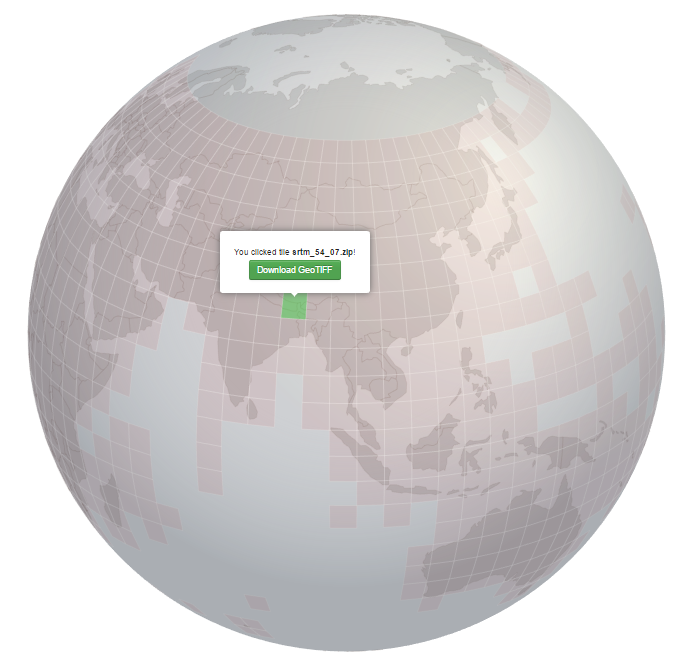
Unpack the downloaded archive, and find there, among other things, the srtm_54_07.tif file in GeoTIFF format. GeoTIFF is an open standard for storing map information. By analyzing this file, you can get data on the heights of points on the earth's surface. Since the format is open, organizing direct work with it will be easy, say from Unity, but for the sake of simplicity, we will go a shorter way and use the small but useful 3DEM program. This soft is free and easy to download from the official site. We swing it and we open in it the GeoTIFF of the Everest region obtained by us. When opening we will be asked to choose the format of geodata, choose GeoTIFF:

After that, select the above file and see the following picture:

The area shown is quite large. The rectangle in the center shows the area of Mount Everest that interests us. To cut the desired piece, press F8, select the area of interest and press Enter. We will be asked to clarify the boundaries of the site in latitude and longitude.
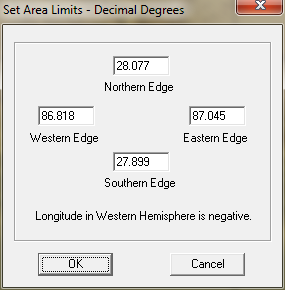
We specify if necessary and pressing OK we get the area of interest on the screen:

If necessary, repeat this procedure. In the end we will select the desired area, and then go to the main menu on the way File → Save Terrain Matrix . We will be offered to choose the format of the saved data:
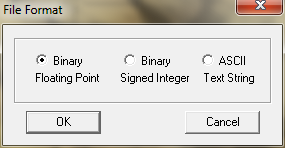
We select the float binary format, as there will be less fuss with it. Next, select the path and name of the saved files. As an exhaust, we get two files.
- everest.hdr - text file with the description of the saved area and data storage format
- everest.bin - the data itself, which is simply a two-dimensional array of heights in floating point format of single precision
3. Description of the geodata storage format.
It is easy to get it from a pdf-document that comes with 3DEM. The main information is in the * .hdr-file and it looks like this
file_title = everest data_format = float32 map_projection = Lat/Lon left_map_x = 86.859001 lower_map_y = 27.899000 right_map_x = 87.014999 upper_map_y = 28.046000 number_of_rows = 177 number_of_columns = 188 elev_m_unit = meters elev_m_minimum = 4574 elev_m_maximum = 8794 elev_m_missing_flag = -9999 I will describe the most important fields for our task.
- file_title - the name of the * .bin file with data
- data_format - data presentation format
- left_map_x, lower_map_y - longitude and latitude of the lower left corner of the site (we assume that the top of this conditional "rectangle" looks to the north), in degrees
- right_map_x, upper_map_y - longitude and latitude of the upper right corner of the section, in degrees
- number_of_rows - the number of rows in the data matrix. Each line describes the altitudes at a fixed latitude from the specified coordinates of the corners of the range with equal steps.
- number_of_columns - the number of columns in the data matrix
- elev_m_unit - height units
- elev_m_minimum - the minimum height above the reference ellipsoid level (for simplicity, sea level) in this area
- elev_m_maximum - maximum height above the reference ellipsoid
Thus, it becomes clear how to read a binary file - it is just a stream of floats written to a file line by line. This matrix, in our case, stores heights at 177 x 188 = 33276 points in a selected area, the limitations on longitude and latitude for which we know. We also know the range of heights in this area.
3. Storing elevation data in Unity
The terrain class in Unity has a public terrainData field through which you can access the following fields
- heightmapResolution - resolution of the height map. It is a multiple of a power of two, selected from a range of 128, 256, 512 ... with the addition of one. By default it is 513 x 513
- size - the actual size of the terrain in conventional units of Unity. This field is of type Vector3, and sets the size of the terrane at once along all axes.
- SetHeights (int xBase, int yBase, float [,] heights) is a method for loading height map data. xBase, yBase - indices from which the height map is read by the engine from the heights array.
The elevation map is a square array of quite a certain size. The geodata matrix is a rectangular array. It is a matter of technology to subtract it from a file, and such code is so simple that it does not make sense to bring it specifically. The main difficulty is to convert the GeoTIFF data to a height map that satisfies the following requirements
- square matrix, a multiple of a power of two + 1
- heights stored in the matrix are normalized in the range from 0.0 to 1.0
4. Convert geodata to elevation map
Normalizing the height is quite simple:
where level [i, j] is the normalized height; h [i, j] is the height at the point (i, j); h_min, h_max - the minimum and maximum height on the site. To bring the size of the matrix to the exhibited requirements, an approximation of the height depending on the coordinate is needed. We use the simplest linear approximation. Let the height be a function of the coordinates of a point on the site
With seeming complexity, the formula is easily implemented by C # code.
float getHeight(float x, float z) { float height = 0.0f; // float dx = terrain_data.x_range / (terrain_data.numder_of_rows - 1); float dz = terrain_data.z_range / (terrain_data.number_of_columns - 1); // int i = (int) (x / dx); int j = (int) (z / dz); // if ((i >= terrain_data.numder_of_rows) || (j >= terrain_data.number_of_columns)) return 0.0f; // (i, j) float dydx = (terrain_data.normalize_data[i + 1, j] - terrain_data.normalize_data[i, j]) / dx; float dydz = (terrain_data.normalize_data[i, j + 1] - terrain_data.normalize_data[i, j]) / dz; // height = terrain_data.normalize_data[i, j] + dydx * (x - i * dx) + dydz * (z - j * dz); return height; } Using this function, we easily create a matrix for a height map.
terrain_data.height_map = new float[resolution, resolution]; float dx = terrain_data.x_range / resolution - 1; float dz = terrain_data.z_range / resolution - 1; for (int i = 0; i < resolution; i++) { for (int j = 0; j < resolution; j++) { terrain_data.height_map[i, j] = getHeight(i * dx, j * dz); } } 5. Plugin for Unity editor
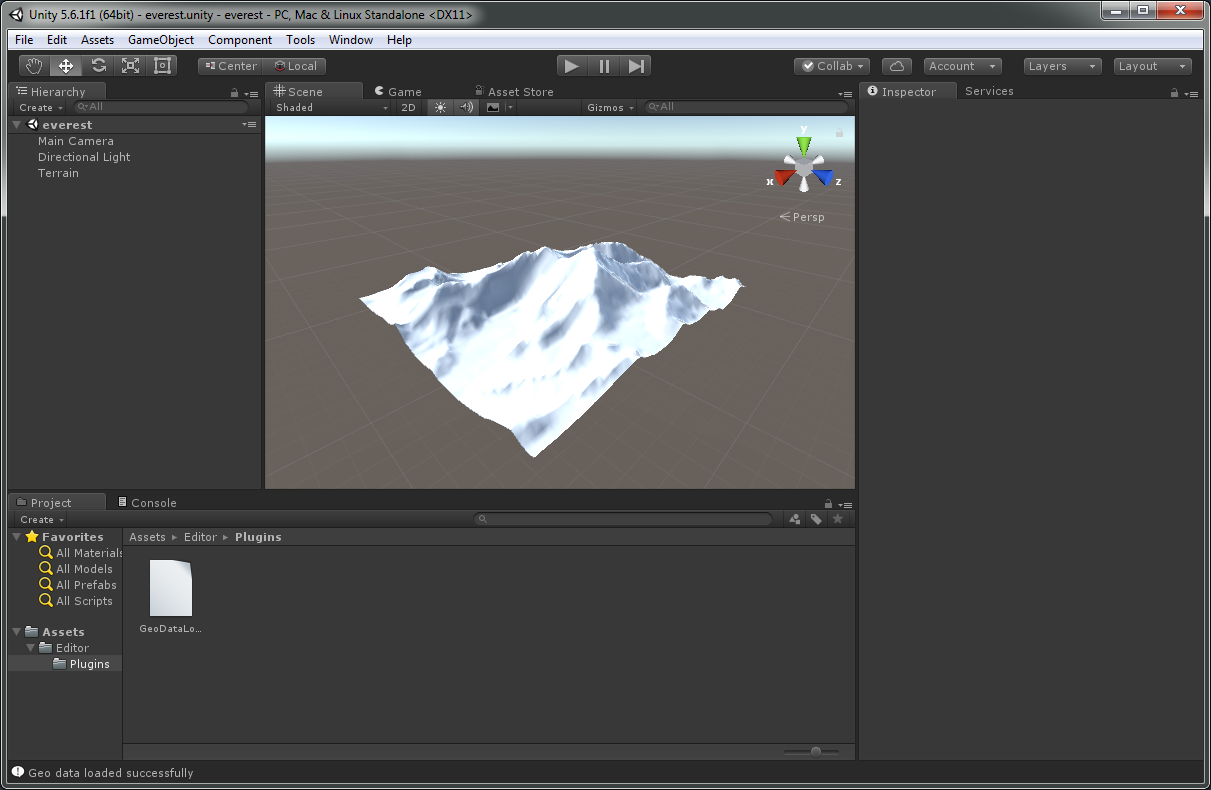
To make life easier, I wrote a small plugin for the UnityGeoDataLoader engine editor , which allows you to solve the problem. This product and its source code are licensed under the GNU GPL v2.0. By this link you can get both. In the same place there is also an instruction for use of this tool.
The plugin is built into the editor and we add the item “Tools -> Load GeoData” to the main menu. Selecting the terrain in the inspector, click this menu item, specify the path to the * .hdr file (next to which lies the * .bin file with data) and voila - see Mount Everest in the Unity editor
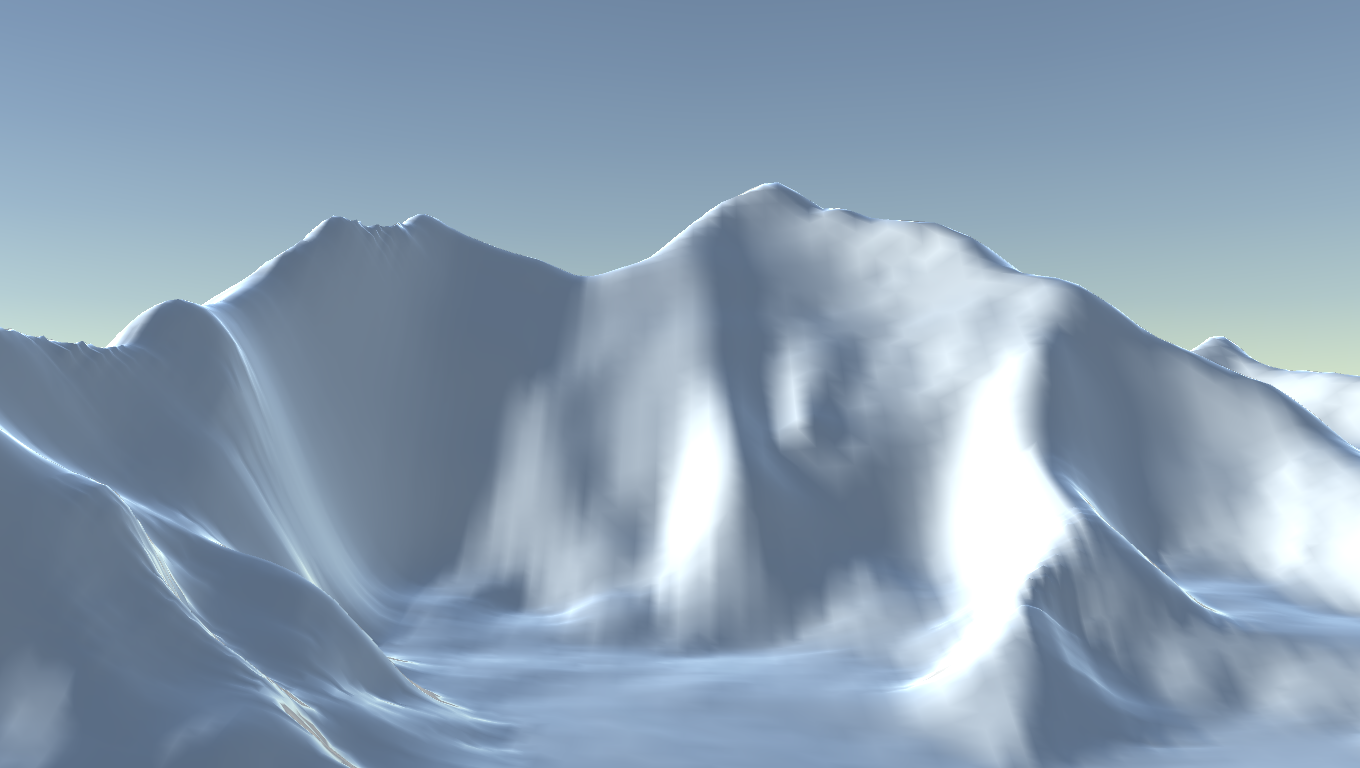
Further with this terrain we do everything that pleases - we texture, use shaders, arrange other objects. This is at your discretion.
Conclusion
I criticize myself. It is not good, with the openness of the GeoTIFF standard to use third-party tools for the extraction of geodata. In an amicable way, you need to put all the code in the plugin, add the ability to select a region by coordinates, and much more. But there is no limit to perfection, the main thing is that the task of loading into the real landscape engine has a completely acceptable and simple solution.
Thank you for attention!
Source: https://habr.com/ru/post/329246/
All Articles