3CX technical support responds: how to get the credentials of the 3CX user portal and how to change the FQDN of the PBX server
Today we will look at 2 questions that our users often ask:
Since the second question can only be answered by answering the first, we will consider them in order.
The 3CX User Portal has detailed information about the license key, the company to which the 3CX system is registered, direct links to download different versions and a section for changing login credentials.
')
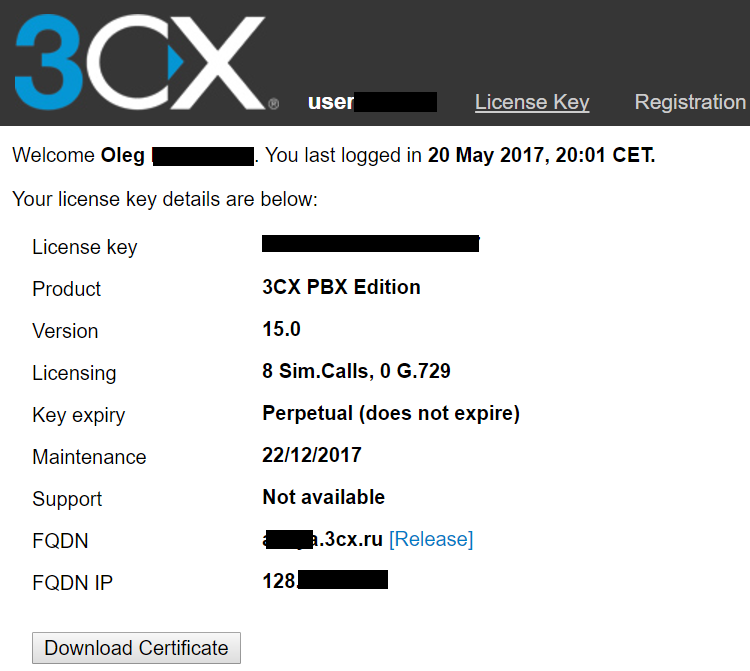
This is also the FQDN of the 3CX server that you identified when installing the system (if you decide to use the FQDN from 3CX).
The credentials of access to the portal you get during the initial registration to download the free version of 3CX . After that, if you decide to purchase a commercial system, it is enough to contact the selected 3CX partner in order to “upgrade” this key to the commercial version. The key does not change!
However, sometimes a partner forgets to ask about your free key and immediately orders a new one. In this case, the new credentials of the 3CX user portal are not issued. In addition, for this key, you will have to define a new FQDN server name and reinstall the system.
To avoid these problems, we strongly recommend that you inform your partner of your free 3CX upgrade key.
The second situation in which you may not have credentials is the 3CX upgrade from the previous version. In this case, the existing 3CX key is used for the V15 installation and no credentials are sent.
The third situation is that you just lost your e-mail from 3CX with your credentials, but you have installed 3CX.
Obtaining or recovering credentials is very simple, but not so obvious:
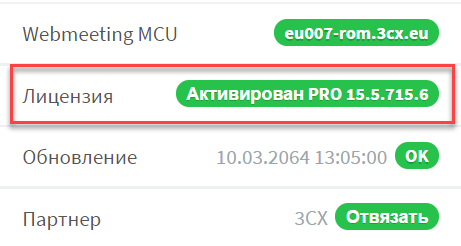
The 3CX license key itself can be found by clicking on the Main page under the License section.
Changing the FQDN may be necessary in several cases:
To change the FQDN of the 3CX server:
This completes the change of the server's FQDN and the associated Let's Encrypt SSL certificate .
- How to access the 3CX user portal? Access to the 3CX user portal is needed to learn license information or unlink the 3QX server's FQDN from the license key.
- How to change the FQDN of the 3CX server, if I initially selected it incorrectly?
Since the second question can only be answered by answering the first, we will consider them in order.
How to get access credentials to 3CX user portal
The 3CX User Portal has detailed information about the license key, the company to which the 3CX system is registered, direct links to download different versions and a section for changing login credentials.
')

This is also the FQDN of the 3CX server that you identified when installing the system (if you decide to use the FQDN from 3CX).
The credentials of access to the portal you get during the initial registration to download the free version of 3CX . After that, if you decide to purchase a commercial system, it is enough to contact the selected 3CX partner in order to “upgrade” this key to the commercial version. The key does not change!
However, sometimes a partner forgets to ask about your free key and immediately orders a new one. In this case, the new credentials of the 3CX user portal are not issued. In addition, for this key, you will have to define a new FQDN server name and reinstall the system.
To avoid these problems, we strongly recommend that you inform your partner of your free 3CX upgrade key.
The second situation in which you may not have credentials is the 3CX upgrade from the previous version. In this case, the existing 3CX key is used for the V15 installation and no credentials are sent.
The third situation is that you just lost your e-mail from 3CX with your credentials, but you have installed 3CX.
Obtaining or recovering credentials is very simple, but not so obvious:
- Log in to the user portal .
- Under the credential entry field, click Reset Password.
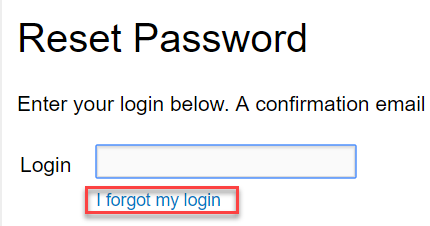
- In the window that appears, click I forgot my login.
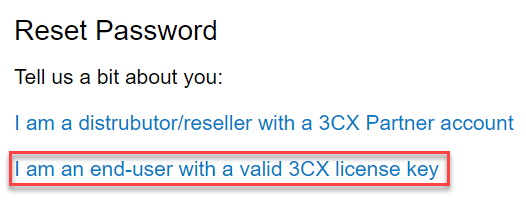
- Then click I am an end-user with a valid 3CX license key.
- And enter your license key. Access credentials will come to the e-mail that was specified when you activated this license key.

The 3CX license key itself can be found by clicking on the Main page under the License section.

How to change 3QX server FQDN?
Changing the FQDN may be necessary in several cases:
- You downloaded and tested 3CX, “upgraded” the key to a commercial one and now you want to deploy the server to the “correct” name, reflecting, for example, the name of your company.
- You used 3CX for a while, but the company name has changed, and this needs to be reflected in the server name. Or, when specifying the FQDN, a typo was made.
- You used the FQDN name from 3CX, but decided to switch to your own domain. This case is not considered in this article.
- Quite a common situation. You downloaded and started using 3CX on the selected domain name. Then they decided to purchase a commercial key, but they did not tell their 3CX partner their free key. The partner, instead of “upgrading” your key, ordered a new one. Since 3CX binds the FQDN to the license key, you cannot use the new key with the existing name (during installation, the system will report that the specified domain name is in use). You also cannot install a new license key into an already running 3CX.
To change the FQDN of the 3CX server:
- Back up your system without license information.
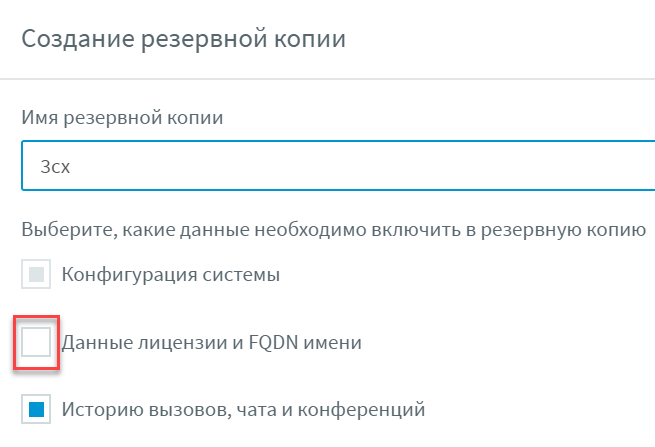
- Log into the user portal with your credentials and unbind the current FQDN name from the license key.

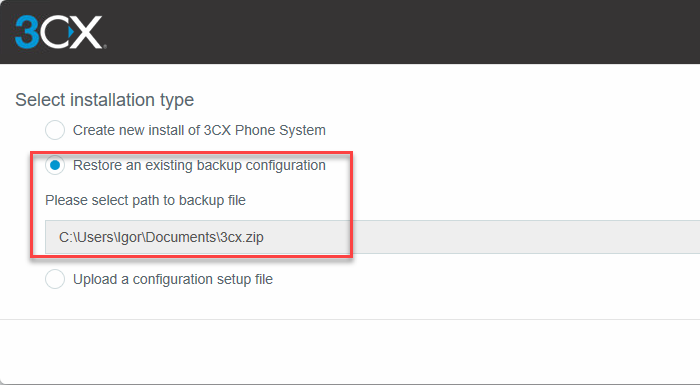
- Uninstall and reinstall 3CX. In the initial setup menu, select the system configuration option. In our case, use the setting through the web interface.
- Specify the backup file and click Next .
- Specify your license key. This is the key to which you will bind a new FQDN name.
- Select a new FQDN name.

- The installer will register a new FQDN and generate a new SSL certificate request for this FQDN.
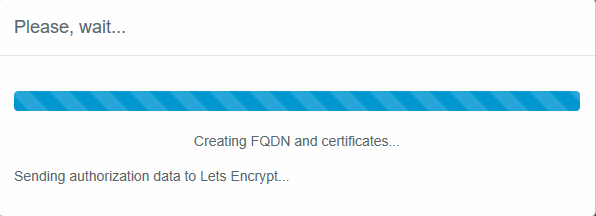
- Complete the 3CX installation for this guide . You only need to confirm the information contained in the backup.
This completes the change of the server's FQDN and the associated Let's Encrypt SSL certificate .
Source: https://habr.com/ru/post/329118/
All Articles