The story of creating a classic RTS at home from scratch (Part 2: "Resurrection"). Continuation of the article: GUI
About a year ago my article came out, which can be called the " first part " of this article. In the first part, as far as I could, I sorted out in detail the thorny path of an enthusiastic developer who I was once able to independently walk from beginning to end. The result of these efforts was the game of the RTS genre "The Land of Onimods " that I created at home without engines, designers and other modern development tools. For the project, C ++ and Assembler were used , well, and my own head was the main tool.
In this article I will try to talk about how I decided to take on the role of "resuscitator" and try to "resurrect" this project. A lot of attention will be paid to writing your own game server.
This is a continuation of the article, and the beginning is here .
→ Beginning of the article: Resurrection of the game
→ End of article: Network
')
Something about my GUI
For the GUI, I had to create all the necessary components that my game used:
1) Text box / GStatic - allows you to display any text. Additionally, the text has some properties - you can change the color and font of the text anywhere. At first, I was not sure that I would need this opportunity, but it turned out that it was more than useful.
2) Input field / GEdit - single line text editor. I tried to make it look like a similar component of Windows . At the end even added work with the clipboard. Forcing me to this solely the need to enter the license key.

3) The / GButton button is a regular button that reacts to mouse hovering and pressing on it.

4) The graphic button / GButtonImage is a regular button, only its appearance is determined by four graphic images (the normal state, under the mouse, is pressed and inactive).

5) The flag field / GCheckBox is a field that allows you to tick yourself off according to the YES / NO principle. The description to the right of the field is indicated.

6) List / GListBox is just a list of text strings. In the list, you can select any line.

7) Drop-down list / GComboBox - the component looks like an input field, which has an additional button that opens the list. Editing can be disabled, then the value of the field can only be selected using the drop-down list. Generally speaking, this is a fairly “dumb” component for implementation, since it contains three components at once: the Input field , the List and the Button .

8) Configurator / GDiscretBox - the component is used to adjust the level, for example, the thunder-bone of the sound or the speed of the mouse movement.

9) Picture / GPicture - the component allows you to upload any number of graphic images of the same size and select any of them for display.


10) Tree / GTree is a complex component that consists of nodes within which there may be other nodes. In general, the difficulty is that you can make a whole hierarchy, which also needs to be displayed graphically. It is also possible to use icons.

11) Pop-up menu / GMenu - analogue menu, which usually appears in Windows when you click the right mouse button. The main difficulty lies in the ability to build multi-level menus.

12) Dialog box / GDialog - a window with a title or without a title for placing other components inside it.
13) Message / GMessageBox is a special case of a dialog box that is constructed automatically by the title, text and the presence of buttons like OK and Cancel .

14) Scene / GScene - a special case of the dialog box, which usually covers the entire area of the monitor. You can set the background image of the scene, and put other components on top. The scene component is always present. In practice, changing the menu screens is changing different scenes.
Some components have one important feature - they may contain an arbitrary amount of information that may not fit into the component window. This applies to the " Text Box ", " List " and " Tree " components. In this case, it is necessary to provide for scrolling the contents of the component using the scroll bars. The complexity of the implementation of the scroll bar usually exceeds the complexity of the implementation of the component itself.
Some more important points in the implementation of the GUI
- In order not to get too attached to the features of the OS, I create only one main window. Then I catch the movement of the mouse over this window and determine my component that the mouse falls into.
- Unlike standard drawing logic in games, when the entire scene is redrawn completely, I try to redraw only those components that need to be redrawn. For example, if the mouse ran over a button, then you only need to redraw the button.
- I did not implement the “honest” modality, considering that it would complicate the porting, if you still need it. What is modality? This is when some component captures the mouse on itself and no other components react to this mouse. I also have all this, but according to the mind, inside the modal component there should be its own processing cycle, which keeps control until the component is closed.
Perhaps I will explain with an example. In MFC, I can output the MessageBox like this:if (MessageBox(" C:\Temp\test.avi . ?", "", MB_OKCANCEL | MB_ICONQUESTION)==IDOK)
As a result, a MessageBox will appear: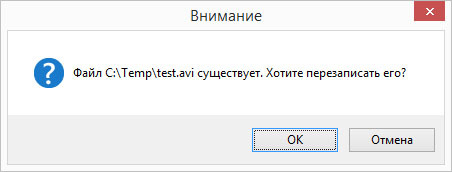
But the important thing is that until I click the " OK " or " Cancel " button , the MessageBox () function that I called will not be completed. And it is very convenient. In my GUI, the message will also appear, the mouse and keyboard will also respond only to this MessageBox , but the program will not wait until I close it - it will use its main processing loop. Therefore, you will have to write a separate reaction to pressing the " OK " or " Cancel " buttons for each MessageBox . This, in my opinion, is an unpleasant minus of my GUI , but, fortunately, they are not so often found in games. - Inside the GUI itself does not use the concept of "message" as it is done in Windows .
- The current GUI version does not have the ability to place handlers in the parent component. For example, in Windows, you can place a button on a dialog box and respond to a button’s click in the class of the dialog box. In my case, you'll have to write the OnLButtonClick () reaction for the button.
- For the design of the components of the GUI implemented the concept of " Theme ". Works " Theme" by analogy with the themes in Windows , i.e. allows you to completely change the appearance of the components. My first theme was “lapped” with Windows , and it was called GThemeWindows .
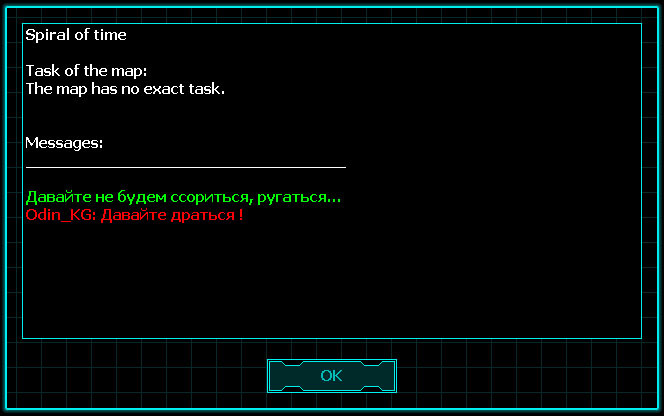
The menu was quite functional, but it looked like this: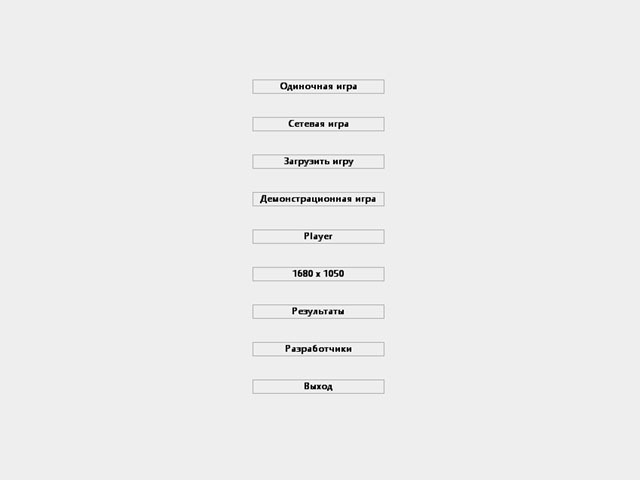
For the game, I created a GThemeOnimod theme, which looks much more appropriate for my case. Here I have already begun to use transparency on the border and other nice things. It is important that the replacement of the theme leads to a complete replacement of the appearance of all components.
About redrawing the game menu
I ordered the background pictures for the menu remotely from an unfamiliar artist. At the initial stage, we were brought closer only by the fact that he liked my game, but slowly our relations became quite friendly.
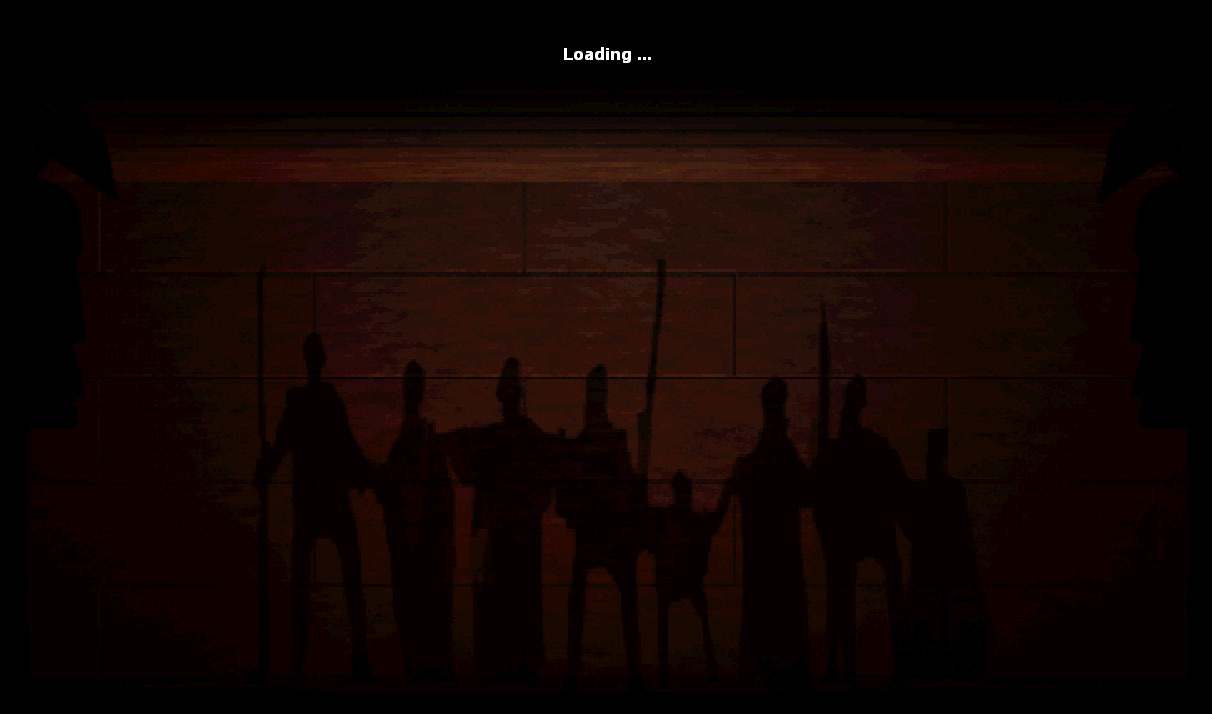
For a long time it was impossible to decide on what should be depicted on the background of the menu. Since the game assumed the opposition of two races, one of which flies on spaceships, and the second is still shooting with a bow, it was not completely clear how to connect these two concepts in background images. After a couple of pictures were rejected, I remembered that the idea of “frescoes” was once discussed. As a result, the "fresco" turned into "rock paintings", which were relatively easy to draw. From the high-tech menu received a scanner that periodically scans "cave paintings" and finds new ones. To add dynamics, I inserted 3 decorative components on the right side of the menu, which are constantly conducting some kind of turbulent activity, the meaning of which is not very clear to me either. In general, the idea was such that the astronaut looks at the entrance to the temple through the spacesuit, but, in my opinion, this visual effect could not be obtained.
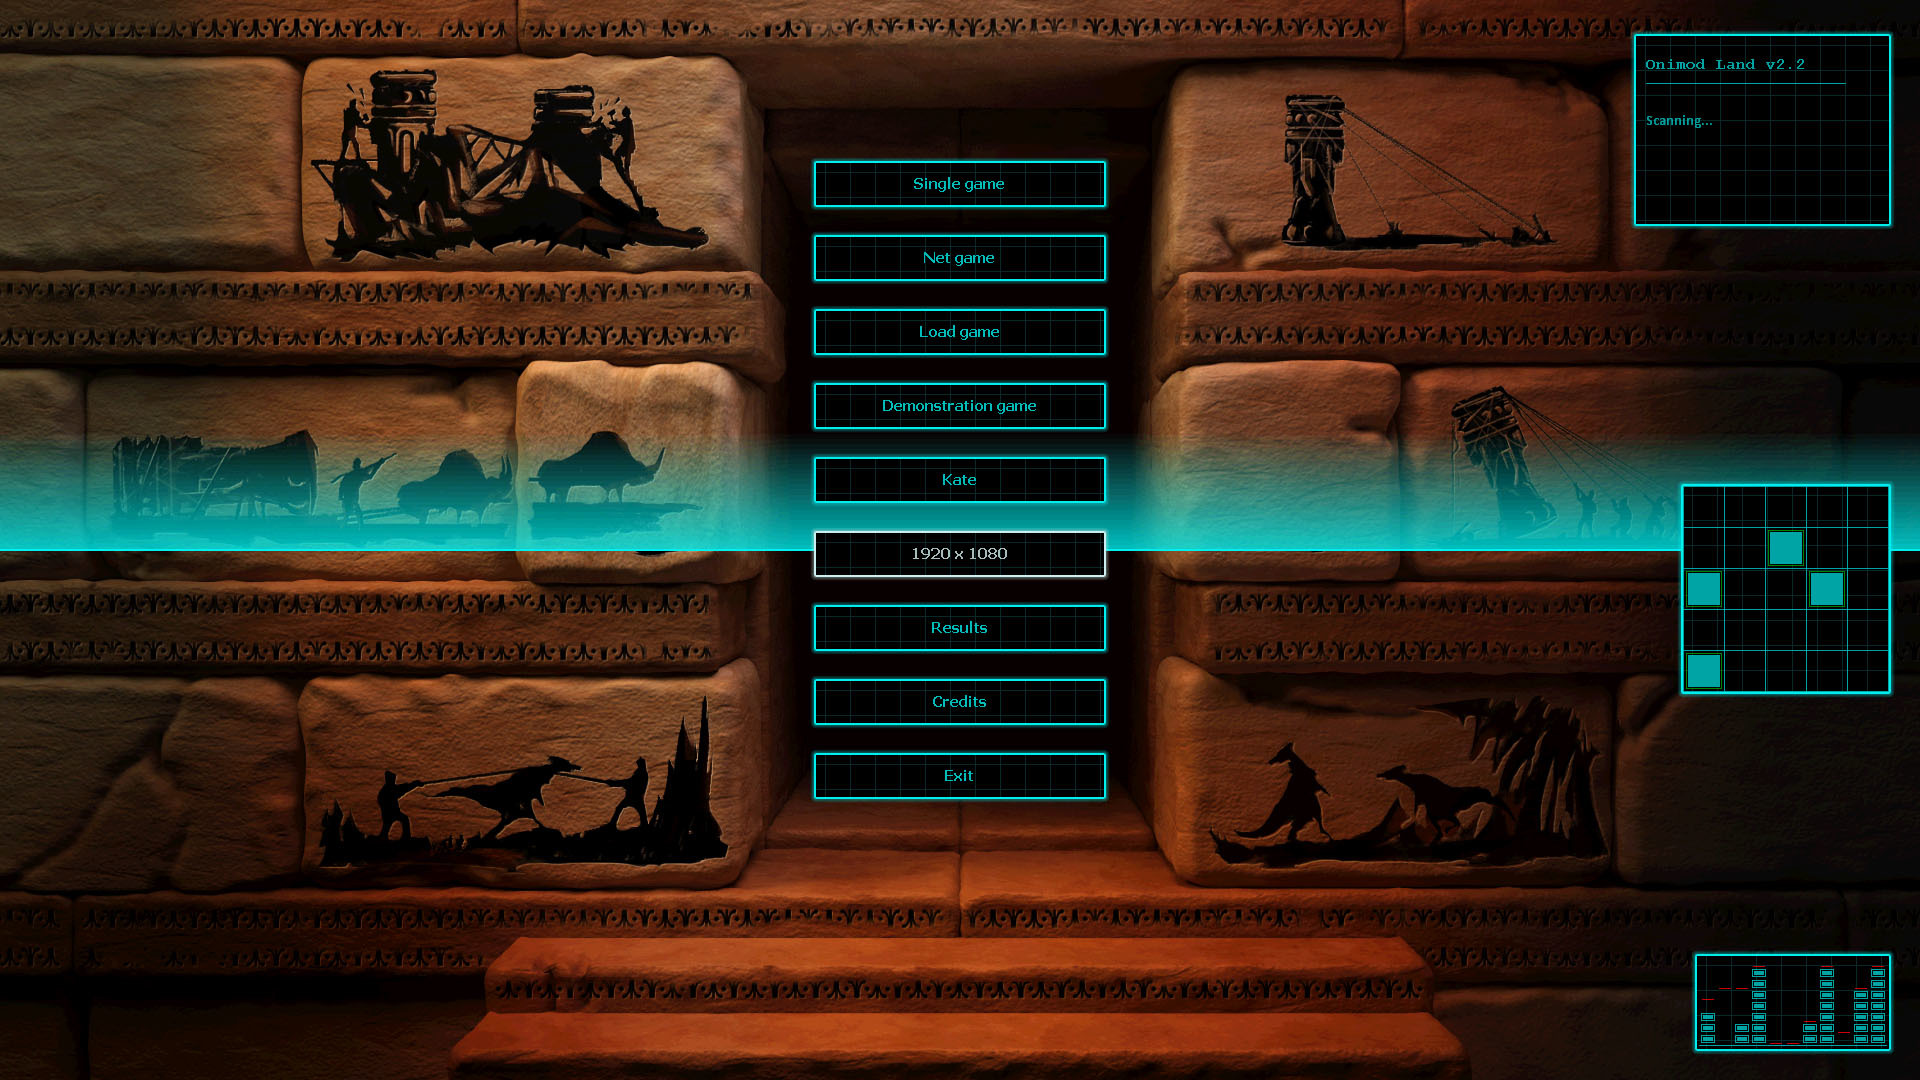
At the time of transition between the scenes of the menu, I tried to program the effect of "approach". And here, as it seems to me, I managed to achieve the desired goal, at least, personally, I get the impression that the “observer” is moving forward and entering the temple as it were.
After the problem with the menu was solved, I was puzzled by the appearance of the icons for upgrades to the game. I understood that in this form it is impossible to leave it as it is - the “disgrace” is very strongly striking.
To make it clear why the appearance of existing icons acted on me very depressingly, I give their appearance.

As follows from the first part of the article, the artists left the project long before it was completed by me, and the icons were not particularly involved.
After redrawing a new version of the same icons looked like this:

This option seems to me quite suitable for use. By the way, there are a lot of such icons in the game - about 80 pieces. Fortunately, many of them were similar in appearance, for example, the 1st level of armor and the 2nd level of armor differ only in some details and the background color.
Fonts
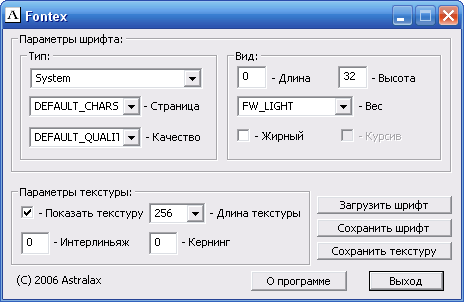
Using Windows fonts has now become impossible for me. So it was necessary to again something nahimichit. The most obvious option is to pre-generate the font as an image and save the coordinates of each character from this image separately into a text file. Then, knowing these coordinates, it will be possible to draw the characters one by one. Fortunately, a few years ago I wrote a small utility, which was exactly what was involved. The utility can be downloaded here .
(Emotion: Uh, I just noticed on the screenshot from the left-bottom ... it turns out I did it, already in 2006. But it seemed to me that not much time had passed.)
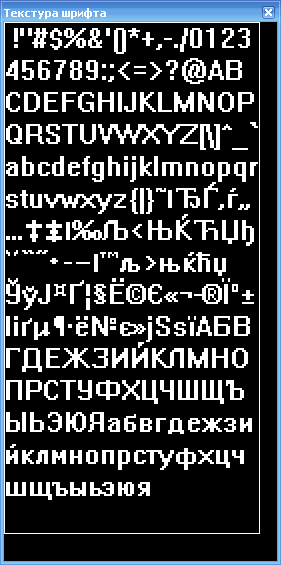
I think that how to use the utility is approximately understandable. Select the font and its characteristics, as well as the length of the texture. It is better to enter 1 in the Kerning field, since otherwise the characters may begin to touch, which is not good at all. The utility saves the texture as a TGA file, and the drawing itself is on the alpha channel, so programs that do not show the alpha channel will give you a clean white sheet. And yet, on the alpha channel image will be present.
The resulting texture can be observed in a separate window. In general, we just play with the settings until the result is more or less satisfied and then we save the texture.
I used the TGA format, since it can easily be saved without any third-party APIs .
Reanimation game
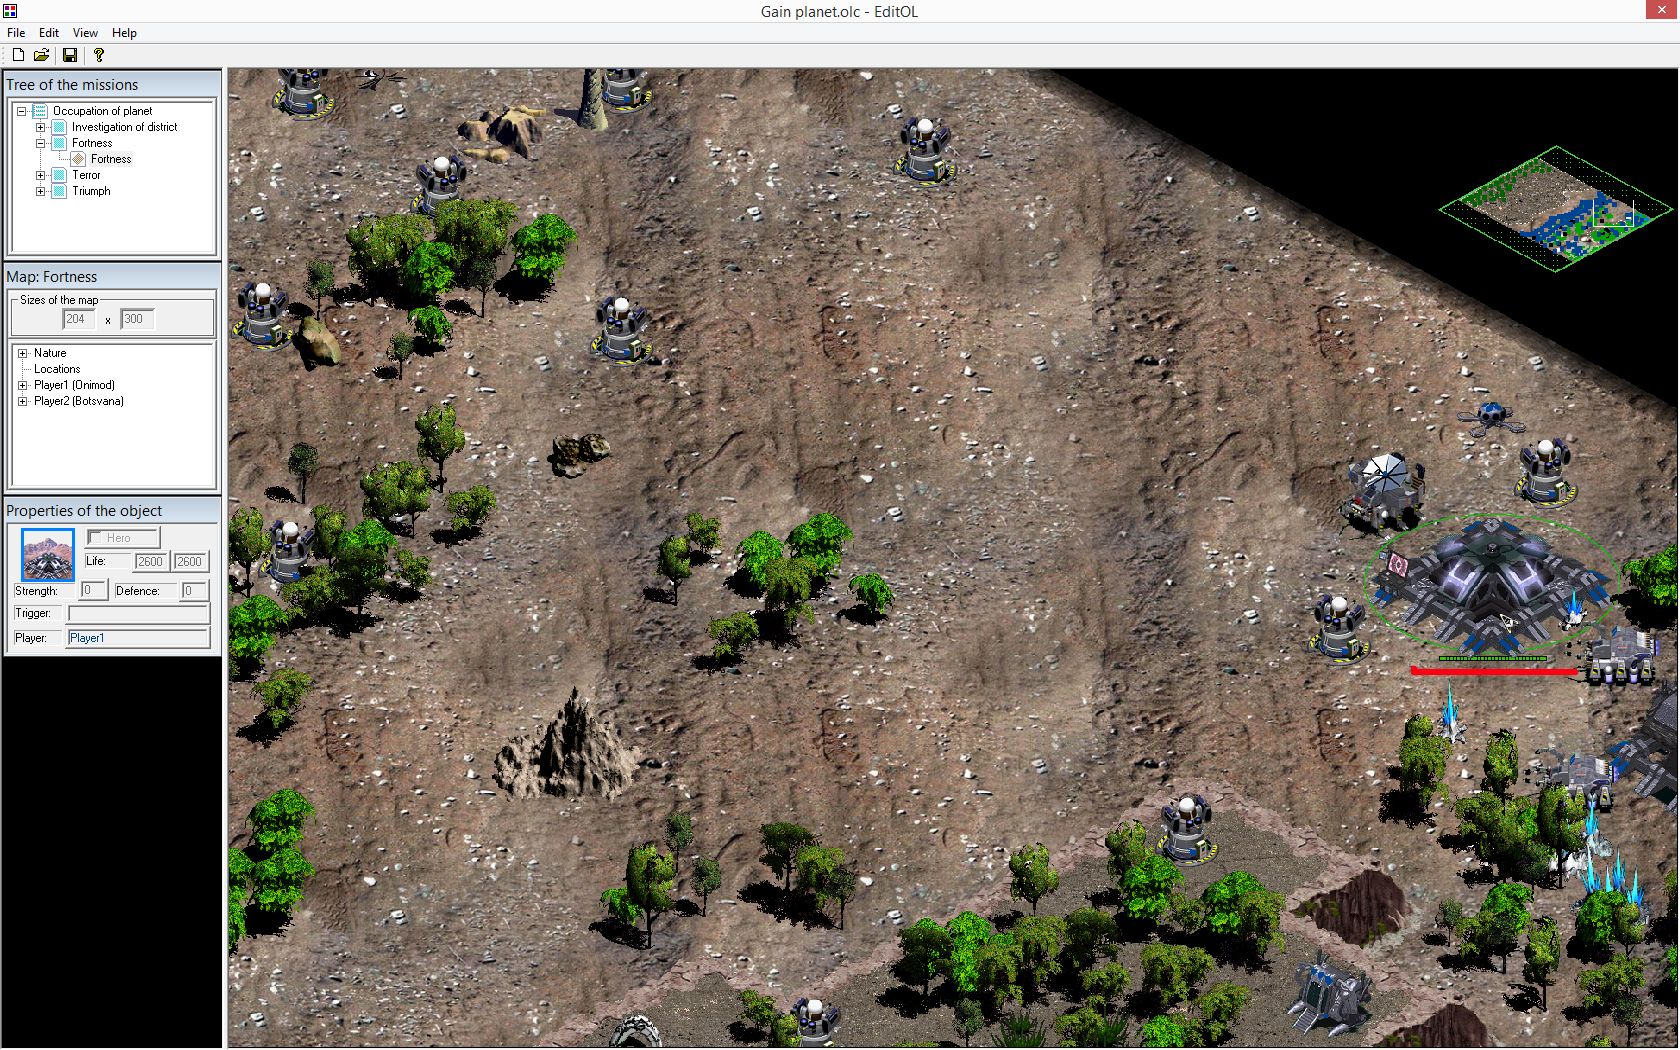
When my GUI with a Windows -style theme more or less “started breathing”, I finally had the opportunity to begin to perform resuscitation of the game under Windows 8/10 . But at the initial stage I didn’t have my own network, which prevented me from starting to rework the game itself. Therefore, I began to implement my plan with the map editor. He didn’t need either the network or my weak-working GUI , he also didn’t use DirectInput , and received all the data from the mouse and keyboard via standard Windows messages. But instead, he actively used assembler to draw game objects.
And it was logical to start small, because I understood that if I began to smash everything, how then “you will not find the ends”. In general, I again deleted the DirectX h- files from the project, but now I had to not only assess the scale of the work, but also do this work.
First of all, I replaced all pointers on the IDirectDrawSurface surface with pointers to GSurfaceOL own surfaces. In the GSurfaceOL class I added functions that were supposed to emulate the operation of DirectDraw surfaces, only in my own way:
long BltFast(unsigned int dwX, unsigned int dwY, GSurfaceOL* lpDDSrcSurface, RECT* lpSrcRect, unsigned int dwFlags); This approach immediately dramatically reduced the number of errors generated by the compiler, since both my surfaces and my functions to them now existed.
Then I went through all the remaining errors, of which there were several hundred, and analyzed each specific case. Fortunately, most of the errors were caused by the same reasons and I only needed to carefully apply the same solution.
In general, as it seems to me now, I spent about a week before I managed to scrape all the references to DirectX from the editor. Then it took some time for my functions to work, and finally, I got the first important result.
It is clear that everything was not as simple as I described here in a nutshell, often had to rest on some minor difficulties, which are very slow to move forward. For example, this is a screenshot from an already working editor, but there is a defect on it, which I noted with a red underline.
On the indicator of life, which consists of segments drawn by an assembler, it is clear that the image is very blurry. I was stupid for a long time, until I realized that it was in the final stage, which was controlled by DirectX .
As I said, I painted the whole image on a 16-bit private surface in RAM. I also created a A1R5G5B5 format full-screen texture in DirectFix video memory (I first used X1R5G5B5 format, but fortunately I just noticed that some computers do not understand this format) Next, I perform a Lock () operation for DirectX texture -a, and copy my texture from RAM into it through the memcpy () function. I release the texture of DirectX through Unlock () and, in fact, I get my image on the standard texture of DirectX . And now it can be drawn in the form of two textured triangles. True, the size of this texture is 16 bits, and the screen resolution is 24 bits. But here DirectX9 turned out to be on top - it performs color conversion without any problems at the time of rendering triangles. I have to admit, at first, I tried to do this conversion on my own, in order to drive data from RAM directly to the secondary video buffer, but I was not pleased with the result compared to DirectX .
So, I began to explain this all because of the blurred image. So ... I first stubbornly looked for a problem in this chain, which I described a little higher. But it turned out that my DirectX function Present () , which performs the final image transfer from the secondary buffer to the primary one, is incorrectly configured.
I have this function looked like this:
device_3d->Present(NULL, NULL, NULL, NULL); But for the window mode, you cannot specify NULL in the first two parameters; here the “from” and “to” rectangles should be copied. I hurried up and copied the Present () function from the full-screen solution, where it was quite normal to use NULL.
And such trifles come across all the time, so the assessment of a programmer’s work generally does not lend itself to a clear time frame - any little thing can delay the development for an indefinite period. Personally, I always followed the rule that "the apparent time must be multiplied by 3." The main task of the developer is not to “quickly correct the error”, but “to try not to create a new one when correcting one error”. Having spent a year with the game, I almost didn’t touch the game itself (except for network interaction and menu), but only solved indirect tasks of creating a universal “shell”.
After launching the editor, I was finally able to switch to the game. But here it was necessary not just to substitute one for the other, namely, to redo it. The total amount of work was much more significant. The menu, despite the similarity of the location of the components, was almost completely redone. I hope that I managed to improve a lot.
But ... I think that I have already talked enough about the GUI and now I need to either turn the article into documentation on how to work with my shell, or leave this topic for the time being until someone may need it.
But I decided to elaborate on the network. In my last article, I described the Network very briefly and focused not so much on creating network interaction, but on the features of the network game as applied to RTS. I also noticed that some readers of my last article regretted the small amount of information on this topic on my part. Therefore, this time I decided to clarify the principles that I used to write an Internet server and a network client. In my opinion, the material here is much more “harsh” in relation to the person who decided to “grasp the essence”.
→ Beginning of the article: Resurrection of the game
→ End of article: Network
Source: https://habr.com/ru/post/328116/
All Articles