Writing a 2d java game
Good day to all!
This article will describe the creation of 2D games in Java. Immediately I warn you, you should at least know a basic Java language, since I don’t have time for a detailed explanation of each line. And I beg you, do not just write off the code, but try to understand what each line means, and write with meaning. And also, I use Eclipse, but you can use any IDE.
I plan to create a game resembling a 3 person shooter.
')
Well, let's get started!
To begin, create a project. Let's call it “Just game”. And immediately create a class Display.java. We write to it:
Now let's see what we have done.
we create a frame, which will be displayed when you start our game
Set the operation that will occur when you click on the cross. EXIT_ON_CLOSE - exit the program
we set our frame to the maximum size, we remove the scenery (buttons to collapse, close, reduce / enlarge, etc.), i.e. make the game full screen. If you want the game to not be full screen, use:
Just do not forget, all the settings of the frame must be written before you make it visible.
Well, well, now click "Run" and try to run our game. If everything is written correctly, you should have no errors and a blank, gray window should appear.
Gray window ... How boring ... Let's create something more interesting.
Create a new class called “Main”. The main class we will have is the panel that we insert into the frame, so it should expand the JPanel. (For those who do not know, expand is written as extends after the class name)
We return to the Display class and after setting the frame, but before setting its visibility, we write:
You ask - "Well, why did we do this?". Imagine the picture. This picture is our ultimate game. Now imagine the frame. Without anything inside, just an empty frame. Nothing can be drawn on it, it is useless. To do this, we inserted a blank sheet into the picture, on which the program can later draw a picture. This concludes our lyrical digression and go back to the Main class.
We need to draw, so we need to add a paint method. To do this, we write:
Well, for starters, we can write a line drawing inside this method. To do this, we write:
Now run the program and see:

Daaaaaa, not a lot ...
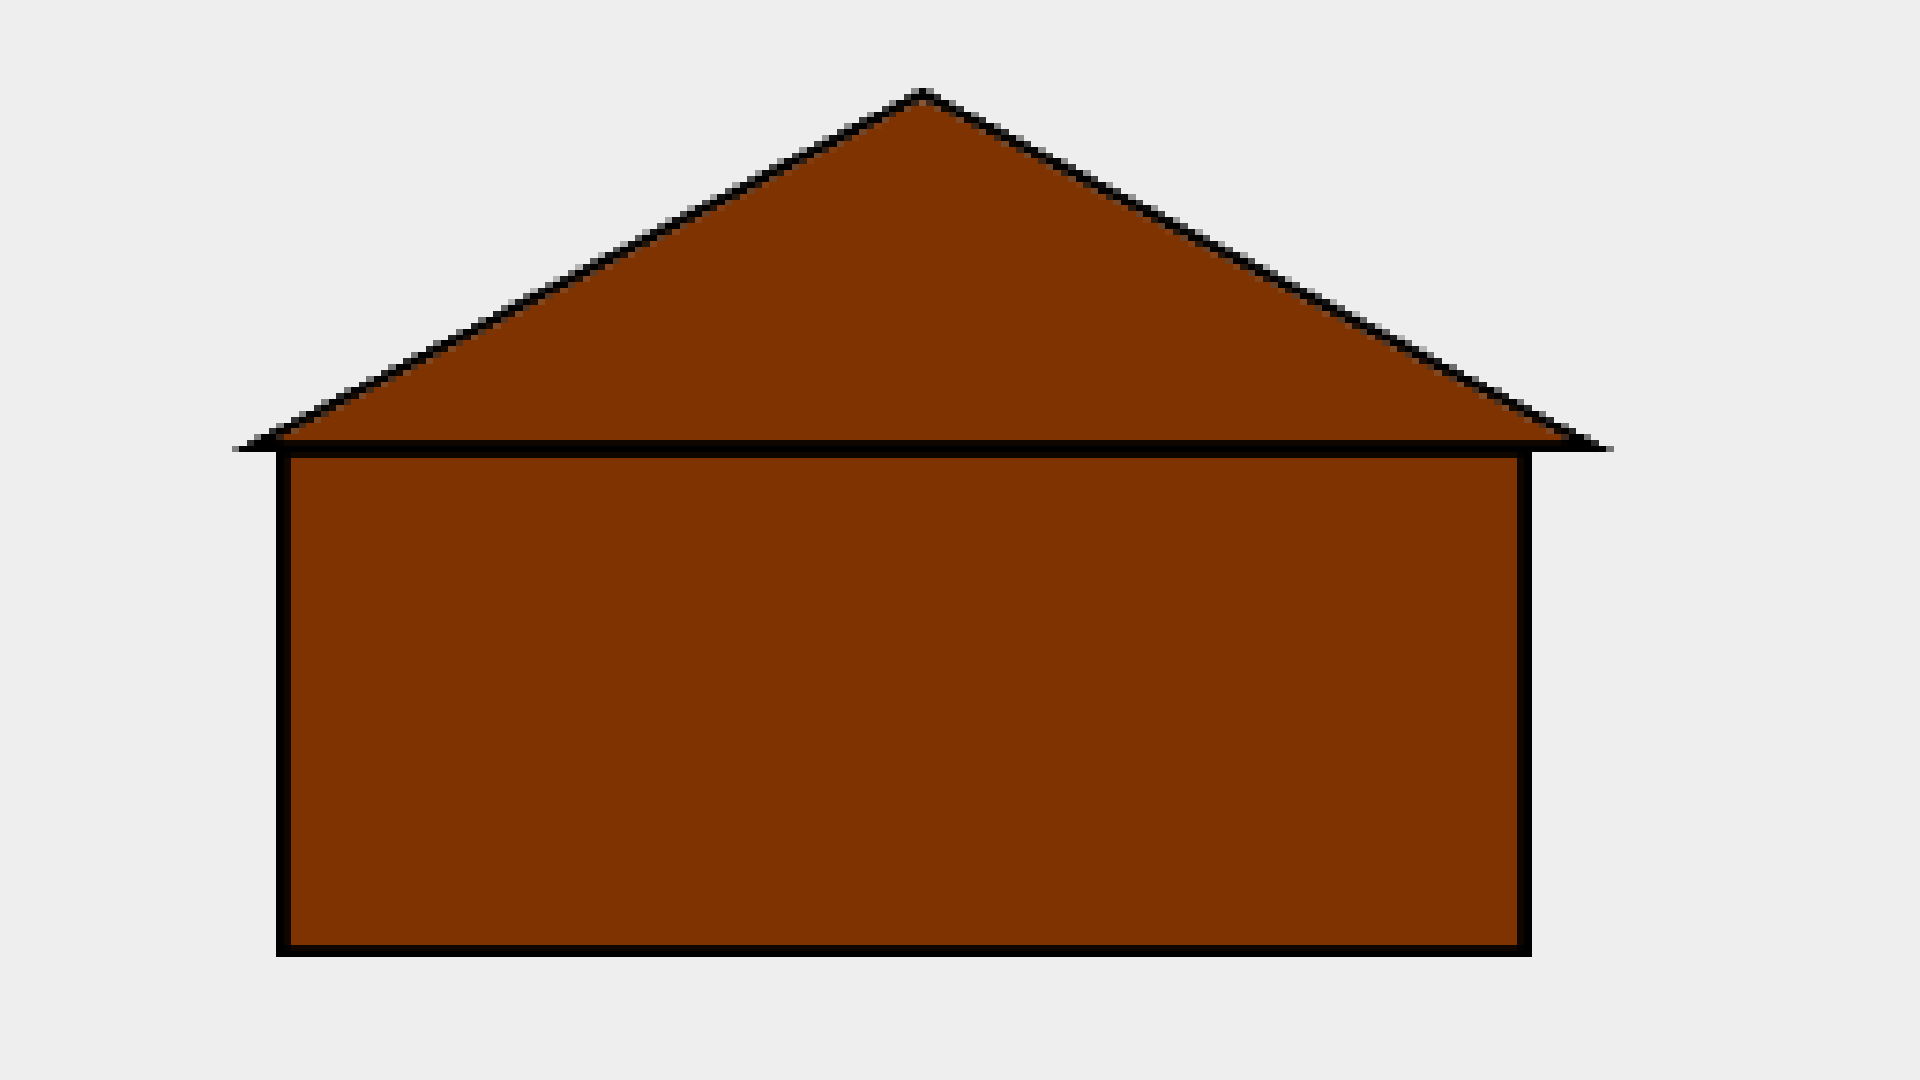
Let's draw some picture. For example this:
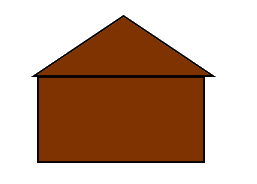
First, we need to specify the path to the picture. For this not in the paint method, we write:
(you must first throw a picture into our project and name it 2.png)
After that, delete the line drawing line, and instead write the paint method:
We will look closer with the drawImage method, as we will often touch it.
drawImage (the picture we will draw, which we declared earlier, the X coordinate with which the picture will be drawn, the Y coordinate with which the picture will be drawn, paint);
Separately, I want to talk about the paint option. Best of all leave it null. I only once came across when I needed to use paint. That was when I rendered the text, and asked him the size of the font. But I advise you not to go there and use null.
Now run the program and see:

Something she is small, is not it? Let's learn how to increase its size. Add to drawImage () parameters so that it goes:
What have we added now? These two parameters stretch the image to the coordinates of 1920 and 1080. It turns out that the picture is full screen. Let's run the program and check it out.
It turns out:
Finally. Now we can stretch any pictures to full screen. But here is the problem. The paint method is called only once. And how to update it constantly? For this there is a very useful thing - a timer. Let's create it.
To do this, we write:
(20 is the frequency with which the timer is updated, this- where to run the method when updating the timer
We have to enter this right after the class definition line, i.e. after:
Also, you need to add a class definition line like this:
After writing this line, your class name should be underlined in red. To fix this, add a method at the very end of the class:
This method will run when the timer is updated. In it we should write repaint (); so that with each update of the timer, all the elements would be erased, and drawn again.
Next, we have to start the timer. To do this, create a constructor for the Main class and write to it:
After that, you can not run the program, because nothing will change in it. Let's replace the house texture with a normal map texture. You can draw it yourself, or copy my trial:
The size of the picture can be any, anyway, its size will be fitted directly in the program. Oh yeah, the permissions of computers can be different, so let's add such things to the constructor:
And before the constructor, add:
And we also go back to the Display.java class and change the frame.add method a bit there:
Thus, our frame will be passed to the Main.java class. Go to this class, and where we have the paint () method, we change the drawImage () string to:
Thus, now our game will draw the picture on the whole screen, regardless of its resolution. Run:

That's all for today. I leave the code for those who are confused:
Thanks for attention!
Continued habrahabr.ru/post/326302
This article will describe the creation of 2D games in Java. Immediately I warn you, you should at least know a basic Java language, since I don’t have time for a detailed explanation of each line. And I beg you, do not just write off the code, but try to understand what each line means, and write with meaning. And also, I use Eclipse, but you can use any IDE.
Task:
I plan to create a game resembling a 3 person shooter.
')
Start:
Well, let's get started!
To begin, create a project. Let's call it “Just game”. And immediately create a class Display.java. We write to it:
public static void main(String[] args) { JFrame frame = new JFrame(/* */); frame.setDefaultCloseOperation(JFrame.EXIT_ON_CLOSE); frame.setExtendedState(JFrame.MAXIMIZED_BOTH); frame.setUndecorated(true); frame.setVisible(true); } Now let's see what we have done.
JFrame frame = new JFrame(/* */); we create a frame, which will be displayed when you start our game
frame.setDefaultCloseOperation(JFrame.EXIT_ON_CLOSE); Set the operation that will occur when you click on the cross. EXIT_ON_CLOSE - exit the program
frame.setExtendedState(JFrame.MAXIMIZED_BOTH); frame.setUndecorated(true); we set our frame to the maximum size, we remove the scenery (buttons to collapse, close, reduce / enlarge, etc.), i.e. make the game full screen. If you want the game to not be full screen, use:
frame.setSize(/**/,/**/); frame.setResizable(false); //false , true - frame.setVisble(true); - make the frame visibleJust do not forget, all the settings of the frame must be written before you make it visible.
Well, well, now click "Run" and try to run our game. If everything is written correctly, you should have no errors and a blank, gray window should appear.
Gray window ... How boring ... Let's create something more interesting.
Create a new class called “Main”. The main class we will have is the panel that we insert into the frame, so it should expand the JPanel. (For those who do not know, expand is written as extends after the class name)
We return to the Display class and after setting the frame, but before setting its visibility, we write:
frame.add(new Main()); You ask - "Well, why did we do this?". Imagine the picture. This picture is our ultimate game. Now imagine the frame. Without anything inside, just an empty frame. Nothing can be drawn on it, it is useless. To do this, we inserted a blank sheet into the picture, on which the program can later draw a picture. This concludes our lyrical digression and go back to the Main class.
We need to draw, so we need to add a paint method. To do this, we write:
public void paint(Graphics g) { // } Well, for starters, we can write a line drawing inside this method. To do this, we write:
g.drawLine(20, 20, 100, 100); Now run the program and see:
Daaaaaa, not a lot ...
Let's draw some picture. For example this:
First, we need to specify the path to the picture. For this not in the paint method, we write:
Image img = new ImageIcon("2.png").getImage(); (you must first throw a picture into our project and name it 2.png)
After that, delete the line drawing line, and instead write the paint method:
g.drawImage(img, 0, 0, null); We will look closer with the drawImage method, as we will often touch it.
drawImage (the picture we will draw, which we declared earlier, the X coordinate with which the picture will be drawn, the Y coordinate with which the picture will be drawn, paint);
Separately, I want to talk about the paint option. Best of all leave it null. I only once came across when I needed to use paint. That was when I rendered the text, and asked him the size of the font. But I advise you not to go there and use null.
Now run the program and see:
Something she is small, is not it? Let's learn how to increase its size. Add to drawImage () parameters so that it goes:
g.drawImage(img, 0, 0, 1920, 1080, null); What have we added now? These two parameters stretch the image to the coordinates of 1920 and 1080. It turns out that the picture is full screen. Let's run the program and check it out.
It turns out:
Finally. Now we can stretch any pictures to full screen. But here is the problem. The paint method is called only once. And how to update it constantly? For this there is a very useful thing - a timer. Let's create it.
To do this, we write:
Timer timer = new Timer(20, this); (20 is the frequency with which the timer is updated, this- where to run the method when updating the timer
We have to enter this right after the class definition line, i.e. after:
public class Main extends JPanel{ Also, you need to add a class definition line like this:
public class Main extends JPanel implements ActionListener{ After writing this line, your class name should be underlined in red. To fix this, add a method at the very end of the class:
@Override public void actionPerformed(ActionEvent e) { // TODO Auto-generated method stub } This method will run when the timer is updated. In it we should write repaint (); so that with each update of the timer, all the elements would be erased, and drawn again.
Next, we have to start the timer. To do this, create a constructor for the Main class and write to it:
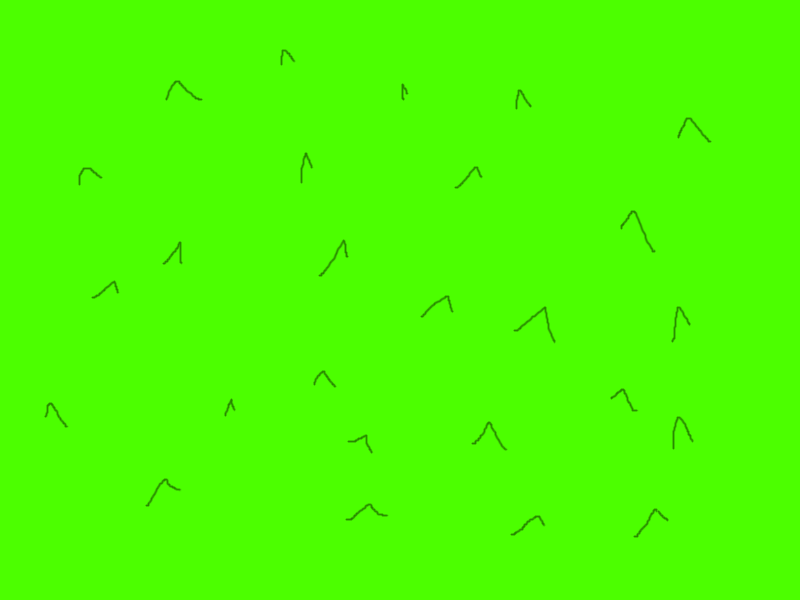
timer.start(); After that, you can not run the program, because nothing will change in it. Let's replace the house texture with a normal map texture. You can draw it yourself, or copy my trial:
The size of the picture can be any, anyway, its size will be fitted directly in the program. Oh yeah, the permissions of computers can be different, so let's add such things to the constructor:
public Main(JFrame frame) { timer.start(); this.frame = frame; } And before the constructor, add:
JFrame frame; And we also go back to the Display.java class and change the frame.add method a bit there:
frame.add(new Main(frame)); Thus, our frame will be passed to the Main.java class. Go to this class, and where we have the paint () method, we change the drawImage () string to:
g.drawImage(img, 0, 0,frame.getWidth(), frame.getHeight(), null); Thus, now our game will draw the picture on the whole screen, regardless of its resolution. Run:
That's all for today. I leave the code for those who are confused:
Display.java
import javax.swing.JFrame; public class Display { public static void main(String[] args) { JFrame frame = new JFrame("JustGame"); frame.setDefaultCloseOperation(JFrame.EXIT_ON_CLOSE); frame.setExtendedState(JFrame.MAXIMIZED_BOTH); frame.setUndecorated(true); frame.add(new Main(frame)); frame.setVisible(true); } } Main.java
import java.awt.Graphics; import java.awt.Image; import java.awt.event.ActionEvent; import java.awt.event.ActionListener; import javax.swing.ImageIcon; import javax.swing.JFrame; import javax.swing.JPanel; import javax.swing.Timer; public class Main extends JPanel implements ActionListener{ Image img = new ImageIcon("2.png").getImage(); Timer timer = new Timer(20, this); JFrame frame; public Main(JFrame frame) { this.frame = frame; } public void paint(Graphics g) { g.drawImage(img, 0, 0,frame.getWidth(), frame.getHeight(), null); } @Override public void actionPerformed(ActionEvent e) { // TODO Auto-generated method stub repaint(); } } Thanks for attention!
Continued habrahabr.ru/post/326302
Source: https://habr.com/ru/post/326032/
All Articles