Google Maps - customize me completely
→ Demo: link
→ Sources: link
The first time I encountered the introduction and customization of Google Maps, I did not find a single article that looked at all the necessary points - I had to look for information bit by bit, and I had to invent something myself. After that, it was decided to write this article so that people who had not previously worked with styling Google Maps, but who were limited in time (and maybe even desire) for a full API study, could quickly get the necessary information and materials. Moreover, those who have a certain experience can learn from this article some interesting feature, for example, parallax for elements of the information window.
')
In this article we will look at:
1. Implementing Google Maps to the site
- Adding an iframe to the markup
- Add via API
2. Marker customization
- Marker initialization
- Marker animation
- Marker image
3. Customization of the information window
- Add info window
- Opening the information window
- Customization of elements of the information window
- Parallax effect for items in the info window
4. Customization card
- Change the color of map objects
- Customization of controls
- Card Mask
1. Introduction to the site
Adding an iframe to the markup
If you do not need to change the marker, make a custom information window or influence the map in any way, to add it, it is enough to do the following:
- View Google Maps .
- Find the object of interest (for example, by entering the address in the search, or by clicking on the desired name with the right mouse button and selecting the item in the context menu of “What is here?”)

then click on the hamburger: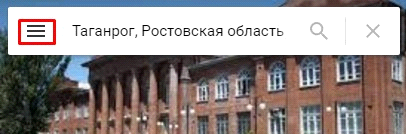
Then we find the “Link / Code” button:
Copy the embed code:
It remains only to insert the resulting code into the markup.
Add via API
But if you need to make any manipulations, we will need a key. If he is not there, you can get here: referring
We build it into the address instead of
YOUR_API_KEY : <script src="https://maps.googleapis.com/maps/api/js?key=YOUR_API_KEY"></script> If you need to call a callback after api has been loaded, you will need to add
YOUR_API_KEY&callback=initMap with the name of your function after the key. We connect the script on the page and create a block for the future map in the markup: <div id="map"></div> Now you need to initialize the map:
function initMap() { var coordinates = {lat: 47.212325, lng: 38.933663}, map = new google.maps.Map(document.getElementById('map'), { center: coordinates }); } Coordinates can be found using the "What is here" option described above.
Properties that you may immediately need:
zoom: number- determines the initial scale.disableDefaultUI: boolean- removes controls.scrollwheel: boolean- disables scaling with the mouse wheel (it is useful if the map is full-page wide and stops scrolling down).
2. Marker customization
Marker initialization
First, add a marker:
function initMap() { var coordinates = {lat: 47.212325, lng: 38.933663}, map = new google.maps.Map(document.getElementById('map'), { center: coordinates }), marker = new google.maps.Marker({ position: coordinates, map: map }); } position (required) indicates the starting position of the marker. If you specify the same coordinates as for the map, the marker will be in the center of the screen. You can shift the marker by changing the value of the coordinates, or by changing the position of the map itself relative to the visible area (parent unit).map (optional) indicates the map on which the marker is placed.Marker animation
You can set animation for the marker:
DROP- after loading the map marker falls from the top.BOUNCE- the marker bounces on the spot.
function initMap() { var coordinates = {lat: 47.212325, lng: 38.933663}, map = new google.maps.Map(document.getElementById('map'), { center: coordinates }), marker = new google.maps.Marker({ position: coordinates, map: map, animation: google.maps.Animation.BOUNCE }); } Animation can be set during marker initialization, added or removed by calling the
setAnimation() method.An example of marker animation when you close an information window and stop when opening:
google.maps.event.addListener(infowindow,'closeclick',function(){ marker.setAnimation(google.maps.Animation.BOUNCE); }); marker.addListener('click', function () { marker.setAnimation(null); }); Marker image
The image of the marker can be changed by setting the address of the image for the
icon property. image = 'images/marker.png', marker = new google.maps.Marker({ position: coordinates, map: map, icon: image }); 3. Customization of the information window
Add info window
In the custom information window, you can add any markup through the
content property: function initMap() { var coordinates = {lat: 47.212325, lng: 38.933663}, popupContent = '<p class="content"> </p>', markerImage = 'images/marker.png', map = new google.maps.Map(document.getElementById('map'), { center: {lat: 47.212325, lng: 38.933663} }), marker = new google.maps.Marker({ position: coordinates, map: map, icon: markerImage }), infowindow = new google.maps.InfoWindow({ content: popupContent }); } Opening the information window
To make the information window immediately visible, call the
open() method: infowindow.open(map, marker); You should also add a window call when clicking on a marker (otherwise we will not be able to open the popup):
marker.addListener('click', function() { infowindow.open(map, marker); }); Customization of elements of the information window
Information window can be both custom and standard. In the custom we can add any elements and work with them, the possibilities are limited only by imagination.
The main problem that can be encountered when customizing any of the types is the edges (white area) around the content and the arrow. These elements are not amenable to css selection.

You can solve the problem with pseudo-elements for available blocks. Also, if for any reason it is not possible to use an extra pseudo-element, the frame can be removed with a shadow.
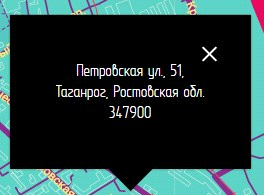
.gm-style-iw { background: $black; box-shadow: -14px 0px 0px $black, -14px 9px 0px $black, -14px -8px 0px $black, 15px -8px 0px $black, 15px 9px 0px $black; } But first things first:
.gm-style-iw - the main unit, it contains content. In the screenshot above, this block has a black background..poi-info-window - a wrapper for text in a standard information window, is inside. .gm-style-iw.gm-style-iw + div - cross.How now to affect the area outside the content block? Go beyond it. First of all, you need to add a property that will make visible blocks that go beyond the boundaries:
.gm-style-iw { overflow: visible !important; div { overflow: visible !important; } } Now for
.gm-style-iw , or blocks inside you can create pseudo-elements to overlap the background and the arrow: .gm-style-iw { // &::before { content: ''; width: calc(100% + 29px); height: calc(100% + 17px); @include absolute; @include center-align; background: $black; } // &::after { content: ''; width: 0; height: 0; border: 22px solid transparent; border-top-color: $black; z-index: 4; @include absolute; top: auto; bottom: -53px; margin: auto; } } We get the following:
Parallax effect for items in the info window
Here there is a small problem related to the fact that map objects are created dynamically, and one cannot simply take and attach a handler to them, and cloning a block with
.clone(true) into the content of the information window with transfer of handlers will not be allowed by the API.Alternatively, you can check the presence of the item and save after the appearance:
var $parallaxImg = null; this.$body.mousemove(function(e) { if($parallaxImg) { ... } else if($(this.parallaxImg).length) { $parallaxImg = $(this.parallaxImg); } }.bind(this)); Now just add the code that displaces the block horizontally depending on the position of the cursor:
var $parallaxImg = null; this.$body.mousemove(function(e) { if($parallaxImg) { var $el = $(e.currentTarget), xPos = e.pageX - (window.innerWidth / 2), mXPcnt = Math.round(xPos / $el.width() * 100), diffX = $parallaxImg.width() - $el.width(), myX = diffX * (mXPcnt / 1500); $parallaxImg.animate({left: myX}, 0); } else if($(this.parallaxImg).length) { $parallaxImg = $(this.parallaxImg); } }.bind(this)); If the click on the dynamic element needs to be processed, simply put the handler on the wrapper and catch the object on the ascent:
$('.map').on('click', '.js-parallax-img', function() { ... }); 4. Customization card
Change the color of map objects
To stylize the map, an array of styles is used, in which the selector and css-property that you want to apply are specified.
An example of settings that color water in purple:
var styles = [ { "featureType": "water", "stylers": [ { "color": "#a73cff" } ] } ] Apply parameters:
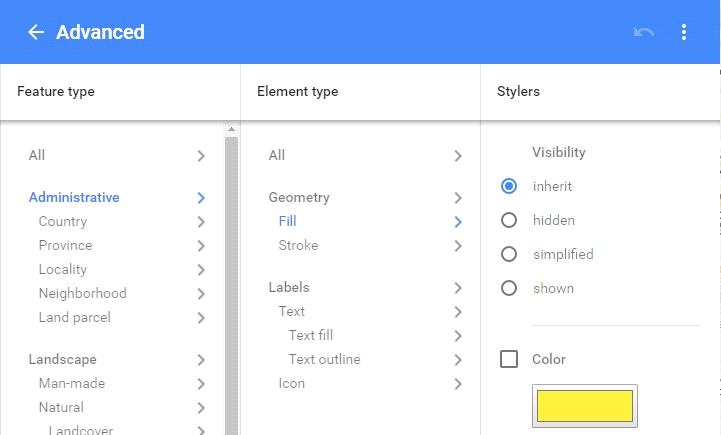
map.setOptions({styles: styles}); To set up styles, the easiest way is to use a specialized service, for example the Google Maps APIs Styling Wizard . For detailed settings of the map click “More options”:
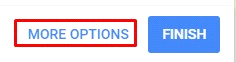
We make the setting:
Copy the received json:

If the style array is very large, you can put it in a separate .json file and apply the styles after it is loaded:
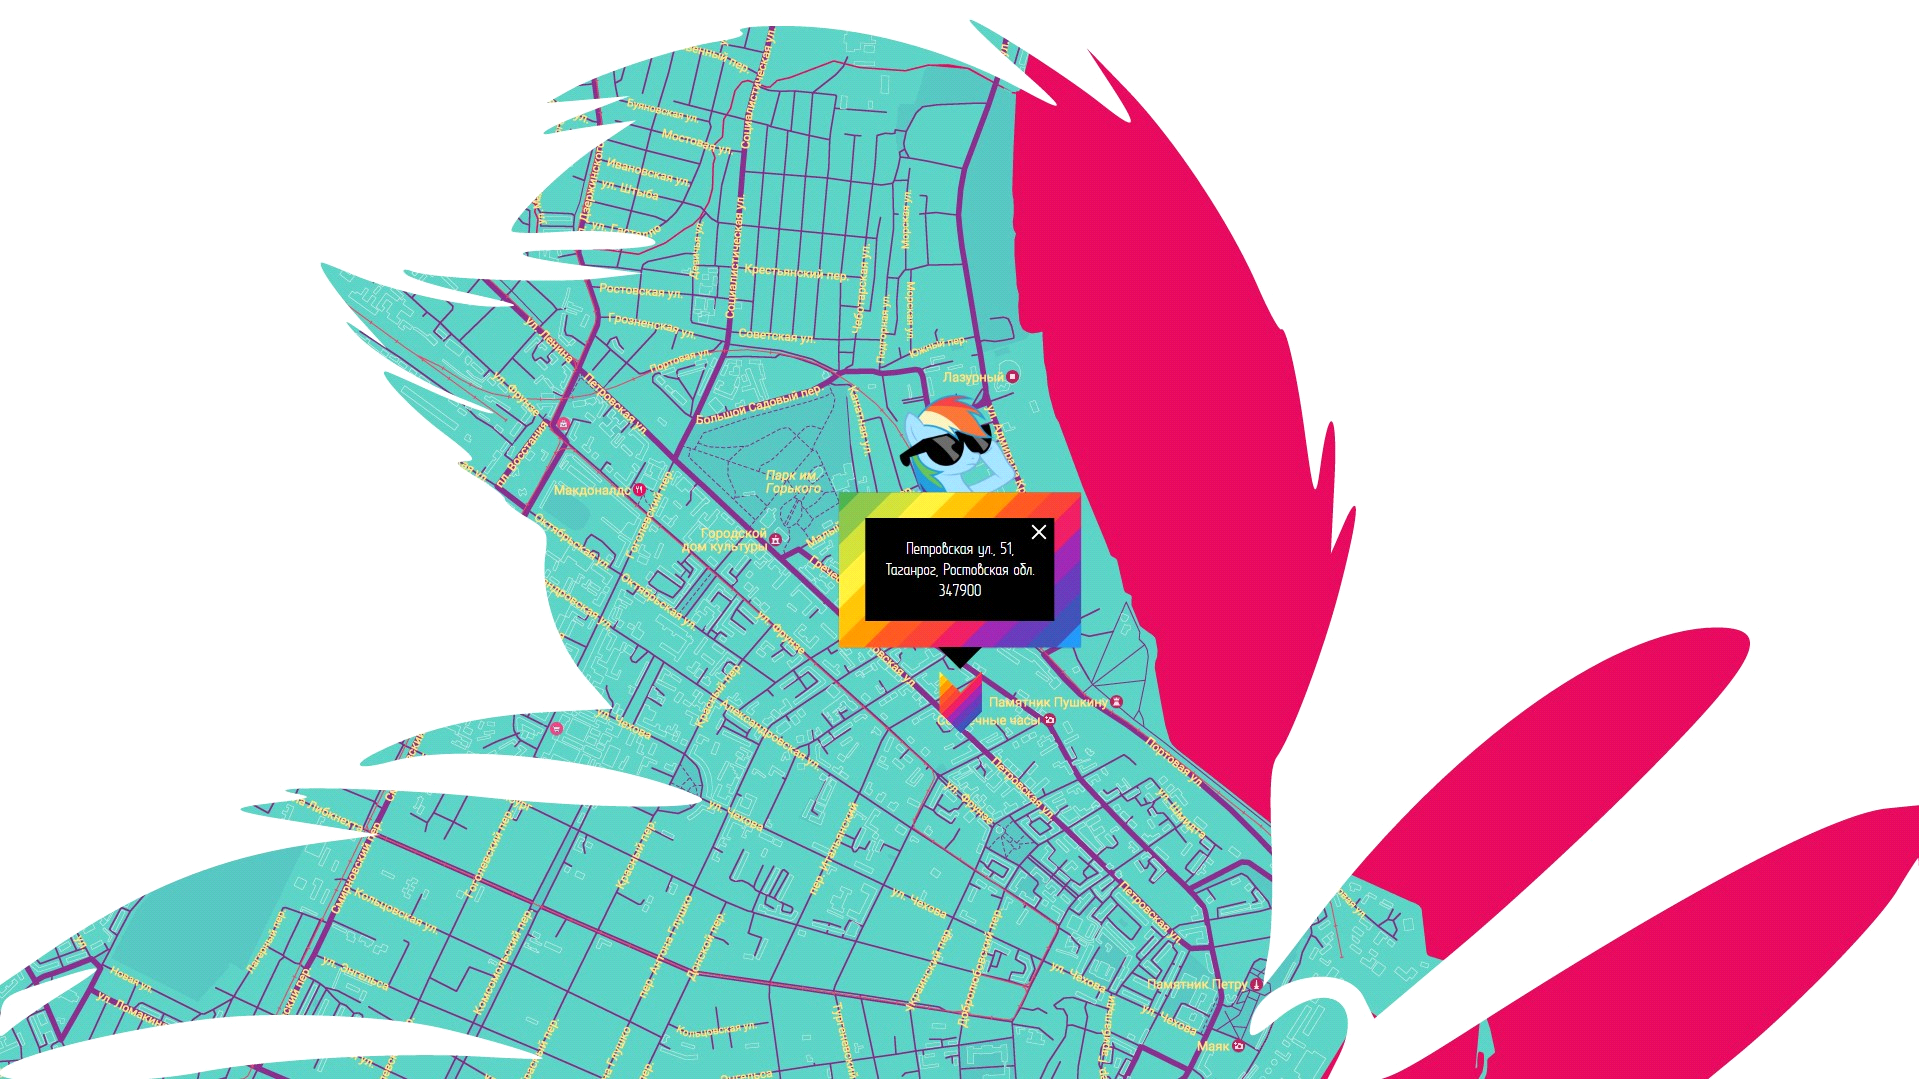
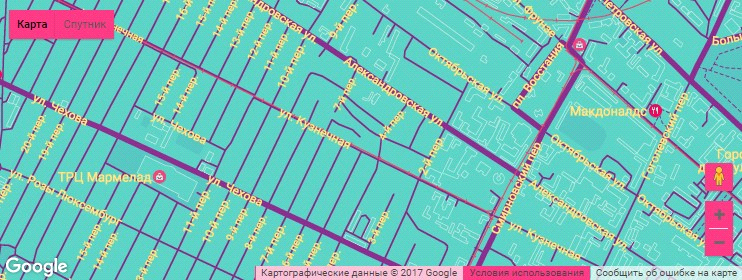
$.getJSON("../json/map-style/map-style.json", function(data) { map.setOptions({styles: data}); }); In the end, we get the following map settings:
var coordinates = {lat: 47.212325, lng: 38.933663}, popupContent = this.$popupContent.html(), markerImage = 'images/marker.png', zoom = 15, map = new google.maps.Map(document.getElementById('map'), { center: coordinates, zoom: zoom, disableDefaultUI: true }), infowindow = new google.maps.InfoWindow({ content: popupContent }), marker = new google.maps.Marker({ position: coordinates, map: map, icon: markerImage }); $.getJSON("../json/map-style/map-style_colored.json", function(data) { map.setOptions({styles: data}); }); google.maps.event.addListener(infowindow,'closeclick',function(){ marker.setAnimation(google.maps.Animation.BOUNCE); }); marker.addListener('click', function () { marker.setAnimation(null); }); marker.addListener('click', function() { infowindow.open(map, marker); }); infowindow.open(map, marker); Customization of controls
The buttons "Map" and "Satellite" are located in the block with the class
.gm-style-mtc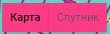
Buttons of increase and reduction of the image in the block with the class
.gmnoprint
The street view button has the class
.gm-svpc
Using these classes, you can do whatever you want with controls. In this case, I hid the controls, but for the example I changed the color:
.gm-style-mtc > div, .gmnoprint > div, .gm-svpc { background-color: #f63981 !important; } Card Mask
Well, for a snack - a very simple thing, but maybe for someone it will be a novelty. In fact - just a block for the entire size of the map, either as a picture or with a background image. There is also a
mask-image property, but it is not supported by all browsers.The only thing that should be noted here is the css property of
pointer-events , which on the mask should be in the value of none . This will not take this block into account in mouse events (in other words, click and scroll through this block).
At this quick start Google Maps is over. I hope this article has been helpful to you.
Sources can be found here: GitHub
Source: https://habr.com/ru/post/324880/
All Articles