Sparta - penetration testing system
When conducting penetration testing, an important step is the initial collection of information about audit objects and their interaction. To do this, it is necessary to map the infrastructure using various tools and utilities, obtaining disparate material for further analysis. Today I will look at the Sparta framework, which combines the basic tools for collecting and analyzing information during penetration testing.
Sparta is a penetration testing tool written in Python that aims to focus the Pentester’s attention on the analysis of found vulnerabilities, and not on commands and syntax.
Sparta provides a convenient graphical interface that looks like a control center for scanning tools, bruteforce, vulnerability scanners and others. The Sparta tool is included in the standard Kali Linux utility package and is ready for use immediately after installing the distribution.
Official sites:
https://github.com/SECFORCE/sparta/
http://sparta.secforce.com/
Functional
- Detects hosts and services on the network using nmap or allows you to download the nmap XML scan result.
- Checks the credentials for standard and dictionary values (dictionaries / usr / share / sparta / wordlists).
- Detects vulnerabilities with popular vulnerability scanners (nikto).
- Makes screenshots of found websites.
- Allows you to customize the behavior of Sparta with respect to any services (what tools to run against which services and with what parameters).
- Allows to mark hosts, information about which is not interesting for us, so as not to waste time on them.
Customization
Those readers who just want to get acquainted with the work of the program may skip this section, because The Sparta tool installed in Kali Linux is ready for use in the basic configuration.
Sparta settings are contained in the following files:
- /etc/sparta.conf
- /usr/share/sparta/sparta.conf
- /var/lib/dpkg/info/sparta.conffiles
Sparta checks their presence, if there are no files, it creates a new one. The developers promise to someday make it possible to configure the tool from the graphical interface, but at the moment it will be necessary to edit the files manually.
The file contains a list of parameters divided into the General Settings, Brute Settings, StagedNmapSettings, etc. groups. Developers do not recommend deleting any lines from the configuration file, since This may disrupt the program. The ToolSettings, HostActions, PortActions, and PortTerminalActions groups are responsible for setting options that are available by right-click. The SchedulerSettings group is responsible for automatically launching tools for the services found.
For example, add the dig tool for the UDP / TCP service 53 ports with the -t axfr key to perform a zone transfer.
Since this tool works with the service, not with the host, the group that we need to fill out will be PortActions. We need to run the following command for the DNS server found.
# dig -t axfr _ @DNS_IP Sparta has special constructions, such as [PORT] and [IP], which allow delivering to our instrument the port of the service that we are attacking and the IP address of the host.
But we need to know the domain name. For use the following construction
$(dig -x [IP] +short @[IP] | head -n 1 | cut -d '.' -f 2-3) Thus, the following line falls into the PortActions group, by analogy with those already in the file.
[PortActions]
dig-axfr=Try Zone Transfer, bash -c \"dig -t axfr $(dig -x [IP] +short @[IP] | head -n 1 | cut -d '.' -f2-3) @[IP]\", "domain" But I want the zone transfer attempt to be performed whenever a DNS service is detected.
For this, I will fill out the SchedulerActions group in this way.
[SchedulerSettings]
dig-axfr="domain", udp Now you can restart Sparta to check the operation of the added tool.
Sparta can be launched from the menu, in the Vulnerability Analysis section

Or through the console
# sparta Work example
After launch, we see the following interface
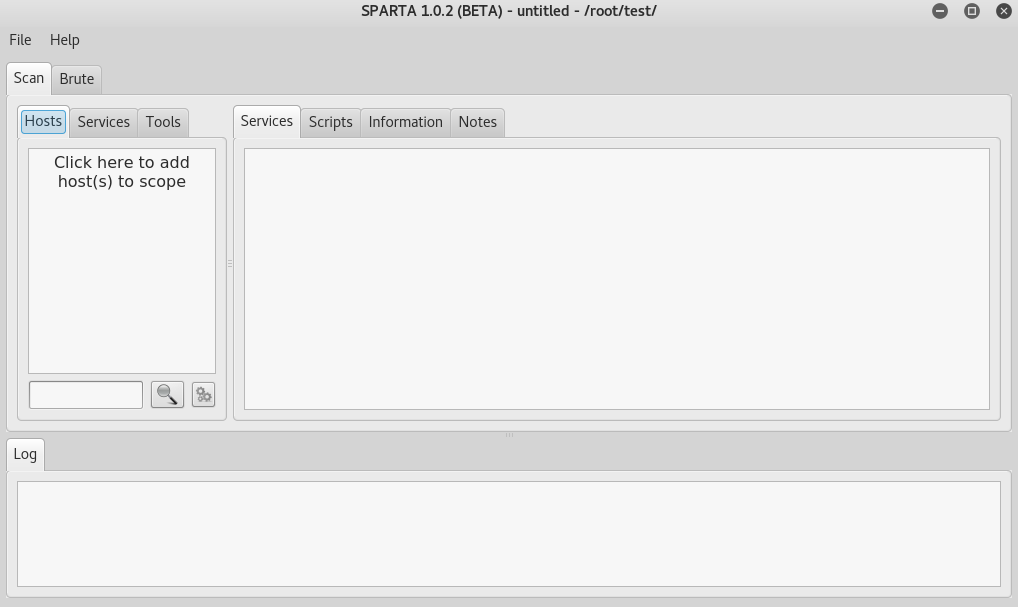
And the first thing we need to do is to outline our goals.
We click in this area:
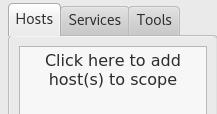
And ask, for example, such a subnet:

Immediately, you can tell sparta to discover hosts using Nmap.
The second option "Run staged nmap scan" starts nmap in a special way, dividing the scan into stages. They are presented in the Sparta.conf configuration file.
[StagedNmapSettings]
stage1-ports="T:80,443" stage2-ports="T:25,135,137,139,445,1433,3306,5432,U:137,161,162,1434" stage3-ports="T:23,21,22,110,111,2049,3389,8080,U:500,5060" stage4-ports="T:0-20,24,26-79,81-109,112-134,136,138,140-442,444,446-1432,1434-2048,2050-3305,3307-3388,3390-5431,5433-8079,8081-29999" stage5-ports=T:30000-65535 This mode allows you to quickly obtain information about the found services and optimizes work on the automatic launch of tasks.
After clicking the “Add to scope” button at the bottom of the screen, you can see information about running tasks. We see that many tools work in parallel.

Right-click to complete any of the tasks.
Also, you may notice that the table with hosts is filled, and when you select one of the hosts, tabs with the result of the scripts are available on the right side of the interface.

By clicking the right button on the discovered open port, we can perform various tasks, for example, connect to the service using telnet or nc, perform brute force, etc.
It is worth noting that the appearance of the menu depends on the service. Below is a screenshot for the FTP service.

Additionally, we can run whatweb, dirbuster, take a screenshot of the selected web application.
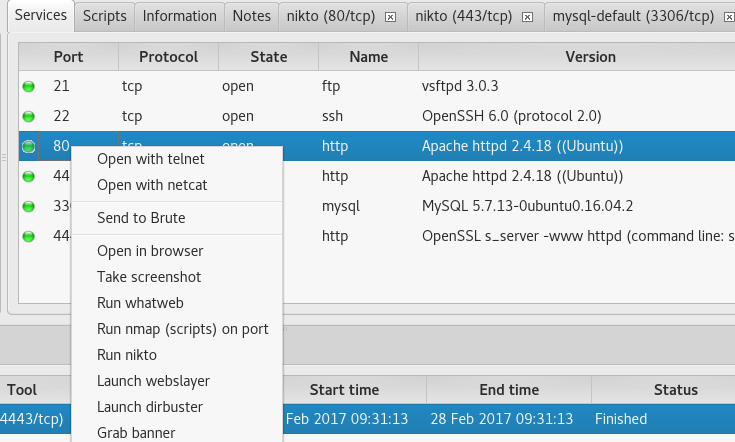
For MySQL, respectively, the mysql client option will be available, and so on.
For DNS, a zone transfer is available, which we added at the beginning of the article.
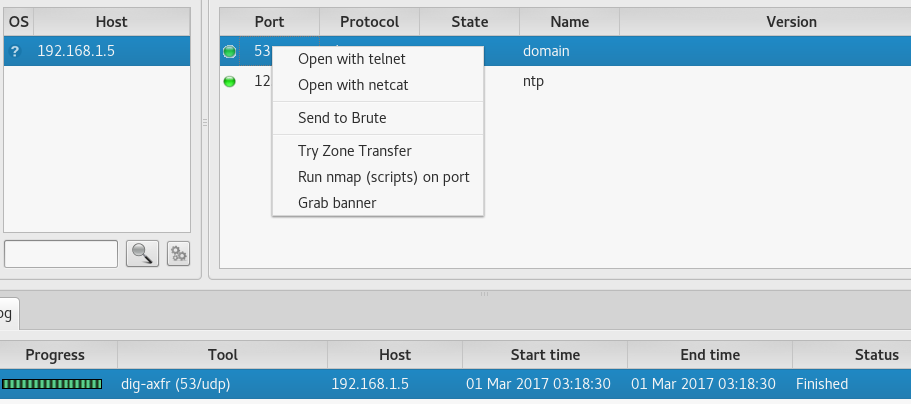
Also in the log you can see that the task dig-axfr was automatically executed.
If you want to see the entire list of tools, hold SHIFT during the right click.
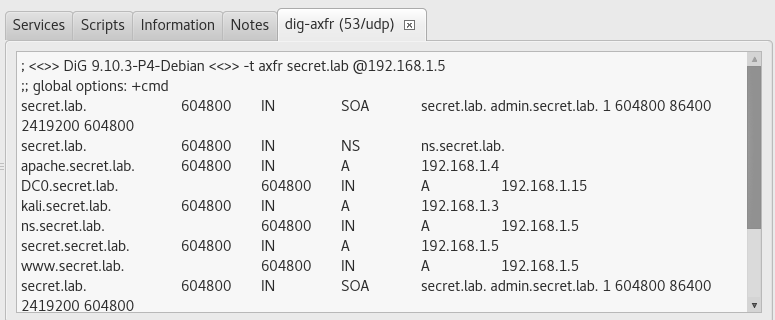
Tabs with the output of the running tools contain a complete output of the results of the tool

The output of the tool we added is displayed correctly:
In addition to the tabs associated with the tools launched by Sparta, the following are available to us:
- Services - contains a list of detected services.
- Scripts - contains the result of the nmap NSE scripts (filled when nmap is started with –sC or with the right click on the service and selecting the appropriate option)
- Information - contains basic information about the host, such as IP, MAC addresses, type and version of the OS, static indicators
- Notes - allows you to add your own comment to the host.
- It is possible to conduct an additional scan of the selected hosts using the right-click on the selected host in the list.

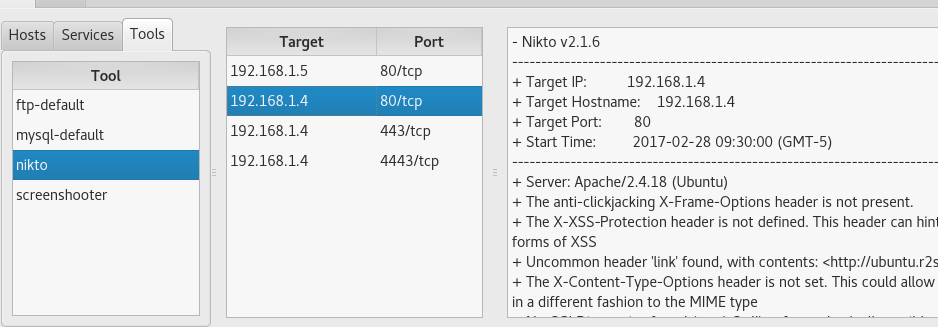
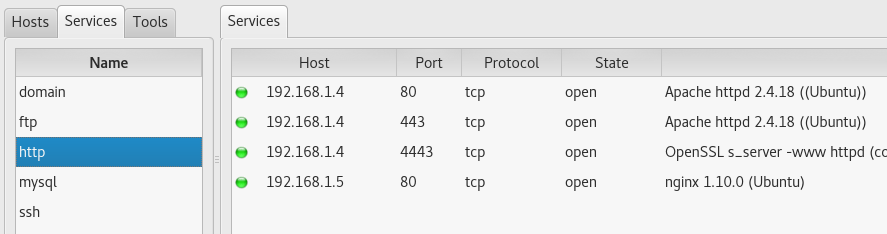
It is also possible to view the found information not only in the context of hosts, but also in the context of services or used tools
For example, see the result of the work of nikto on all hosts:
Or see which machines have web applications:
There is an important feature here that Sparta will not launch the same tool for the host against which this tool has already been scanned, if you run the tool through the Services tab. To launch the tool against all hosts, hold SHIFT during right click.

After you have decided that you have investigated the host, you can mark it in the list with the right click and the option “Mark as checked”:
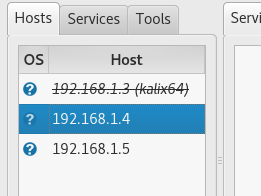
After that, the tools will no longer run against this host.
The Bruteforce tab allows you to configure and run bruteforce with hydra.
The main options are in the graphical interface, such as selecting files with users and passwords, the Loop around users option, which allows you to check all dictionary passwords for each user in order, rather than each password for all users and others. With the Additional options option you can add your own keys.
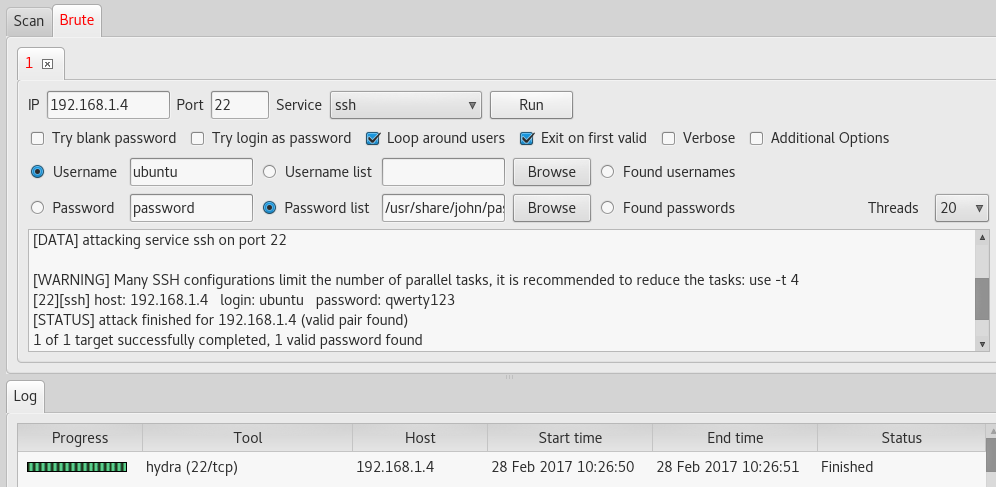
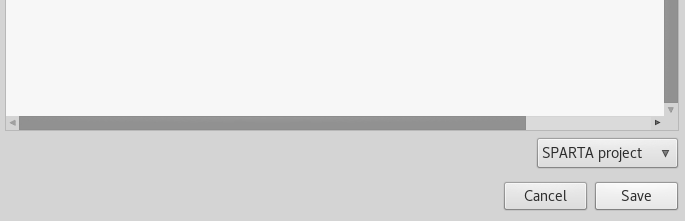
Also useful will be the options Found usernames and Found passwords for brute force on already found logins and passwords. You can save the result of your research through the File - Save menu in a special format:
Conclusion
Sparta tool can be used by a wide range of specialists. It will be convenient for both beginners and pros, since, having a user-friendly interface, it provides the ability to fine-tune your needs and habits, which allows you to save time at the information gathering stage during penetration testing.
')
Source: https://habr.com/ru/post/324560/
All Articles