Deploying multi-user WebRTC broadcasts from a webcam via a server in 3 minutes
In this article, we will describe how to develop a multi-user WebRTC video broadcast from a browser through your own repeater server. Broadcast will go from the browser Google Chrome and normal USB webcam. For streaming the video, a separate HTML Streamer page will be created, and the HTML page Player will play the video.
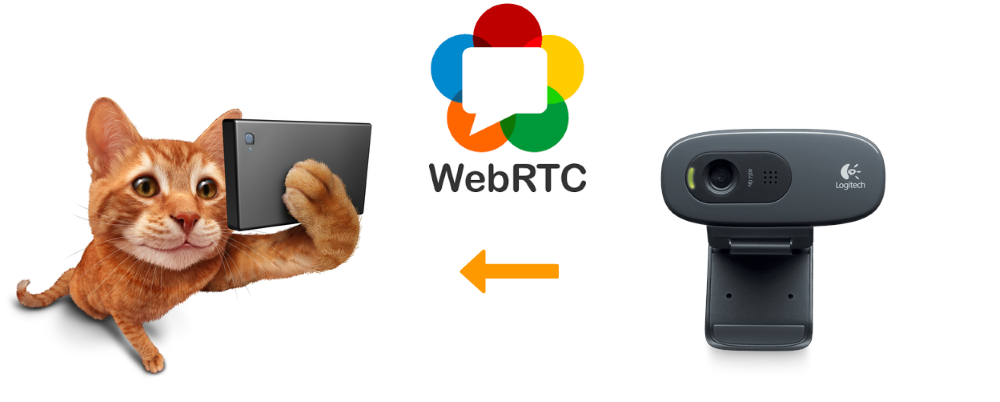
Broadcast scheme
Browser1 - translating. It connects to the server and broadcasts video from a webcam.
Browser2 , Browser3 , Browser4 - viewers. Connect and receive video for playback. Web stream server will be used to re-broadcast video streams via WebRTC.
')

The principle is clear and you can proceed to writing code. Create two HTML pages. The first will be called streamer.html and will send a video stream to the server. The second will be called player.html and play the video stream from the server.
Streamer - HTML
<html> <head> <script language="javascript" src="flashphoner.js"></script> </head> <body onLoad="init()"> <h1>The streamer</h1> <div id="localVideo" style="width:320px;height:240px;border: 1px solid"></div> <input type="button" value="start" onClick="start()"/> <p id="status"></p> </body> </html> In the preparation of Streamer html-page we used the following things:
1) Script flashphoner.js
This script is the main JavaScript API script and can be found in the latest build of the Web SDK .
<script language="javascript" src="flashphoner.js"></script> 2) The div element localVideo is the block in which the video captured from the webcam will be placed.
<div id="localVideo" style="width:320px;height:240px;border: 1px solid"></div> 3) The Start button, which will start the broadcast with a call to the start () function.
<input type="button" value="start" onClick="start()"/> 4) Please note that body processing has been added to the onLoad event with a call to the initialization function.
<body onLoad="init()"> 5) The element with id = status is used to display statuses.
<p id="status"></p> Streamer - javascript
Moving on to writing javascript code. We intentionally do not use jQuery, Bootstrap or any other frameworks to keep the code minimal:
var localVideo; function init(){ Flashphoner.init(); localVideo = document.getElementById("localVideo"); } function start() { Flashphoner.createSession({urlServer: "wss://wcs5-eu.flashphoner.com:8443"}).on(Flashphoner.constants.SESSION_STATUS.ESTABLISHED, function (session) { //session connected, start streaming startStreaming(session); }).on(Flashphoner.constants.SESSION_STATUS.DISCONNECTED, function () { setStatus("DISCONNECTED"); }).on(Flashphoner.constants.SESSION_STATUS.FAILED, function () { setStatus("FAILED"); }); } function startStreaming(session) { session.createStream({ name: "stream222", display: localVideo, cacheLocalResources: true, receiveVideo: false, receiveAudio: false }).on(Flashphoner.constants.STREAM_STATUS.PUBLISHING, function (publishStream) { setStatus(Flashphoner.constants.STREAM_STATUS.PUBLISHING); }).on(Flashphoner.constants.STREAM_STATUS.UNPUBLISHED, function () { setStatus(Flashphoner.constants.STREAM_STATUS.UNPUBLISHED); }).on(Flashphoner.constants.STREAM_STATUS.FAILED, function () { setStatus(Flashphoner.constants.STREAM_STATUS.FAILED); }).publish(); } function setStatus(status) { document.getElementById("status").innerHTML = status; } In this example, there are four functions:
1) init
It is responsible for initializing the JavaScript API and takes a link to the localVideo div element.
2) start
This function creates a connection to the server using the websockets protocol. Connection address: wss: // domain: 8443 . The domain of your WCS server should be in place of the domain (we assume that the server is already installed, configured and has a dedicated domain, for example webrtc.mycompany.com. TCP port 8443 must be open for incoming connections).
From the code of this function it is clear that the next step after receiving the status ESTABLISHED will be to call the startStreaming function and send the stream to the server.
3) startStreaming
Here we create a new Stream object using the API function: session.createStream (); . When creating a stream, the main parameters are:
● streamName - the name of the video stream
● display is a div element in which video from a webcam is captured for a given video stream.
It is desirable to generate a stream name unique, but we just use stream222 for the test.
4) setStatus
This function displays the status of a session (session) or stream (stream) on an HTML page.
We take out our script in a separate file streamer.js . The page code streamer.html will look like this:
<html> <head> <script language="javascript" src="flashphoner.js"></script> <script language="javascript" src="streamer.js"></script> </head> <body onLoad="init()"> <h1>The streamer</h1> <div id="localVideo" style="width:320px;height:240px;border: 1px solid"></div> <input type="button" value="start" onClick="start()"/> <p id="status"></p> </body> </html> Streamer - testing
As a result, we got a mini streaming application consisting of three scripts:
● streaming.html
● streaming.js
● flashphoner.js
We copy our scripts to the web-server to start testing. As a web server we use Apache 2 with standard / var / www / html
As a result, our working streamer looks like the one shown in the screenshot below. After clicking the Start button, a connection is established with the server and the WebRTC video stream is sent to the server:
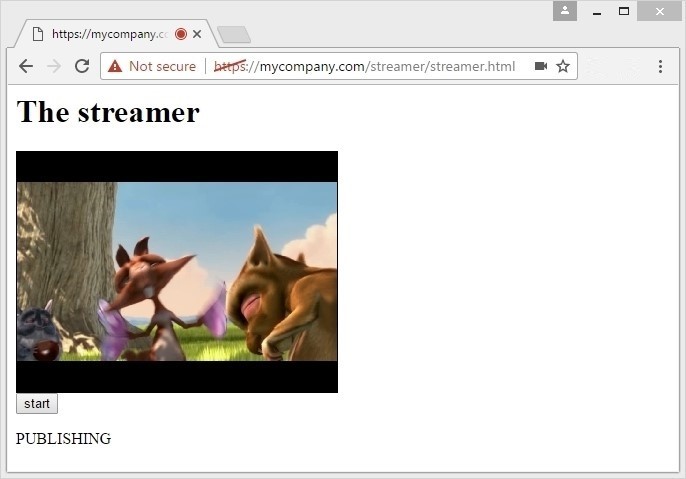
To make sure that the stream is actually sent, go to the chrome tab : // webrtc-internals . Here you can observe in real time what is happening with the video stream and track parameters such as bit rate, resolution, frame rate, the number of sent packets, RTT, and much more.

Thus, our streamer is working and WebRTC video stream is correctly sent to the server, from where it remains to pick it up. In order to pick up and play the stream, create a new player.html page .
Player - HTML
The player's page is copy-paste from streamer, with the only difference that we will use the script: player.js instead of streamer.js , and instead of localVideo , set id = remoteVideo for our div element.
<html> <head> <script language="javascript" src="flashphoner.js"></script> <script language="javascript" src="player.js"></script> </head> <body onLoad="init()"> <h1>The player</h1> <div id="remoteVideo" style="width:320px;height:240px;border: 1px solid"></div> <input type="button" value="start" onClick="start()"/> <p id="status"></p> </body> </html> Player - JavaScript
The player script also has some differences, but the approach remains the same: the Flashphoner API is initialized, the Start button opens a connection to the server via the websocket, waits for the ESTABLISHED event and starts playing the stream.
The list of differences in the player.js script from the streamer.js script:
● Used by remoteVideo instead of localVideo
● After establishing the connection, call startPlayback instead of startStreaming
● When creating a stream by the createStream () method, the parameters are receiveAudio = true and receiveVideo = true
● The play () method is called instead of publish ().
var remoteVideo; function init(){ Flashphoner.init(); remoteVideo = document.getElementById("remoteVideo"); } function start() { Flashphoner.createSession({urlServer: "wss://wcs5-eu.flashphoner.com:8443"}).on(Flashphoner.constants.SESSION_STATUS.ESTABLISHED, function (session) { //session connected, start streaming startPlayback(session); }).on(Flashphoner.constants.SESSION_STATUS.DISCONNECTED, function () { setStatus("DISCONNECTED"); }).on(Flashphoner.constants.SESSION_STATUS.FAILED, function () { setStatus("FAILED"); }); } function startPlayback(session) { session.createStream({ name: "stream222", display: remoteVideo, cacheLocalResources: true, receiveVideo: true, receiveAudio: true }).on(Flashphoner.constants.STREAM_STATUS.PLAYING, function (playStream) { setStatus(Flashphoner.constants.STREAM_STATUS.PLAYING); }).on(Flashphoner.constants.STREAM_STATUS.STOPPED, function () { setStatus(Flashphoner.constants.STREAM_STATUS.STOPPED); }).on(Flashphoner.constants.STREAM_STATUS.FAILED, function () { setStatus(Flashphoner.constants.STREAM_STATUS.FAILED); }).play(); } function setStatus(status) { document.getElementById("status").innerHTML = status; } As a result, we get a WebRTC player consisting of two scripts:
● player.html
● player.js
We do not forget that the flashphoner.js API file is also required for the player to work, so we copy the player files to the same folder on the web server.
As a result, our final application for WebRTC online broadcasts consists of five files:
● streamer.html
● streamer.js
● player.html
● player.js
● flashphoner.js
We start testing and send the video stream again through streamer.html . After that, open a new browser tab with player.html and click Start.

As a result, the broadcast took place and we received WebRTC - a video stream to the player. Now you can connect to the same video stream from other devices or simply open several browser tabs, each of which will pick up the same video stream.
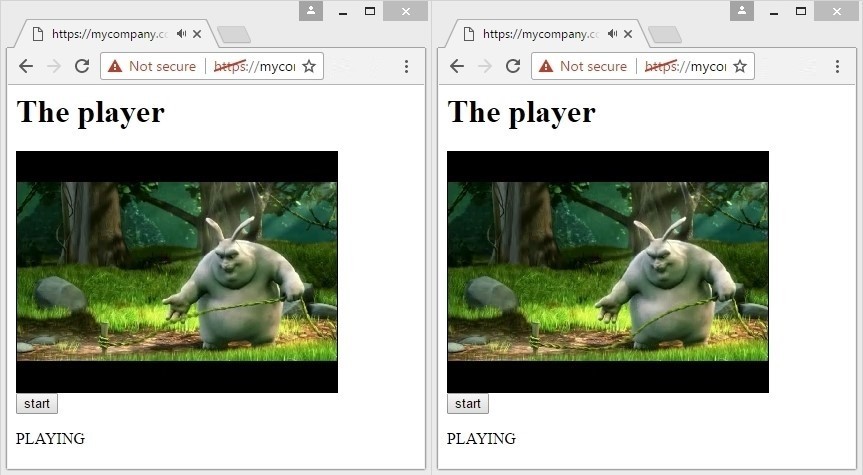
Thus, we sent a video stream to the server and distributed it in one-to-many mode, thereby implementing a simple video broadcast over several connections.
3 minutes
Let's try to deploy the broadcast in 3 minutes, considering the following:
1) Web Call Server 5 is already installed to relay video streams and SSL is configured . Without setting SSL / HTTPS , Google Chrome broadcast will not work, as for access to the web camera and microphone, the connection must be secure and the page on which you are testing the broadcast must be opened via HTTPS. TCP port 8443 is open and ready to accept connections using the wss: // protocol
2) An HTTP server is already installed and configured, for example Apache . The web server is configured to work via HTTPS and has FTP / SFTP / SSH access through which you can upload / download test scripts.
WCS5 and Apache can be installed on the same system or spaced across different servers. Apache in this case simply gives the content in the form of HTML pages and scripts, while WCS5 serves connections from the video.
To test without installation, you can use the demo server wss: //wcs5-eu.flashphoner.com: 8443 - it is open for connections and testing.
Minute 1
We load test scripts and unpack them in the / var / www / html folder on the web server.
wget --no-check-certificate https://flashphoner.com//downloads/examples/webrtc-broadcasting-example-0.5.15.1977.2088.tar.gz tar -xzf webrtc-broadcasting-example-0.5.15.1977.2088.tar.gz Minute 2
Open the streamer.js and player.js scripts for editing, find and change:
wss: //wcs5-eu.flashphoner.com: 8443
on
wss: //domain.com: 8443
here domain.com is the domain name of your server where WCS5 is installed
Minute 3
Open streamer.html in the browser at https: // and click Start. Open in the new tab player.html and click Start.
Webcam broadcast is ready. Then you can modify the current examples and test for example many-to-many translations with the publication of several streams from streamers and their further distribution to the players.
Links
1. Initial Installation and Configuration of Web Call Server 5
2. Web SDK for WCS5
3. Download the source code of the broadcast
4. WebRTC statistics in chrome: // webrtc-internals
Web Call Server 5 is a streaming media server with support for WebRTC, RTMP and other protocols for developing web applications and mobile applications with low video latency. The server includes Web SDK, Android SDK and iOS SDK for developing cross-platform video chats, online video broadcasts, broadcasts from IP cameras and other video streaming applications for browsers and mobile devices.
Source: https://habr.com/ru/post/323176/
All Articles