ASP.NET Core: your first Linux application using Visual Studio Code
I recently decided to write a small ASP.Net MVC application after a long break and knowledgeable people on Habré suggested trying a new ASP.Net Core , especially since it works in Linux out of the box without having to use mono , and, judging by the latest tests , even shows good performance. I took a similar article for Mac as a basis, but here, unlike the article that inspired me, I want to describe the process step by step in one place, so that I don’t have to climb cross-references, trying to figure out how to install the intended applications and packages. Such a detailed description of the process will probably help many to avoid the rakes I had to deal with. Several phrases and pictures, in part the same for any platform, with corrections and corrections taken from the article for Mac.
The installation commands given here are suitable for Ubuntu 16.04 / Mint 18.x distributions, for the rest you can find it here .
Install the latest RC4 at the moment for compatibility with the latest aspnet project generator :
')
Installs easily in a couple of clicks on this link .
Run Visual Studio Code, press Ctrl-P, enter the command:
In the panel that appears on the left, click "Install" next to the corresponding extension, if this did not happen automatically. Visual Studio Code can still close.
Install the newest node.js from the original site (the one that comes with the distribution does not fit), we need it because of the package manager npm that comes with it:
For initialization, the Yeoman scaffolder is used — a project initializer that includes the deployment of a file structure and the generation of a project template, i.e. application source code. Includes Yo Scaffolder, Bower Package Manager, and Grunt Task Manager. When installing Yo, you will also have Bower and Grunt installed. Here we install in any terminal the latest aspnet generator, in which the msbuild build system is returned instead of project.json:
The Yeoman generator is an npm package with instructions and templates for Yo that describe the initialization of the project: which directories to create, which files and where to copy, how to process the templates and where to place them after processing. Go to the folder where we want to place the project and run the generator of the project ASP.NET Core:
When the generator finishes creating the files, it will instruct you how to restore, build and run the application:
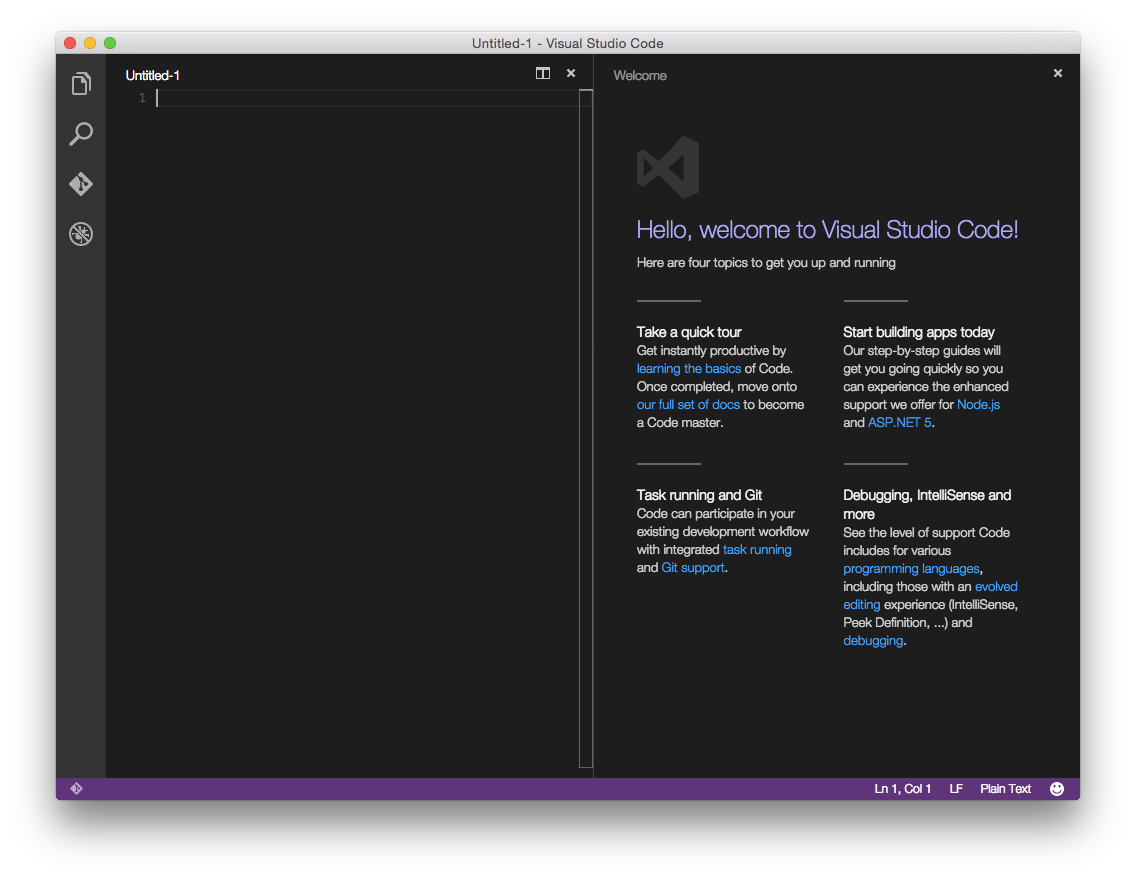
Now run Visual Studio Code.
Select

When you first start Visual Studio Code will give a warning about the absence of the necessary tools for building and debugging. Click

In the Visual Studio Code Terminal (Ctrl-`), execute the
For those who are just starting to use Visual Studio Code (or Code, for short), it should be noted that this product not only has a convenient, simple and responsive interface that provides quick work with files, but it also provides the tools for the most efficient writing code.
In the left navigation pane there are five icons representing four viewlets:
Explore viewlet allows you to quickly navigate through the directory system, and also facilitates the review of the files with which you work. If there are unsaved changes in the files, a special icon on the screen will notify about it; simplifies the process of creating new files and folders (for this you do not need to open a new window). It is also convenient to use the Save All command available in the menu that appears when you hover the mouse.
Code integrates with Git if it is installed on your computer. With the help of the Git viewlet you can create new repositories, confirm the code change, send changes.

Debug viewlet supports interactive debugging of applications.
In addition, the Code Editor has many great features. You will see that unused using statements will be underlined and can be removed automatically with
Kestrel is a cross-platform HTTP server based on libuv, an asynchronous I / O library. To install it, you need to install the corresponding NuGet package: Microsoft.AspNetCore.Server.Kestrel . This can be done in two ways :
Everything, now you can run: press F5 or in the
From useful sources for further installation of the finished application, you can note the article: Publish to a Linux Production Environment - “Deploying an ASP.Net MVC Application When Operating in a Linux Environment”.
You can also recommend good sources for exploring ASP.Net Core MVC:
That's all that I would like to share to start on this topic. If I missed something, tell me, fix it.
Installing .Net Core and Visual Studio Code
The installation commands given here are suitable for Ubuntu 16.04 / Mint 18.x distributions, for the rest you can find it here .
Installing .Net Core:
Install the latest RC4 at the moment for compatibility with the latest aspnet project generator :
sudo sh -c 'echo "deb [arch=amd64] https://apt-mo.trafficmanager.net/repos/dotnet-release/ xenial main" > /etc/apt/sources.list.d/dotnetdev.list' sudo apt-key adv --keyserver hkp://keyserver.ubuntu.com:80 --recv-keys 417A0893 sudo apt-get update sudo apt install dotnet-dev-1.0.0-rc4-004771 ')
Installing Visual Studio Code
Installs easily in a couple of clicks on this link .
Installing the C # extension
Run Visual Studio Code, press Ctrl-P, enter the command:
ext install csharpIn the panel that appears on the left, click "Install" next to the corresponding extension, if this did not happen automatically. Visual Studio Code can still close.
Preparing the development environment and creating application templates
Install the newest node.js from the original site (the one that comes with the distribution does not fit), we need it because of the package manager npm that comes with it:
curl -sL https://deb.nodesource.com/setup_7.x | sudo -E bash - sudo apt-get install -y nodejs sudo apt-get install -y build-essential For other distributions, the instruction is here .Project Initialization
For initialization, the Yeoman scaffolder is used — a project initializer that includes the deployment of a file structure and the generation of a project template, i.e. application source code. Includes Yo Scaffolder, Bower Package Manager, and Grunt Task Manager. When installing Yo, you will also have Bower and Grunt installed. Here we install in any terminal the latest aspnet generator, in which the msbuild build system is returned instead of project.json:
sudo npm install -g yo bower generator-aspnet Run the project generator
The Yeoman generator is an npm package with instructions and templates for Yo that describe the initialization of the project: which directories to create, which files and where to copy, how to process the templates and where to place them after processing. Go to the folder where we want to place the project and run the generator of the project ASP.NET Core:
yo aspnet - Select the Web Application Basic item [without Membership and Authorization] and press Enter
- Select Bootstrap (3.3.6) as the UI framework and press Enter
- We leave the name "WebApplicationBasic" as the name of the application and press Enter
Note: Selecting the WebApplication item will create an application template with client authorization, where SQLite can be used as a database (the generator will issue the appropriate instructions on how to do this). If you want to use something more abruptly as a base, you can add support for PostgreSQL:This generator is based on the same OmniSharp / generator-aspnet . The version is somewhat out of date, so to start you must first do the
- Installation:
npm install -g generator-aspnetpostgresql- Template generation:
yo aspnetpostgresqldotnet migrate&dotnet restore- in that order.
When the generator finishes creating the files, it will instruct you how to restore, build and run the application:
Get projectIt is possible to restore and reassemble, but it’s too early to start: you need to do something else.
cd "WebApplicationBasic"
dotnet restore
dotnet build (optional, build
dotnet run
ASP.NET Core MVC Application Development on Linux with Visual Studio Code
Now run Visual Studio Code.
Select
→ and select the folder where you created the ASP.NET Core MVC application template using yo.When you first start Visual Studio Code will give a warning about the absence of the necessary tools for building and debugging. Click
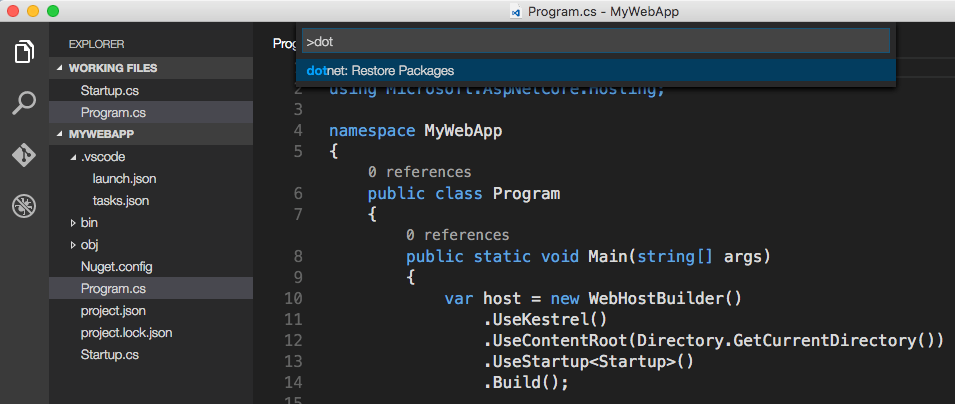
Yes to add them. Without this, automatic debugging and building using Visual Studio Code will be unavailable, and only through the terminal dotnet build and dotnet run .In the Visual Studio Code Terminal (Ctrl-`), execute the
dotnet restore command to restore the project's dependencies (if you have not done so before). Another way is to execute the Ctrl-Shift-P command in the Visual Studio Code and then type dot, as shown below (for some reason it did not work for me):For those who are just starting to use Visual Studio Code (or Code, for short), it should be noted that this product not only has a convenient, simple and responsive interface that provides quick work with files, but it also provides the tools for the most efficient writing code.
In the left navigation pane there are five icons representing four viewlets:
- Explore
- Search
- Git
- Debug
- Extensions
Explore viewlet allows you to quickly navigate through the directory system, and also facilitates the review of the files with which you work. If there are unsaved changes in the files, a special icon on the screen will notify about it; simplifies the process of creating new files and folders (for this you do not need to open a new window). It is also convenient to use the Save All command available in the menu that appears when you hover the mouse.
Code integrates with Git if it is installed on your computer. With the help of the Git viewlet you can create new repositories, confirm the code change, send changes.
Debug viewlet supports interactive debugging of applications.
In addition, the Code Editor has many great features. You will see that unused using statements will be underlined and can be removed automatically with
trl-. if the light bulb icon is displayed on the screen. You can also see how many references to classes and methods are in the project. If you switch from Visual Studio, you can use many familiar keyboard shortcuts, for example, trl-K+C , to comment out the code block or Ctrl-KU to uncomment it.Running an application with Kestrel
Kestrel is a cross-platform HTTP server based on libuv, an asynchronous I / O library. To install it, you need to install the corresponding NuGet package: Microsoft.AspNetCore.Server.Kestrel . This can be done in two ways :
- After installing .Net Core Project Manager (Nuget) via viewlet Extensions (Extensions):
Ctrl-Shift-P, typeNuget, ↵, thenKestrel↵ selectMicrosoft.AspNetCore.Server.Kestrel - Through the command line in the terminal editor vs code editor:
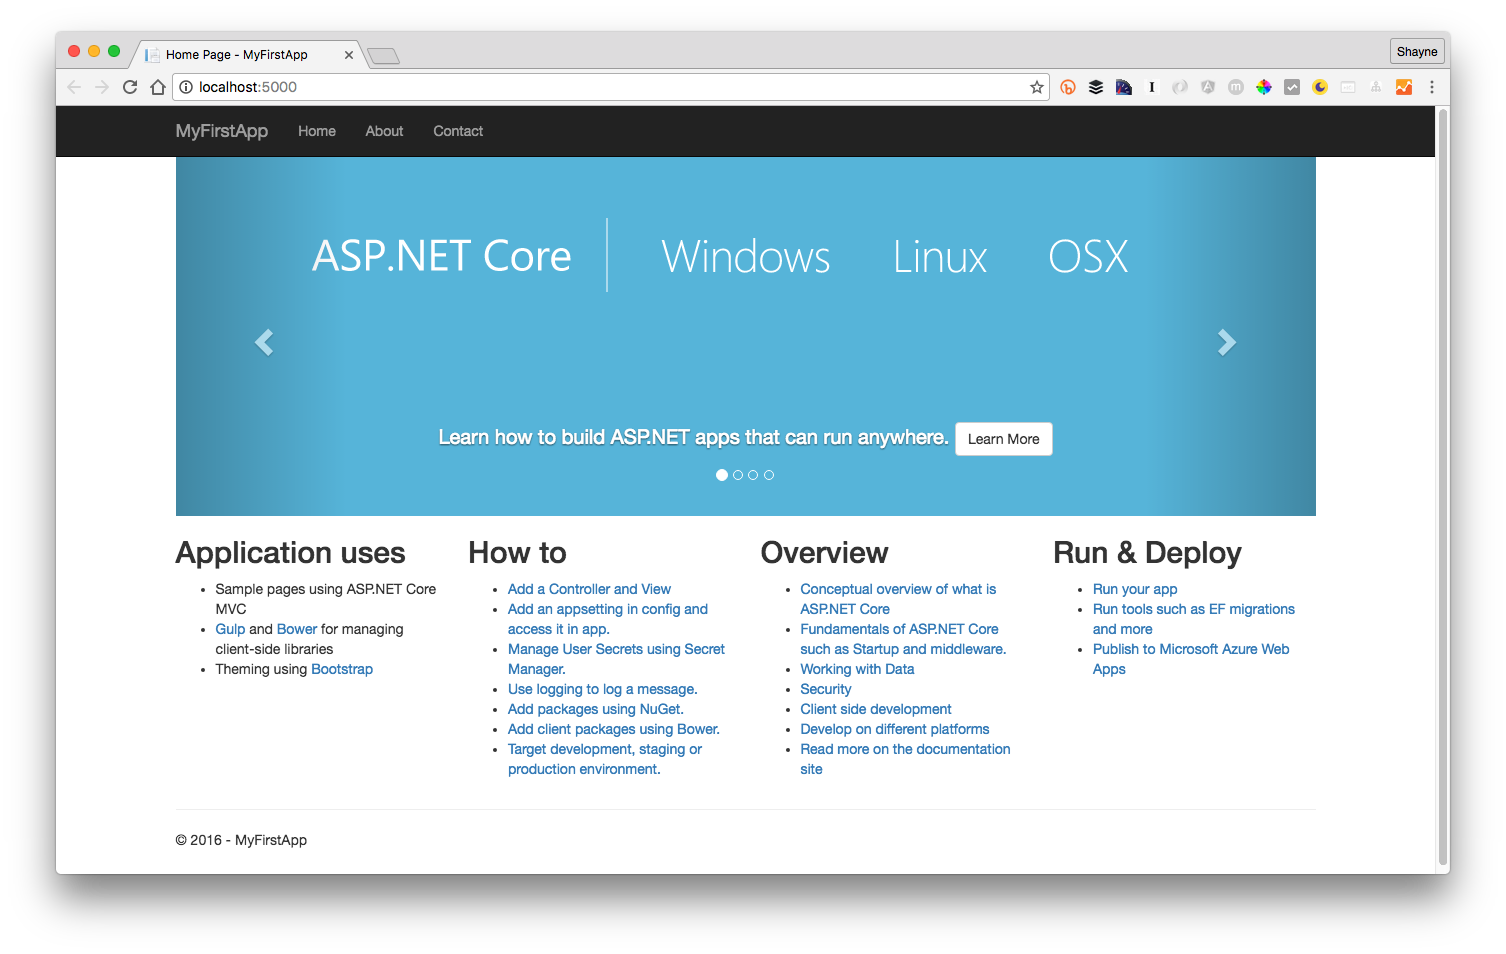
dotnet add package Microsoft.AspNetCore.Server.Kestrel Everything, now you can run: press F5 or in the
dotnet run terminal, the browser automatically starts with the application at the address: localhost:5000 . To stop the web server, press Ctrl + C. That's it, you can enjoy your first ASP.Net Core application:From useful sources for further installation of the finished application, you can note the article: Publish to a Linux Production Environment - “Deploying an ASP.Net MVC Application When Operating in a Linux Environment”.
You can also recommend good sources for exploring ASP.Net Core MVC:
- The book "ASP.NET Core MVC with C # examples for professionals", Adam Freeman, (translated by Yuri Artyomenko), offset-white paper, hardcover, 992 p., ISBN 978-5-9908910-4-3, "WILLIAMS" , 2017
- ASP.NET Core Guide
- ASP.NET Core MVC Tutorials
- Visual Studio Code Video Review
That's all that I would like to share to start on this topic. If I missed something, tell me, fix it.
Source: https://habr.com/ru/post/322538/
All Articles