How to develop a cross-platform application using only JSON markup
For the past few months, I've been working on a new way to create cross-platform Android and iOS apps called Jasonette . It allows you to write an application from start to finish, using only JSON markup.

If your application is written entirely through JSON markup, you can treat it as you would any other data and also remotely serve it on demand from the cloud.
')
It is no longer necessary for the application to be hardcore on the device, you can update it at will by updating the JSON markup on the server side. Each time you start your application will be re-loaded from the server.
Watch the video to get a general idea.
Jasonette is able to perform various operations. You can write functions, templates, styles and more using JSON markup . Thus, it becomes possible to write a native mobile application of any complexity using the Model-View-Controller scheme.
In this article, I will reveal only the link "View":
On closer inspection, Jasonette works like a web browser. However, instead of interpreting the HTML markup and rendering the web page presentation, Jasonette extracts the JSON markup and draws the native view on the fly. The markup is only a JSON file that follows the specified algorithms . First of all, it runs with the $ jason key with two children: head and body. It looks like this:
When I first started developing JSON syntax for representing native structures, I ran into some obstacles:
If you look at how most of the mobile apps are built, you will see that they are all based on the same interface design patterns.
Let's take a closer look at the first three points, as they are used most widely.
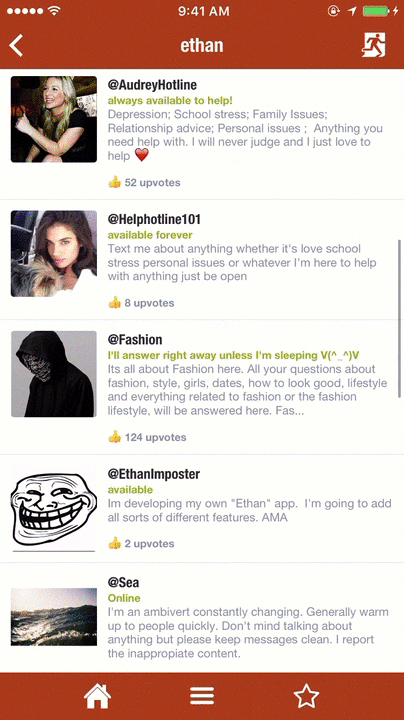
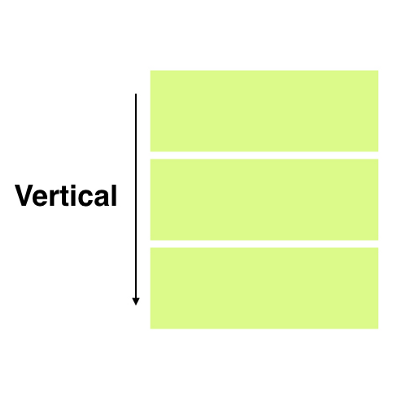
The most commonly used user interface template is a scrolling list. In Jasonette, these templates are called sections. They are of two types: horizontal and vertical, and scroll horizontally and vertically, respectively.

Implementation - Vertical Sections
This UI-template is used to display data on mobile devices, perhaps, most often. On iOS, Jasonette it is implemented using the UITableView . On Android, via RecyclerView .
On iOS, the above JSON markup creates a UITableView with three UITableViewCells , each of which contains a UILabel with the appropriate text parameters.
On Android, a RecyclerView is created with three elements, each of which is a TextView and displays the corresponding text parameters.
All this is written in the code without using Storyboards (iOS) or XML markup files (Android) to provide the ability to program each element in a dynamic mode.
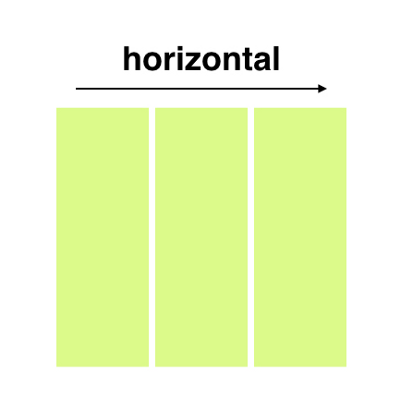
Implementation - Horizontal Sections
From the point of view of syntax, horizontal sections do not differ much from vertical ones. All you have to do is set the “horizontal” type, after which all the elements will line up horizontally.
Note: The syntax of the horizontal section seems simple enough, but in fact it is not. Horizontal sections on iOS are implemented using a UICollectionView . This is a well-known mechanism, but, in fact, the horizontal scrolling of the UICollectionView is embedded in the original UITableView (which is responsible for the vertical scrolling). On Android, the principle is implemented in a similar way, only using composite RecyclerViews.
Now that it’s clear how the uppermost level is built, let's take a look at items. Each section consists of several components of scrollable items. Notice that each element has a fixed size and nothing inside the element itself scrolls.
Each element can be:
With the implementation of this part, everything was not as easy as with the implementation of sections, because I needed to choose a cross-platform, native, flexible and easy way to create a super-complex layout.
Fortunately, iOS and Android have very similar native markup systems, UIStackView and LinearLayout respectively, which in turn are similar to CSS Flexbox . So it can be considered the maximum possible approximation to cross-platform.
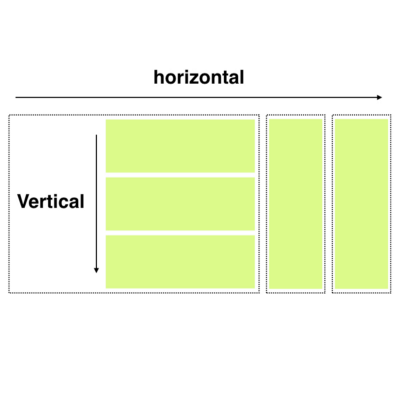
Finally, these markup systems are infinitely composable. As shown below, you can create vertical markup, horizontal markup, or insert vertical markup inside horizontal markup and so on.
In order to create a vertical markup, you must set the appropriate type and then get its components:
The same for horizontal markup. Just set the horizontal type.
To embed one markup into another, it is enough to register it as one of the components.
For the sake of brevity, I did not talk about styles. You can design each component separately, as well as the layout itself, until you give them exactly the look you want. All you need to do is add style objects that describe font, size, width, height, color, background, corner_radius, opacity, etc.
Sometimes you may want to pin components to certain parts of the screen without the ability to scroll through them. In CSS terminology, we would call this “absolute positioning.” Jasonette supports this feature through a tool called layers.
Currently, the layer supports two types of child elements: image and label. You can place them anywhere you like on the screen. Here is an example:

In this example, on the screen we see two labels (temperature and weather reports) and an image (camera icon), the coordinates of which were set so that they remained in place while scrolling. The markup will look something like this:
Surprisingly, this is all you need to know to create any puzzle interface you can imagine on mobile devices.
You can compose the main components and layouts in various ways to create any complex interface - the process can be compared with the construction of various structures from simple Lego blocks.
Here are a few examples, 100% made up of the aforementioned UI elements:
At this stage, you are most likely thinking of one of two things:
As I mentioned above, only the “Presentation” part is described here - the simplest of the three. But the strength of Jasonette is that you can go much further and use JSON to write the declarative program completely .
You can associate UI elements with specific actions that will be performed when touched. You can also run them one after the other with successful or erroneous reverse responses. You can also listen to specific events and automatically activate these algorithms.
If you are able to describe through JSON the logic of not only “Views”, but also “Models” and “Controllers” - your possibilities are endless.
All you need is a server to send JSON, which means Jasonette is compatible with any platform. You do not have to depend on closed source technology. JSON markup is enough.
And JSON can come from anywhere - from local devices, from remote servers, and at least from raspberry.pi !
You can continue to infinity, here are just a few examples:
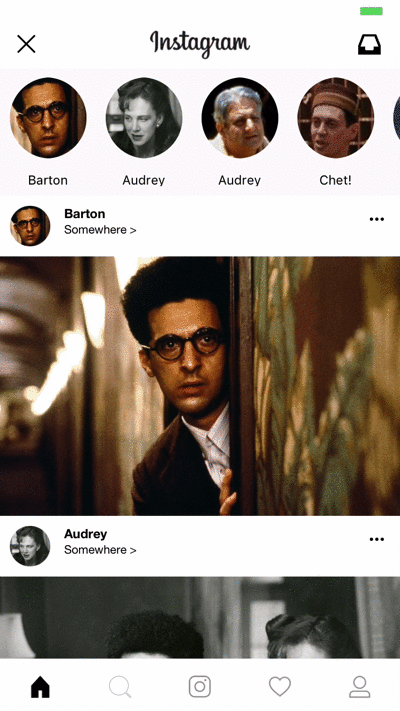
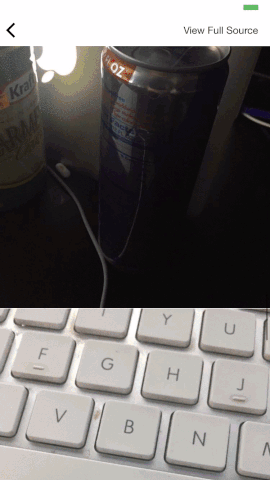
1) A photo sharing application that allows you to take a picture with a camera and upload it to S3, and then post it on your own server, creating a web feed:
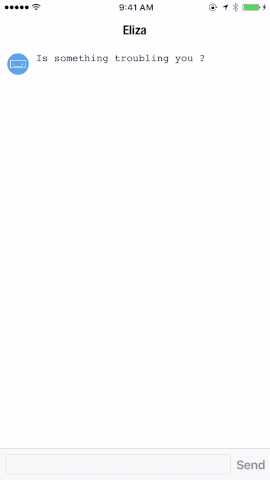
2) Eliza Chatbot app for iOS and Android on Node.js
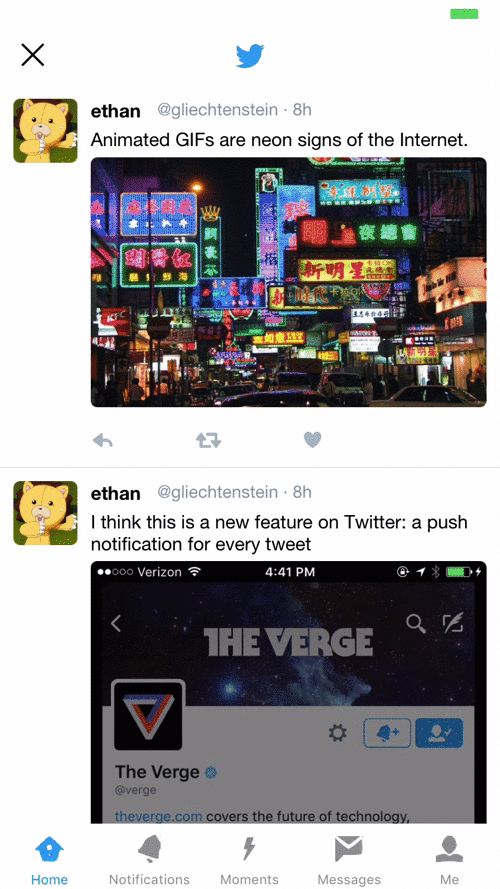
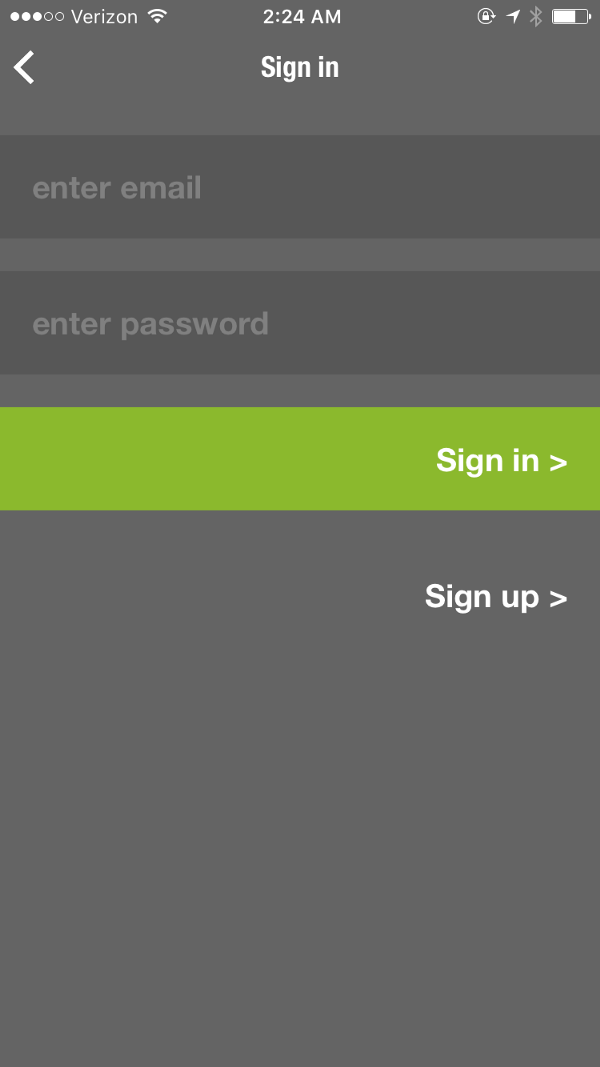
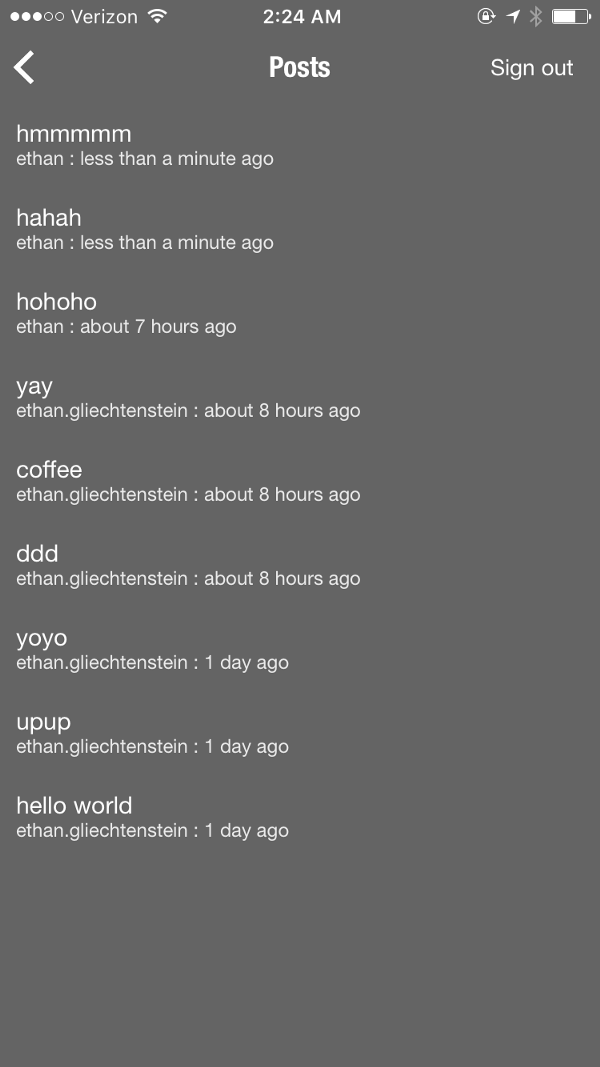
3) Microblog application with session management
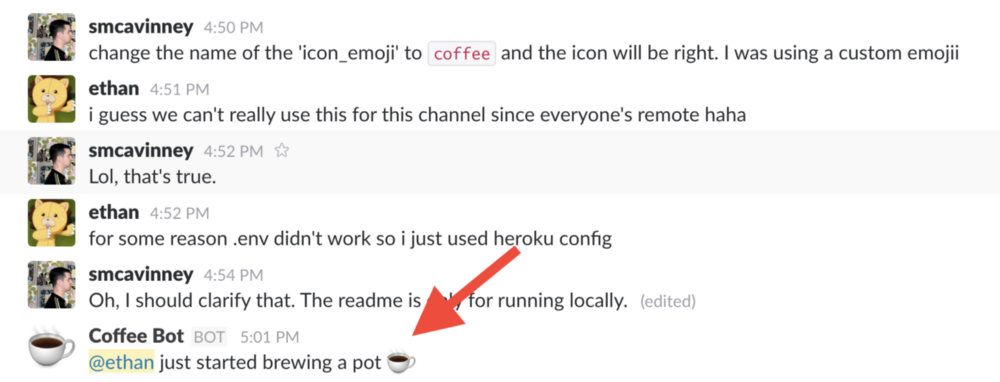
4) Remote control of Slack bots
5) A sample application that turns web pages into JSON files, and then into a native application.

Jasonette is a young project. I posted an open source version for iOS at the end of 2016, and the Android version a month later.
However, he has already acquired a community of users who are actively involved in its development, and is at a stage of rapid growth. I hope that this technology will expand the capabilities of any user (not only developers) and allow you to create applications without much effort.
Sounds good? View the project website here . One last thing: you can find the Github repositories here: iOS and Android (Persons willing to make donations to the project are welcome!)
If your application is written entirely through JSON markup, you can treat it as you would any other data and also remotely serve it on demand from the cloud.
')
It is no longer necessary for the application to be hardcore on the device, you can update it at will by updating the JSON markup on the server side. Each time you start your application will be re-loaded from the server.
Watch the video to get a general idea.
Jasonette is able to perform various operations. You can write functions, templates, styles and more using JSON markup . Thus, it becomes possible to write a native mobile application of any complexity using the Model-View-Controller scheme.
In this article, I will reveal only the link "View":
- How Jasonette implements various cross-platform UI models in JSON format.
- How it implements transitions from JSON to Native.
Basic structure
On closer inspection, Jasonette works like a web browser. However, instead of interpreting the HTML markup and rendering the web page presentation, Jasonette extracts the JSON markup and draws the native view on the fly. The markup is only a JSON file that follows the specified algorithms . First of all, it runs with the $ jason key with two children: head and body. It looks like this:
{ "$jason": { "head": { .. metadata about the document ... }, "body": { .. actual content to be displayed on the view .. } } } Design philosophy
When I first started developing JSON syntax for representing native structures, I ran into some obstacles:
- Native markup system. iOS and Android did not accidentally enter the market with their own native interfaces. Layouts created in the era of computers, it is not always possible to adapt for pocket devices. The syntax should display the layout in the form most compatible with the native mobile system.
- Cross platform And at the same time, it should be cross-platform. For example, for iOS products there is such a thing as autolayout , as well as a visual language of formats , which, however, will not work for Android, which means that they are not suitable as a solution.
- Ease of writing. The application should be easily translated into simple JSON markup and also easily transformed into a complex structure.
If you look at how most of the mobile apps are built, you will see that they are all based on the same interface design patterns.
- Vertically scrollable list
- Horizontally scrollable list
- Absolute positioning
- Grid
Let's take a closer look at the first three points, as they are used most widely.
1. Sections - Building scrollable lists
The most commonly used user interface template is a scrolling list. In Jasonette, these templates are called sections. They are of two types: horizontal and vertical, and scroll horizontally and vertically, respectively.
Implementation - Vertical Sections
This UI-template is used to display data on mobile devices, perhaps, most often. On iOS, Jasonette it is implemented using the UITableView . On Android, via RecyclerView .
{ "body": { "sections": [{ "items": [ {"type": "label", "text": "Item 1"}, {"type": "label", "text": "Item 2"}, {"type": "label", "text": "Item 3"} ] }] } } On iOS, the above JSON markup creates a UITableView with three UITableViewCells , each of which contains a UILabel with the appropriate text parameters.
On Android, a RecyclerView is created with three elements, each of which is a TextView and displays the corresponding text parameters.
All this is written in the code without using Storyboards (iOS) or XML markup files (Android) to provide the ability to program each element in a dynamic mode.
Implementation - Horizontal Sections
From the point of view of syntax, horizontal sections do not differ much from vertical ones. All you have to do is set the “horizontal” type, after which all the elements will line up horizontally.
{ "body": { "sections": [{ "type": "horizontal", "items": [ {"type": "label", "text": "Item 1"}, {"type": "label", "text": "Item 2"}, {"type": "label", "text": "Item 3"} ] }] } } Note: The syntax of the horizontal section seems simple enough, but in fact it is not. Horizontal sections on iOS are implemented using a UICollectionView . This is a well-known mechanism, but, in fact, the horizontal scrolling of the UICollectionView is embedded in the original UITableView (which is responsible for the vertical scrolling). On Android, the principle is implemented in a similar way, only using composite RecyclerViews.
2. Elements - Building markup inside each scroll component
Now that it’s clear how the uppermost level is built, let's take a look at items. Each section consists of several components of scrollable items. Notice that each element has a fixed size and nothing inside the element itself scrolls.
Each element can be:
- Only one component — such as label, image, button, textarea, etc.
- Combination of any of these components
With the implementation of this part, everything was not as easy as with the implementation of sections, because I needed to choose a cross-platform, native, flexible and easy way to create a super-complex layout.
Fortunately, iOS and Android have very similar native markup systems, UIStackView and LinearLayout respectively, which in turn are similar to CSS Flexbox . So it can be considered the maximum possible approximation to cross-platform.
Finally, these markup systems are infinitely composable. As shown below, you can create vertical markup, horizontal markup, or insert vertical markup inside horizontal markup and so on.
In order to create a vertical markup, you must set the appropriate type and then get its components:
{ "items": [{ "type": "vertical", "components": [ { "type": "label", "text": "First" }, { "type": "label", "text": "Second" }, { "type": "label", "text": "Third" } ] }] } The same for horizontal markup. Just set the horizontal type.
{ "items": [{ "type": "horizontal", "components": [ { "type": "image", "url": "http://i.giphy.com/LXONhtCmN32YU.gif" }, { "type": "label", "text": "Rick" } ] }] } To embed one markup into another, it is enough to register it as one of the components.
{ "items": [{ "type": "horizontal", "components": [ { "type": "image", "url": "http://i.giphy.com/LXONhtCmN32YU.gif" }, { "type": "vertical", "components": [{ "type": "label", "text": "User" }, { "type": "label", "text": "Rick" }] } ] }] } For the sake of brevity, I did not talk about styles. You can design each component separately, as well as the layout itself, until you give them exactly the look you want. All you need to do is add style objects that describe font, size, width, height, color, background, corner_radius, opacity, etc.
3. Levels - “Absolute Positioning”
Sometimes you may want to pin components to certain parts of the screen without the ability to scroll through them. In CSS terminology, we would call this “absolute positioning.” Jasonette supports this feature through a tool called layers.
Currently, the layer supports two types of child elements: image and label. You can place them anywhere you like on the screen. Here is an example:
In this example, on the screen we see two labels (temperature and weather reports) and an image (camera icon), the coordinates of which were set so that they remained in place while scrolling. The markup will look something like this:
{ "$jason": { "body": { "style": { "background": "camera" }, "layers": [ { "type": "label", "text": "22°C", "style": { "font": "HelveticaNeue-Light", "size": "20", "top": "50", "left": "50%-100", "width": "200", "align": "center" } }, { "type": "label", "text": "few clouds", "style": { "font": "HelveticaNeue", "size": "15" } }, { "type": "image", "url": "https://s3.amazonaws.com/.../camera%402x.png", "style": { "bottom": "100", "width": "30", "color": "#ffffff", "right": "30" } } ] } } } Surprisingly, this is all you need to know to create any puzzle interface you can imagine on mobile devices.
You can compose the main components and layouts in various ways to create any complex interface - the process can be compared with the construction of various structures from simple Lego blocks.
Here are a few examples, 100% made up of the aforementioned UI elements:
After watching
At this stage, you are most likely thinking of one of two things:
- “Wow! Great! Need to try "or
- "For some toy applications, this may be good, but building something functional in this way will not work."
As I mentioned above, only the “Presentation” part is described here - the simplest of the three. But the strength of Jasonette is that you can go much further and use JSON to write the declarative program completely .
You can associate UI elements with specific actions that will be performed when touched. You can also run them one after the other with successful or erroneous reverse responses. You can also listen to specific events and automatically activate these algorithms.
If you are able to describe through JSON the logic of not only “Views”, but also “Models” and “Controllers” - your possibilities are endless.
Opportunities
All you need is a server to send JSON, which means Jasonette is compatible with any platform. You do not have to depend on closed source technology. JSON markup is enough.
And JSON can come from anywhere - from local devices, from remote servers, and at least from raspberry.pi !
- Got a web app? If you already have a web application, you can instantly create a mobile native version for your Node.js, Rails, Django, PHP, or any other web application by simply sending requests to your API.
- You don’t even need a server: Since the entire Model-View-Management controller can be placed in a single stand-alone JSON file, in fact you can choose any location to store and work with data. You can even create an application using a static JSON file that runs from Pastebin or Github!
- Turn any HTML website into an application: Jasonette has a strong HTML-JSON parser with the support of the cheerio library , which allows you to turn any HTML object into a JSON object. And what can be done after this conversion, you already know: create a native interface from the converted JSON file! Thus, you can turn a website that does not even have an API into a native application. Of course, it’s preferable to use JSON whenever possible, but it's still cool.
You can continue to infinity, here are just a few examples:
1) A photo sharing application that allows you to take a picture with a camera and upload it to S3, and then post it on your own server, creating a web feed:
2) Eliza Chatbot app for iOS and Android on Node.js
3) Microblog application with session management
4) Remote control of Slack bots
5) A sample application that turns web pages into JSON files, and then into a native application.
Conclusion
Jasonette is a young project. I posted an open source version for iOS at the end of 2016, and the Android version a month later.
However, he has already acquired a community of users who are actively involved in its development, and is at a stage of rapid growth. I hope that this technology will expand the capabilities of any user (not only developers) and allow you to create applications without much effort.
Sounds good? View the project website here . One last thing: you can find the Github repositories here: iOS and Android (Persons willing to make donations to the project are welcome!)
Source: https://habr.com/ru/post/322216/
All Articles