NooLite: kill two birds of ergonomics at the same time (installation, opinion, development)
No, this is not 10001 description of "smart home" (!)
In the post I want to talk about two things:
1) Solving the problem "The overhead light switch in the room at the entrance, but I also want it near the bed"
2) I want to adjust the brightness
And it is not strange, both of these problems can be solved in one fell swoop .
And also I will try to classify the types of automation
Lyrical digression: I, like many readers probably, thought “if I shouldn’t make a smart home ” maybe they even watched technologies (z-wave, zigbee, homekit, thousands of them!) But in the process of searching for information on a smart home most often there is no setting problems and / or correct solution due to insufficient intelligence of that very “smart home”
')
Classification
After reading a large number of manuals on various systems, I got the following gradation of systems:
1) Automated
2) Automatic
3) Intellectual
4) Proactive
Only the last two systems are more or less clever, and only the last one can be called a fully smart home, but today, as I promised, we will not talk about a smart home.
Automated - We change light switches to relays with remote control and give the opportunity to control the light from one common switch - congratulations, you have automated the process (but this is not a smart home)
Automatic - You already have remote switches everywhere, if your friend is going to the toilet, you can turn on the lights remotely using the remote control / application, but something is missing. And you add to the sensor system. Now the system can determine for itself that you are in this room and it would be nice to turn on the light to you here - congratulations, you made an automatic system (but this is still not a smart home)
Intellectual - In case of a night need in the toilet, you are greeted by the switched on light, which takes into account the data that you are a man and you can not close the door, but this is no reason not to please you with light. (the system knows that you are alone at home at the moment, which means only you can go to the toilet, therefore you need to ignore the door sensor and turn on the light) - This is an intelligent system. In addition, one of the key differences between the intelligent system and the usual one is support for aliases. The system should be able to process speech commands, and not simple, but understanding the context of the request. In your "smart home" is not this? I have bad news for you.
Proactive - You have a single hub that has access to the main systems of the house: light, water, air conditioning, heating. (if we talk about the house: gates, etc ...) You can control all systems remotely, with voice and via the Internet, you can even press the “I'm going home” button and the system adjusts everything as you like (turns on the air conditioner for example or opens the gate when your geolocation will be near).
Looks like a smart home? No The system will be proactive when it can handle the following script:
1) A simple option: You have a script coming home, the system itself checks your geo-position and, based on the vector of your movement, can ask you (by voice, text to the messenger) whether you are going home or even without a question (if based on data from past days route similar) run the script. But, if suddenly you change your route while the script is running, the system should understand this and stop the script execution.
2) Complicated: The system does not require manual input of the script, it compiles it itself, analyzing human behavior. She knows that in the morning you prefer a bright light, in the evening muffled. She knows that before going to bed, it is necessary to make the heating a little weaker and, if possible, to ventilate, but your girlfriend cannot stand drafts, then the airing should be done while the girl is not at home or she is in another room / shower.
Specific problem
During the repair, it is impossible to plan everything, so it happened with me - I absolutely did not know where the bed would stand in the room, therefore I could not choose the place of the switch
(Yes, and my bed was already moving around the room ...) Thus, like many, I have one overhead light switch - when entering the room, next to the door.
But over time,

Standard dimmer
In the end, I formulated the requirements for solving the problem as follows:
I want to adjust the overhead light in the room from the bed, to be able to adjust the brightness and continue to follow the path of home automation.
I considered several options for the systems and came to the conclusion that NooLite suits me in the following version:
1) Relay
2) Two switches
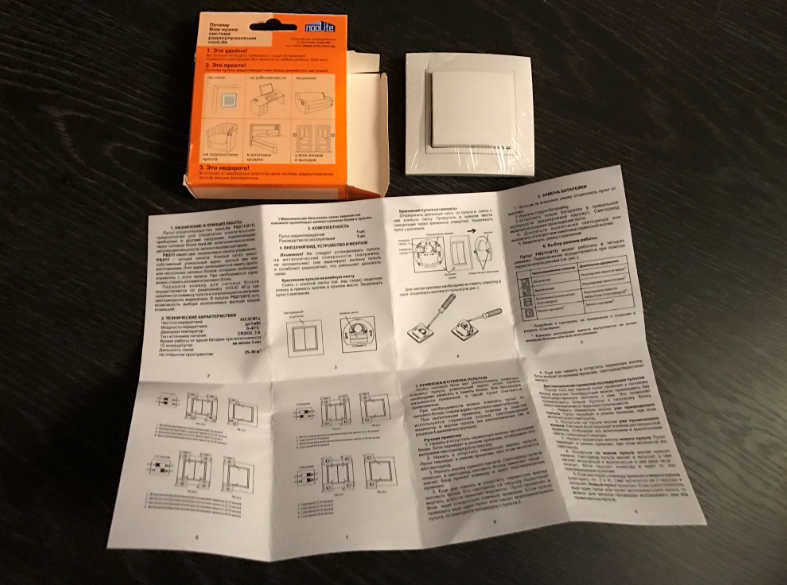
They even have a ready set for my Wishlist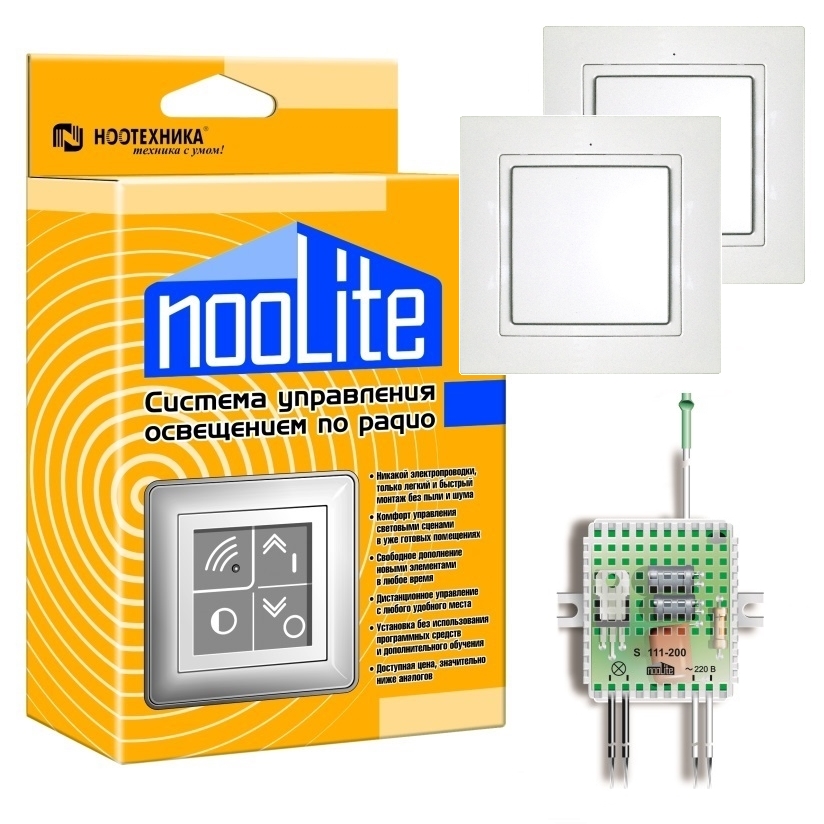
Installation
So, I had to dismantle the old switch, connecting the wires, connect the relay to the open circuit and install the switch.
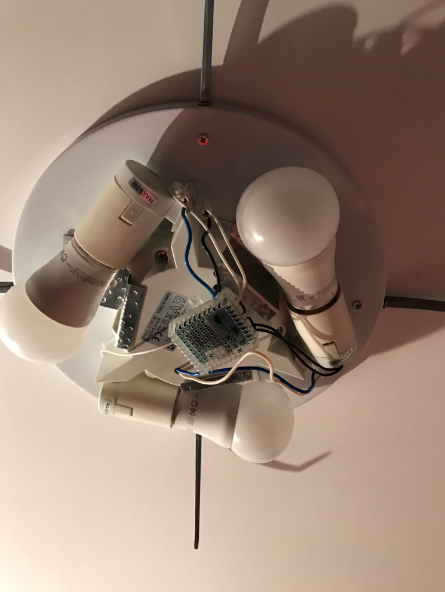
In the process of choosing the location of the relay, I came to the conclusion that it would fit perfectly into the chandelier, in addition, it would be better to cool.
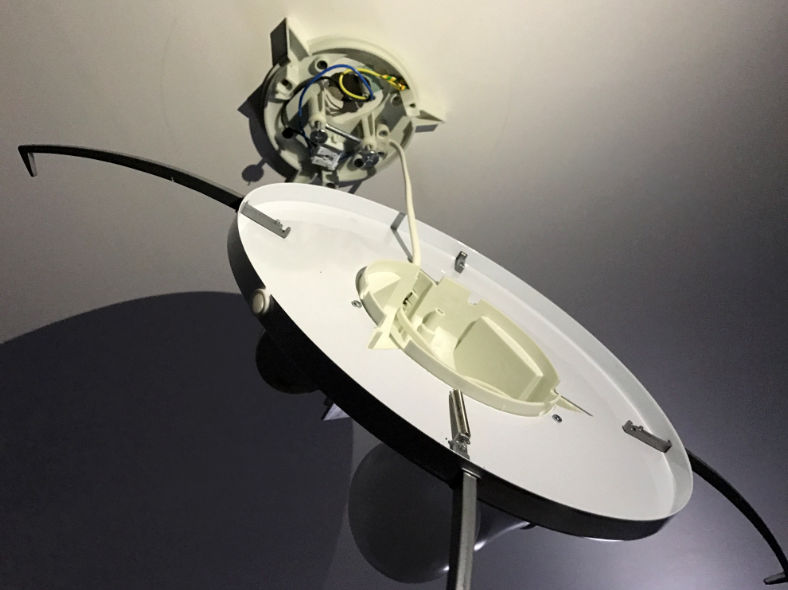
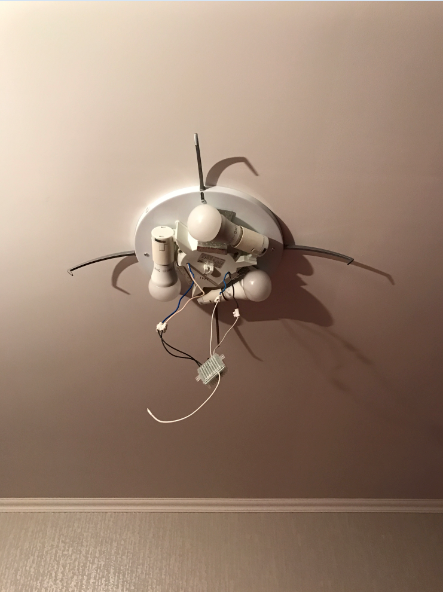
Chandelier
I have the following chandelier:

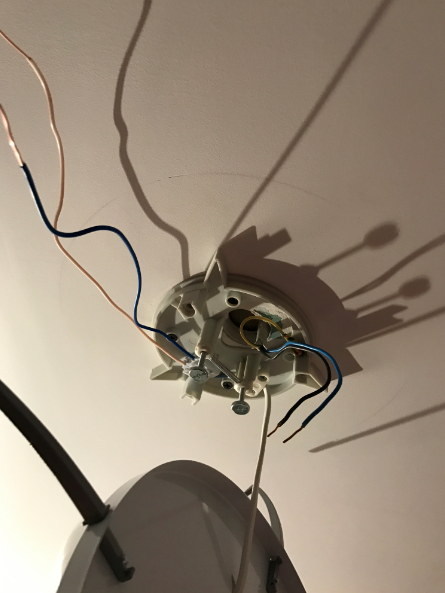
Remove the glass dome, do not forget to turn off the electricity, and remove the platform, which closes access to contacts
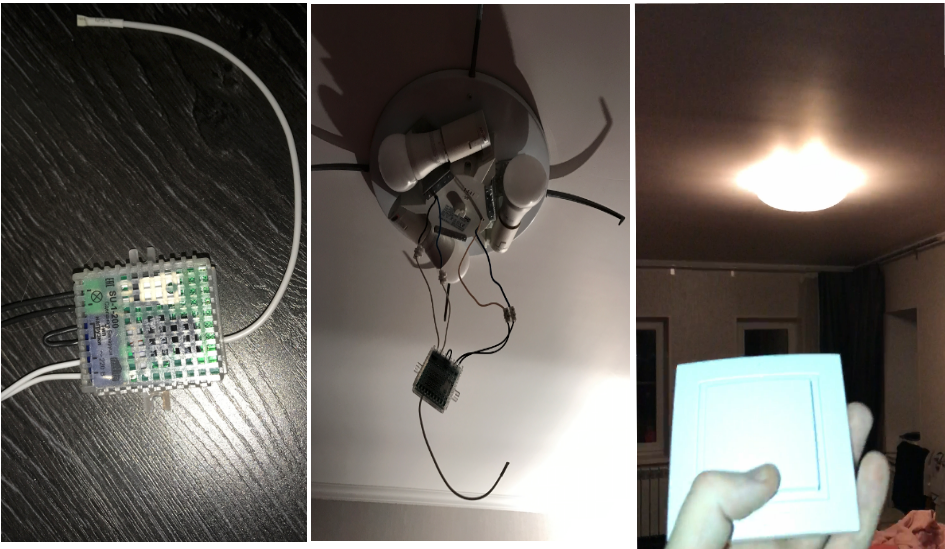
It is time to look at the relay:
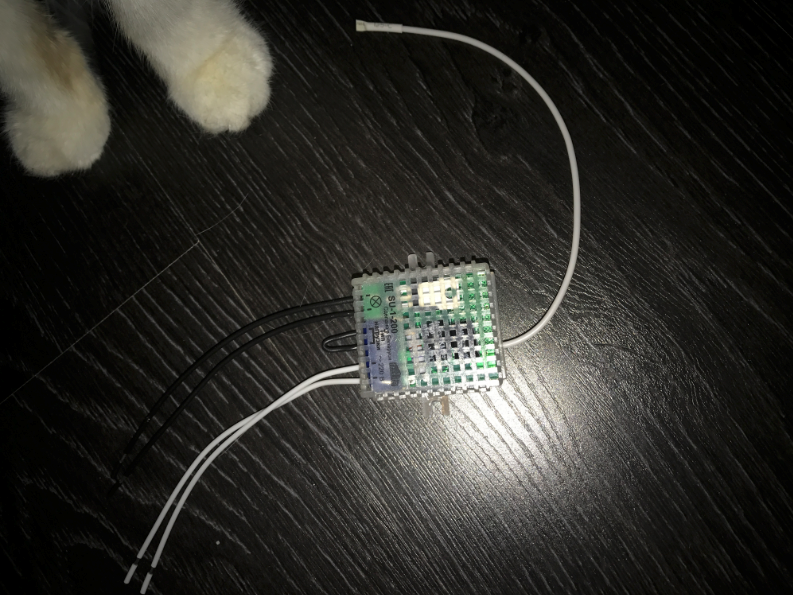
Pay attention to the black jumper wire which is in the center - it is a hardware mode switch, if you want to work in the brightness adjustment (dimmer) format - we have a snack.
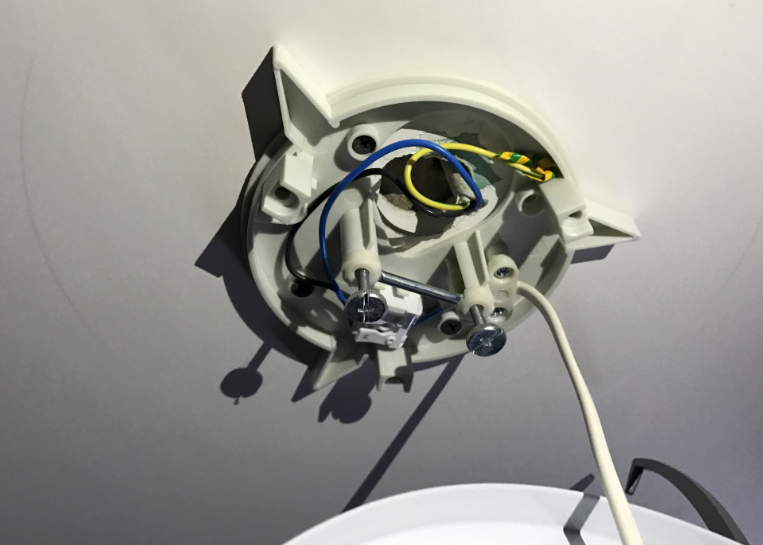
We disconnect the original wires from the ceiling from the chandelier terminals, insert new wires of small length there.
We take terminal blocks, we connect a connection 220 to the relay and loading (do not mix wires)
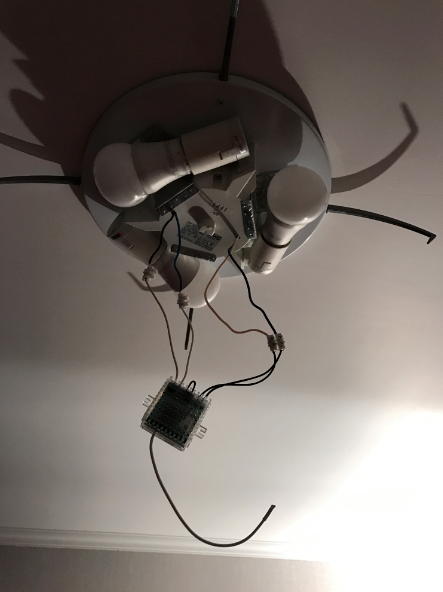
Compactly pack all this so that the wires are not heated:
After this stage is completed, you can turn on the electricity and check the operation of the system - it should already turn on from the attached console (do not forget to turn on the lights on the old console first)
Switch
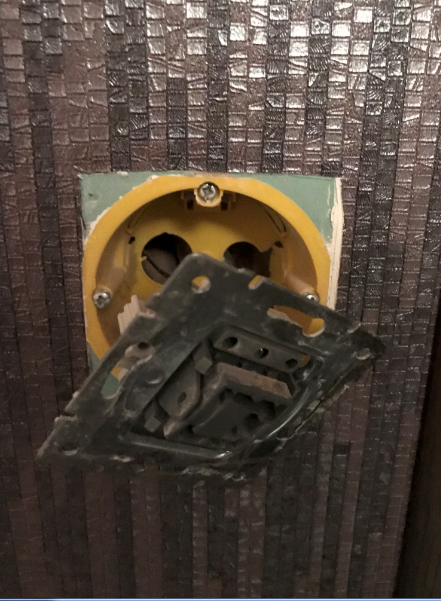
Given: here is a switch:
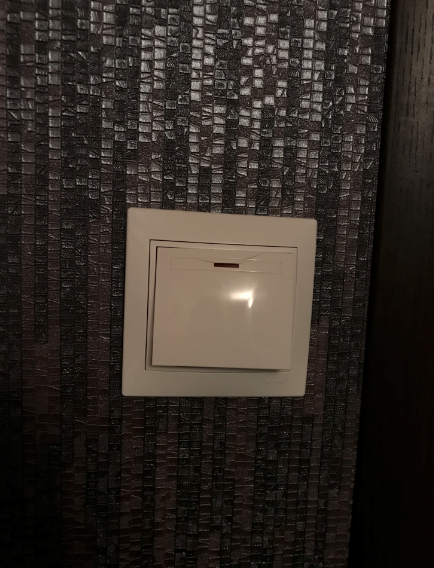
It will need to be dismantled:
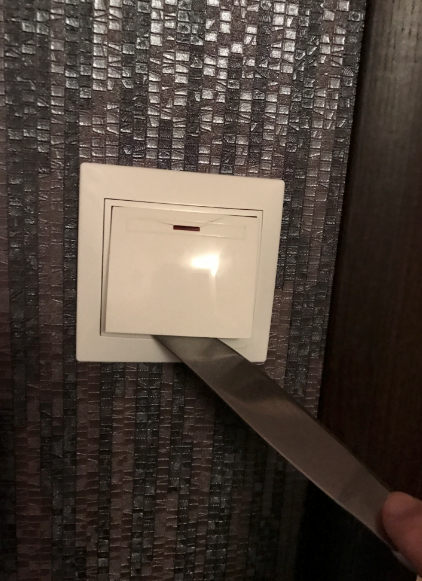
In detail
Snap off the button, unscrew the two screws in the center and remove the plastic frame
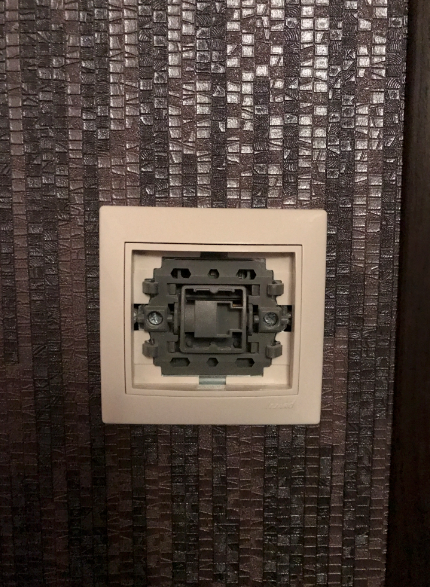
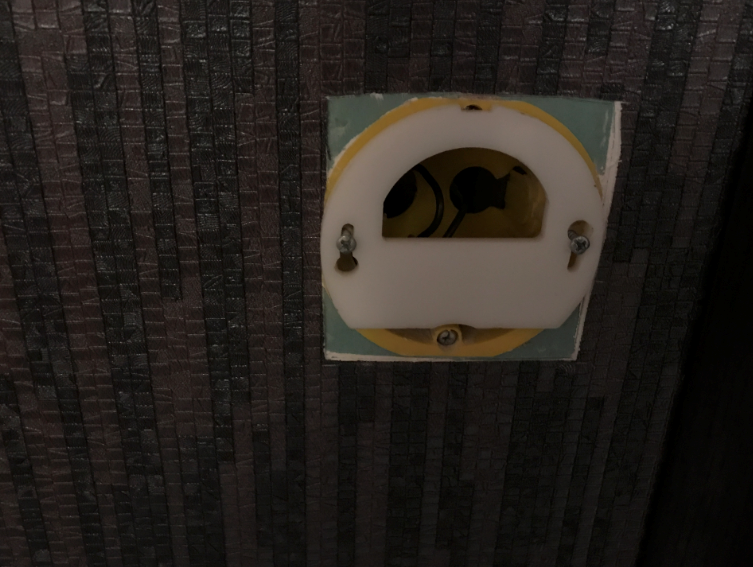
We turn away (But not up to the end) screws on the sides

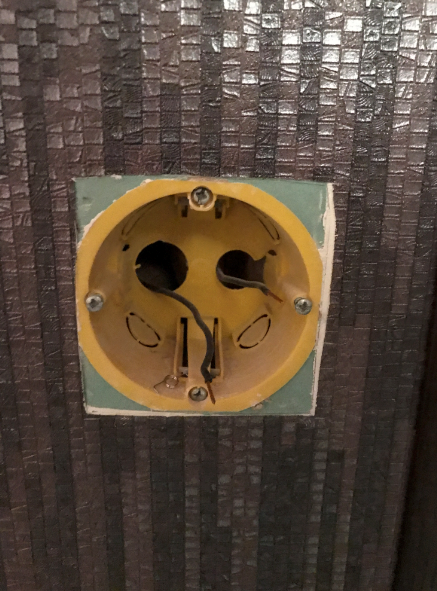
Remove the switch, disconnect the wires.
You did not forget to turn off the lights after the tests, yes?
Preparing wires for terminal blocks
We turn away (But not up to the end) screws on the sides
Remove the switch, disconnect the wires.
You did not forget to turn off the lights after the tests, yes?
Preparing wires for terminal blocks
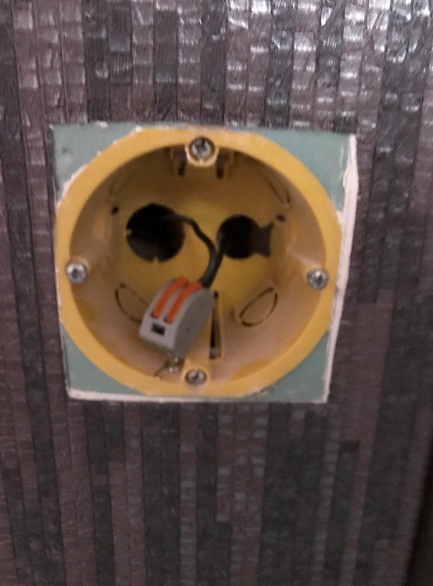
We put on terminal blocks
Remote controller
Remote control
At the top (or below, depending on how you install) there is a green command transmission indicator that will wink when pressed.

Backside
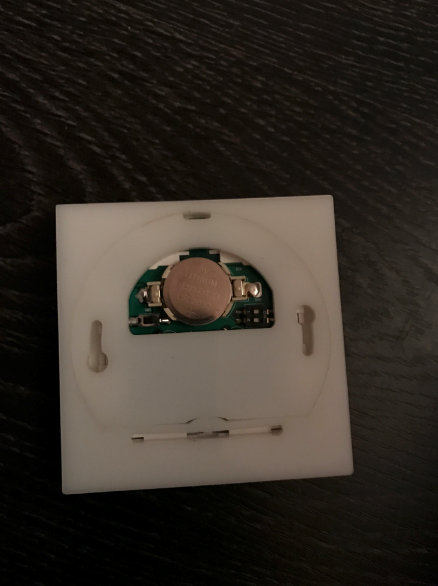
Remove the base
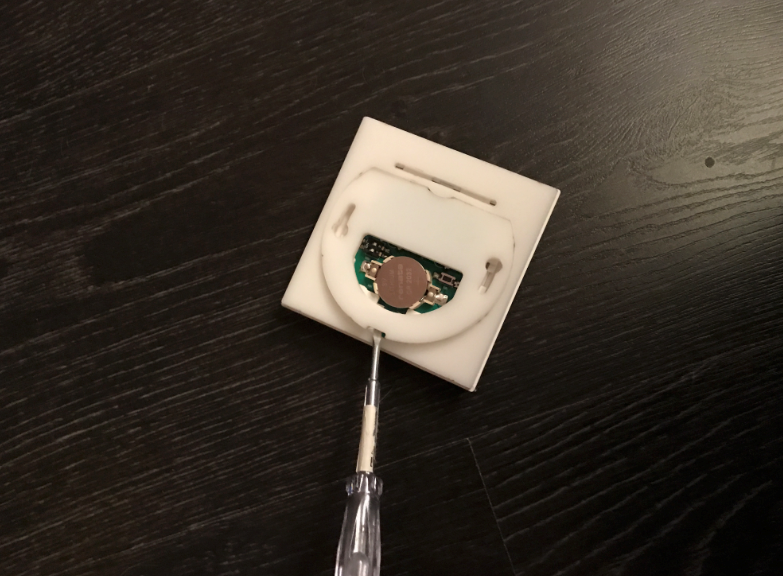
Inner world of the console
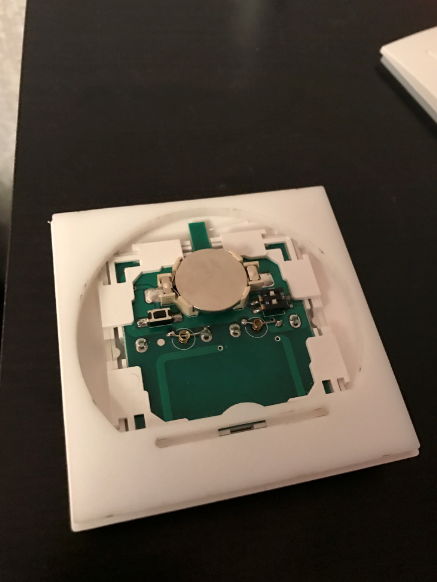
Fasten the frame on the same screws that are left from the old
Bind the second remote
Algorithm:
1) Press the service button on the already tied remote
2) Click Turn on the light on the already connected remote
The light will start blinking
We do the same on the second console
3) Press the service button on the NEW remote
4) Click Turn on the light on the NEW remote
The light will blink more often.
Repeat the last two steps again.
5) Press the service button on the already tied remote
6) Click Turn on the light on the already connected remote
The light goes out - you tied the remote
Result
After the final assembly of the system, the wires and the module itself are not visible in the chandelier (with the lights on too) .

Brightness can be controlled as follows: Turn on the chandelier as usual by clicking on the top edge of the switch. And now click on the bottom and hold - the light will decrease. (You can add the same way)
In the process of rest, the relay glows with a faint green light (even weaker than in the photo below, the phone has made it brighter than necessary)

What is there with the development of NooLite
NooLite is generally great - earlier they were scolded in their posts about the lack of feedback from the relay, but they are in the process of releasing new relays that will be able to do it. It hints at this new module, which was recently released to replace the old ones.
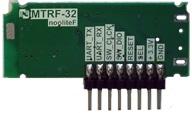
Description
The MTRF-32 transceiver module is designed to interact with the nooLite and nooLite-F system from an Arduino platform, microcontroller or PC.
Structurally, the module is made in the form of a printed circuit board, on which a control controller and a transceiver are located.
The module is controlled via a serial UART interface.
Using a low-level communication interface with the module allows you to use it in your own designs.
Structurally, the module is made in the form of a printed circuit board, on which a control controller and a transceiver are located.
The module is controlled via a serial UART interface.
Using a low-level communication interface with the module allows you to use it in your own designs.
(I bet that in half a year a manual will appear on using it in conjunction with raspberri pi and esp8266 / arduino).
PS Those who have previously read about Noolite may remember these switches:

One of the reasons why I chose NooLite was that they finally made the switches they were used to ...
Chat in Telegram t.me/Noolite
Source: https://habr.com/ru/post/320890/
All Articles