The introduction of social services in non-game application
Modern reality is impossible to imagine without social networks and different ratings. In connection with this trend, mobile games and applications are actively “socializing”. However, while for games such a phenomenon is mundane and regular, adding a functional social network to non-game applications will not seem to everyone an obvious solution. Nevertheless, our long-standing partners and friends - the company-developer of music applications Music Paradise - have decided on a similar step. Today we share their case under the code name "How we did the first social pads."
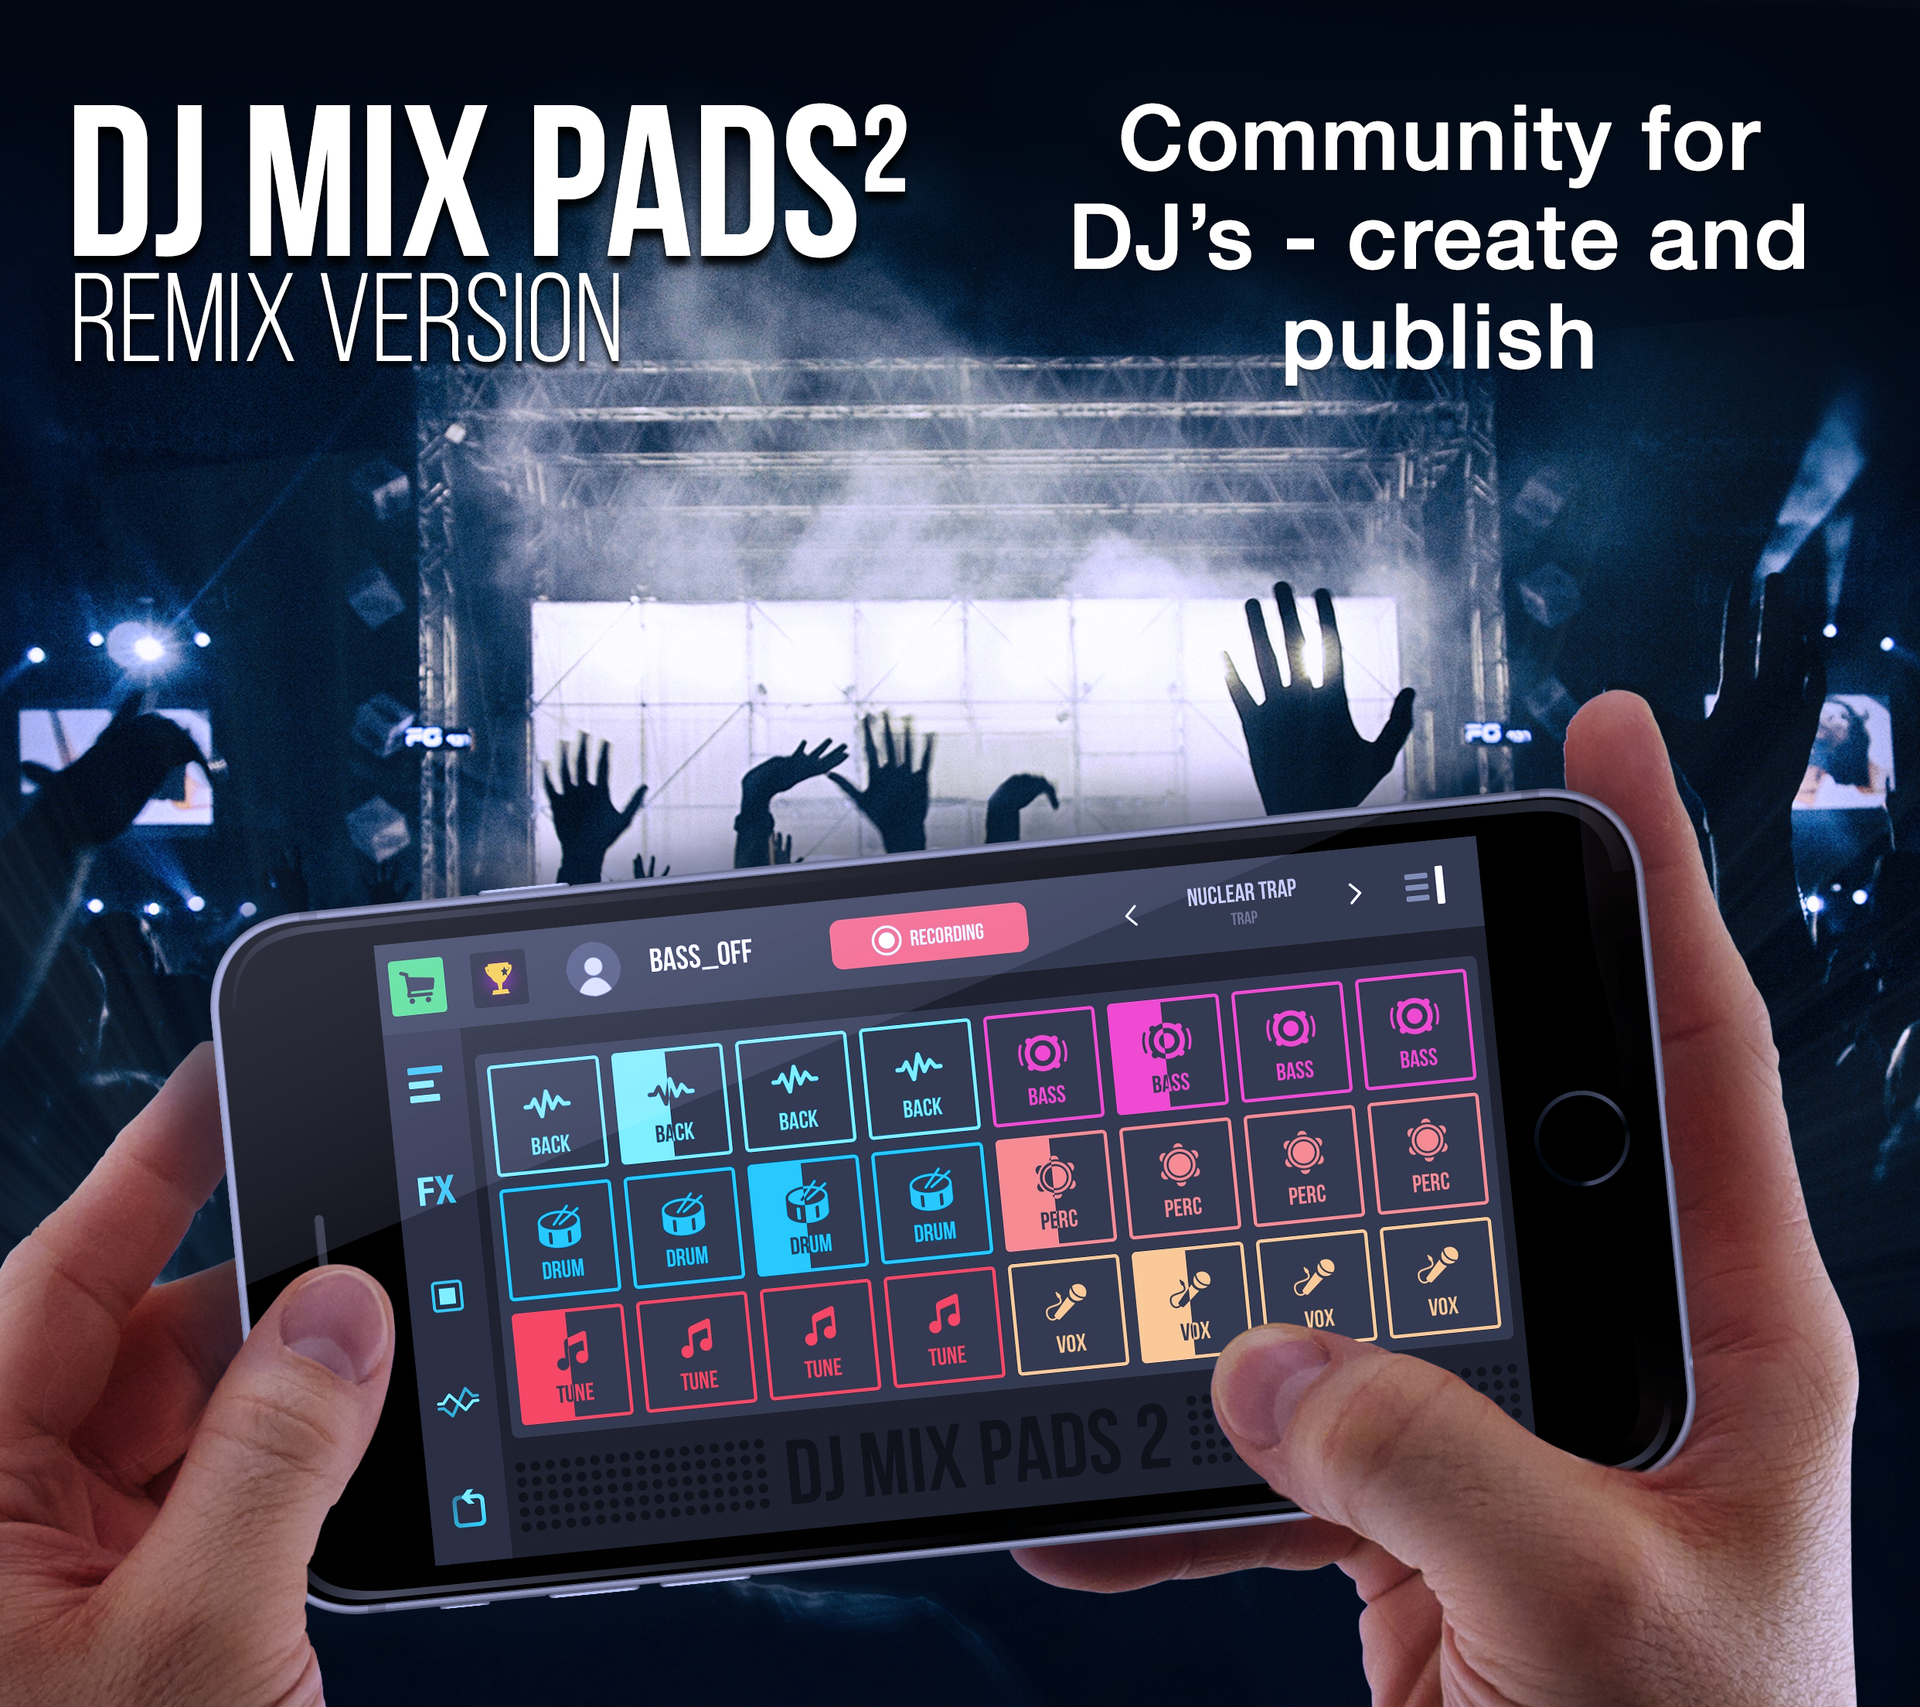
“In this article we would like to share the experience of creating a social platform for music lovers based on the DJ Mix Pads 2 music application.
Initially, the application was a simple set of tools with which music lovers could record tracks, even without special skills and knowledge. Just a few clicks could get a complete composition with a sound close to professional.
')
In order to stand out from a variety of similar products, we decided to play on the competitive element and make the process of creating compositions more focused. It will be more interesting to open a musician in yourself if you give people the opportunity to share their creations with other users, evaluate others, break into the tops, unite in groups of musical interests and discover new application features, raising your rating.
In this article, we will touch on various aspects of working with the server, describe some additional functions that were required for the introduction of the social component, and how they were implemented in the product.
Work with server API is carried out through POST and GET requests. Here I would like to consider in detail the tricks to which we resorted to adjust the work with them.
There is no particular point in telling about the formation of HTTP requests: Google is already so full of relevant information, and you can find many useful libraries on the githaba.
Therefore, we will analyze better the work with the response from the server using the example of how to get a list of tracks that are popular with users. The track list comes in this format:
Or in this, if the request is incorrect or some error has occurred:
To parse the answer, we use this construction:
When registering in the application, the user has the opportunity to put himself an avatar. Accordingly, the question arose of how the images will be transmitted to and from the server.
The mechanism of circulation of images, we have chosen a very peculiar. The simplest solution would be to transfer the files themselves as a POST request, after which, if necessary, obtain a link to the file on the server side. In this way, we have implemented the storage of audio files that users upload to the server.
However, it was decided to transfer the image as a base64 string. To do this on the client side, the following string conversion methods are used.
First, we convert the image into a string, changing its size at the same time, if necessary. It is worth mentioning that the images by this point are already square:
Now convert the string to a picture:
At first glance, this approach may not seem the most effective, because you have to do double work, converting the image back and forth. However, for us such an insignificant complication was justified: in the end, it made life much easier for us and accelerated the development process.
This problem came before us unexpectedly and somewhat later than the others, when our social innovations had already begun to gain popularity. People began to download a fairly large number of tracks per day, an array of audio files on the server grew inexorably - all this caused problems in getting lists of tops. When you try to process the entire list at once, the application hangs and gives errors. It became clear that we would have to switch to partial uploading of content, and therefore, to introduce pagination.
Lists were standardly created using UITableView, and it was necessary to develop a method for loading new cells as data was received from the server.
First of all, we check:
- whether the given cell is the last one that we can display;
- whether we got all the content that should be displayed on this controller.
The calculation is as follows: if we received a smaller number of records than requested, (in this case less than 10), then at this moment we mark the variable isFullContent as true.
We wanted the user to have access to full information about the status of his account (the number of likes, listens, etc.) within the application. For this, a local notification system was introduced. The principle of its operation is as follows: when a user enters the application, we save the current state:
At the next input, these values are compared with the data received from the server. If they do not match, we display a local notification, informing the user that he has progress. Such pleasant news positively influences user experience:

Achievements are not only interesting content and user reward for using all the features of the application, but also a good way to learn more about the desires of the audience, in addition to the data provided by the analyst.

At the moment there are 9 achievements in the app:
Making money is the client's business, the server only stores information about the achievements made and some statistics (for example, how much time the user spent in the application)
When sending alerts on achievements, a system of remote PUSH notifications for specific users is used. To identify the user, we save the UUID of the device from which the last login was made, and when we receive a PUSH notification, we go one of two ways, depending on the circumstances.
If the user is not currently in the application, he will receive a standard alert with information on the achievement achieved - this is the first way.
The second way is more complicated. If the user is currently in the application, we intercept the received message in the AppDelegate method:
and display it in the current ViewController.
Summarize what additional features in the end gave us the use of the server:
PS The guys also told us that they noticed a funny trend: the leading developers of this project are getting married about 2-3 months after they start working on it. At the moment, the score is 2: 0 in favor of this "belief." So, if you want fundamental changes in your personal life, try to implement a similar project in your application.
“In this article we would like to share the experience of creating a social platform for music lovers based on the DJ Mix Pads 2 music application.
Initially, the application was a simple set of tools with which music lovers could record tracks, even without special skills and knowledge. Just a few clicks could get a complete composition with a sound close to professional.
')
In order to stand out from a variety of similar products, we decided to play on the competitive element and make the process of creating compositions more focused. It will be more interesting to open a musician in yourself if you give people the opportunity to share their creations with other users, evaluate others, break into the tops, unite in groups of musical interests and discover new application features, raising your rating.
In this article, we will touch on various aspects of working with the server, describe some additional functions that were required for the introduction of the social component, and how they were implemented in the product.
Client-server interaction
Work with server API is carried out through POST and GET requests. Here I would like to consider in detail the tricks to which we resorted to adjust the work with them.
There is no particular point in telling about the formation of HTTP requests: Google is already so full of relevant information, and you can find many useful libraries on the githaba.
Therefore, we will analyze better the work with the response from the server using the example of how to get a list of tracks that are popular with users. The track list comes in this format:
{ data = (); success = 1; } Or in this, if the request is incorrect or some error has occurred:
{ error = "Error description"; success = 0; } To parse the answer, we use this construction:
NSDictionary *answer = [NSJSONSerialization JSONObjectWithData:data options:NSJSONReadingMutableLeaves error:nil];// data - if([[answer objectForKey:@"success"] boolValue]){ NSMutableArray *dataArray = [answer objectForKey:@"data"]; [self doSomeStuff:dataArray]; } else{ if([answer objectForKey:@"error"]) NSLog(@"%@",[answer objectForKey:@"error"]); } Image Transfer
When registering in the application, the user has the opportunity to put himself an avatar. Accordingly, the question arose of how the images will be transmitted to and from the server.
The mechanism of circulation of images, we have chosen a very peculiar. The simplest solution would be to transfer the files themselves as a POST request, after which, if necessary, obtain a link to the file on the server side. In this way, we have implemented the storage of audio files that users upload to the server.
However, it was decided to transfer the image as a base64 string. To do this on the client side, the following string conversion methods are used.
First, we convert the image into a string, changing its size at the same time, if necessary. It is worth mentioning that the images by this point are already square:
-(NSString *)imageToNSString:(UIImage *)image { if(!image) return nil; if(image.size.width>250&image.size.height>250) image = [self imageWithImage:image scaledToSize:CGSizeMake(250, 250)]; NSData *imageData = UIImagePNGRepresentation(image); return [imageData base64EncodedStringWithOptions:NSDataBase64Encoding64CharacterLineLength]; } - (UIImage *)imageWithImage:(UIImage *)image scaledToSize:(CGSize)newSize { UIGraphicsBeginImageContext(newSize); [image drawInRect:CGRectMake(0, 0, newSize.width, newSize.height)]; UIImage *newImage = UIGraphicsGetImageFromCurrentImageContext(); UIGraphicsEndImageContext(); return newImage; } Now convert the string to a picture:
-(UIImage *)stringToUIImage:(NSString *)string { if(string==nil) return nil; NSData *data = [[NSData alloc]initWithBase64EncodedString:string options:NSDataBase64DecodingIgnoreUnknownCharacters]; return [UIImage imageWithData:data]; } At first glance, this approach may not seem the most effective, because you have to do double work, converting the image back and forth. However, for us such an insignificant complication was justified: in the end, it made life much easier for us and accelerated the development process.
A little about pagination
This problem came before us unexpectedly and somewhat later than the others, when our social innovations had already begun to gain popularity. People began to download a fairly large number of tracks per day, an array of audio files on the server grew inexorably - all this caused problems in getting lists of tops. When you try to process the entire list at once, the application hangs and gives errors. It became clear that we would have to switch to partial uploading of content, and therefore, to introduce pagination.
Lists were standardly created using UITableView, and it was necessary to develop a method for loading new cells as data was received from the server.
- (void)tableView:(UITableView *)tableView willDisplayCell:(UITableViewCell *)cell forRowAtIndexPath:(NSIndexPath *)indexPath{ if(indexPath.row == self.tableContentArray.count-1 && !self.isFullContent) { [self getContentFrom:self.tableContentArray.count withCount:10]; } } First of all, we check:
- whether the given cell is the last one that we can display;
- whether we got all the content that should be displayed on this controller.
The calculation is as follows: if we received a smaller number of records than requested, (in this case less than 10), then at this moment we mark the variable isFullContent as true.
Notifications inside the application
We wanted the user to have access to full information about the status of his account (the number of likes, listens, etc.) within the application. For this, a local notification system was introduced. The principle of its operation is as follows: when a user enters the application, we save the current state:
[[NSUserDefaults standardUserDefaults] setInteger:user.countOfLikes forKey:@"countOfLikes"]; [[NSUserDefaults standardUserDefaults] setInteger:user.countOfLikes integerValue] forKey:@"countOfListens"]; [[NSUserDefaults standardUserDefaults] setInteger:user.level forKey:@"countOfLevels"]; At the next input, these values are compared with the data received from the server. If they do not match, we display a local notification, informing the user that he has progress. Such pleasant news positively influences user experience:
CongratsCustomPush *push = [[CongratsCustomPush alloc] initInController:[self topViewController] withTitle:@"Changes since your last visit.\nGood job!" withLevel:countOfLevels withLikes:countOfLikes andWithListens:countOfListens]; [push showAnimated:YES]; Progress
Achievements are not only interesting content and user reward for using all the features of the application, but also a good way to learn more about the desires of the audience, in addition to the data provided by the analyst.
At the moment there are 9 achievements in the app:
- Create a studio
- Take a mini-lesson on effects
- Get 5 plays of your tracks
- Post 3 tracks
- Publish the first track in the studio
- Record your first track
- Spend 30 minutes in the app.
- Complete a mini studio creation lesson
- Complete the initial tutorial
Making money is the client's business, the server only stores information about the achievements made and some statistics (for example, how much time the user spent in the application)
When sending alerts on achievements, a system of remote PUSH notifications for specific users is used. To identify the user, we save the UUID of the device from which the last login was made, and when we receive a PUSH notification, we go one of two ways, depending on the circumstances.
If the user is not currently in the application, he will receive a standard alert with information on the achievement achieved - this is the first way.
The second way is more complicated. If the user is currently in the application, we intercept the received message in the AppDelegate method:
- (void)application:(UIApplication *)application didReceiveRemoteNotification:(NSDictionary *)userInfo and display it in the current ViewController.
Conclusion
Summarize what additional features in the end gave us the use of the server:
- Registration of users and saving data from their profiles (mail or Facebook page, name, avatar).
- Remote storage of tracks on the server.
- Providing tracks to the general court.
- Ability to mark other people's tracks as you like and save them to your own collection.
- “Studios” - groups of users according to their preferences in musical genres. Joining the studio gives access to new samples, sounds.
- Tops by tracks, users, studios
- Sending push notifications to specific users by achievements
- Getting achivok
- Loading of a part of content (sounds, samples) from the server. This gave us the opportunity to shrink the application to a size less than 100MB. This is important: according to the rules of the market, applications over 100MB in weight can not be downloaded via mobile networks, only via wi-fi.
- Collection of detailed, point statistics on users, publications, preferences. The number of published tracks, the most popular genres, the activity of individual users, the frequency of receiving achievements - all this gave material for a more objective assessment of the results of our works. And also, let's say in secret, the ability to remotely reward the most active users. ”
PS The guys also told us that they noticed a funny trend: the leading developers of this project are getting married about 2-3 months after they start working on it. At the moment, the score is 2: 0 in favor of this "belief." So, if you want fundamental changes in your personal life, try to implement a similar project in your application.
Source: https://habr.com/ru/post/319290/
All Articles