Translation system (localization) text in the Unreal engine
Hello, my name is Dmitry. I create computer games on the Unreal Engine as a hobby. A couple of days ago I wrote an article about the editor of quests and dialogues. Well, since you wrote the dialogues for the game, then you probably want to translate them into other languages. In this article I will describe how the module works designed to localize text in the Unreal engine.
So first you need to turn it on Editor Preferens → Experemental → Localization Dasbord. Unfortunately, the module is still experimental.
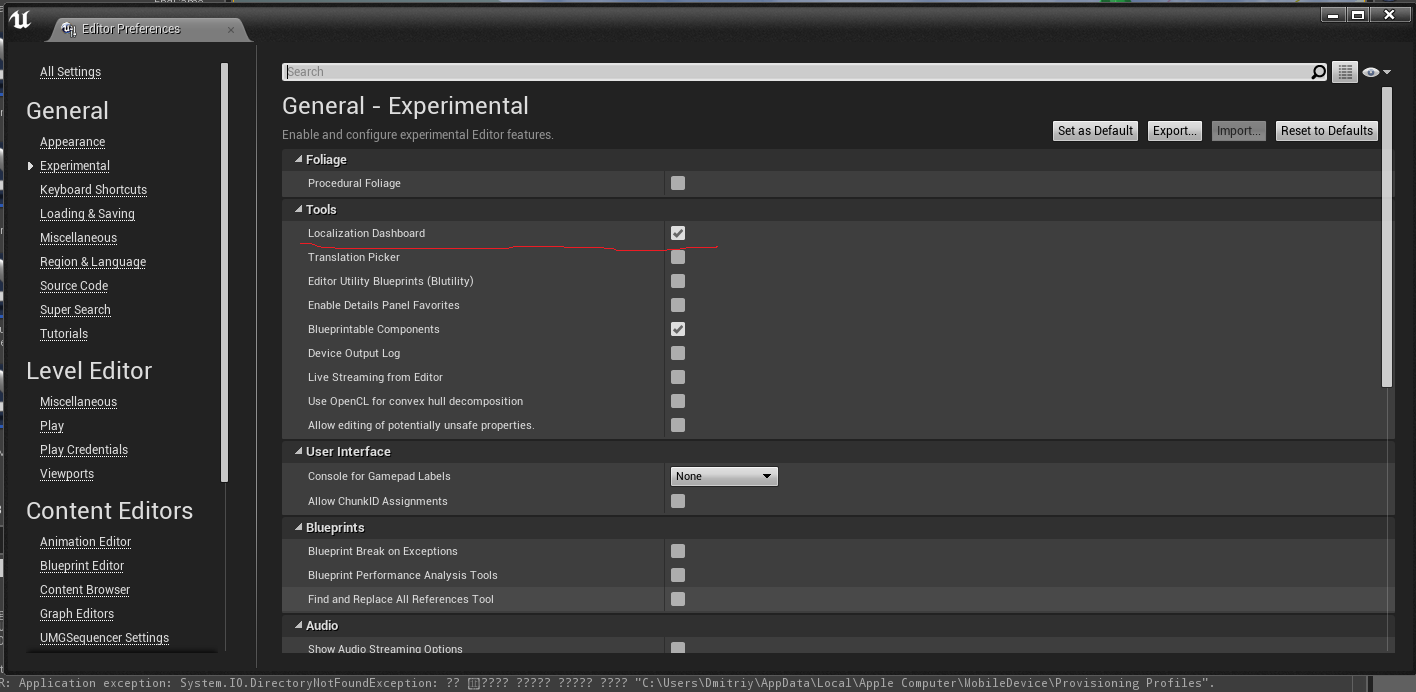
')
After that, you need to restart Unreal engin. Once you do this, Localization Dasbord appears in the Windows menu. We go into it and see this.
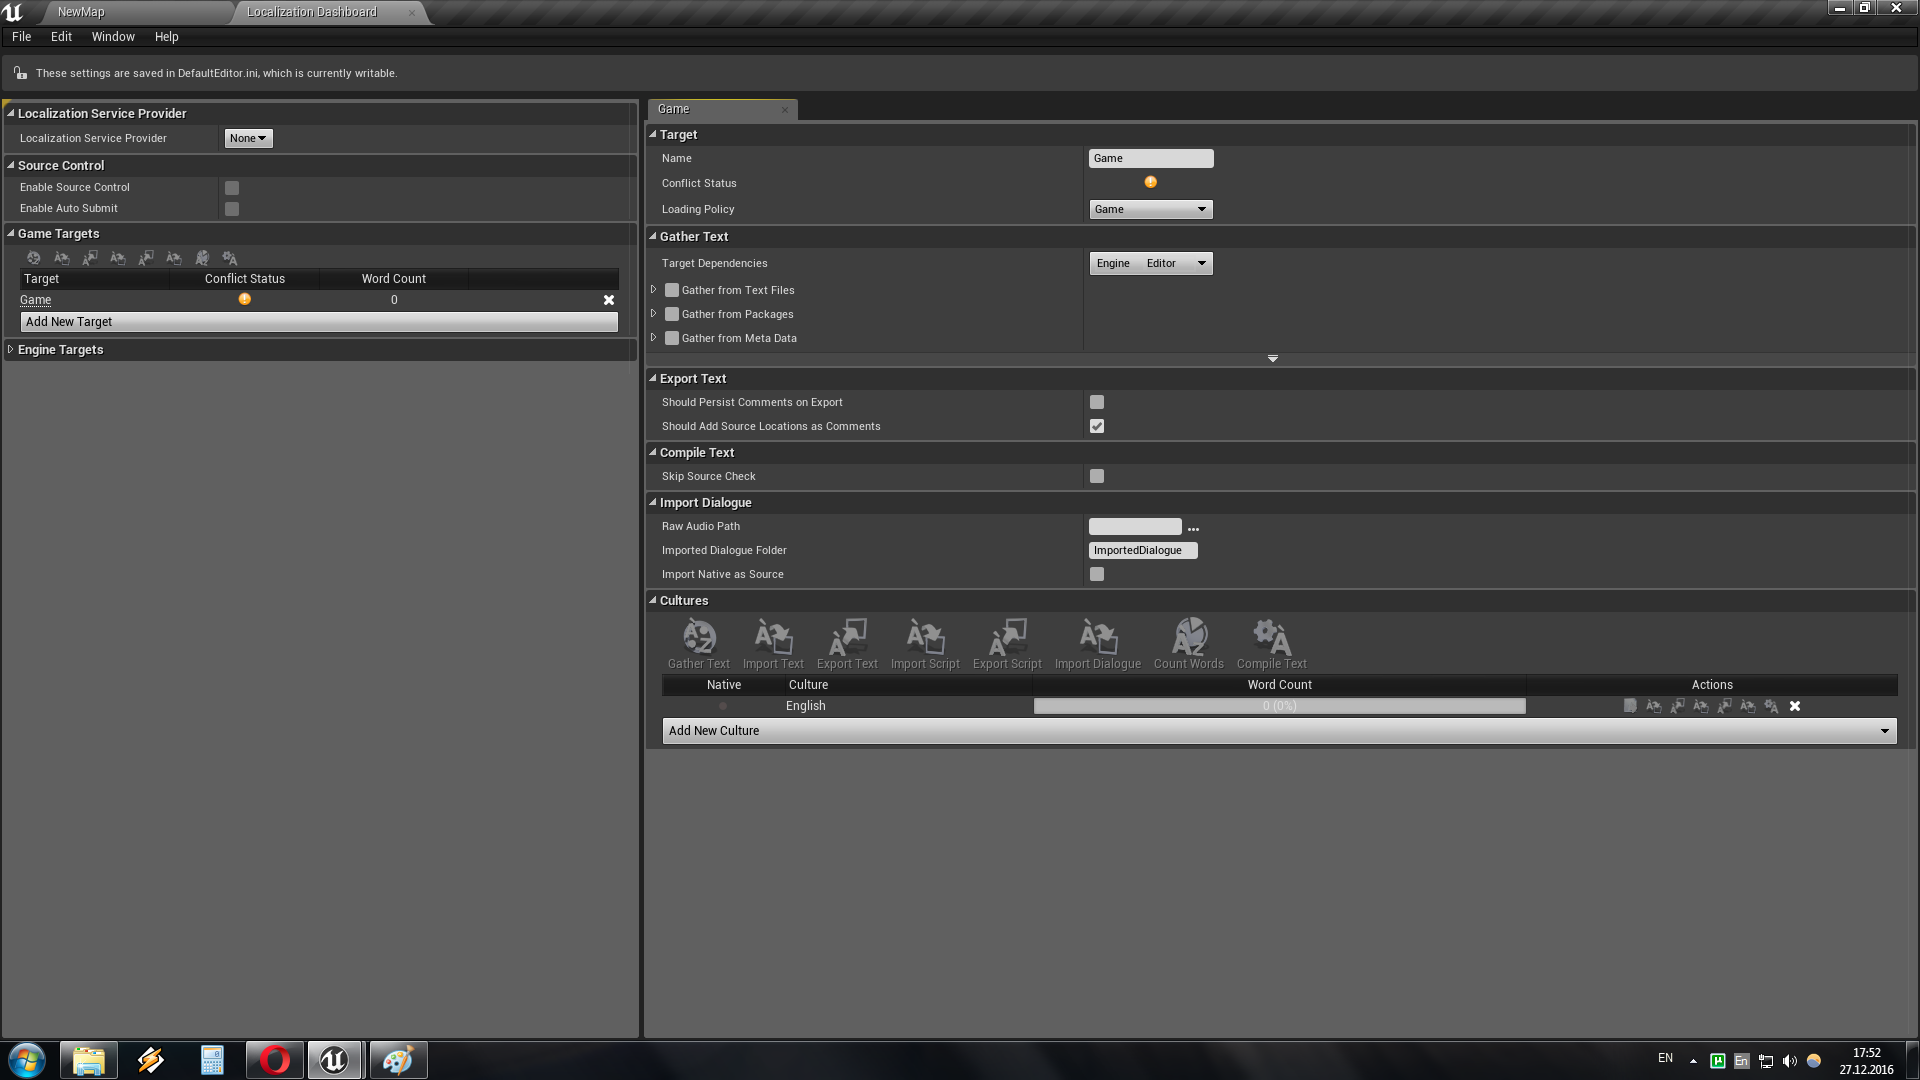
Here you need to add a new culture (Add new culture) and select the Native language, this is the language on which your text is written. In my case, this is English, you probably will have Russian.
Now you need to determine where the Unreal engine will extract the text from.
Firstly, it must be said that the Unreal engine will extract text from all variables whose type is FText (in fact, this is the main difference between this type and FString). If you have the FText variable but you do not want the Unreal engine to translate this text, then this can be turned off:
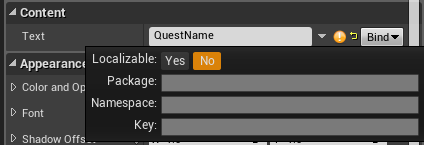
Turning on the Gather from text files switch will enable us to extract text from c ++ files. By default, the text will be extracted from ".h", ".cpp", ".ini". Naturally, the variables in these files should be defined as FText in c ++. This is done like this:
/* Top of File */ #define LOCTEXT_NAMESPACE "Your Namespace" ... FText TestHUDText = LOCTEXT( "Your Key", "Your Text" ) ... #undef LOCTEXT_NAMESPACE /* Bottom of File */ or so
FText TestHUDText = NSLOCTEXT( "Your Namespace", "Your Key", "Your Text" ) By turning on the Gather from Packages switch, the Unreal engine will extract text from assets. The default is ".uasset" and ".umap".
I looked like this:

Now you can click the “Gather text” button and the Unreal engine will create localization files. You can translate either directly into the Unreal engine or import a translation file and use the ".po" file editor. I used Poedit.
Important: After you complete the translation, do not forget to click the Compile Text button. And then the translation will not appear in the game.
To switch the text in the game, you can use the function:
void AHUD_StoryGraph::ChangeLocalization(FString target) { FInternationalization::Get().SetCurrentCulture(target); } As the target you need to substitute the abbreviations en - English, ru - Russian and so on.
Important: To see the transfer, the game must be launched in the Standalon Game mode, if you run it in the export, you will not see the transfer.
When packing the game, go to the Project setting → Packing and select Include prerequisites, select the languages that you will include in the game and change the Intarnacialization support option from English only to All.

Actually everything, now you can localize your game into all languages of the world.
Here is an example
Source: https://habr.com/ru/post/318602/
All Articles