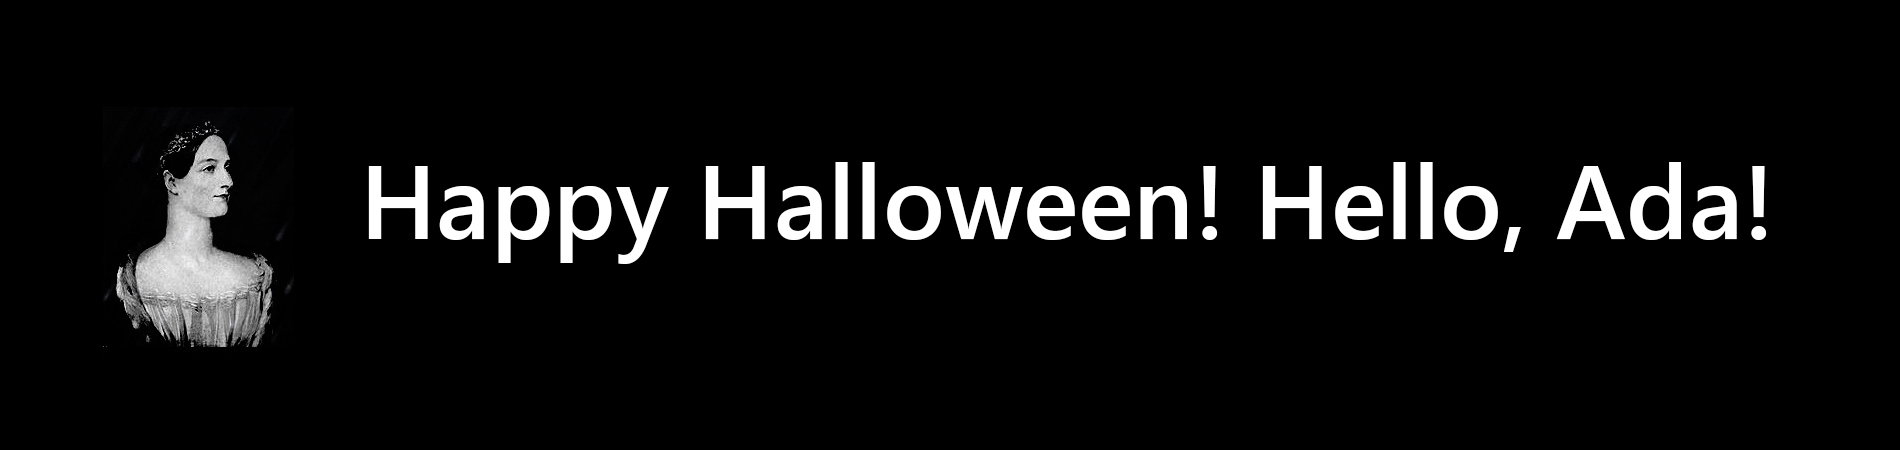
Happy Halloween! Hello ada
Today is Halloween ! It is believed that this is the day when the souls of the deceased freely travel the world of the living. Just today, hurry to get acquainted with the spirit of Ada Lovelace - the first programmer in history, who after centuries gained a new life in Telegram . This was made possible thanks to my two colleagues who spent a sleepless night, recreating the virtual image of Ada through quotations and historical texts. For those who want to similarly revive someone from other historical characters, we have prepared detailed instructions on how to create a bot using the Microsoft Bot Framework and wit.ai , which you will find under the cut.
We have already written about how to start developing your bot on the Microsoft Bot Framework. Since then, the version of the Bot Framework has been slightly updated, but the principles remain the same. However, the last time we left outside the article the most important question - how to write an intelligent bot that can communicate in natural language.
To do this, we need to learn how to first recognize the user's phrases, i.e. what exactly he wants to achieve. This user intent, which he expresses with his phrase, is called intent . Special tools, such as LUIS (included in Microsoft Cognitive Services ) or wit.ai , are used to isolate intents from the natural language. We already wrote about the use of LUIS, now we decided to integrate the bot with wit.ai.
')
First you need to register on the site wit.ai and create an application there.

Within the framework of the application, it is necessary to list all intents that we want to recognize in the dialogue. Intents can have a complex nature, various parameters (for example, the “know weather in a city” intensity can have a location and date as parameters), etc. However, in our case, for simplicity, we restrict ourselves to simple intents.

Further, it is necessary to train the logic of the bots, providing him with examples of phrases, and indicating which intent this or that phrase corresponds to. The more different phrases you give as examples, the better the bot will eventually understand your speech.
To create a bot you will need:
Next, create a new bot in Visual Studio: Visual Studio → File → New → Project → Templates → Visual C # → Bot Application.

Name: AdaBot → Ok.
In the created project, the simplest version of the bot has already been implemented, which repeats the entered phrases and prints their length. For the logic of the bot is responsible for the contents of the folder Controllers.
Run it in the emulator to make sure that everything works correctly:

To write a bot, it remains only to change a couple of lines responsible for forming the answer. In the
We need to instead recognize the user's intent and select in response one of the message options corresponding to this intent.
To set response options, add the

So you need to set several answer options for each intent, so that the bot will delight you with diversity.
To use the wit.ai API in our project, we will connect to it the corresponding package nuget Wit.ai.net . In Solution Explorer, we call the context menu for AdaBot -> Manage NuGet Packages -> Browse tab.

Next, you need to implement the logic of the bot. In the project's MessagesController.cs file, we include the namespaces:

To search for intent we use the following code:
We see that wit.ai returns us some probable intentions and their degree of reliability, so we go through them all and choose the most likely of all. By the way, there may not be any intents at all, then the intent variable remains an empty string, and the answer will be selected, which corresponds to an empty intent in our XML file.
Then it remains only to choose one of the possible answers corresponding to the found intent. For this we use LINQ:
Now, having received a new message, the bot will not be engaged in counting the number of characters in it, but in classifying intents and choosing an answer. In order for it to give the selected answer to incoming messages, we replace the lines:
on
Now the bot can talk! Of course, if you pre-trained him to recognize a large number of phrases, and asked a lot of answers.
Sample code you can find here , however, without all the variety of phrases and without a training sample for wit.ai. Let it be our know how.
If you want to talk on the eve of Halloween with the Ada Lovelace bot itself - use @Ada_Lovelace_Bot in the telegraph.
Happy holiday!
Disclaimer: The bot that is brought to your attention is a demonstration of how to create bots using the Bot Framework and Wit.ai, and does not claim to pass the Turing test or even the ability to support a complex conversation. Therefore, I suggest not to criticize the intelligence of the bot in the comments. In addition, the creation of this bot does not mean that we welcome and encourage various technologies of otherworldly communication.
We have already written about how to start developing your bot on the Microsoft Bot Framework. Since then, the version of the Bot Framework has been slightly updated, but the principles remain the same. However, the last time we left outside the article the most important question - how to write an intelligent bot that can communicate in natural language.
To do this, we need to learn how to first recognize the user's phrases, i.e. what exactly he wants to achieve. This user intent, which he expresses with his phrase, is called intent . Special tools, such as LUIS (included in Microsoft Cognitive Services ) or wit.ai , are used to isolate intents from the natural language. We already wrote about the use of LUIS, now we decided to integrate the bot with wit.ai.
')
Use wit.ai
First you need to register on the site wit.ai and create an application there.
Within the framework of the application, it is necessary to list all intents that we want to recognize in the dialogue. Intents can have a complex nature, various parameters (for example, the “know weather in a city” intensity can have a location and date as parameters), etc. However, in our case, for simplicity, we restrict ourselves to simple intents.
Further, it is necessary to train the logic of the bots, providing him with examples of phrases, and indicating which intent this or that phrase corresponds to. The more different phrases you give as examples, the better the bot will eventually understand your speech.
Create a bot in the bot framework
To create a bot you will need:
- Microsoft Visual Studio 2015 (with latest updates).
- Bot Application Template (you need to download this file and copy it, without unpacking , to% USERPROFILE% \ Documents \ Visual Studio 2015 \ Templates \ ProjectTemplates \ Visual C #).
- Bot Framework Channel Emulator .
Next, create a new bot in Visual Studio: Visual Studio → File → New → Project → Templates → Visual C # → Bot Application.
Name: AdaBot → Ok.
In the created project, the simplest version of the bot has already been implemented, which repeats the entered phrases and prints their length. For the logic of the bot is responsible for the contents of the folder Controllers.
Run it in the emulator to make sure that everything works correctly:
- Debug → Start Debugging (or F5 key), as a result of which a web page opens in the browser.
- Run the Bot Framework Channel Emulator if the Bot URL field is empty, copy the address of the previously opened web page into it and add “api / messages”.
- Type the text and send the bot.
- In response, we get a repetition of the sent phrase and the number of characters it consists of.
To write a bot, it remains only to change a couple of lines responsible for forming the answer. In the
public async Task<HttpResponseMessage> Post([FromBody]Activity activity) the lines are responsible for this: // calculate something for us to return int length = (activity.Text ?? string.Empty).Length; We need to instead recognize the user's intent and select in response one of the message options corresponding to this intent.
To set response options, add the
Responses.xml file to the application that has the following content: <Responses> <Response intent="greeting"> <Text>, !</Text> <Text> !</Text> <Text> .</Text> <Text> .</Text> <Text> !</Text> <Text> !</Text> <Text> !</Text> <Text> . .</Text> <Text> ?</Text> <Text> ?</Text> <Text>! !</Text> <Text> ?</Text> </Response> ... </Responses> So you need to set several answer options for each intent, so that the bot will delight you with diversity.
To use the wit.ai API in our project, we will connect to it the corresponding package nuget Wit.ai.net . In Solution Explorer, we call the context menu for AdaBot -> Manage NuGet Packages -> Browse tab.
Next, you need to implement the logic of the bot. In the project's MessagesController.cs file, we include the namespaces:
using com.valgut.libs.bots.Wit; using System.Text; using System.Xml.Linq; To search for intent we use the following code:
var wit = new WitClient("YOUR WIT SERVER ACCESS TOKEN"); var msg = wit.Converse(activity.From.Id, activity.Text); var intent = string.Empty; double conf = 0; try { var a = msg.entities["intent"]; if (a != null) { foreach (var z in msg.entities["intent"]) { if (z.confidence > conf) { conf = z.confidence; intent = z.value.ToString(); } } } } catch (System.Collections.Generic.KeyNotFoundException exc) { } We see that wit.ai returns us some probable intentions and their degree of reliability, so we go through them all and choose the most likely of all. By the way, there may not be any intents at all, then the intent variable remains an empty string, and the answer will be selected, which corresponds to an empty intent in our XML file.
Then it remains only to choose one of the possible answers corresponding to the found intent. For this we use LINQ:
string res = " ..."; var doc = XDocument.Load(System.Web.HttpContext.Current.Request.MapPath("~/Responses.xml")); var r = (from x in doc.Descendants("Response") where x.Attribute("intent").Value == intent select x).FirstOrDefault(); if (r!=null) { var arr = (from x in r.Descendants("Text") select x.Value).ToArray(); if (arr!=null && arr.Length>0) { var rnd = new Random(); res = arr[rnd.Next(0, arr.Length)]; } } Now, having received a new message, the bot will not be engaged in counting the number of characters in it, but in classifying intents and choosing an answer. In order for it to give the selected answer to incoming messages, we replace the lines:
// return our reply to the user Activity reply = activity.CreateReply($"You sent {activity.Text} which was {length} characters"); on
Activity reply = activity.CreateReply(res); Now the bot can talk! Of course, if you pre-trained him to recognize a large number of phrases, and asked a lot of answers.
Sample code you can find here , however, without all the variety of phrases and without a training sample for wit.ai. Let it be our know how.
If you want to talk on the eve of Halloween with the Ada Lovelace bot itself - use @Ada_Lovelace_Bot in the telegraph.
Happy holiday!
Source: https://habr.com/ru/post/313992/
All Articles