Barrier control with Arduino UNO and 433 MHz radio transmitter
Hello! I have car parking at work. Of course, the purpose of this article is not bragging, given the difficult situation on the roads with parking spaces, and not the PR of my management that they care about their employees (I won’t even mention their place of work!), This is not the case. The bottom line is that it prevents any other person who has no relation to my place of work from parking in this parking lot? And this is a barrier that restricts entry and exit from this parking lot.
And as in many organizations, the entrance to my company is carried out on ordinary passes, in order to control me and everyone else. Well, the entrance to the parking lot was also done for the same passes. That is, you drive up to the parking lot, bring the pass to the reader, it works, the barrier opens (closes automatically), you stop by and that's it. So they thought. But my hobby for electronics and natural laziness (this is because every time you drive up, open the window, pull out your hand, close the window, and if it rains, and if it's cold) went against the system.
So, more to the point. First of all, I learned that the barrier turned out to be a rather popular firm Nice and began to look for information about it. However, despite the popularity of the manufacturer’s company, there was very little information about its code formats. It turned out that there are 12-bit and 24-bit code formats. 12-bit more ancient, 24-bit - more modern. Since I know that the barrier at work has been standing for a long time, I decided to start with 12-bit codes (later I guessed). And so the data packet consists of 12 bits. Before the 12-bit code is the so-called "pilot period" and "starting impulse." The “pilot period” consists of 36 low-level intervals, the “starting impulse” consists of 1 high-level interval. One data packet consists of a “pilot period”, followed by a “starting impulse”, and a 12-bit code behind it (its own for each barrier). Barrier consoles transmit 4 data packets at once, but I delivered more, since so many devices operate at this frequency (in particular, car alarms) and interference is possible. Pulse widths for Nice barriers:
Since neither I nor anyone have any remotes from this barrier (in such a case, the signal from the actual console could simply be considered), then the true code will have to be guessing by enumerating all possible options, and 4096.
')
With what, in general, all this can be implemented? My recent fascination with the Arduino platforms did not let me reflect on this issue for a long time.
List of components:
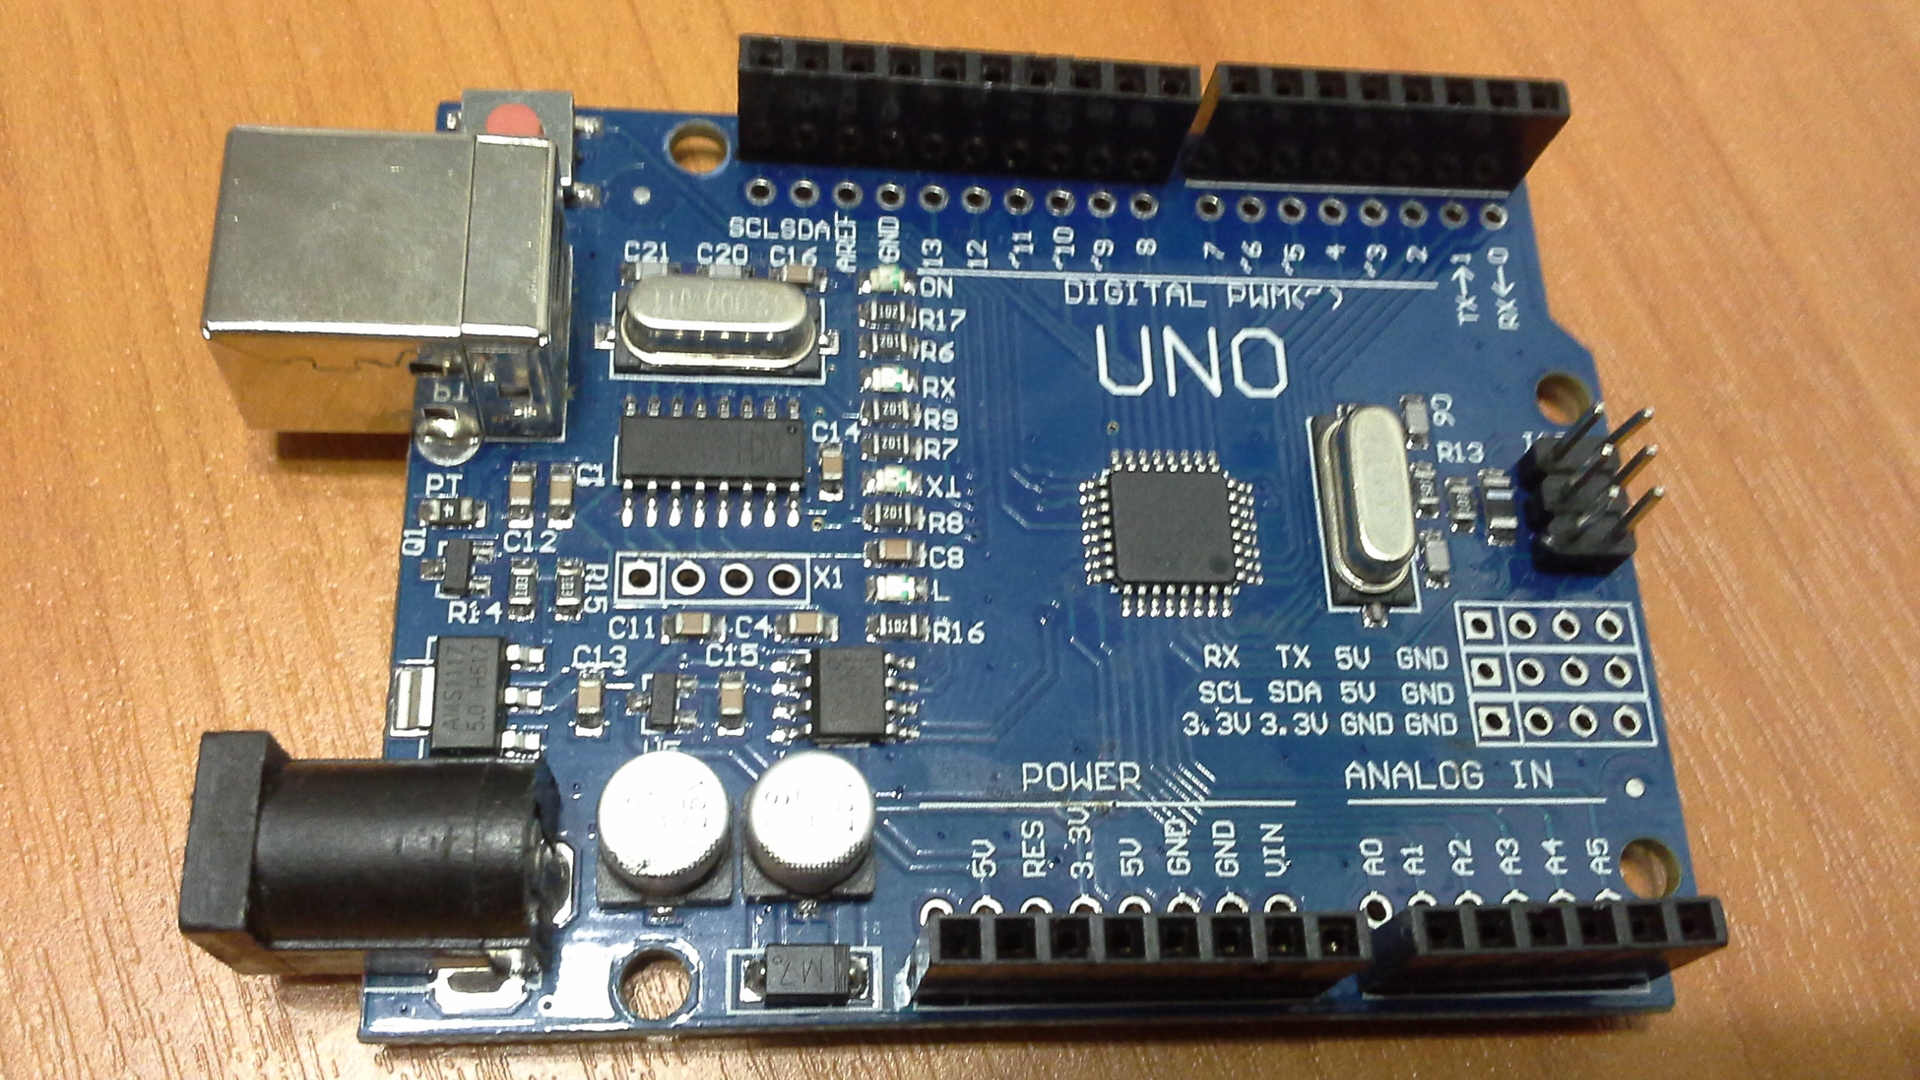
1. Arduino Uno,
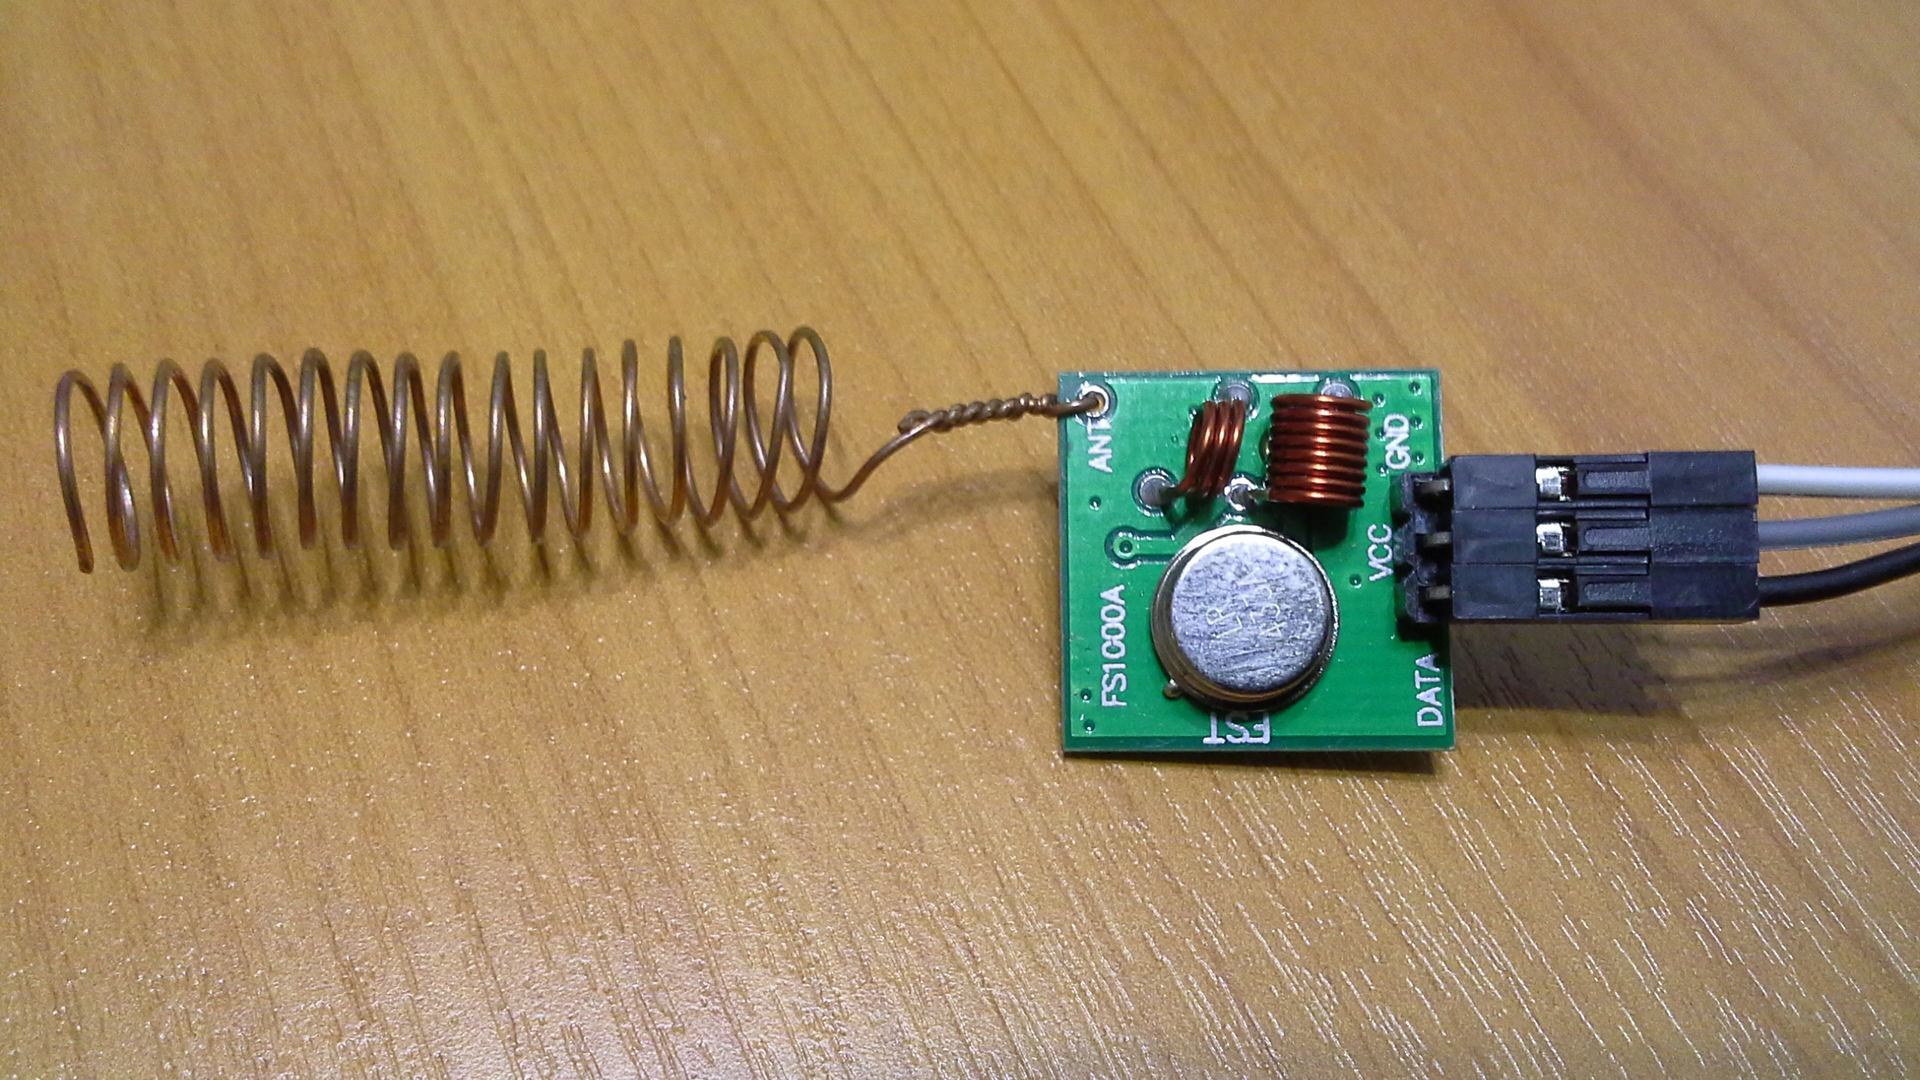
2. Radio transmitter 433 MHz, homemade antenna to it,
3. Battery 9 volts, in the people "Krona".
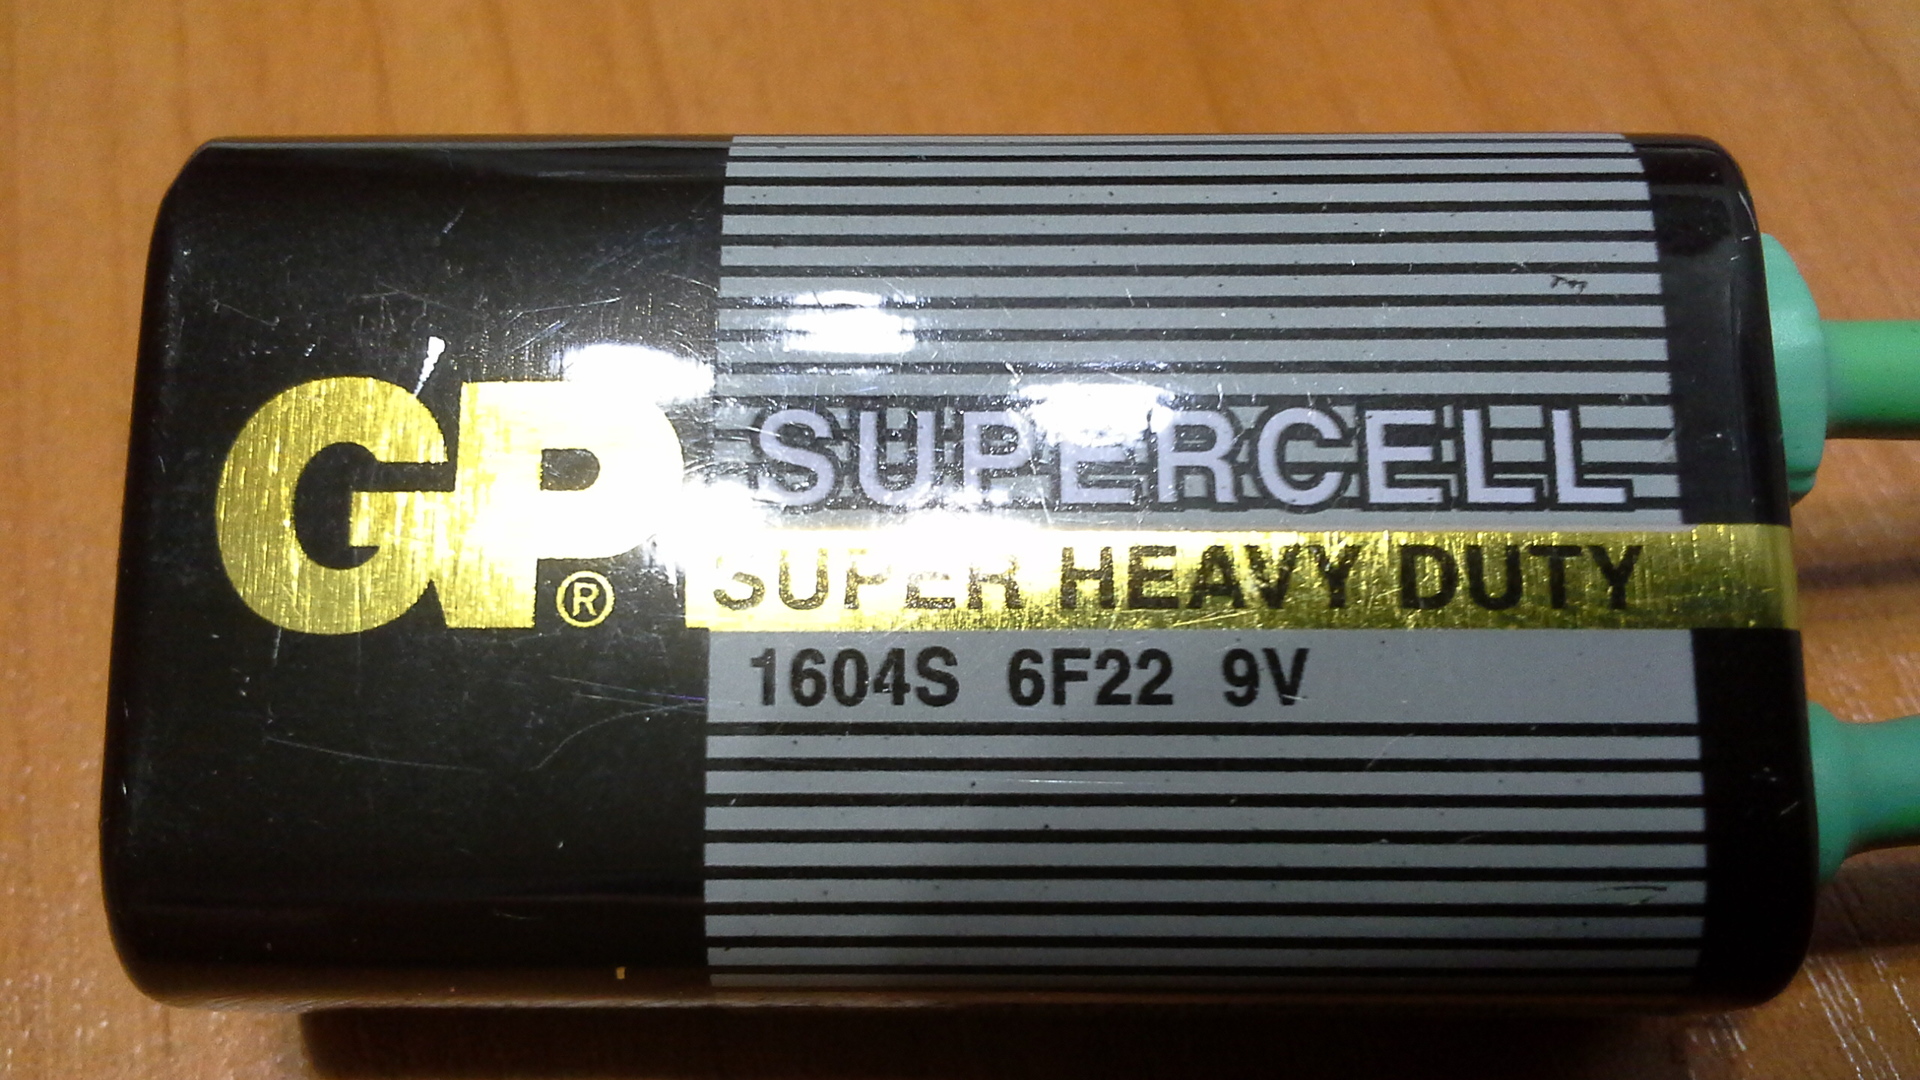
These radio transmitters in famous Chinese stores are sold very cheaply (about 50 rubles), together with radio receivers. They are very simple, three contacts: power, ground and signal contact. Power from 5 to 12 volts, the higher the supply voltage, the better the range. Actually for this reason, was selected 9 volt battery. The recommended Arduino Uno supply voltage is from 7 to 12 volts (Vin contact), so the “Krona” is quite suitable. Also, the range of the radio transmitter depends on the presence of the antenna (without it, the range will be about 1 meter). The whole set cost about 300 rubles.
Here, actually, and the sketch for Arduino Uno:
The enumeration of all possible options took about 1 week, taking into account one exit per day to the barrier. The method of quick selection of the correct code was very simple. Using the micros () command, I determined the time of transmission of one code. He was about 0.25 seconds. The total enumeration of all options is about 17 minutes In front of the barrier, launched the Arduino and timed it. Somewhere at 12.5 minutes the barrier opened. Based on this, I immediately dropped the first 2,800 options. And so on. When there are about 30 options left, after each data transfer I set a delay of 1 second. Since I installed the data transfer contact 13th (with LED), every moment of transmission was visible, I counted and determined the exact code.
That's all! As a demo video autopsy:
Thanks for attention!
And as in many organizations, the entrance to my company is carried out on ordinary passes, in order to control me and everyone else. Well, the entrance to the parking lot was also done for the same passes. That is, you drive up to the parking lot, bring the pass to the reader, it works, the barrier opens (closes automatically), you stop by and that's it. So they thought. But my hobby for electronics and natural laziness (this is because every time you drive up, open the window, pull out your hand, close the window, and if it rains, and if it's cold) went against the system.
So, more to the point. First of all, I learned that the barrier turned out to be a rather popular firm Nice and began to look for information about it. However, despite the popularity of the manufacturer’s company, there was very little information about its code formats. It turned out that there are 12-bit and 24-bit code formats. 12-bit more ancient, 24-bit - more modern. Since I know that the barrier at work has been standing for a long time, I decided to start with 12-bit codes (later I guessed). And so the data packet consists of 12 bits. Before the 12-bit code is the so-called "pilot period" and "starting impulse." The “pilot period” consists of 36 low-level intervals, the “starting impulse” consists of 1 high-level interval. One data packet consists of a “pilot period”, followed by a “starting impulse”, and a 12-bit code behind it (its own for each barrier). Barrier consoles transmit 4 data packets at once, but I delivered more, since so many devices operate at this frequency (in particular, car alarms) and interference is possible. Pulse widths for Nice barriers:
- Logical "1" - 1400 μs low level (two intervals) and 700 μs high (one interval)
- The logical "0" is 700 μs low (one interval) and 1400 μs high (one interval)
- “Pilot period” - 25200 µs (36 intervals)
- “Start pulse” - 700 µs (1 interval)
Since neither I nor anyone have any remotes from this barrier (in such a case, the signal from the actual console could simply be considered), then the true code will have to be guessing by enumerating all possible options, and 4096.
')
With what, in general, all this can be implemented? My recent fascination with the Arduino platforms did not let me reflect on this issue for a long time.
List of components:
1. Arduino Uno,
2. Radio transmitter 433 MHz, homemade antenna to it,
3. Battery 9 volts, in the people "Krona".
These radio transmitters in famous Chinese stores are sold very cheaply (about 50 rubles), together with radio receivers. They are very simple, three contacts: power, ground and signal contact. Power from 5 to 12 volts, the higher the supply voltage, the better the range. Actually for this reason, was selected 9 volt battery. The recommended Arduino Uno supply voltage is from 7 to 12 volts (Vin contact), so the “Krona” is quite suitable. Also, the range of the radio transmitter depends on the presence of the antenna (without it, the range will be about 1 meter). The whole set cost about 300 rubles.
Here, actually, and the sketch for Arduino Uno:
int send_code_pin = 13; //int send_code = 3061; void setup() { pinMode(send_code_pin, OUTPUT); } void loop () { for (int send_code = 0; send_code < 4096; send_code++) // { for (int j = 0; j <7; j++) // 4-, - 7 { digitalWrite(send_code_pin, HIGH); // delayMicroseconds(700); digitalWrite(send_code_pin, LOW); for (int i = 12; i > 0; i--) { boolean bit_code = bitRead(send_code, i - 1); if (bit_code) { digitalWrite(send_code_pin, LOW); // delayMicroseconds(1400); digitalWrite(send_code_pin, HIGH); delayMicroseconds(700); } else { digitalWrite(send_code_pin, LOW); // delayMicroseconds(700); digitalWrite(send_code_pin, HIGH); delayMicroseconds(1400); } } digitalWrite(send_code_pin, LOW); // delayMicroseconds(25200); } } //delay(10000); } The enumeration of all possible options took about 1 week, taking into account one exit per day to the barrier. The method of quick selection of the correct code was very simple. Using the micros () command, I determined the time of transmission of one code. He was about 0.25 seconds. The total enumeration of all options is about 17 minutes In front of the barrier, launched the Arduino and timed it. Somewhere at 12.5 minutes the barrier opened. Based on this, I immediately dropped the first 2,800 options. And so on. When there are about 30 options left, after each data transfer I set a delay of 1 second. Since I installed the data transfer contact 13th (with LED), every moment of transmission was visible, I counted and determined the exact code.
That's all! As a demo video autopsy:
Thanks for attention!
Source: https://habr.com/ru/post/311818/
All Articles