Testing Huawei KunLun in Moscow. Installation
In the spring, we were promised the opportunity to test the Huawei KunLun server in Moscow. In this short article I will talk about the first (preparatory) phase of testing KunLun at our customer - the installation of iron.
Next - a lot of photos.
We got acquainted with Huawei KunLun in “Jet” last winter, even before its official announcement. The server itself was located in China, and we remotely conducted its initial testing .
')
Preparation for reception
You can not just take and put KunLun in your server room. When ordering, Huawei server sends a checklist with a list of placement requirements. It allows you to check all the way from the truck body to the rack in the server room: unloading and unpacking sites, stand requirements (including food and heat dissipation), as well as the possibility of passing the cabinet through elevators, ramps, doors and steps without harm to equipment and premises.
If it is impossible to overcome one of the sections due to size, weight, or requirements for maximum inclination, you can order unassembled delivery with assembly already in the server room (which was done). Strong assembly engineers and translator from “Chinese English” are attached.
Delivery
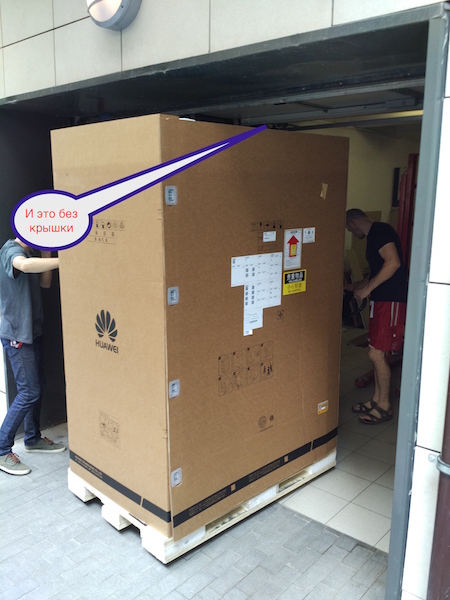
The quality of photos leaves much to be desired, but this is the order of things.
KunLun arrived on the truck in a disassembled form (stand-skeleton separately, filling separately).
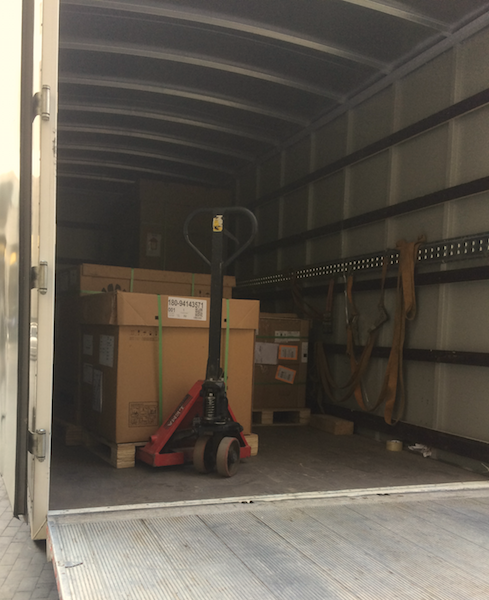
The check list is filled in vain. To be sure, they even had to remove the cover from the packaging.
Inside the package, in addition to the rack, there is a ramp, on which it moves down from the pallet.

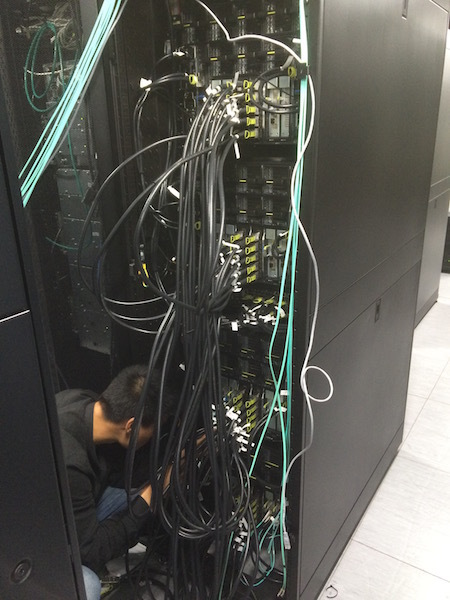
After descending to the floor under the supervision of the wardrobe, the wardrobe went to overcome obstacles on the way to its sturdy place.

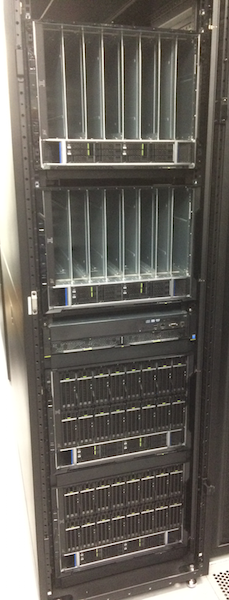
Finally, the KunLun skeleton took its place in the server room.
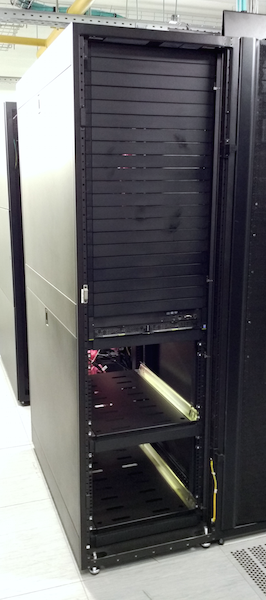
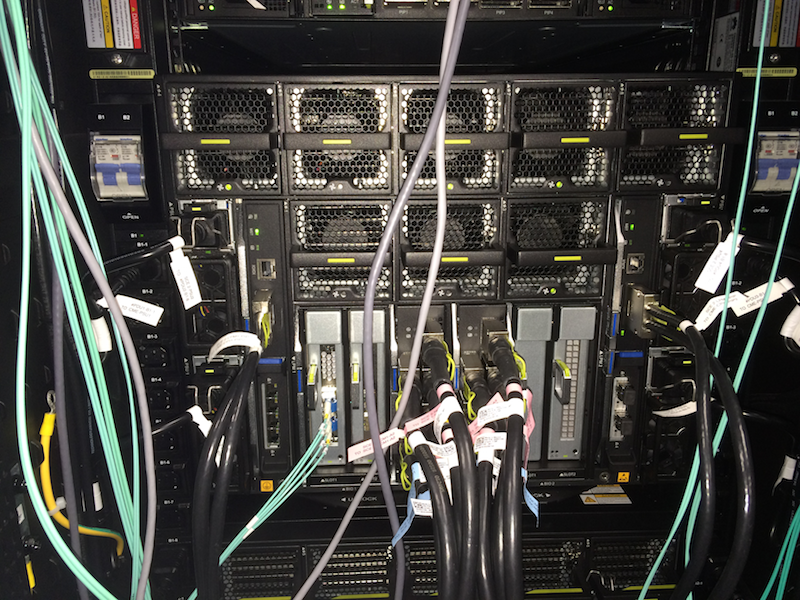
Interestingly, the server management module has already been installed in the rack and even a little connected. Let's start with it.
An interface module is located on the front top, from which you can connect to server partitions, and everything else (USB, COM, VGA and external control port) belongs to the management module. Below are duplicated modules of the management console itself.
The interface module is separate from the server.
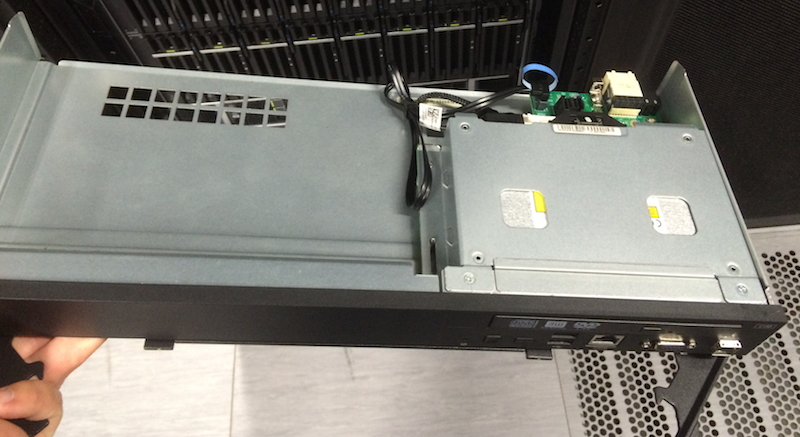
And the duplicated control module itself.

Assembly
In the maximum configuration, KunLun consists of four eight-processor chassis connected together. Since the half-configuration first arrived (model 9016), there were two such chassis and they were first put in place.

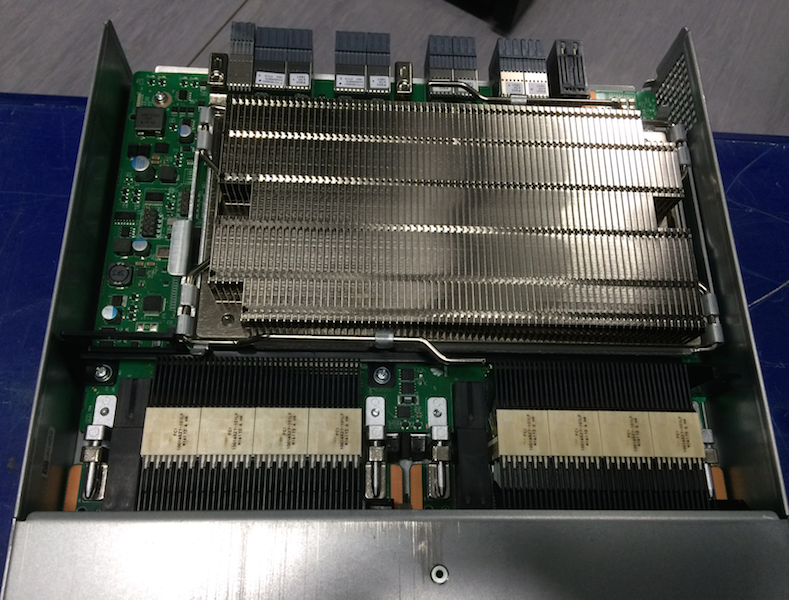
Each processor module (installed in the vertical slot) is combined with 24 memory modules. You can withdraw from the server as an entire assembly, and sets of memory modules of 12 pcs.
A set of memory modules.

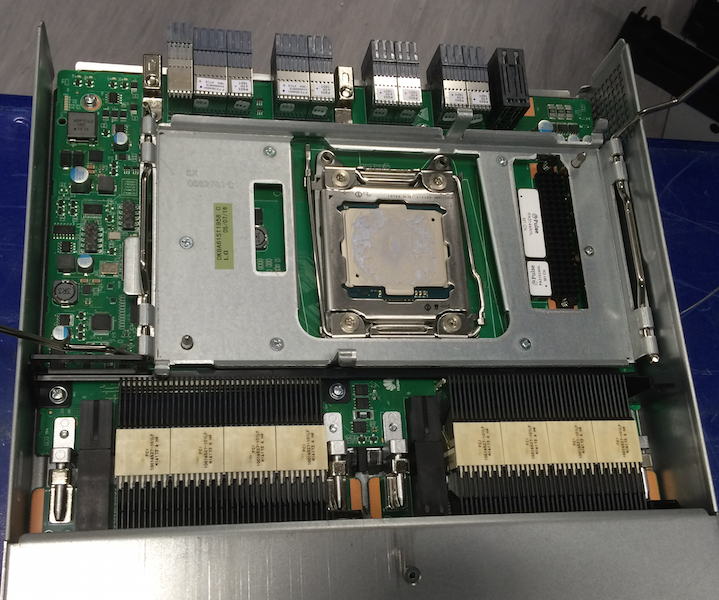
In the back of the processor board under the huge radiator hides the processor.
And here is the processor itself without a radiator.
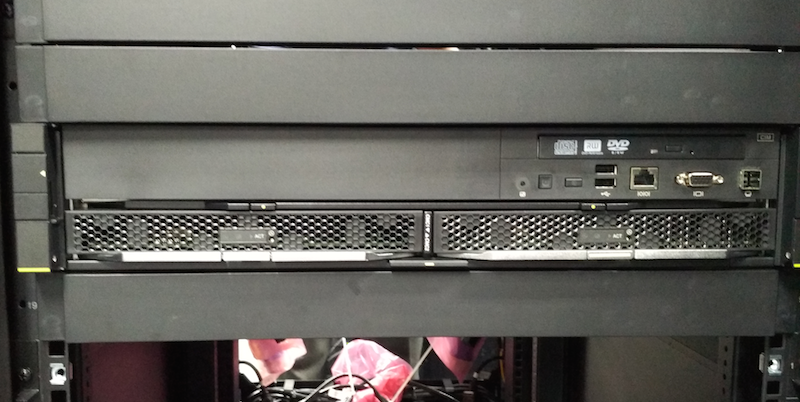
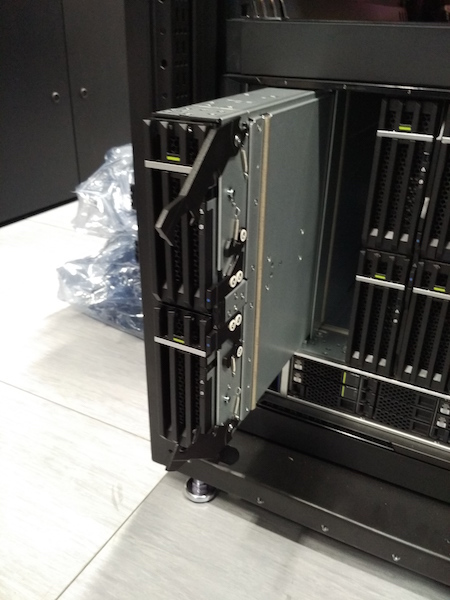
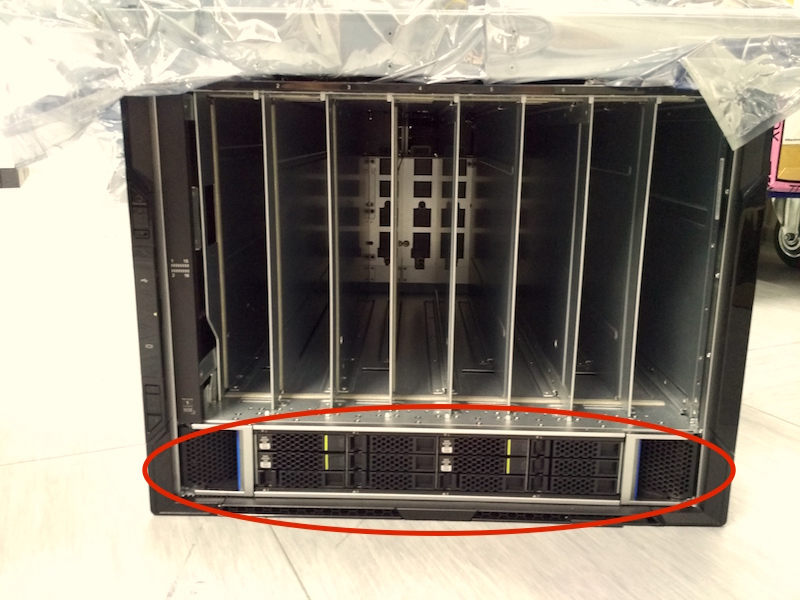
In addition to the processor modules, a frontal I / O module is installed in front of the processor chassis. It contains up to 12 2.5 ”drives, RAID controllers and PCI connectors with no possibility of cables leading out (for SSD drives, for example, or GPUs for use as accelerators).
When the assembly of the 16-processor configuration was completed, two more processor chassis were brought.
As well as the power distribution module with clear instructions)
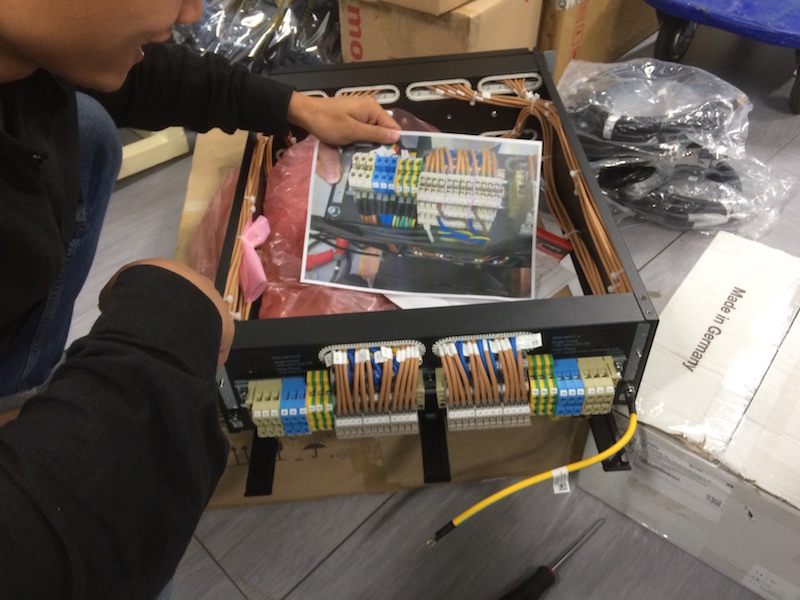
It is the front rack mounted (16A switches for each of the 24 power pins).

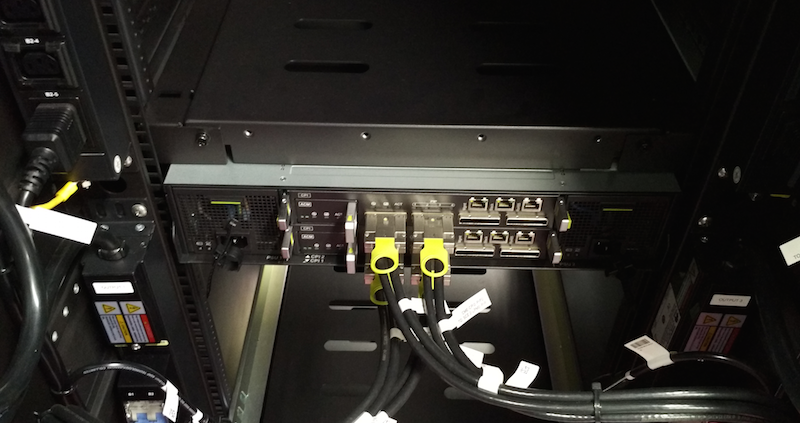
View of the processor chassis rear. Fans, power supplies, I / O ports, and most importantly, NUMA-interconnect ports for communication with other chassis (two boards with nine ports in the center of each).
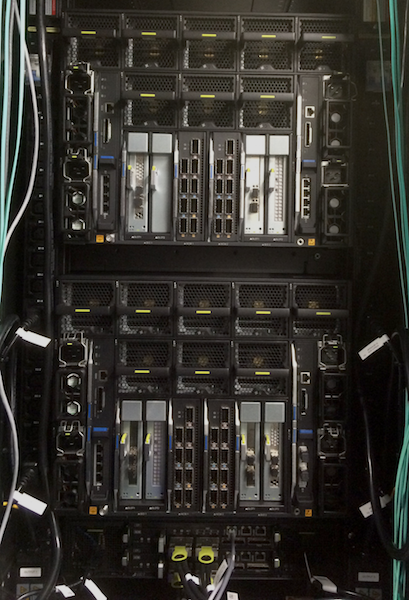
There are also PCI slots with the ability to bring cables out and hot-swappable PCI devices (optional).

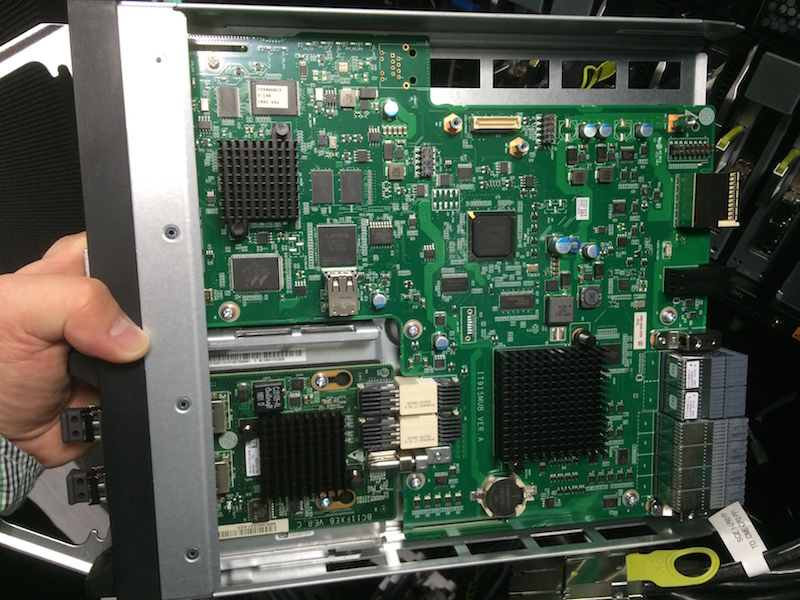
And here is, in fact, a motherboard without a processor and memory, combined with a built-in network adapter. Such cards in KunLun can be up to 8 pieces (2 for each processor chassis), which limits the maximum number of partitions - 8 to 4 processors.
Now it remains only to combine all the chassis into one system. At first, so.
Then so.
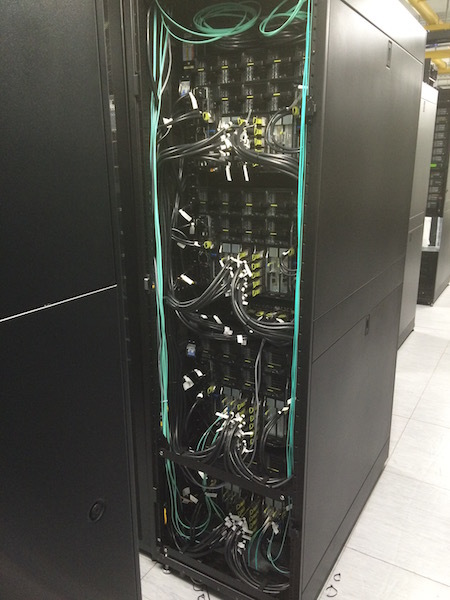
We put noise insulating doors, rather than cluttering up the “cold corridor”.

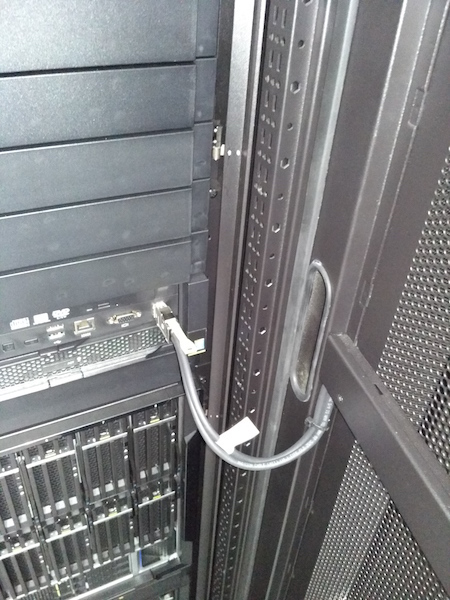
And connect them to the control module.
Power On!
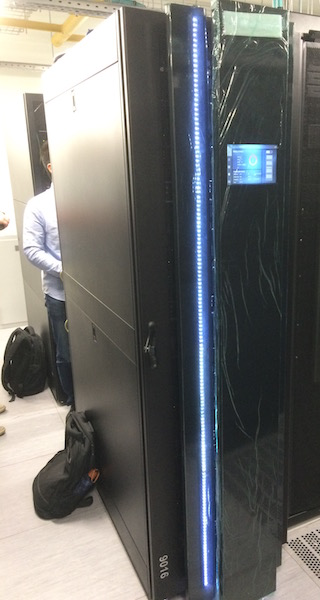
The screen is a touchscreen running the Android OS, through which you can interact with the server without the need to open the doors of a rack or a network connection.
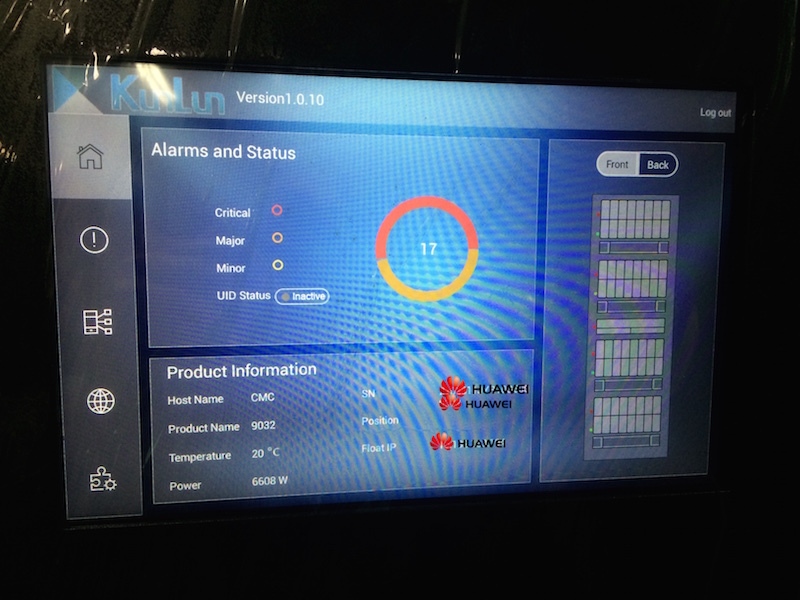
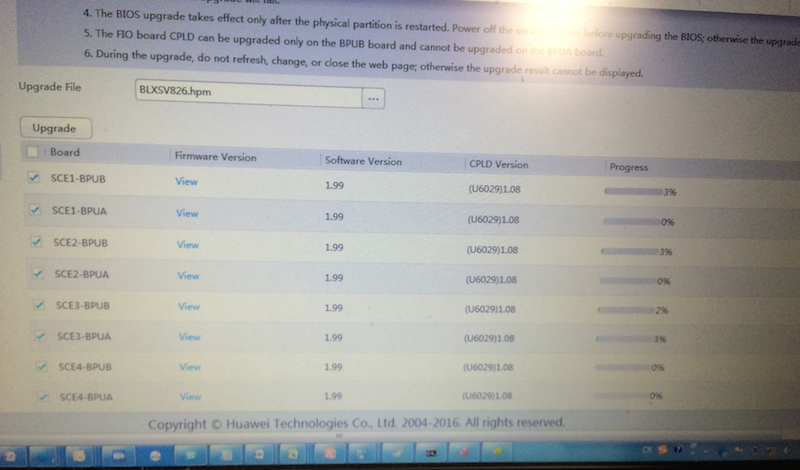
After switching on, all internal microcodes are updated, incl. BIOS. The server is preparing to install the OS.
That's all. We will try to tell about the testing itself in our next posts (stay tuned).
Source: https://habr.com/ru/post/311182/
All Articles