Canvas Gauges 2.0

Greetings In today's post, I want to tell you about updating my instrument library to version 2 and about all the changes that are now available to the public.
As before, the OpenSource library is distributed under the MIT license , so take, use and, in general, give what you want without any restrictions.
What's new?
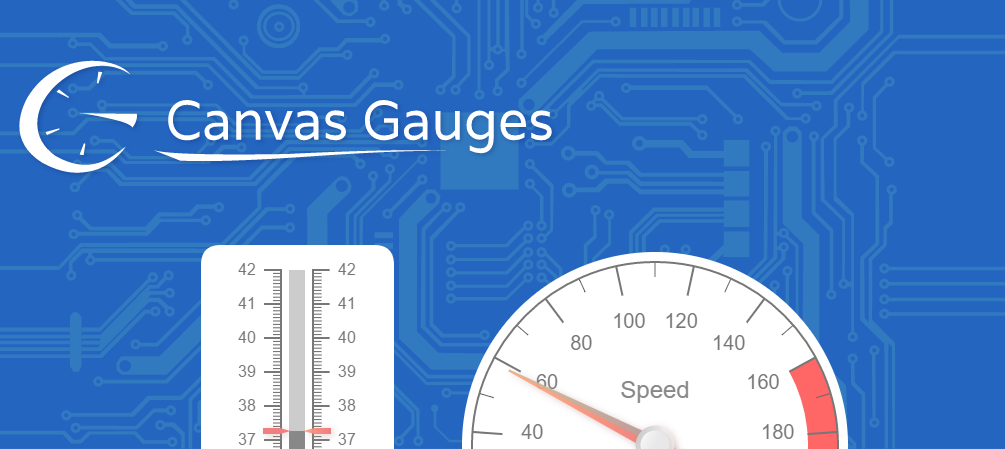
- Added new device type - LinearGauge. Examples This view will help realize all kinds of thermometers, load indicators and the like.
- The code was completely refactored and irreversible changes were made in the library API. If someone used library earlier, do not forget to glance in the guide to migration .
- Devices are now full-fledged web components.
- Added support for async library code uploads to the page.
- Now the distribution is distributed via NPM, however bower is still supported.
- Improved documentation .
- Fixed numerous errors and inaccuracies in the work of the library.
- Implemented some improvements in the work, in particular those requested by users. For example, RadialGauge can now animate either the hand or the dial to choose from. This can be a good solution, for example, when building compasses .
In general, the library received a large, high-quality update. Only the library philosophy remained unchanged - the minimum code, the absence of any dependencies. From this point of view, the library should be suitable for those who are looking for a minimum code base in their decisions. For example, this may be relevant for building web interfaces to various IoT devices. In addition, the library is also available through the CDN, so if you have constant access to the Internet, you can completely refuse from locating its code.
In addition, the library comes with minimal packages. For example, if you need only one type of instrument, you can install only it (or refer only to it). For details, see the library download page.
Well, of course, then I will give a few recipes for use.
How to cook?
In the basic version, it is enough just to connect the library to the page and in the right place insert the necessary component of the device:
<!doctype html> <html> <head> <title> </title> <!-- , , --> <script async src="gauge.min.js"></script> </head> <body> <h2>RadialGauge</h2> <canvas data-type="radial-gauge" data-width="400" data-height="400" ></canvas> <h2>LinearGauge</h2> <canvas data-type="linear-gauge" data-width="120" data-height="400" ></canvas> </body> </html> Devices are components with a vast number of customization options. It is enough to prescribe the necessary attributes to get the appearance and function of the device that you need. All available configuration options can be found on this page.
Of course, in actual development, it may be necessary to assemble all the scripts on the page into one file. This library works great with build systems that support CommonJS, so this task is easy. Just put the devices through NPM and use require:
$ npm install canvas-gauges require('canvas-gauges'); Naturally, the devices are designed and designed to work in browsers. You will also have access to the device initialization method via a script, for example:
require('canvas-gauges'); var gauge = new RadialGauge({ renderTo: document.createElement('canvas'), width: 300, height: 300 }).draw(); document.body.appendChild(gauge); gauge.value = 55.3; gauge.update({ width: 400, height: 400 }); // ... Canvas Gauges support TypeScript (via DefinitelyTyped), but they do not require any specific actions when integrating with any frameworks, since they themselves are full-fledged web components. Therefore, they are easily friendly, for example, with Angular and Angular2.
If you want to use canvas-gauges with TypeScript, just install the necessary taipings:
- for TypeScript v <2
typings install --save --global --source=dt canvas-gauges - for TypeScript> = 2
npm install @types/canvas-gauges
Also, do not forget to look at the advanced usage tips page, where some tips are given on specific use or specific customization of devices.
And look at the page with examples to get a general idea of the possibilities of customization of devices. Although there are certainly more possibilities than you will find in the examples, it’s just physically difficult for me to demonstrate them all :)
Thanks
I would like to thank Lohika for helping with the development of this library, as well as SauceLabs for the possibility of free testing, and, of course, a wonderful community of contributors .
PS If you like this library and you want to thank the author - just put a star on the githaba, forknit the repository and tell the library to your friends.
')
Source: https://habr.com/ru/post/310946/
All Articles