Creating a project in Adobe Captivate in stages using the example of an on-board computer model for a live-action role-playing game.
This article provides a consistent description of the work in Adobe Captivate using the example of developing an “on-board computer model” for a live-action role-playing game: creating a project, selecting and adding objects, setting buttons, adding input fields, and so on.
To work in Adobe Captivate, you must install the demo version for 30 days by downloading the software from the corresponding site.
* or version of Adobe Captivate 6 can be found on the World Wide Web.
To create a new project, you must perform the following steps:
To publish a created project, for example, in the format * .exe, you must perform the following steps:
The project will be published in * .exe format and ready for battle!
To work in Adobe Captivate, you must install the demo version for 30 days by downloading the software from the corresponding site.
Project creation
To create a new project, you must perform the following steps:
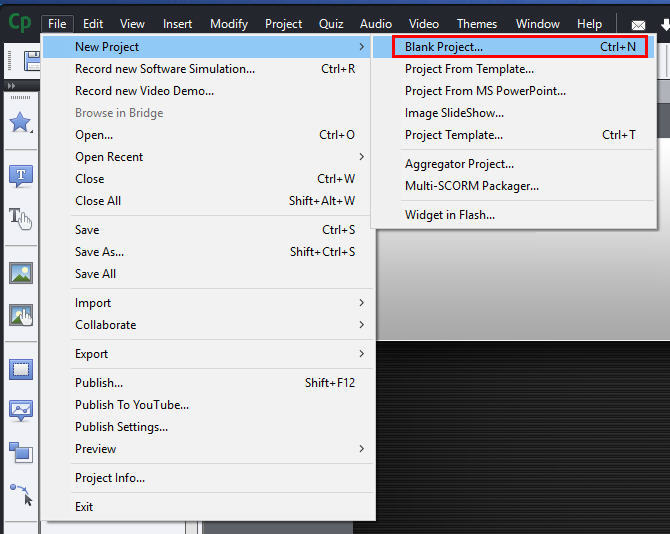
- Open the "File" menu.
- Select "New Project": "Blank Project".
')
- Set the height and width of the new project in the New Blank Project window.
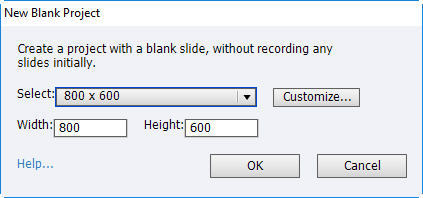
- Choose a design style.
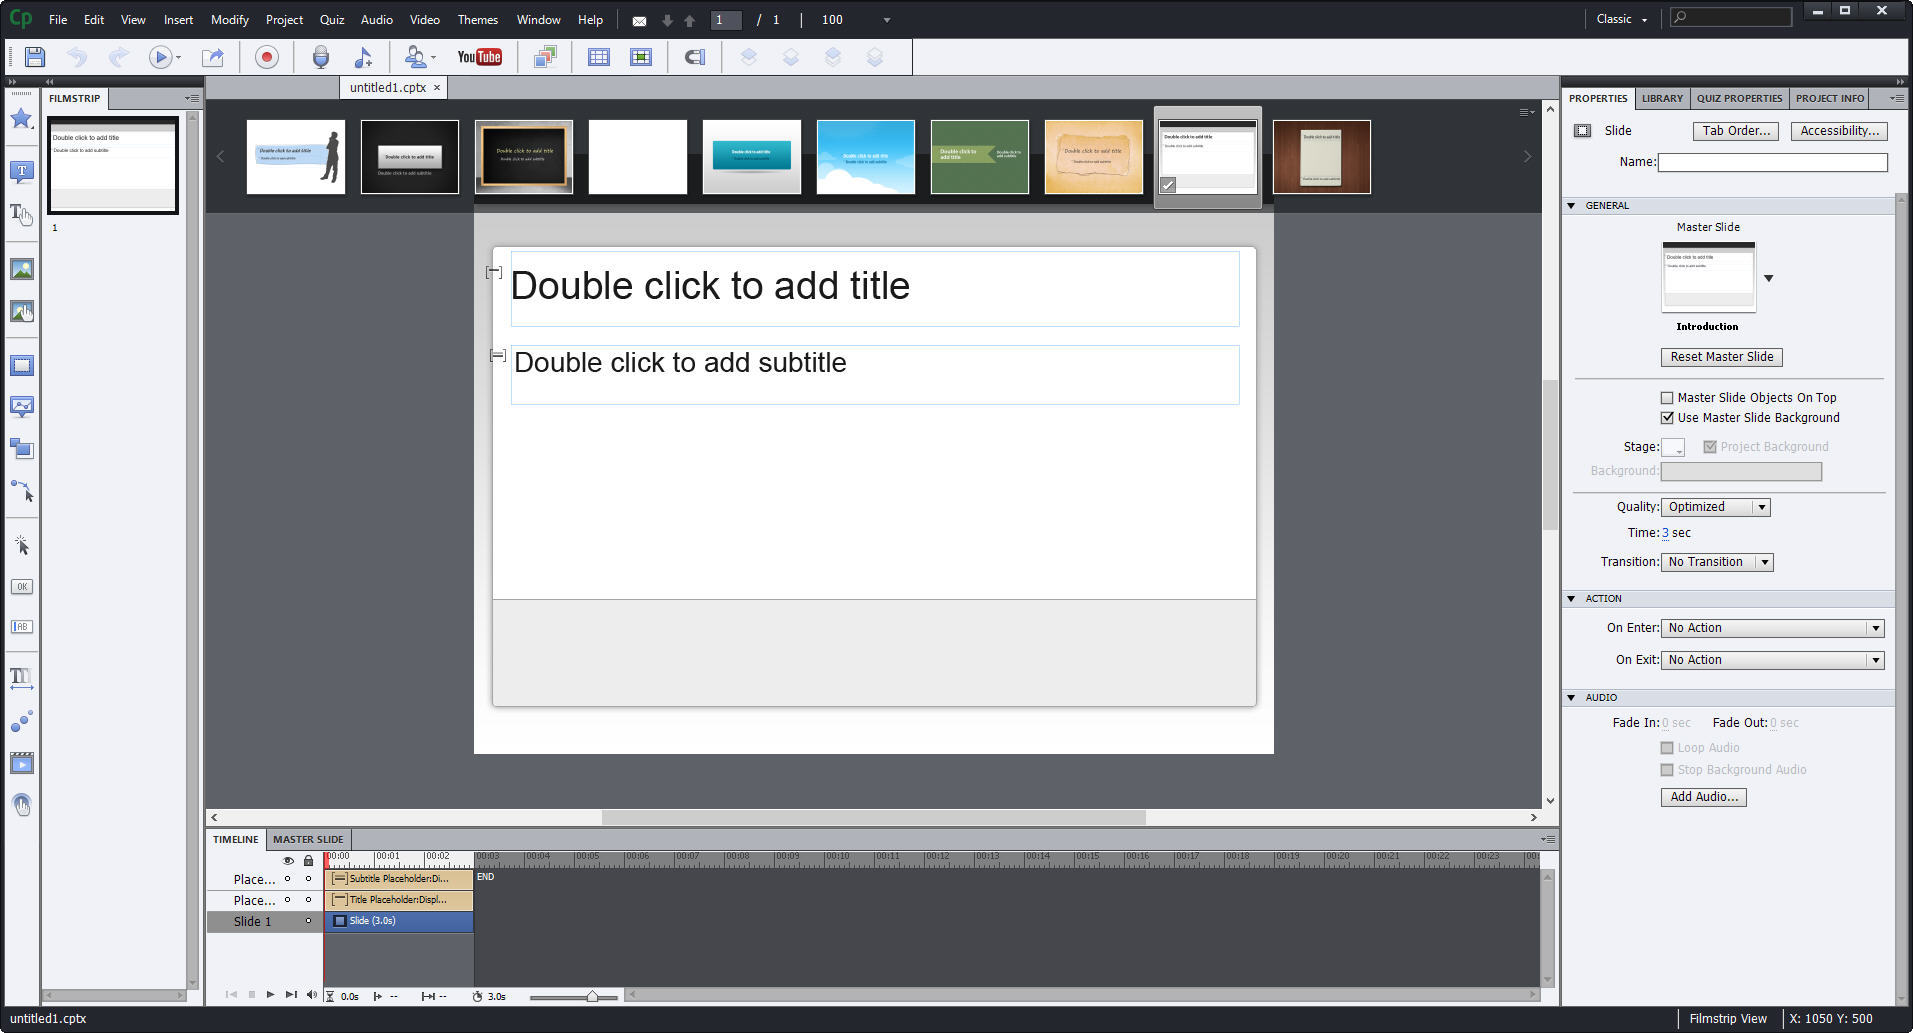
- To add a label, click on the “Insert Text Caption” icon on the left action bar, or go to the “Insert” menu: “Standard Objects”: “Text Caption”.
- To add an input field, click on the “Insert Text Entry Box” icon on the left action bar, or go to the “Insert” menu: “Standard Objects”: “Text Entry Box”.
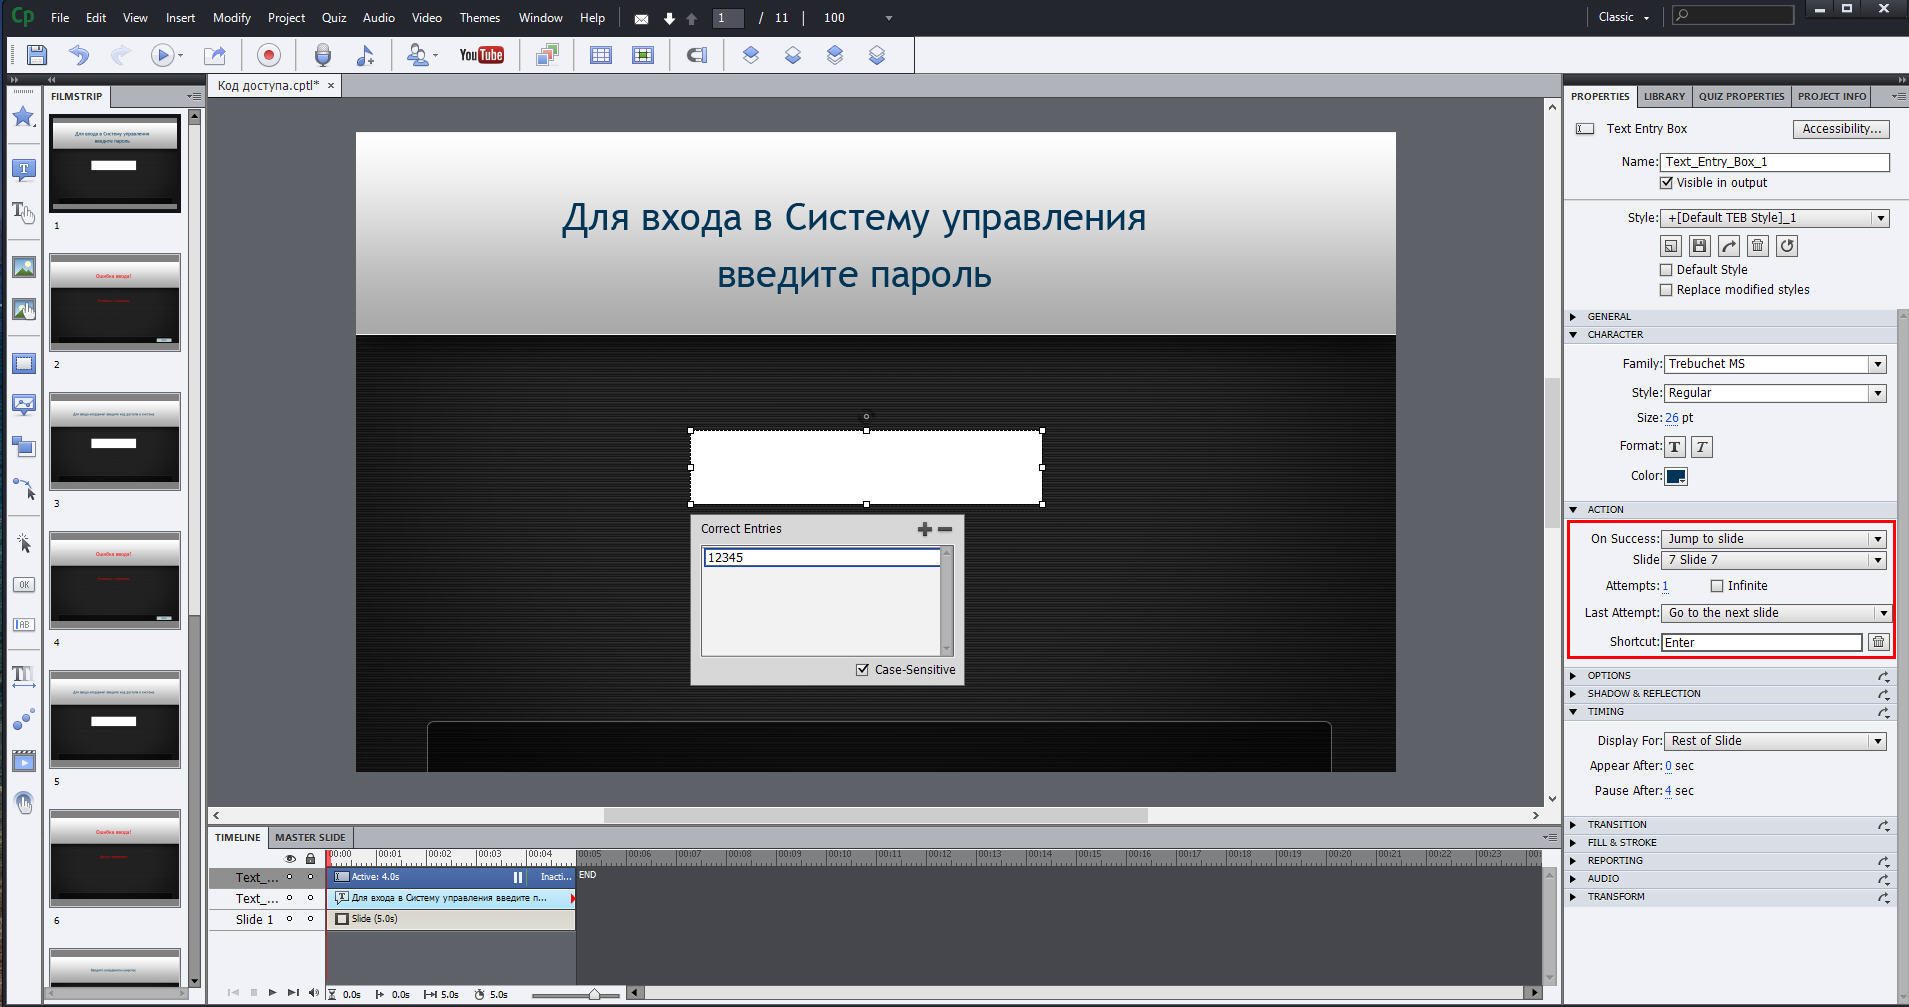
- In the section on the right on the “Properties” tab, objects are made, for example, in the “Action” block, you can set transitions to different slides after confirming the entry (in the Shortcut field, specify the Enter key with the answer key).
For example, in the drop-down list “On Success” you can set the action “Jump to slide” and the slide number with the continuation of the quest (you can set the number of attempts in the Attempts field).
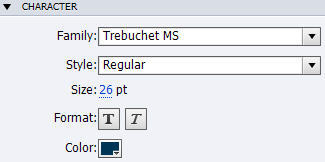
In the block "Character":- Family field - allows you to select the font of the text of the inscription;
- drop-down list Style - allows you to choose the style of the text of the inscription;
- Size field - allows you to select the size of the text label;
- Format field - allows you to select a text format;
- Color field - allows you to select the text color of the text;
- field Highlight - allows you to select a color to highlight the text of the inscription.
- In order for the game to continue, 3 attempts were made to enter a password. In the case of failure at the first attempt, a transition was made to a slide of this type.
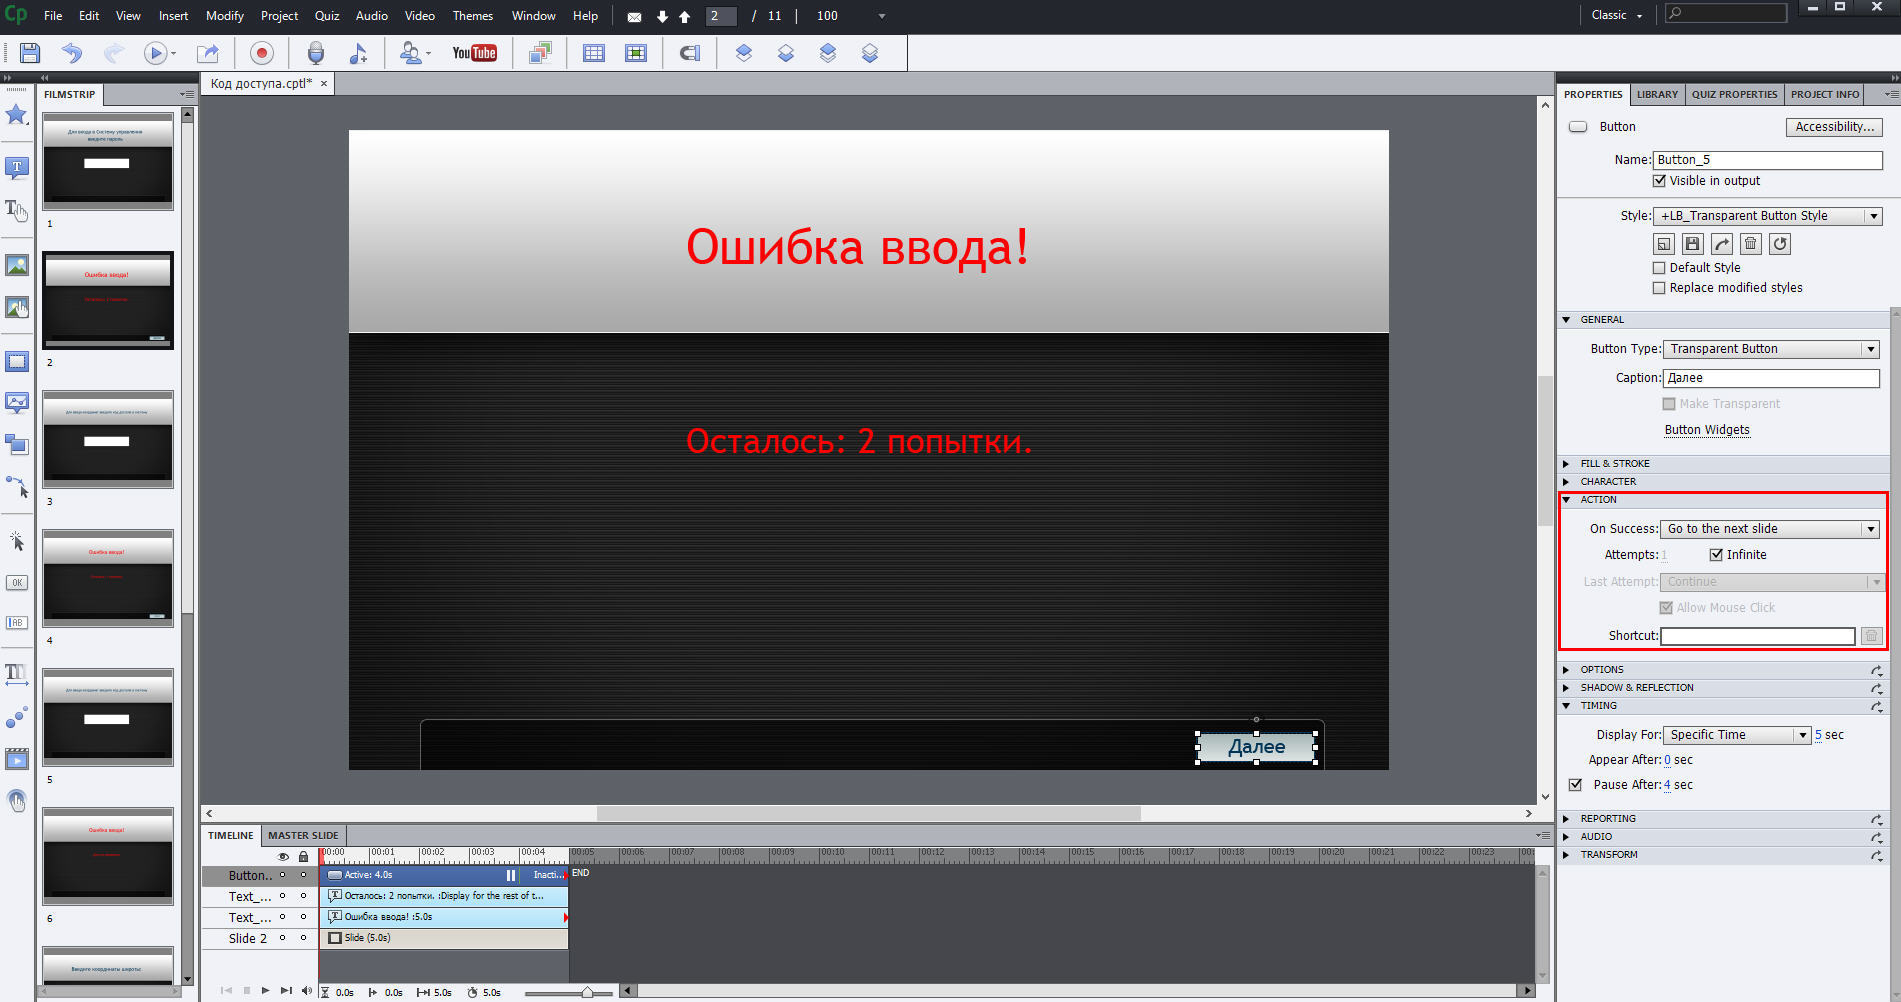
To continue, you must click the "Next" button.
The Button object is added from the action bar located on the left by the “Insert Button” icon or via the Insert menu: Standard Objects: Button.
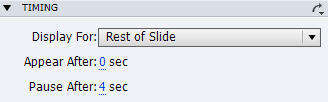
In the “Action” block in the “On Success” drop-down list you should set the action “Go to the next to slide”. - In the “Timing” block in the Appear after field you can set a delay before the button appears, in the Pause after field you can set the display time for the slide, after which the video is frozen until the button is pressed.
- In case of failure in the Last Attempt field, you can set the transition to the final slide, which symbolizes the failure of the mission.

In the “Action” block, you should set the “No action” action in all fields. - If the mission succeeds, a message and a picture with a map and coordinates are displayed on the final slide.
I saved a suitable picture from the Internet and added it to the slide by right-clicking on the input area, selecting “Object” in the drop-down menu: “Image”.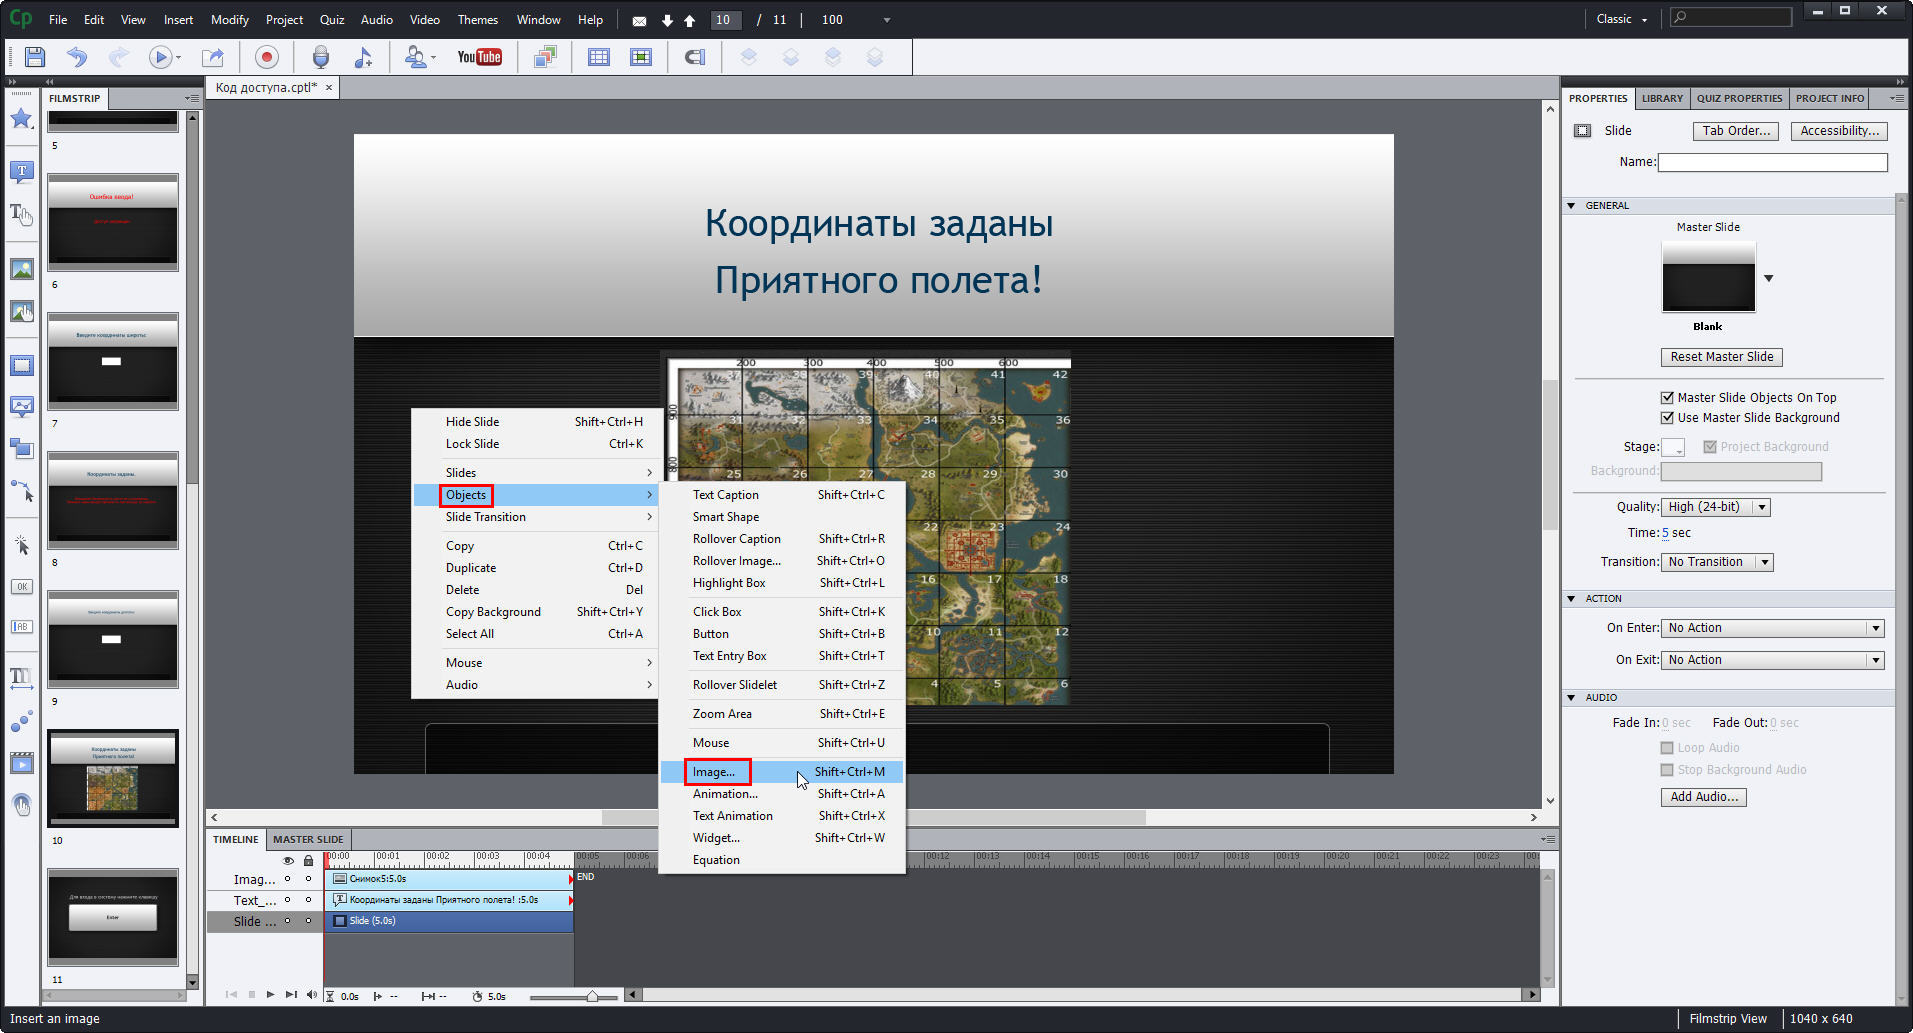
Publication of the created project
To publish a created project, for example, in the format * .exe, you must perform the following steps:
- Open the “File” menu and select “Publish” in the drop-down list.
- In the window that opens, specify the following publishing options:
- open the Media section;
- select the type of paged file (in our case it is * .exe);
- enter a name;
- select the folder where the final file will be uploaded;
- set the version of the flesh player.

- Click the Publish button.
The project will be published in * .exe format and ready for battle!
Source: https://habr.com/ru/post/310382/
All Articles