How to use the standard settings to kill the microcontroller. Part 2
Not so long ago, I wrote about how I managed to turn a microcontroller into a "brick" by setting an unsuccessful combination of settings. The problem was that I accidentally managed to enter into the operation mode “on demand” a generator clocking the controller core. At the same time, everything was turned off, including the debugging module. Many people responded to my request and gave me some practical advice and many still ask how it all ended. So the story has developed quite comically, but it ended very banal. Details under the cut.
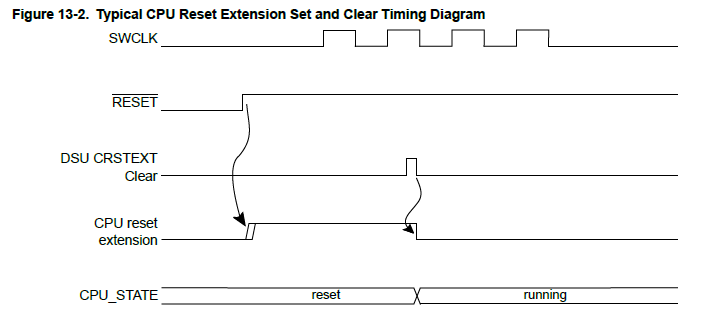
So, following the advice of experienced people, we went to re-read the User Manual sections on debugging and controller loading modes. It turned out that there seems to be a loading mode in which the controller does not start executing the code, but waits for the debugger connection.
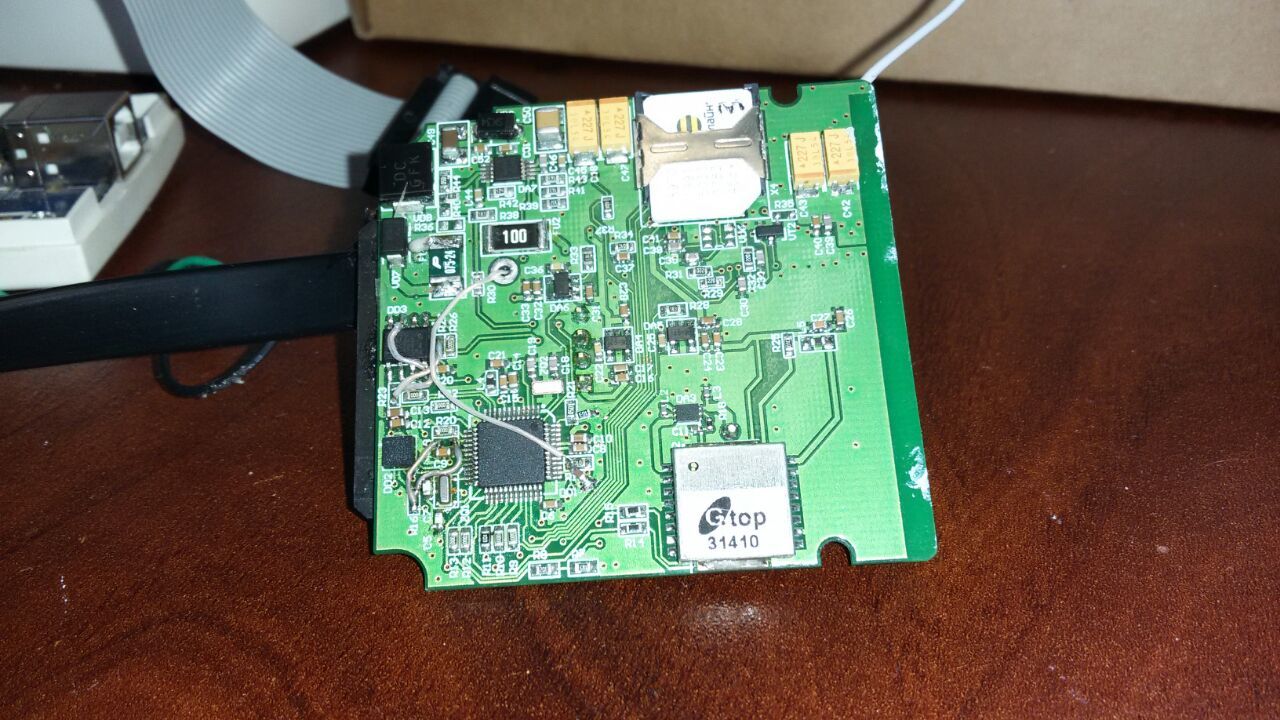
It remained the most difficult - to solder to the right pins to properly perform the boot sequence. The equipment, which allows to do this and not kill the board, is in another office, so it was necessary to go there and give everything to the specialists ...
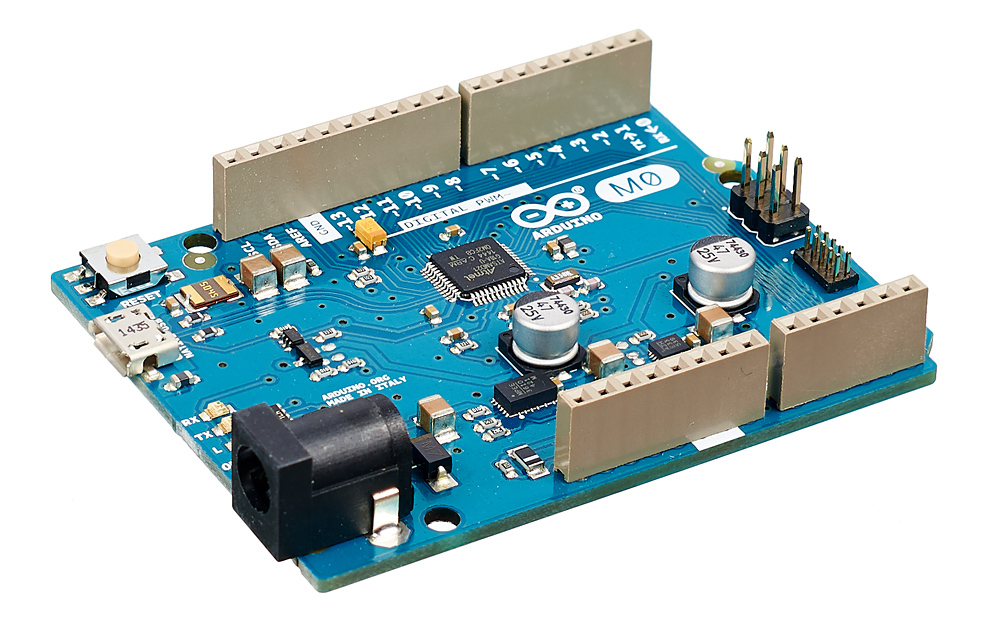
But on the day when we were going to take it, something inexplicable happened. In the evening, the fee was put in a bag, then in a box, and the box was put in a bag. However, in the morning there was no charge in the bag. She just disappeared! We rummaged through the entire bag, all the boxes that we found, turned to the lost and found offices in the buses in which the bag was traveling ... All in vain. After spending a couple of days searching, we decided to spit on this board and wait until the new ones were made (which is almost 4 weeks). It’s good that we managed to continue working with the firmware, since we had an Arduino M0 with a similar processor.
At that moment I remembered the anecdote about the Russian and two titanium balls, but it was somehow not funny.
However, as a result of another brainstorming session, we remembered that before going home with a fee, the tables were cleaned. We ran to the cabinets with the details, and, having a break from bottom to top, we found the loss in that little bag. It turned out that someone accidentally at the last moment took the board out of the box and put it away to other parts. Then the box was closed, put in a bag, etc. Now the joke was already perceived not so sad.
As a result, having spent another day soldering the necessary wires, we began to revitalize. It is worth saying that while we were having fun searching for the board, J-Link came to us. True, not the original, but a cheap equivalent of an unknown manufacturer.
So, as it turned out, it was not necessary to even solder anything. This J-Link immediately saw the microcontroller, although the expensive and more “clever” ULink refused to do it all the time.
After the unfortunate firmware was erased, everything fell into place and all debuggers were able to connect to the controller without any problems.
We assume that we were saved by the fact that J-Link can clock the debugging module itself, bypassing the kernel. I do not know the specifications of SWD and did not understand deeply the difference between J-Link and ULink, but it seems that the cheap analog works better than expensive and sophisticated. True, at the same time, it regularly burns out ...
The story ends here. The board works, the firmware is written. Thank you all for your help!
')
Source: https://habr.com/ru/post/309724/
All Articles