Tower Defense on the Unity engine - Part 1
Hello to all! This is my first article for Habr and it is intended for beginners. In it, I would like to talk about how to create a small 3D game of the genre Tower Defense on the Unity engine.
I like you just study this engine. I study with you and I can make mistakes. If the article is interesting, then please under the cat! Only carefully, there are a lot of pictures ...
Part 1 Part 2
')
Run Unity. I have Unity Personal. Create a new project called “MyTowerDefence”. The game will be three-dimensional, we will not use Unity analytics.
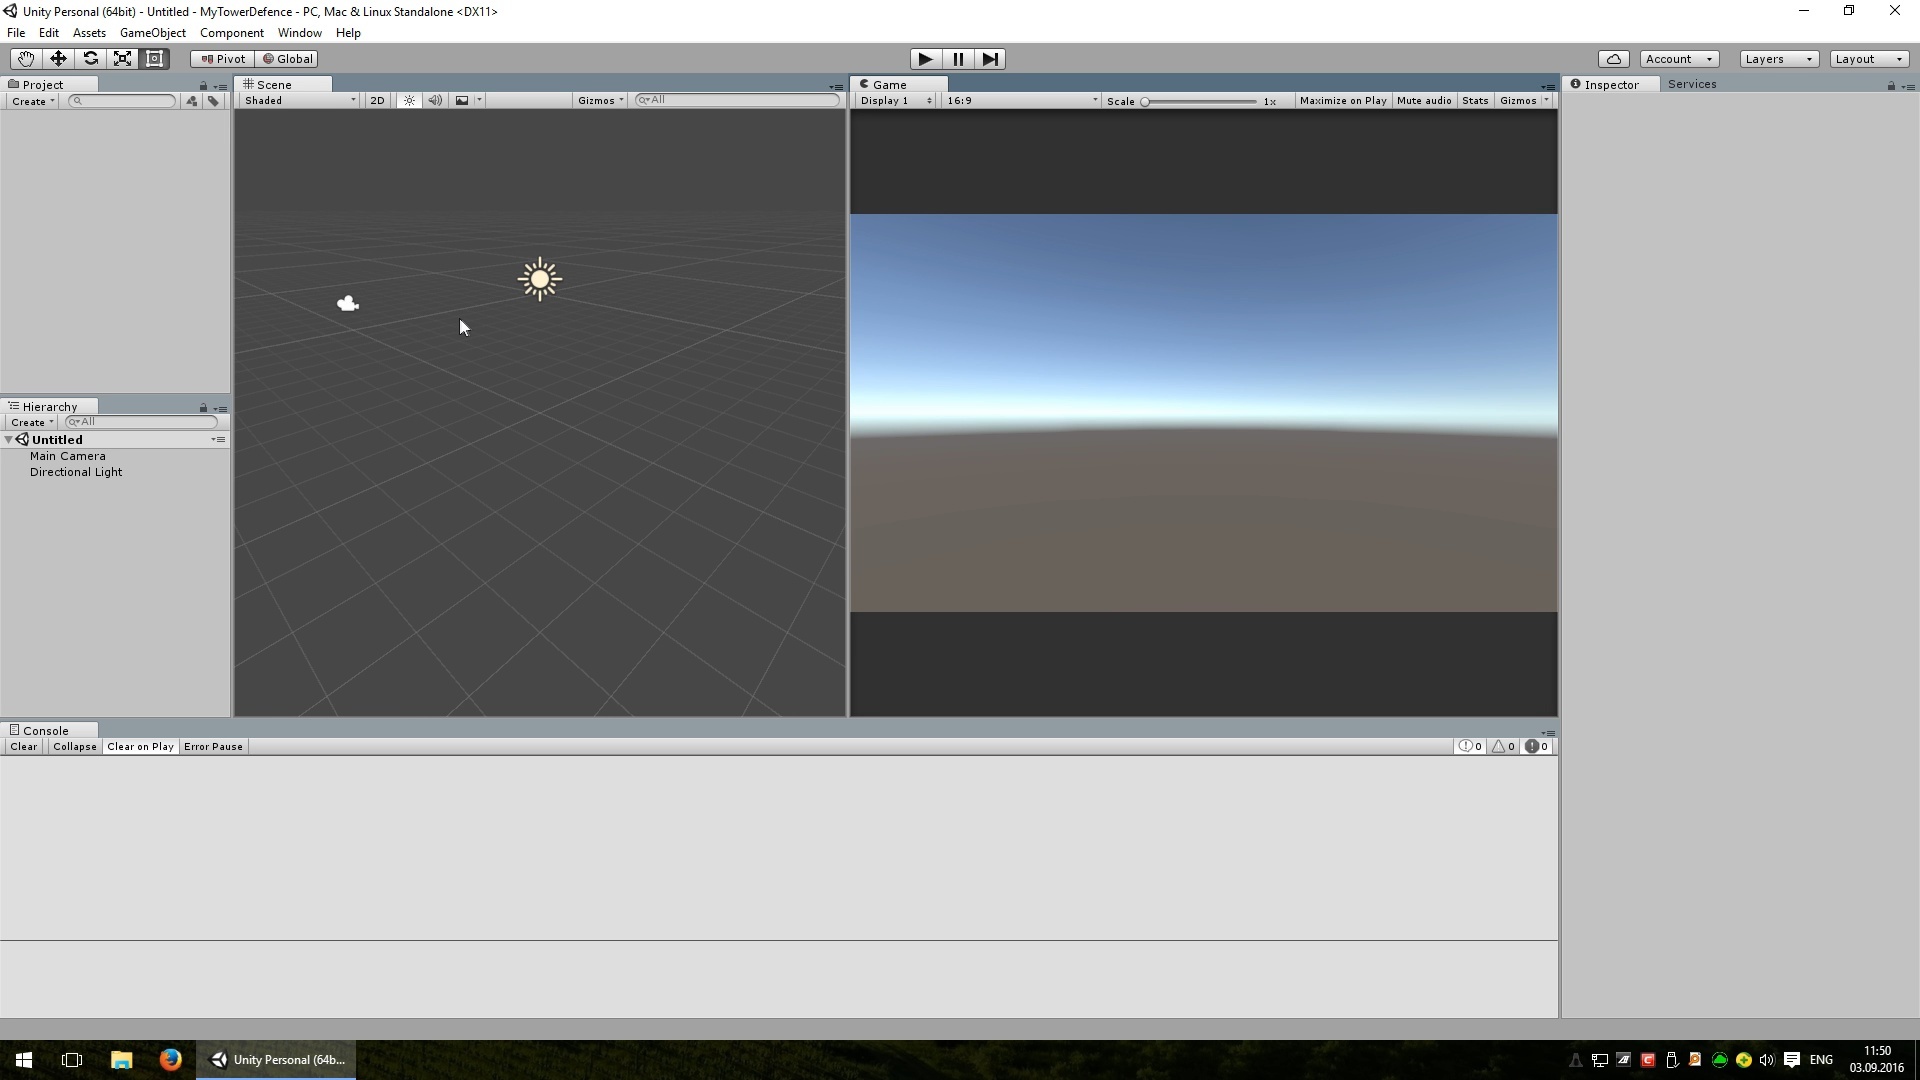
I set up the workspace, as it is convenient for me, you can leave everything as you have. When creating a new three-dimensional project, a camera and a light source are created by default. In a two-dimensional project, there will be only a camera.
Create 3 new folders:

Create a new cube game object by selecting “GameObject -> Cube” in the main menu. We give him a new name "Body" translated from English "Body". It will be the body of the watchtower.
Now create an empty object. He is not visible on stage. Let's call it “Tower” - “Tower”. In this case, it will be the main object of the watchtower tree. The position of the created objects will be set by zeros.

Drop the “Body” object into the “Tower” object.
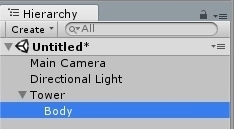
“Body” has become a child of the Tower object. The position, rotation and scale of the child objects depends on the similar parameters of the parent object. Simply put, if you drag the parent object, then all child objects follow their parent.
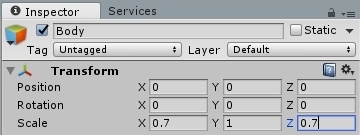
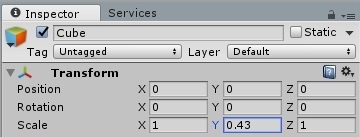
Change the scale of the body of the tower.
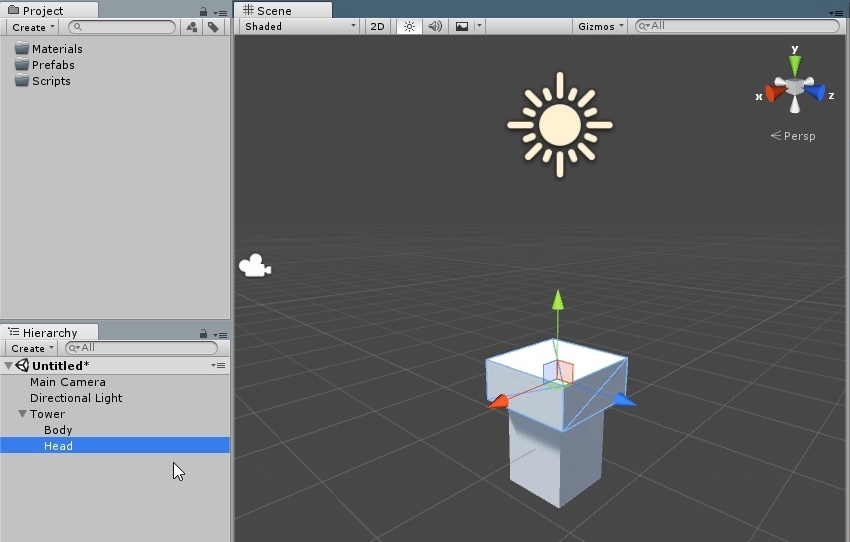
Create a new cube object. Set the position to zero and flatten a cube along the Y coordinate.
Let's call the cube "Head" - "Head". Put the head in place and glue it to the object "Tower".
Now we need a gun. Create a new cube with the name "Gun" - "Gun". We make it so that the cube would even remotely resemble it.
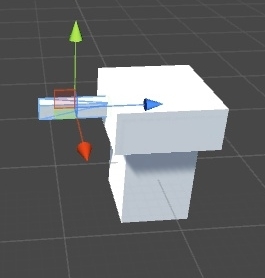
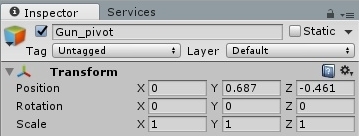
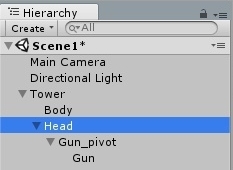
We need another auxiliary object that will be the center of rotation of the gun. Create an empty object and bind the “Gun” object to it. And we tie it to the object "Tower".

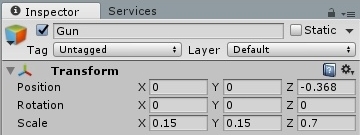
Adjust the position of the gun.
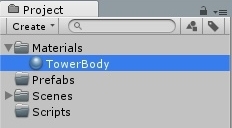
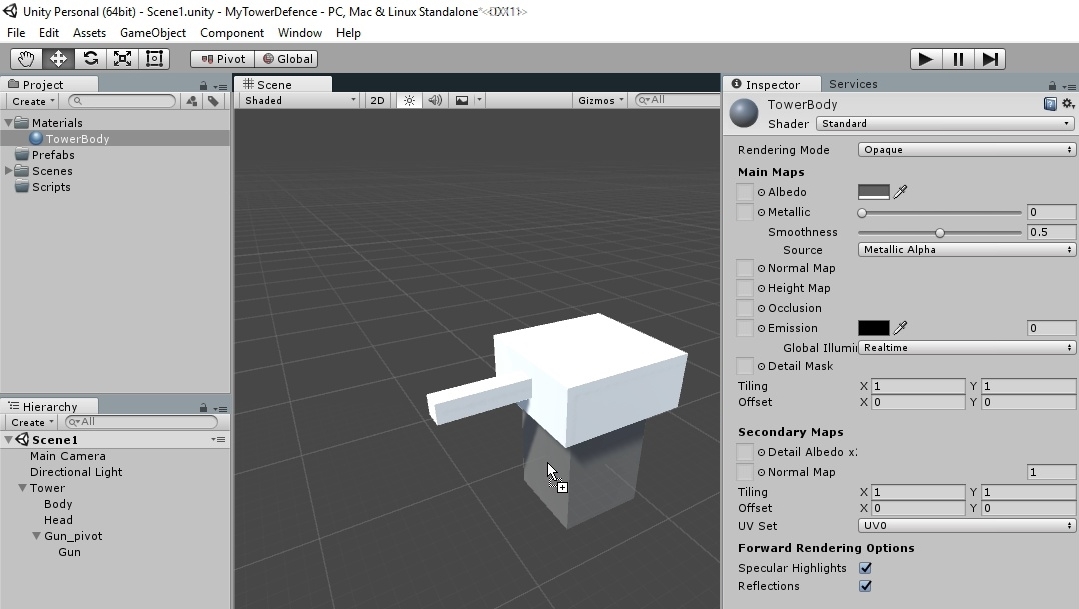
Save the scene with any name. Create a folder for storing scenes and put the created scene there. Now we will bring beauty. In the materials folder we create a new material with the name “TowerBody”.
Set the color and apply the material to the body of the tower by dragging it from the Project window to the object.
Duplicate material with a new name «TowerHead». Perform similar actions for the head. Also do for the gun.
All beauty cast.

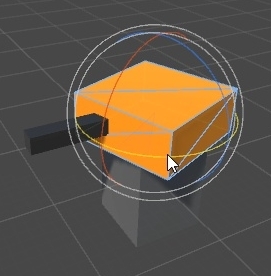
Let's try to simulate the turns of the watchtower. Here we immediately find the flaw. The head rotates, and the gun is busy with its affairs.
Let's make it rotate with the head, moving the auxiliary object of the gun to the object “Head”.
Rotate the gun. And here we see that inexplicable ... (Melody "The X-Files")
Well, okay, we will come back to this later, when we rotate the gun with the help of the script. Create a new prefab from the Tower object by dragging it to the Prefabs folder.
The original tower is removed from the scene.
Create an object plane. On the plane will be the whole get-together. Apply any material to it.
Change the position of the camera so that the whole plane would be visible at an angle.

Rename the plane to “Ground”.
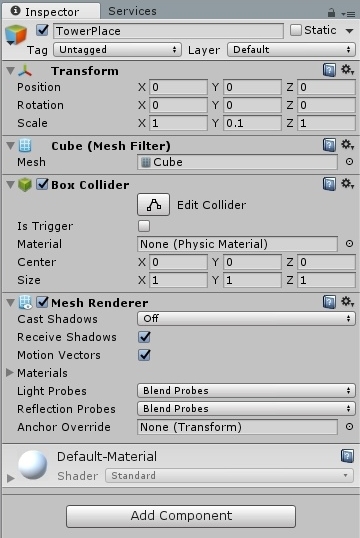
We need a platform to be able to install a watchtower on it. To do this, create a cube, set the position on zeros and flatten it on the Y axis. Also, disable shadow casting. Let's call the cube "TowerPlace".
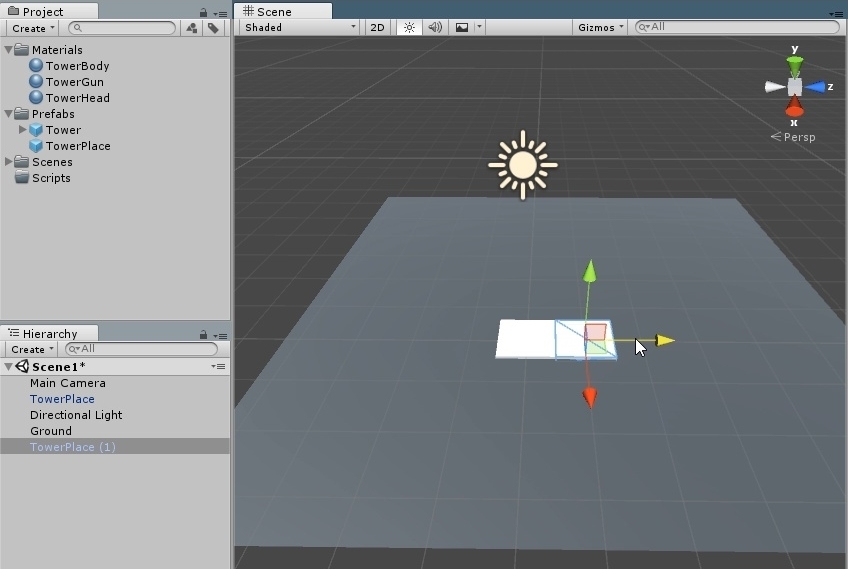
Drop it in the prefabs folder. Now duplicate the object on the scene by pressing CTRL + D. After holding CTRL dragging the object to the side. With this action, we dragged a new copy of the object through the binding to the grid, which allows you to move the object to the same length of steps. Now the grid step is equal to one.
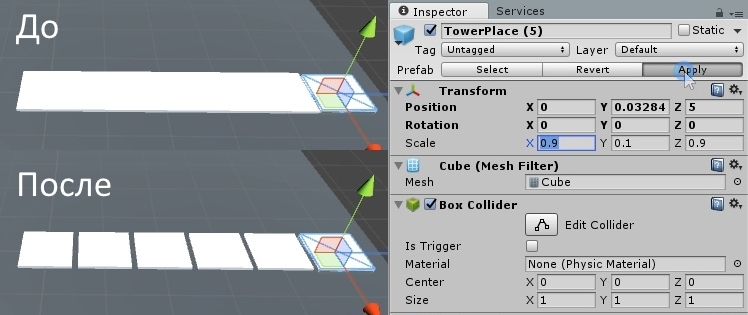
That's the way an interesting feature of prefabs. If we change, as now, the size of the object, and click the button “Apply” - “Apply”, then the new parameters of this prefab will apply to all its copies.
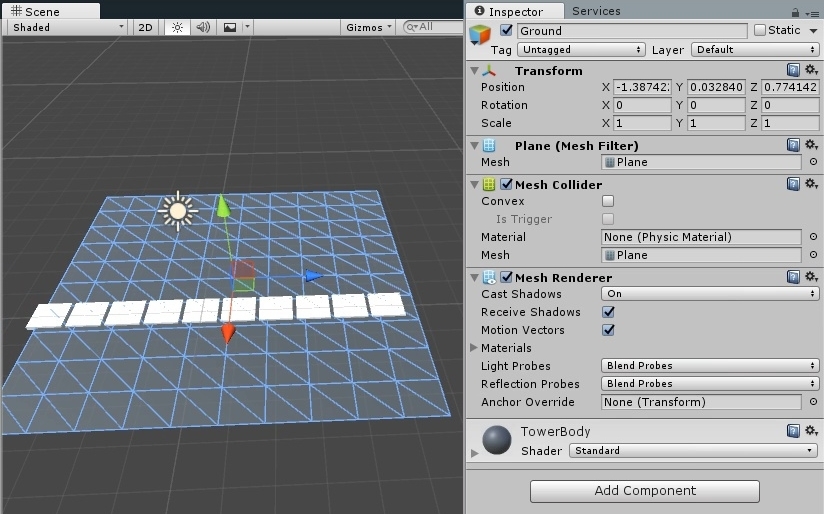
Now we need to fill the whole plane with copies of the object. Oh yeah, I forgot to set the plane position to zero, just because of this, everything is displayed crookedly.
The camera is incorrectly located for the same reason. Create a new empty “TowerPlaces” object storing the objects of the places to install the towers.

Now we will create a path for the movement of bots, simply by deleting the objects “TowerPlace”.
Create an empty object for the waypoint. Waypoints are route points along which bots move. Position set by zero. Set an icon for an invisible object, so that it would be visible in the editor window.
Lift the object along the Y axis so that it does not merge with the plane. No matter how much, the main thing is not touching the coordinates of X and Z, they must be zero.
Drop it into the prefabs folder and move the original to the beginning of the path while holding down the CTRL key. Note the coordinates of the object, retain their integer value along the X and Z axis.
Duplicate the waypoints and place them on the edges of the turn while holding down the CTRL key. We do this all the way to the end.
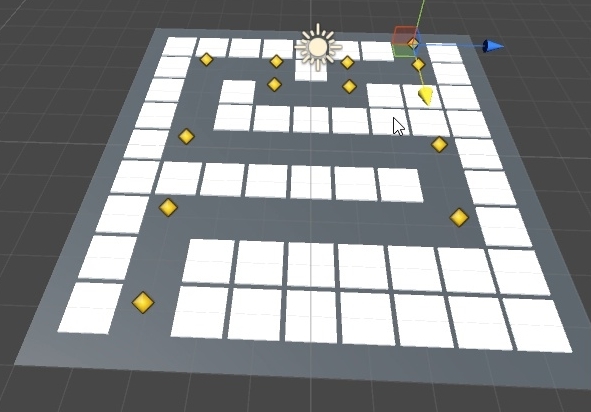
Place all the waypoints into an empty object.

It is important to check the order of their location, otherwise the bots will start walking where we want.
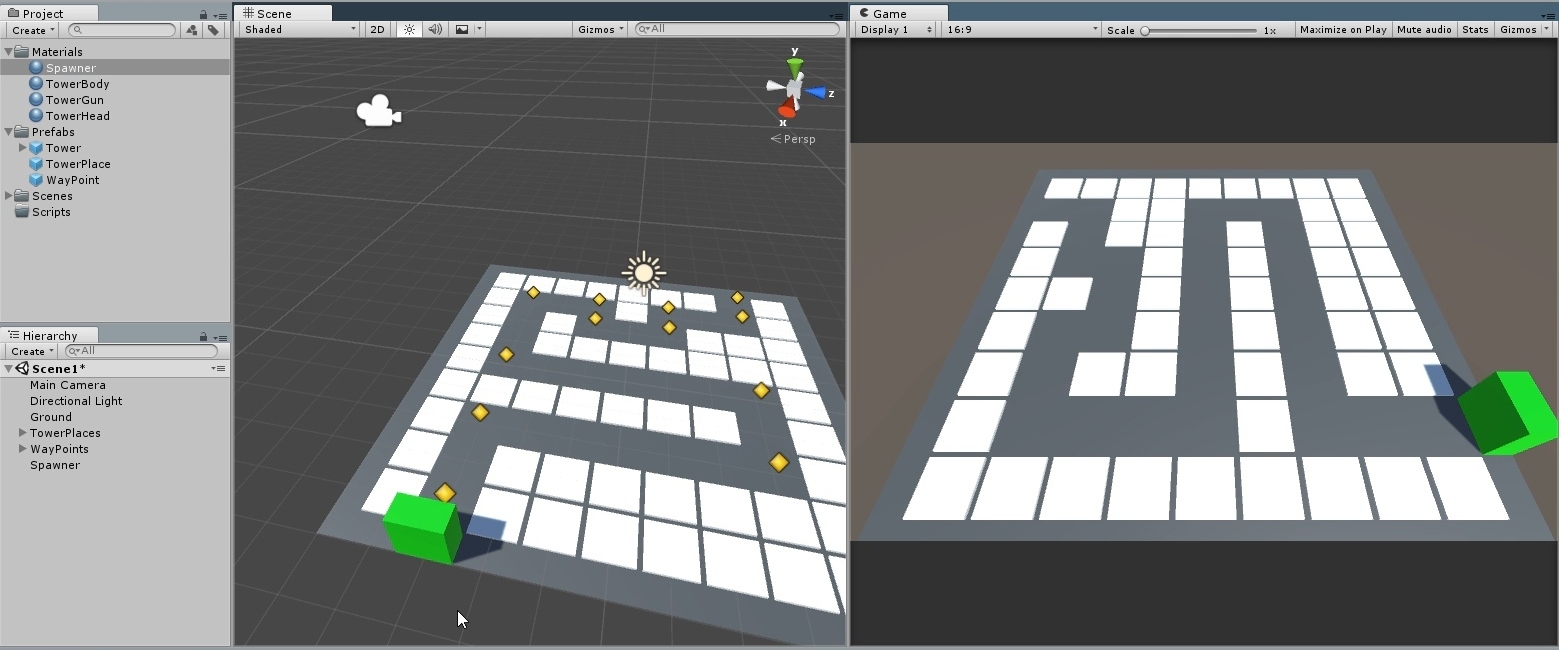
Create a cube that will work as a spuner, i.e. create bots on stage. Zanulim position and put the object in front of the beginning of the path. You can change its scale to your liking.
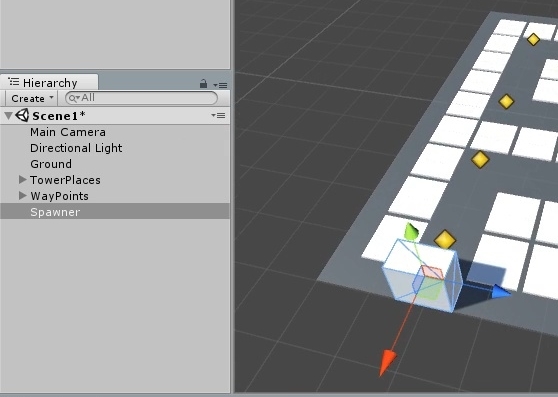
In the materials folder create a new material. Assign it to spawner. It becomes beautiful.
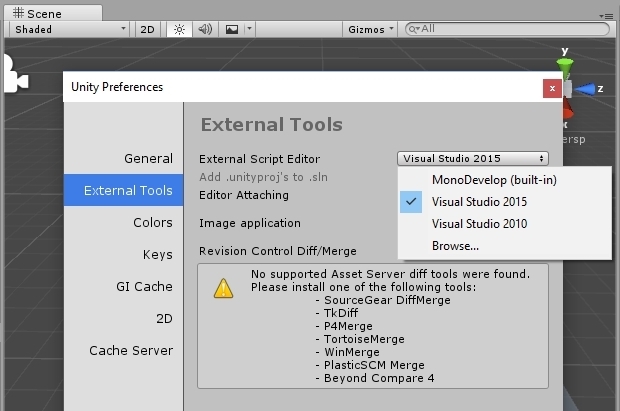
In the scripts folder, create a new script named “Spawner”. Let's go to the code editor by double clicking on the script. The code editor can be Visual Studio, MonoDevelop, or even a regular notepad. It does not affect the work of the script, if only for convenience. And the error will indicate the editor Unity.
In the fifth version of the engine, Visual Studio is used by default, but if necessary, the development environment can be changed in the Unity editor settings.
For greater clarity, you can watch the video tutorial:
PS: If you have questions or suggestions, leave your comments on YouTube under the video.
On Habré, I do not read comments.
Many have noticed that the article and video are similar to the lessons from this channel . In part, it is. But I only borrowed the waypoint allocation and level construction.
Thanks for attention! The end of the first part.
I like you just study this engine. I study with you and I can make mistakes. If the article is interesting, then please under the cat! Only carefully, there are a lot of pictures ...
Part 1 Part 2
')
Start
Run Unity. I have Unity Personal. Create a new project called “MyTowerDefence”. The game will be three-dimensional, we will not use Unity analytics.
I set up the workspace, as it is convenient for me, you can leave everything as you have. When creating a new three-dimensional project, a camera and a light source are created by default. In a two-dimensional project, there will be only a camera.
Create 3 new folders:
- The folder “Materials”, it will store the materials of the objects.
- The “Prefabs” folder, it will store our blanks of objects with customized components, scripts and a hierarchy of child objects.
- Folder "Scripts", it will store the scripts.
Watch tower
Create a new cube game object by selecting “GameObject -> Cube” in the main menu. We give him a new name "Body" translated from English "Body". It will be the body of the watchtower.
Now create an empty object. He is not visible on stage. Let's call it “Tower” - “Tower”. In this case, it will be the main object of the watchtower tree. The position of the created objects will be set by zeros.
Drop the “Body” object into the “Tower” object.
“Body” has become a child of the Tower object. The position, rotation and scale of the child objects depends on the similar parameters of the parent object. Simply put, if you drag the parent object, then all child objects follow their parent.
Change the scale of the body of the tower.
Create a new cube object. Set the position to zero and flatten a cube along the Y coordinate.
Let's call the cube "Head" - "Head". Put the head in place and glue it to the object "Tower".
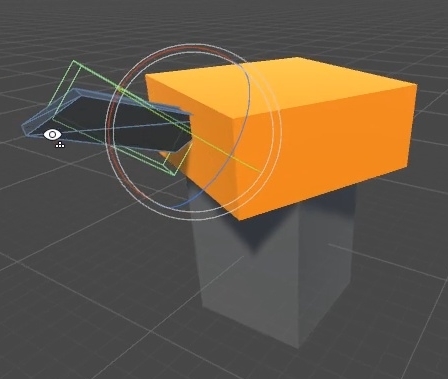
Now we need a gun. Create a new cube with the name "Gun" - "Gun". We make it so that the cube would even remotely resemble it.
We need another auxiliary object that will be the center of rotation of the gun. Create an empty object and bind the “Gun” object to it. And we tie it to the object "Tower".
Adjust the position of the gun.
Save the scene with any name. Create a folder for storing scenes and put the created scene there. Now we will bring beauty. In the materials folder we create a new material with the name “TowerBody”.
Set the color and apply the material to the body of the tower by dragging it from the Project window to the object.
Duplicate material with a new name «TowerHead». Perform similar actions for the head. Also do for the gun.
All beauty cast.
Let's try to simulate the turns of the watchtower. Here we immediately find the flaw. The head rotates, and the gun is busy with its affairs.
Let's make it rotate with the head, moving the auxiliary object of the gun to the object “Head”.
Rotate the gun. And here we see that inexplicable ... (Melody "The X-Files")
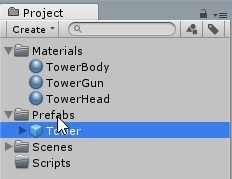
Well, okay, we will come back to this later, when we rotate the gun with the help of the script. Create a new prefab from the Tower object by dragging it to the Prefabs folder.
The original tower is removed from the scene.
Battlefield
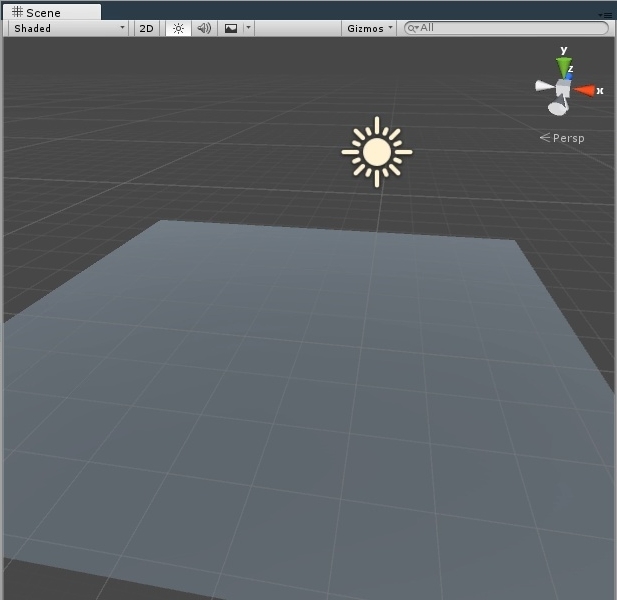
Create an object plane. On the plane will be the whole get-together. Apply any material to it.
Change the position of the camera so that the whole plane would be visible at an angle.
Rename the plane to “Ground”.
We need a platform to be able to install a watchtower on it. To do this, create a cube, set the position on zeros and flatten it on the Y axis. Also, disable shadow casting. Let's call the cube "TowerPlace".
Drop it in the prefabs folder. Now duplicate the object on the scene by pressing CTRL + D. After holding CTRL dragging the object to the side. With this action, we dragged a new copy of the object through the binding to the grid, which allows you to move the object to the same length of steps. Now the grid step is equal to one.
That's the way an interesting feature of prefabs. If we change, as now, the size of the object, and click the button “Apply” - “Apply”, then the new parameters of this prefab will apply to all its copies.
Now we need to fill the whole plane with copies of the object. Oh yeah, I forgot to set the plane position to zero, just because of this, everything is displayed crookedly.
The camera is incorrectly located for the same reason. Create a new empty “TowerPlaces” object storing the objects of the places to install the towers.
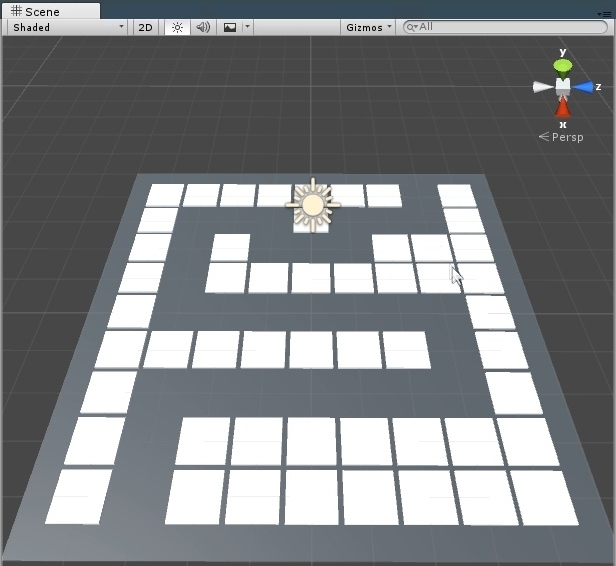
Now we will create a path for the movement of bots, simply by deleting the objects “TowerPlace”.
Waypoints
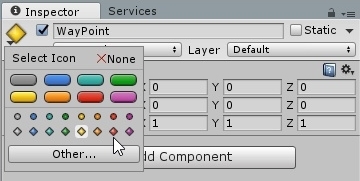
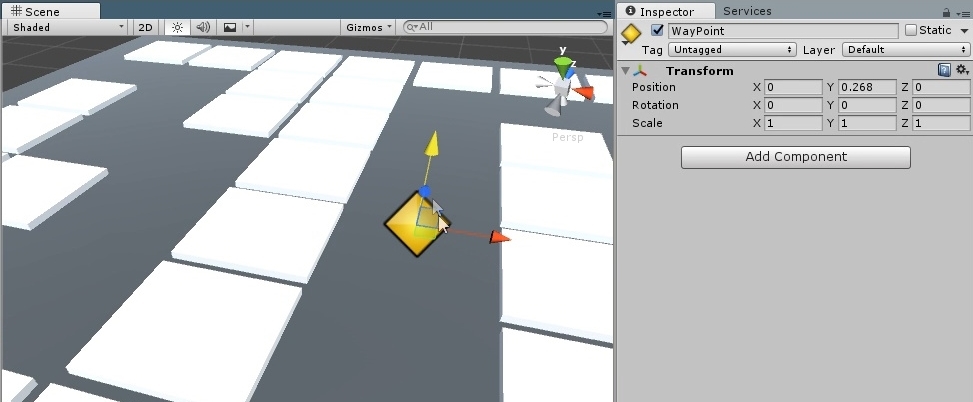
Create an empty object for the waypoint. Waypoints are route points along which bots move. Position set by zero. Set an icon for an invisible object, so that it would be visible in the editor window.
Lift the object along the Y axis so that it does not merge with the plane. No matter how much, the main thing is not touching the coordinates of X and Z, they must be zero.
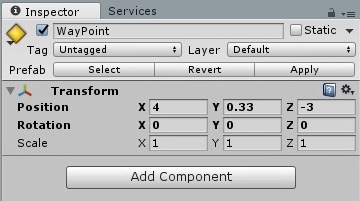
Drop it into the prefabs folder and move the original to the beginning of the path while holding down the CTRL key. Note the coordinates of the object, retain their integer value along the X and Z axis.
Duplicate the waypoints and place them on the edges of the turn while holding down the CTRL key. We do this all the way to the end.
Place all the waypoints into an empty object.
It is important to check the order of their location, otherwise the bots will start walking where we want.
Spawner
Create a cube that will work as a spuner, i.e. create bots on stage. Zanulim position and put the object in front of the beginning of the path. You can change its scale to your liking.
In the materials folder create a new material. Assign it to spawner. It becomes beautiful.
In the scripts folder, create a new script named “Spawner”. Let's go to the code editor by double clicking on the script. The code editor can be Visual Studio, MonoDevelop, or even a regular notepad. It does not affect the work of the script, if only for convenience. And the error will indicate the editor Unity.
Completion of the first part
In the fifth version of the engine, Visual Studio is used by default, but if necessary, the development environment can be changed in the Unity editor settings.
For greater clarity, you can watch the video tutorial:
PS: If you have questions or suggestions, leave your comments on YouTube under the video.
On Habré, I do not read comments.
Many have noticed that the article and video are similar to the lessons from this channel . In part, it is. But I only borrowed the waypoint allocation and level construction.
Thanks for attention! The end of the first part.
Source: https://habr.com/ru/post/309378/
All Articles