Distributing unpublished Windows 10 apps to the Store
Previously, in order to install the Windows Store application, it was required that either the application was published in the store, or that the device was unlocked by a developer license. Now, with the release of Windows 10, it is possible to distribute the application and bypassing the store. In addition, installation on the device of unpublished applications in the Store can be done not for the purpose of distribution, but for the purpose of testing.
When testing, it is obvious that it is desirable to use several devices with different characteristics. The capabilities of the emulator and the device on which the development takes place are not always enough.
Read more about how to install Windows Store applications on devices of various types.
In order to install an application on a device, it is necessary that Developer mode or Unpublished applications / Sideload apps mode be enabled on the device. You can change these settings through:
Options - Update and Security - For Developers
Settings - Update & security - For developers
')
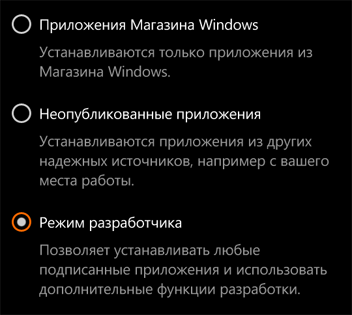
The difference between the modes is that in the first case it is allowed to run applications from Visual Studio in debug mode. In addition, in the mode of downloading unpublished applications, you cannot install applications on your device without a trusted certificate.
You can read more about this at the link: Preparing the device for development.
As a result of creating an application package

You can get either * .appx for each platform or * .appxbundle file, inside which will contain applications for all platforms. If you specified when creating application packages that you want to publish an application in the Store, then a * .appxupload file will also be created for you, which will be uploaded to the store.
If you want to install the application on the desktop, then you need to run the PowerShell script with the name:
Add-AppDevPackage.ps1
You can do this by calling the context menu on the file and selecting the "Run using PowerShell" command
Alternatively, you can run the Add-AppxPackage command from the PowerShell console itself
D:\Add-AppxPackage .\MyApp.appxbundle
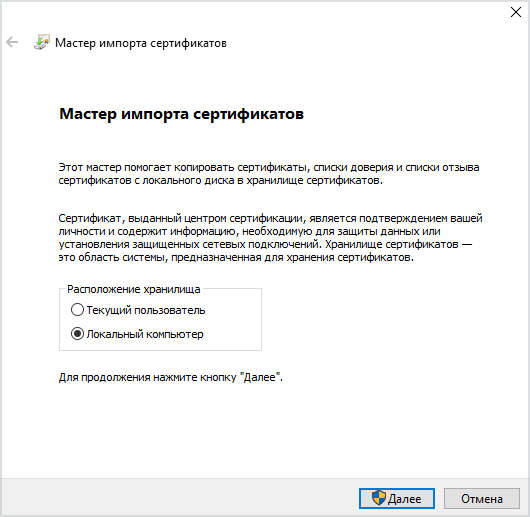
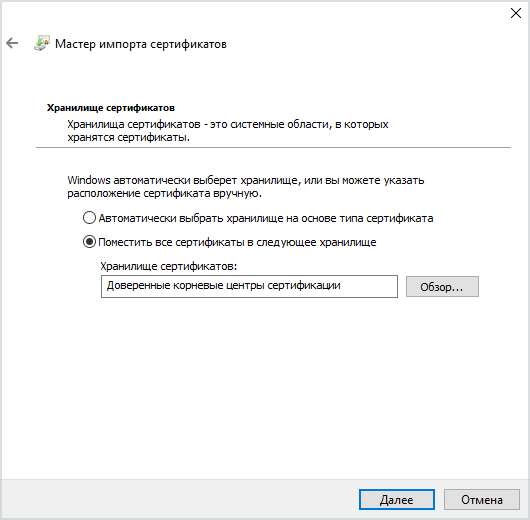
If you have enabled not the developer mode, but the sideload mode, then before that you need to install the certificate. Moreover, you need to add it to the Trusted Root Certification Authorities folder after installation.

The certificate with which the application is signed is in the manifest on the Packaging tab.
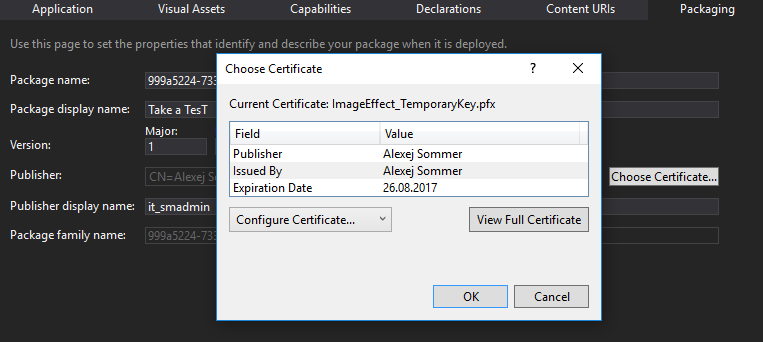
After creating the application packages, the certificate will be copied to the package folder.
Options for installing the application on a mobile device or a remote computer
1. Already mentioned above installation on the desktop using the script Add-AppDevPackage.ps1
2. Using the PowerShell cmdlet Add-AppxPackage
3. Using WinAppDeployCmd
The utility itself is located, as a rule, in the Program Files folder at \ Windows Kits \ 10 \ bin \ x86 \
The simplest commands are:
WinAppDeployCmd devices 3 Shows devices available for deployment (3 is the value of the delay in seconds)
WinAppDeployCmd install -file "Downloads\MyApp.appx" -ip 192.168.0.1 Installs the application on the device. You can even specify a PIN so that you do not need to unlock the screen:
WinAppDeployCmd install -file "Downloads\MyApp.appx" -ip 192.168.0.1 -pin A1B2C3 Read more at the link: Installing Universal Windows Applications Using the WinAppDeployCmd Tool
4. If you have Windows 10 since version 1511, then the Device Portal is available to you
5. When installing an application on a mobile device, it may be enough in the explorer to simply click on the appx or appxbundle file. But before that, you need to install the certificate, just clicking on it (strange thing, but I had to do it, even though the phone was in developer mode).
Learn more about the device portal.
On the desktop, it is enabled in the operating system settings in the Update and Security category when entering the "For Developers" item
To access the portal, you can set a password. The link on which you can enter the portal is displayed at the bottom of the screenshot.
The appearance of the portal is as follows:

As you can see, it is possible to install an application package, a certificate, and packages necessary for an application using a graphical interface.
You can read about other features here: Overview of the Windows device portal
On mobile devices, you can also enable the device portal and open the Edge browser to use some of its functions. But it is much more convenient to connect the phone to the desktop.
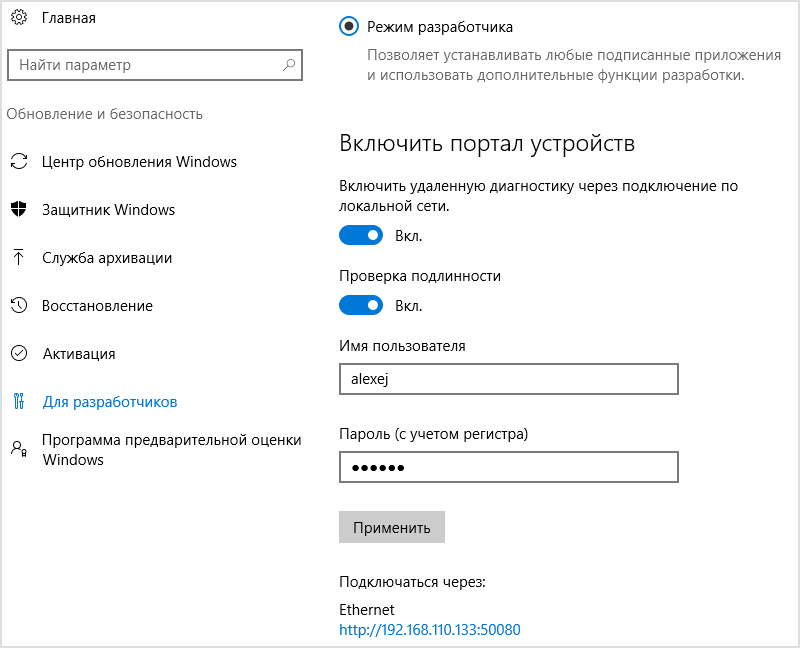
To enable the portal you need to go to the settings - Update and security and select the item “For developers”

Access to a mobile device connected via USB is possible via the link http: // 127.0.0.1:10080
If you are connected to a wi-fi network, then the address will be displayed to you (as in the screenshot).
If authentication is enabled, you need to associate devices (the “Device Discovery” item is slightly higher)

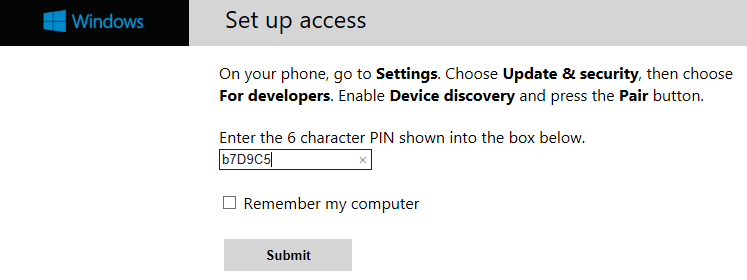
When you click "Link" code will be displayed
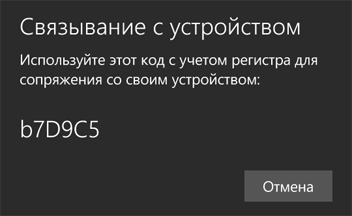
Which must be entered in the browser field
The appearance of the device portal is slightly different.

A great feature of the portal is the ability to access the file system of installed applications.

Read more: Device Portal for Phones
In addition to the desktop and mobile devices, the portal is supported by IoT devices, as well as Xbox and HoloLens.
The entire Windows device portal is built on REST APIs. If you suddenly have a desire to write your own application that gets access to connected devices, then you can read the help on the basic API of the device portal
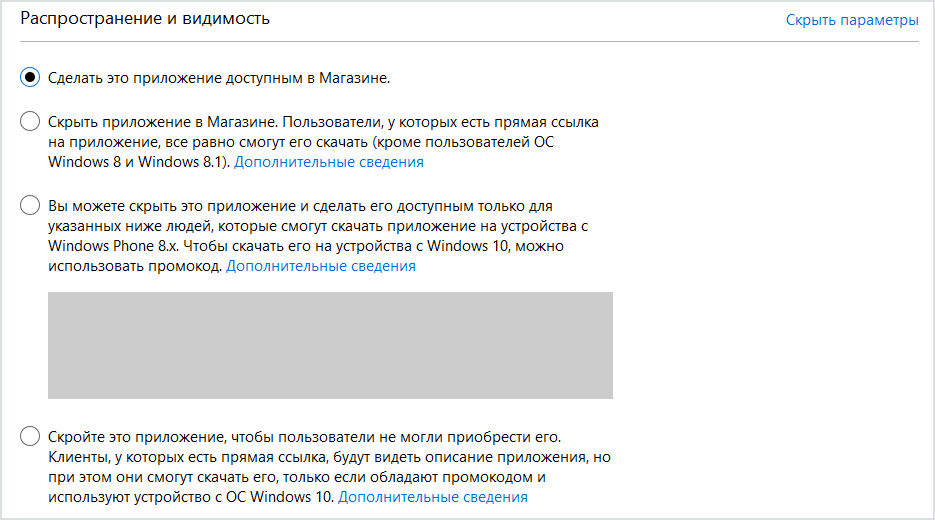
An interesting opportunity, which can not be mentioned. When you publish an application in the Windows Store , under the heading "Pricing and Availability," you will have options for hiding the application from unauthorized persons, extending the testing cycle. Having opened the options “Distribution and visibility” you will get the following choice:
Source: https://habr.com/ru/post/308718/
All Articles