We raise own torrent tracker on Centos
Why do you need your own torrent tracker - the question is not worth it. The reasons may be different. Therefore, I will immediately get down to business.
Probably, all large trackers are written to order, or the known engines are individually doped. When the goal is to raise your own, for example, local tracker, most often the requirements for it will not be very high, and it remains to choose the desired option from all available, with the prospect of development.
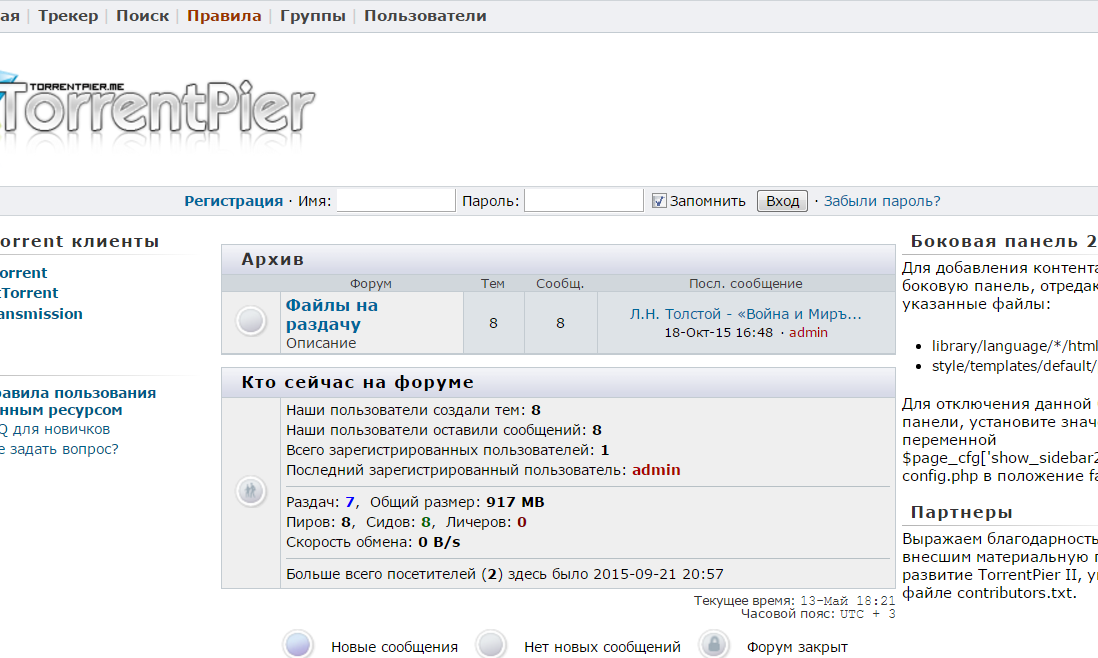
Something like that, I thought, considering and evaluating each candidate. I stopped the choice on TorrentPier II . Assessing the pros and cons should be noted familiar to users of the interface, similar to the disparate Rutracker-th, and technical support, albeit in the form of a forum . The tracker, after a little setup, has been working for me for over a year without any problems.
')
The installation is as follows (a small quote from the instructions):
1. Unpack the contents of the folder you downloaded to the server
2. Create a database into which, using phpmyadmin (or any other convenient tool), import a dump located in the ** install / sql / mysql.sql ** folder
3. The configuration file ** library / config.php ** uploaded to the server is correct:
In this line, we change the database entry data.
We indicate your domain name in this line. The remaining edits in the file are made at the discretion.
I must say that the tracker does not want to work on PHP 7.0. I had to create a separate container for it with PHP 5.4.45. Recommended PHP version: 5.3 - 5.5. In addition, the authors recommend in some cases to untie the cron built into the engine (necessary for work), and use the usual server one. The task might look like this:
With the installation of the tracker, everything is quite clear, but something else needs to be done. In my case, a torrent tracker is an aid for a site, and it acts as an alternative for a user who is used to downloading files from sites using torrents. In general, the initial source of distribution, roughly speaking, is always myself. Therefore, it is necessary to prepare a “complete set”: a torrent tracker filled with torrent files (which can then be nicely placed on the site), plus a distribution source. I decided that the torrent client, that is, the actual distribution source, will be located on the same server as the site, and the torrent tracker. Need a client with Web ui under Centos.
My choice fell on the Deluge . The installation is as follows:
- Add repository
- Installation:
- Add user:
- According to the recommendation from the Deluge forum, if you use Centos, you need to fix the config:
Change the line:
on:
and
change to:
- Add to autoload:
- Open port 8112, necessary for the operation of the web interface:
- Run:
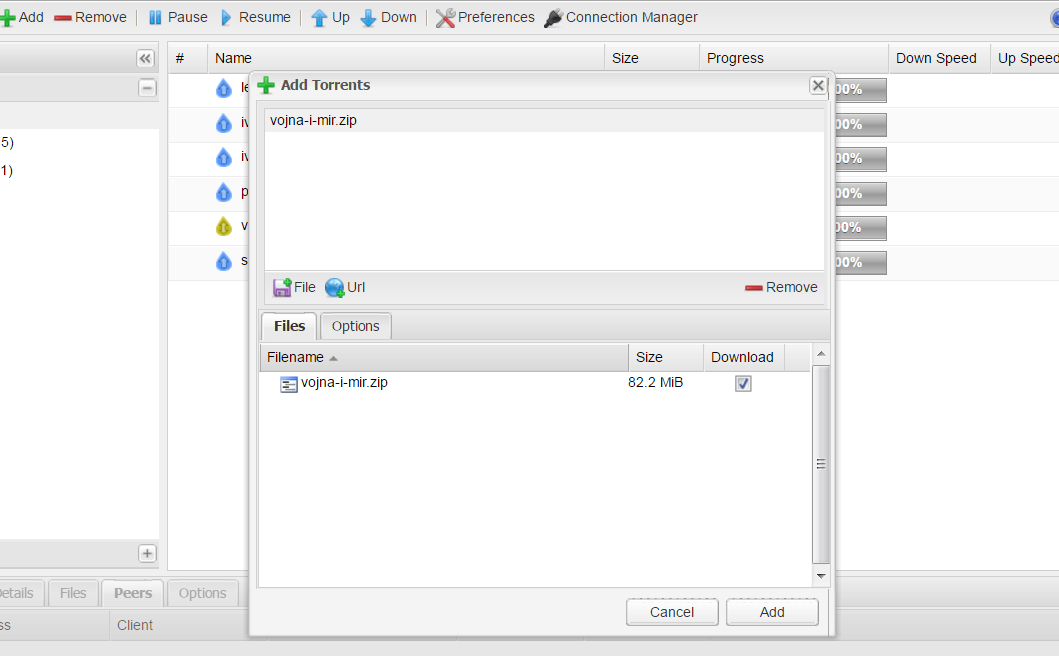
Open the Deluge interface (http: // ip_server: 8112), the default password is “deluge”.
It remains to create the actual torrent files, place them in the tracker, and create the download / distribution in the client.
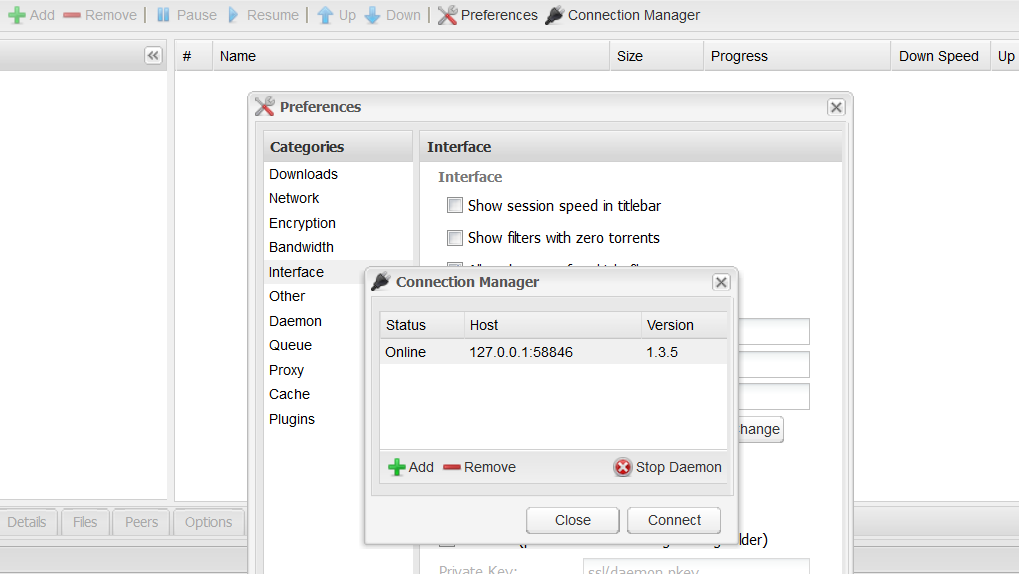
To create torrents, you can use your "home" torrent client. But you can use already installed Deluge. You cannot create torrent files from the Deluge web interface; here you can use the console or connect to Deluge from your PC. For example, for using Windows there are corresponding clients .
After installing Deluge on a PC, you need to uncheck the “classic” section in the “Interface” section and create a connection to a remote server using the data prepared for this:
- Register access on server:
- Open the appropriate ports, at least port 58846, plus those that are required for distribution. In my case, the "process (distribution) went" after the opening of ports 6881: 6889, as well as 53567 (tcp / udp).
Do not forget to set the required port in the parameters using the Deluge web client (if the default one is changed) and allow remote connections.
Now everything is ready. So, once again - the simplest version of the preparation of the "full set" is as follows:
- Install and configure TorrentPier II torrent tracker on the server;
- Install and configure Deluge torrent client on the server;
- A file is uploaded to the server that will be distributed;
- On the "home" torrent client creates a new torrent file;
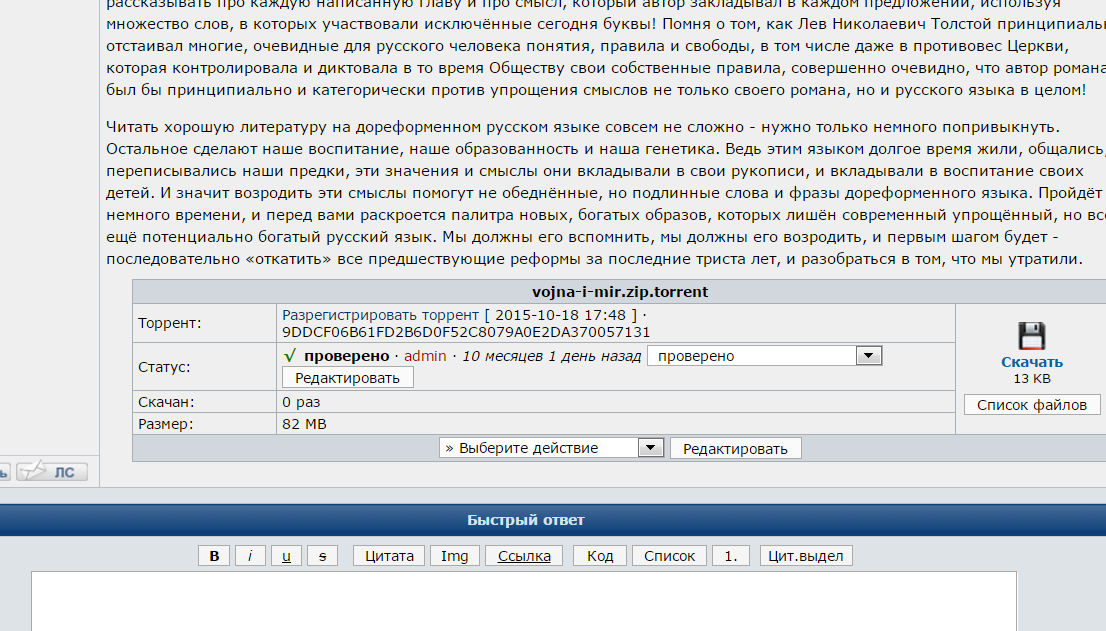
- The torrent file is uploaded to the tracker that modifies this file;
- Now using this modified torrent file, create a distribution on the torrent client Deluge, located on the server, and as the download directory, specify the one where the previously downloaded file is located under the distribution.
The tracker is in operation, and the distribution is always on the server, which means your users will always find at least one seed.
Probably, all large trackers are written to order, or the known engines are individually doped. When the goal is to raise your own, for example, local tracker, most often the requirements for it will not be very high, and it remains to choose the desired option from all available, with the prospect of development.
Something like that, I thought, considering and evaluating each candidate. I stopped the choice on TorrentPier II . Assessing the pros and cons should be noted familiar to users of the interface, similar to the disparate Rutracker-th, and technical support, albeit in the form of a forum . The tracker, after a little setup, has been working for me for over a year without any problems.
')
The installation is as follows (a small quote from the instructions):
1. Unpack the contents of the folder you downloaded to the server
2. Create a database into which, using phpmyadmin (or any other convenient tool), import a dump located in the ** install / sql / mysql.sql ** folder
3. The configuration file ** library / config.php ** uploaded to the server is correct:
> ***'db1' => array('localhost', 'dbase', 'user', 'pass', $charset, $pconnect)*** In this line, we change the database entry data.
***$domain_name = 'torrentpier.me';*** We indicate your domain name in this line. The remaining edits in the file are made at the discretion.
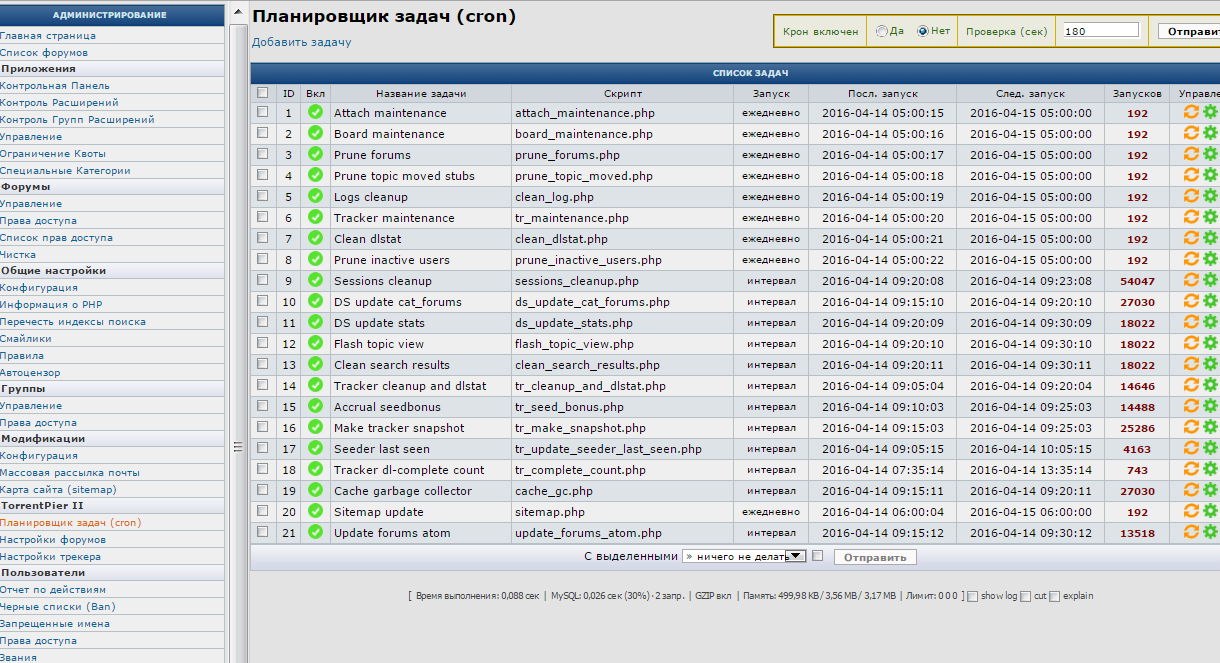
I must say that the tracker does not want to work on PHP 7.0. I had to create a separate container for it with PHP 5.4.45. Recommended PHP version: 5.3 - 5.5. In addition, the authors recommend in some cases to untie the cron built into the engine (necessary for work), and use the usual server one. The task might look like this:
*/5 * * * * /usr/bin/php -f /var/www/site.ru/htdocs/cron/cron.php With the installation of the tracker, everything is quite clear, but something else needs to be done. In my case, a torrent tracker is an aid for a site, and it acts as an alternative for a user who is used to downloading files from sites using torrents. In general, the initial source of distribution, roughly speaking, is always myself. Therefore, it is necessary to prepare a “complete set”: a torrent tracker filled with torrent files (which can then be nicely placed on the site), plus a distribution source. I decided that the torrent client, that is, the actual distribution source, will be located on the same server as the site, and the torrent tracker. Need a client with Web ui under Centos.
My choice fell on the Deluge . The installation is as follows:
- Add repository
vi /etc/yum.repos.d/deluge.repo [deluge] name=LinuxTECH - deluge baseurl=http://pkgrepo.linuxtech.net/el6/release/ enabled=1 gpgcheck=1 gpgkey=http://pkgrepo.linuxtech.net/el6/release/RPM-GPG-KEY-LinuxTECH.NET includepkgs=deluge* GeoIP python-chardet rb_libtorrent* - Installation:
yum -y install deluge deluge-common deluge-web deluge-console deluge-images deluge-daemon - Add user:
useradd --system --home /var/lib/deluge deluge - According to the recommendation from the Deluge forum, if you use Centos, you need to fix the config:
vi /etc/init.d/deluge-daemon Change the line:
prog2=deluge on:
prog2=deluge-web and
daemon --user deluge "$prog2 --ui web >/dev/null 2>&1 &" change to:
daemon --user deluge "$prog2 >/dev/null 2>&1 &" - Add to autoload:
chkconfig deluge-daemon on - Open port 8112, necessary for the operation of the web interface:
vi /etc/sysconfig/iptables -A INPUT -p tcp -m conntrack --ctstate NEW -m multiport --dports 8112 -j ACCEPT service iptables restart - Run:
service deluge-daemon start Open the Deluge interface (http: // ip_server: 8112), the default password is “deluge”.
It remains to create the actual torrent files, place them in the tracker, and create the download / distribution in the client.
To create torrents, you can use your "home" torrent client. But you can use already installed Deluge. You cannot create torrent files from the Deluge web interface; here you can use the console or connect to Deluge from your PC. For example, for using Windows there are corresponding clients .
After installing Deluge on a PC, you need to uncheck the “classic” section in the “Interface” section and create a connection to a remote server using the data prepared for this:
- Register access on server:
echo "user:pass:10" >> /var/lib/deluge/.config/deluge/auth - Open the appropriate ports, at least port 58846, plus those that are required for distribution. In my case, the "process (distribution) went" after the opening of ports 6881: 6889, as well as 53567 (tcp / udp).
Do not forget to set the required port in the parameters using the Deluge web client (if the default one is changed) and allow remote connections.
Now everything is ready. So, once again - the simplest version of the preparation of the "full set" is as follows:
- Install and configure TorrentPier II torrent tracker on the server;
- Install and configure Deluge torrent client on the server;
- A file is uploaded to the server that will be distributed;
- On the "home" torrent client creates a new torrent file;
- The torrent file is uploaded to the tracker that modifies this file;
- Now using this modified torrent file, create a distribution on the torrent client Deluge, located on the server, and as the download directory, specify the one where the previously downloaded file is located under the distribution.
The tracker is in operation, and the distribution is always on the server, which means your users will always find at least one seed.
Source: https://habr.com/ru/post/308278/
All Articles