From registration to showcase: how to put a mobile application in the App Store and Google Play (Part 1)
Beginner mobile developers often have difficulty putting their projects on Google Play and the App Store. And if there are no special problems with the first one, then you will have to tinker with the second one, especially if you post the application from a legal entity. Therefore, to help beginners, we decided to write a tutorial on the placement of applications for iOS and Android in the official pages.
One of the main tasks of Scorocode is to help Russian mobile developers. But the application life cycle does not end after creation. It still needs to be published, developed and maintained. To help at the most different stages of the existence of mobile applications and services, we will periodically publish various articles and notes. Stay tuned for blog updates.
App Store
Let's start with the most difficult - with placement on the App Store from a legal entity.
')
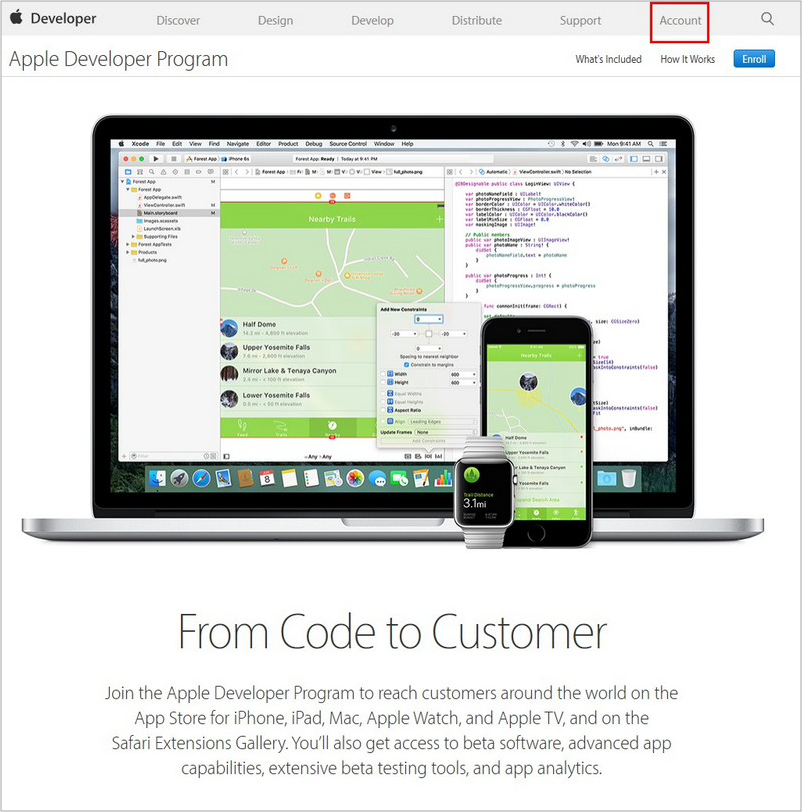
- To get started, go to the developer.apple.com/programs page and register as a new developer. We do not recommend using an existing account if you have never used it before to publish applications, as there may be errors in its data. It is better to create a new one that will be used for further work and placement.
When working with Apple, specify only the correct and correct data when filling out any questionnaire. This will help to avoid problems in the future, shorten the time for making decisions on your issue and make life much easier. It often happens that when registering applications because of a single mistake in the name of a company or other important data, the whole process has to be started anew.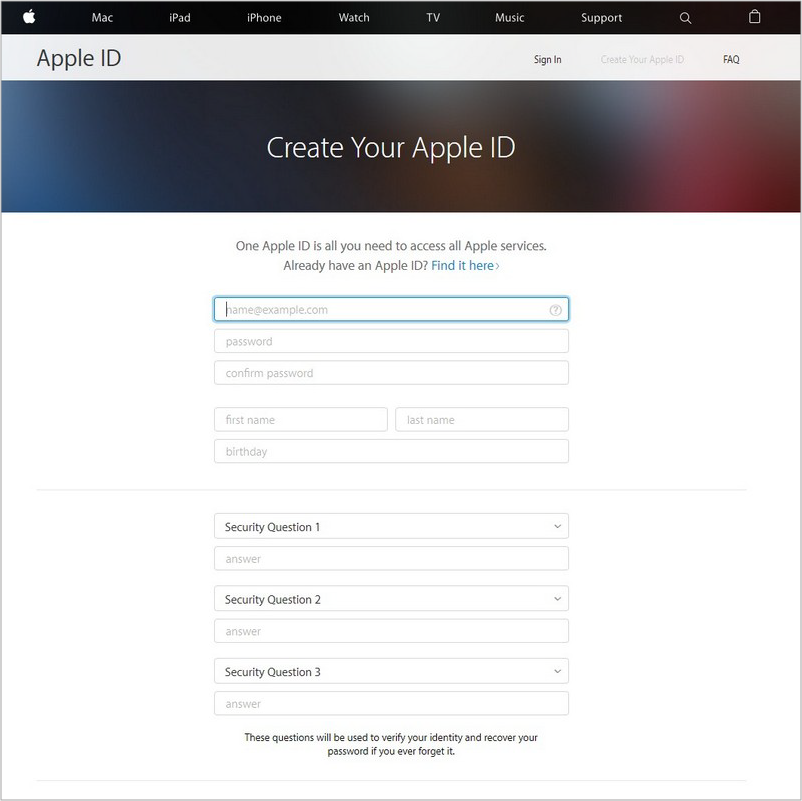
By filling out simple forms, we accept the license agreement and confirm the email sent by the code sent to it, after which we get the Apple ID for the developer, with which we log in.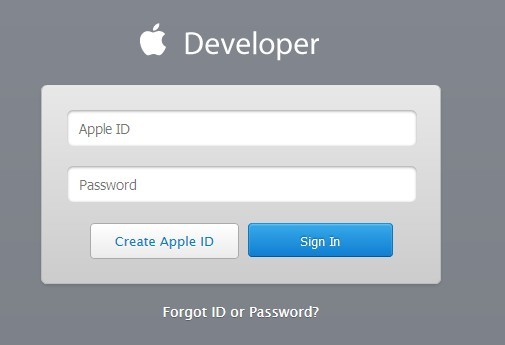
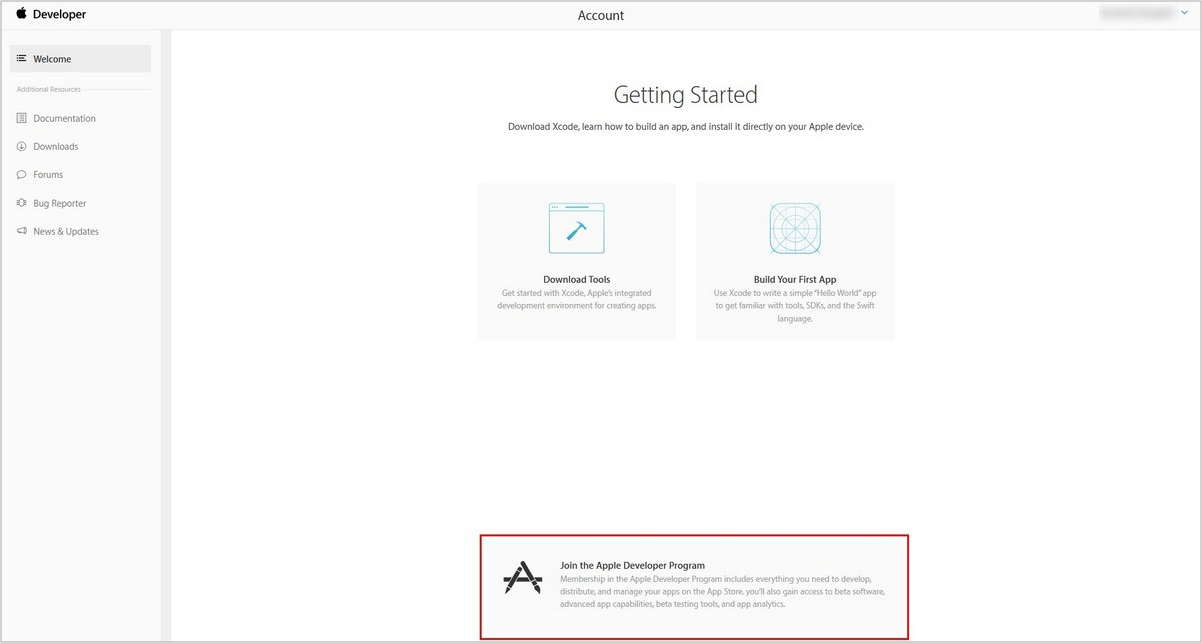
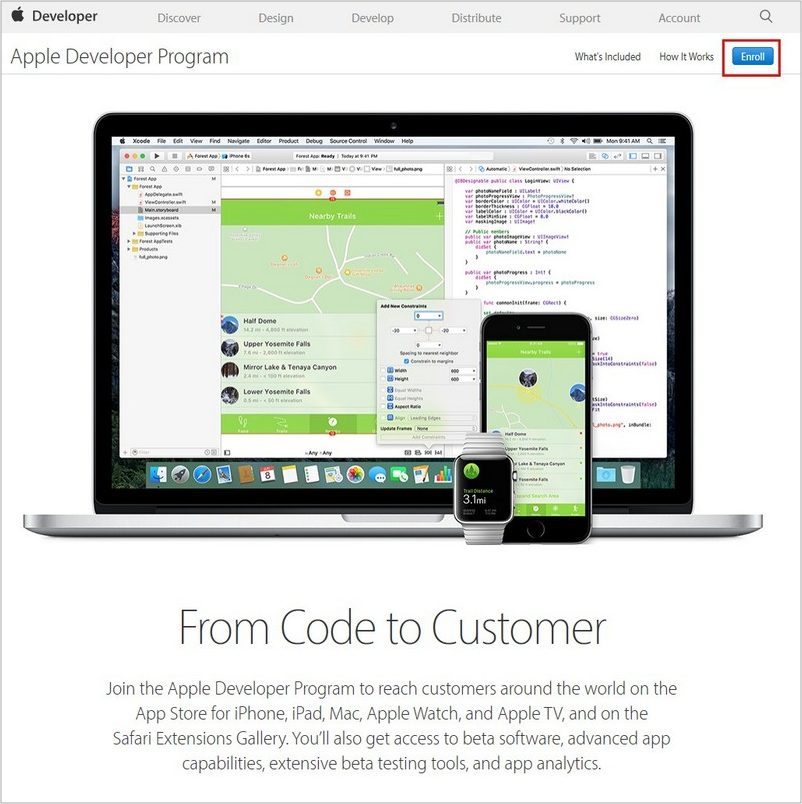
- The next step is to register a company in the iOS Developer program. Go to the Account tab and click on the Apple Developer Program . We read the beautiful selling descriptions of all the benefits of the program and click on until we see the inscription Start your enrollment . Click on it and proceed to the registration process.
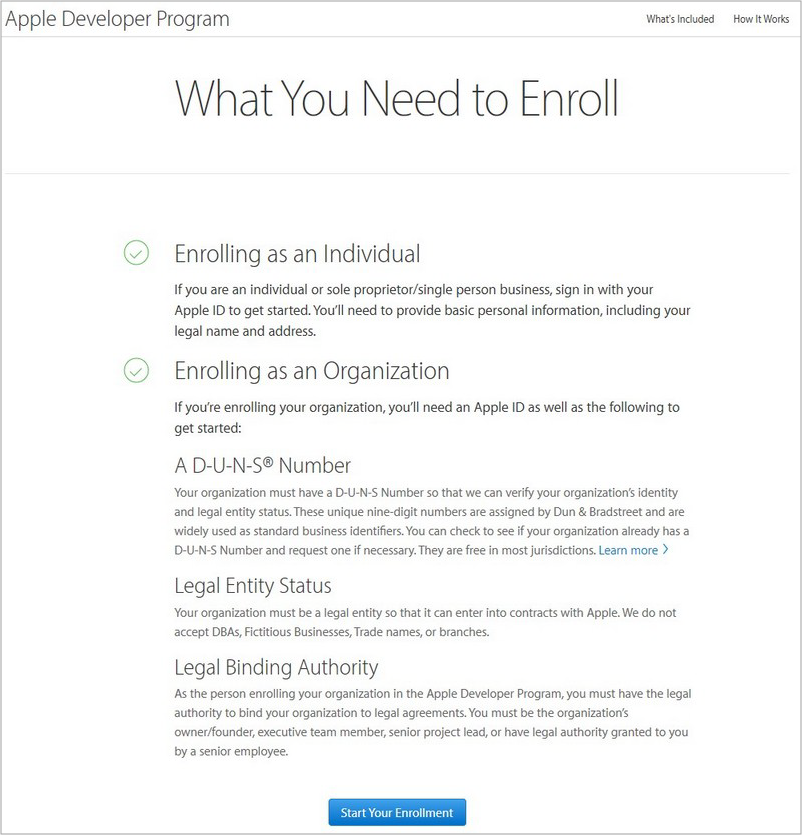
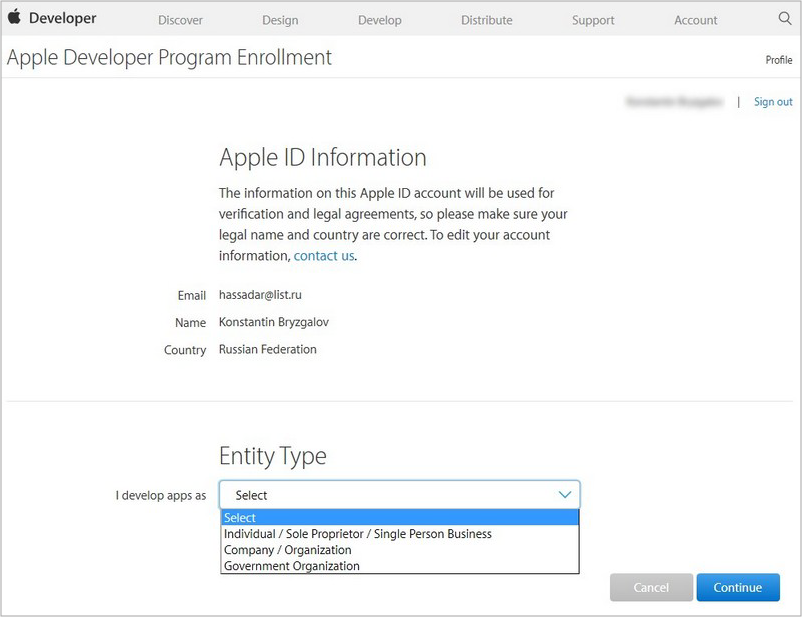
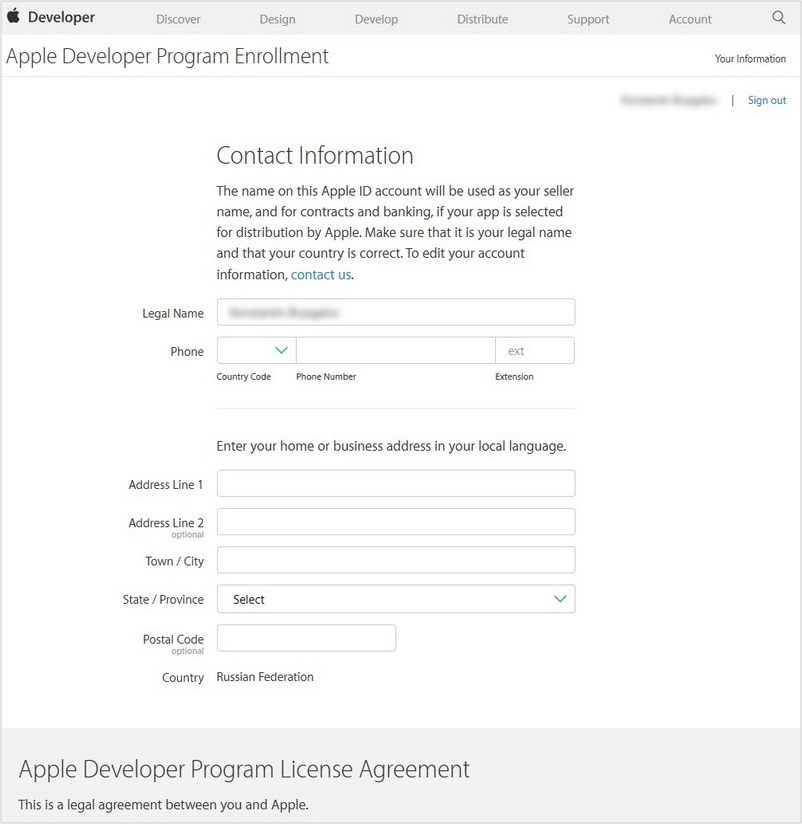
- To begin with, we have to choose - from the legal entity or from the physical our applications will be published. Choose Company (in no case a state-owned company (Government organization) - do not mix it up). Next we will be asked to fill out personal information and company information.
First of all, you need to specify the correct name (which will be used in the future as the name of the seller of published applications), phone number and full address with a zip code. Next, you can choose yourself as the owner or trustee of the company responsible for all interaction with Apple and having the appropriate authority (and Yablochniki may well request confirmation of this authority in the form of a formal order with a seal). Or, you can specify the data of another trustee, if you just do the registration, and in the future the process of interaction will be conducted by someone else.
- Here we will be asked to indicate the so-called DUNS number , which is now being used by Apple instead of providing a transcript from USRLE translated into English to verify that your company really exists. Here at this step and there is a snag at many developers. The assignment of DUNS numbers is done by the D & B firm, on which Apple has entrusted all the responsibilities of verifying legal entities. The Apple website has information about what they need this number for, but the link to get it is not working. At the very least, by going through it, it will not be possible to get DUNS, since the procedure changed in 2015. The cost of assigning a number is 12,240 rubles . Until you get it, the registration procedure with Apple will not succeed, but there’s nothing terrible about this, since all the data you have filled in will remain. Please note that the names of your company on Apple and D & B should be exactly the same.
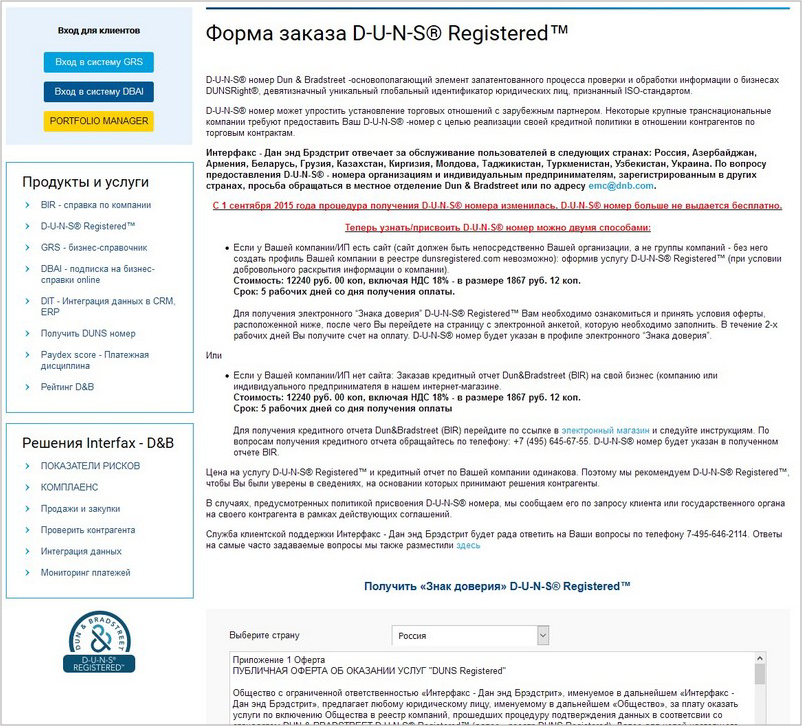
All data on the D & B website are filled in in Russian, the company translates the translation into English independently. After filling in the questionnaire, a letter with an invoice amounting to 12,240 rubles will be sent to the specified e-mail. Within 5 working days after it has been paid, your company details will appear in the D & B registry. But keep in mind that they will only be available for Apple in 14 business days. If you try to enter DUNS before this time, it will not work. In total, you have to wait 19 working days, in fact, a calendar month. As soon as the number is accepted by Apple - the longest and most difficult stage of registration is left behind.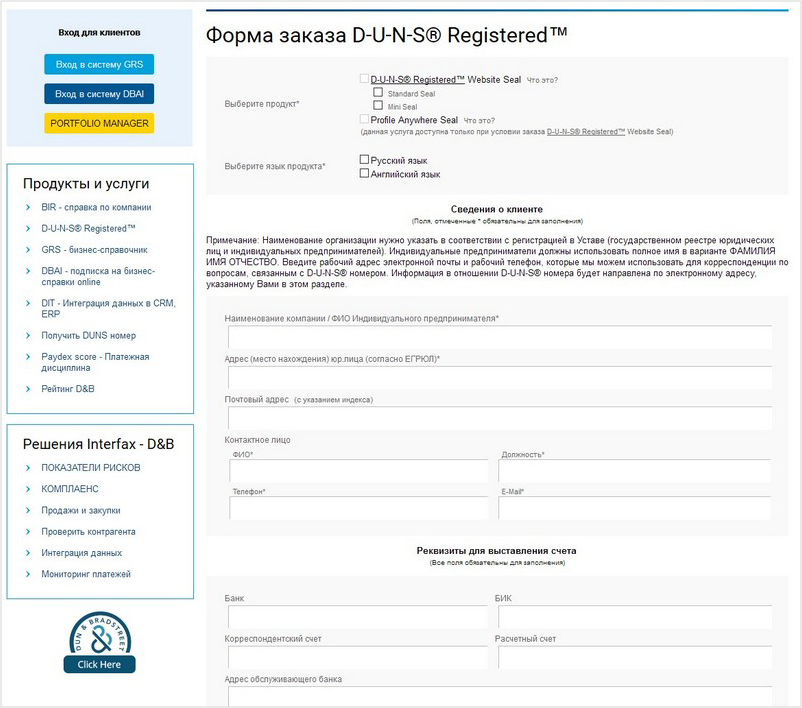
- Next, we need to access the developer’s toolkit for placing the application in the store, obtaining certificates, etc. Access is paid and costs $ 99 per year. For this amount, you will be able to develop applications for three platforms - iOS, Mac and Safari. However, when placing content in iTunes (books, movies and music), you may need to use a separate AppleID account.
We carefully check the data and confirm the information, after which we expect confirmation from Apple. This usually happens within 1-3 days, after which they will call you at the number indicated in the questionnaire, thank you in English for registration and let you know that they will send a link to continue registration by email. By and large, this call is made in order to once again check the reality of the existence of the company and the compliance of contact information. - After receiving a letter with a link, we go through it, accept the agreement and pay for the program. For Russia, you can only pay with a credit card by filling out a special form and sending it to Apple. We do not recommend specifying personal cards, for this it is most convenient to issue a prepaid virtual card for the required amount and transfer its data. Within 1-3 days, the funds will be debited, and you will receive an email with an activation code to complete the registration procedure.
- Click on the code and click Continue in the window that opens, after which the long-awaited Get Started button will become available. By clicking on it, we will get access to the Developer Member Center, where we will see the full functionality of the developer, support and, most importantly, access to the portal for developers .
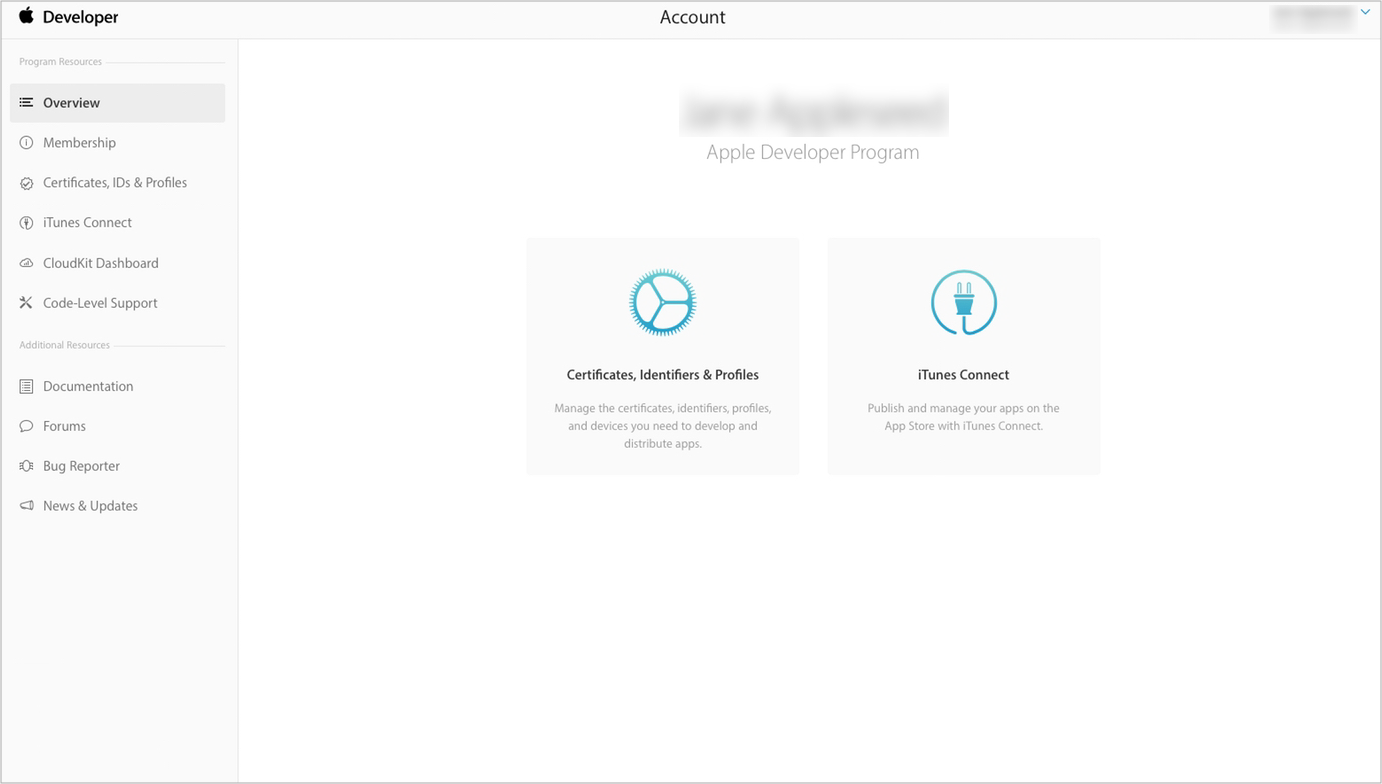
That's it, the process of preparing for the application is complete. On this portal, you will be able to send applications for pre-moderation, see all statistics on already published products, etc. Applications are checked very thoroughly, so before sending, be sure that all the functionality works and corresponds to what is described, accompanied.
For an individual, everything is much easier. On the developer.apple.com/programs page, click the Enroll button, select the individual, fill in the data with the name, address and phone, accept the license agreement and ... That's all.
Next we have a Buy button, clicking on which we get to the page with credit card data. The entire previous process takes about 5 minutes. Then everything is exactly the same as for legal entities. We pay, expect a couple of working days and get access to the resource for developers.
Google play
Registering an application on Google Play is like registering with Apple as an individual - just a few simple steps.
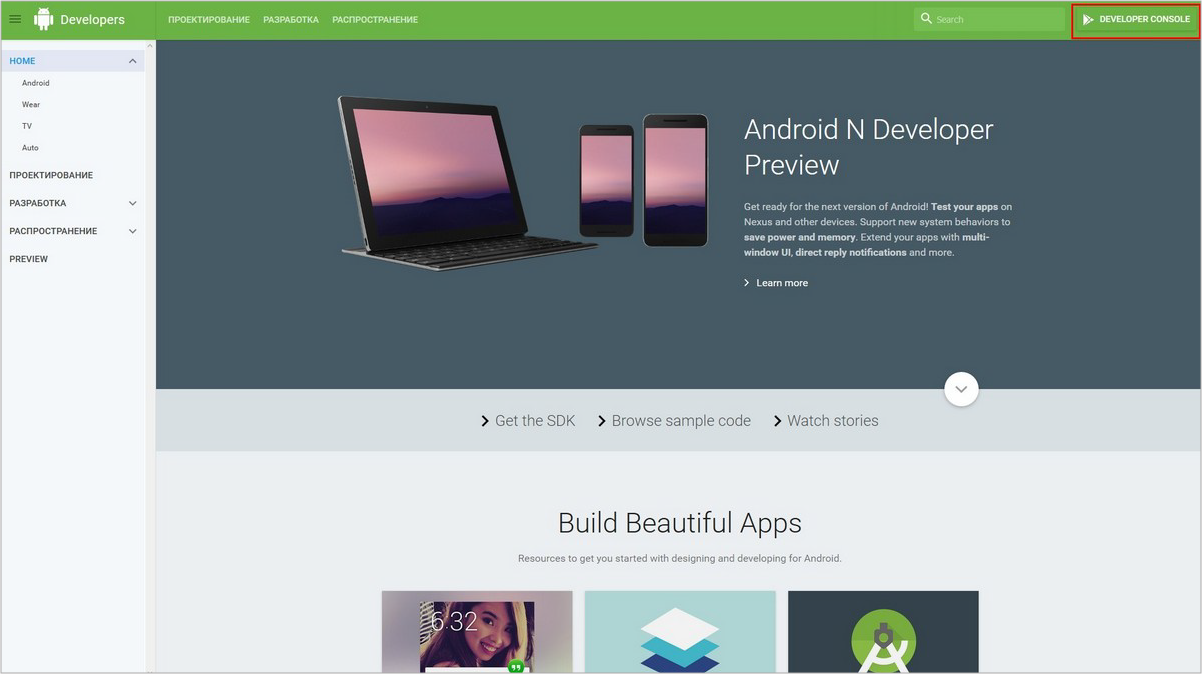
- Go to the developer.android.com/index.html page. First of all, pay attention to the page content. It collected a lot of useful information that can help the developer in his hard work. Click on the Developer Console button in the upper right corner and log in using your Google account. If this is not, then register a new one (with its help you can get access to all Google services).
- Having authorized, we accept license agreements, after which we pay for access with a bank card. Cost - $ 25.
- Fill out the form. Pay attention to the item "Developer Name" - this is the name of the company or team of programmers, which will be visible in the information about the application on Google Play. Done - we got access to the developer console. If your application is free, then the process is complete.
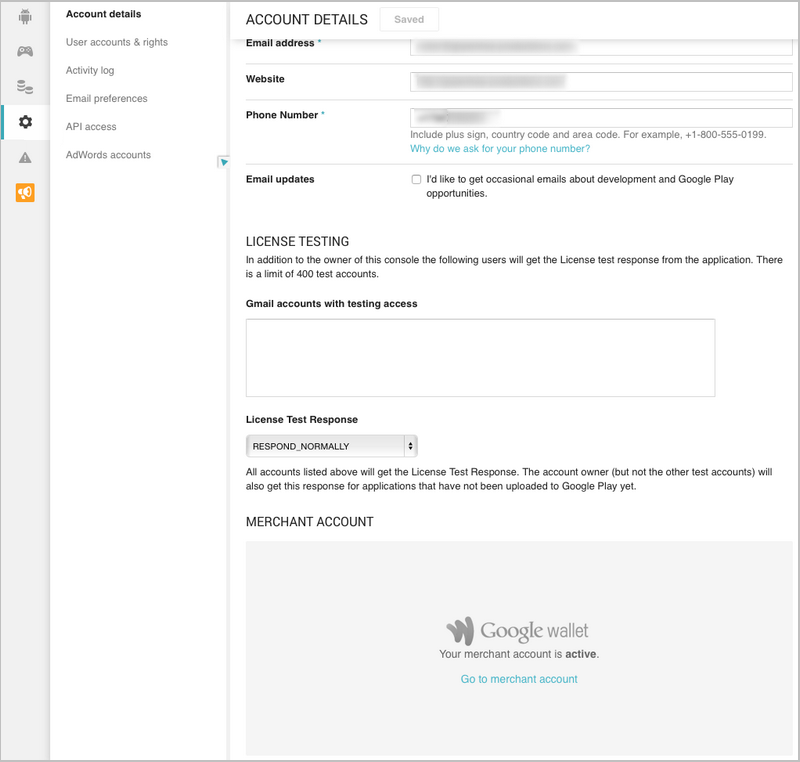
- If you plan to sell it, then you need to get an account seller. To do this, go to the settings, look for the inscription: “Register a merchant account” (set up a merchant account) and click on it. In the "Primary Contact Person" field, enter in the Latin personal data - yours or the person who will be involved in the process in the future. In the "Company Name" field, specify the same as in the "Developer Name". Next, fill in the address of the company with the index (if you post from a private person, then your own address). All data about the company, for example, scope of activity, etc., fill in as you please. Below we enter the bank data for withdrawal of funds (the minimum withdrawal amount is $ 100). We also enter credit card details. Congratulations, the process is complete. You have become the official seller of the app on Google Play.
What's next?
Registration is only part of the large process of putting the application to the store. To make your creation accessible to the world, you need to perform many more procedures, and also to make sure that your application meets certain criteria.
Read about it in the second part of the article.
Source: https://habr.com/ru/post/305990/
All Articles