Yandex "Mail for Domain" as a mail gateway for your servers
 Every time you raise a new server in the clouds, you get a random IP address. Not everyone understands that an IP address can get to you with a "story." Often you have to spend time removing IP from public blacklists. In my case, the last time was a very leisurely correspondence with mail.ru, which did not lead to anything. After that, having created a new server, I thought: how can I do this so that I do not have problems with such IP addresses?
Introduction
In spite of the fact that I may have both permanent servers and "play around" servers, I do not maintain mail for all of them, but I really want to receive service letters from my scripts and system services.
The obvious solution is to make your “decent” mail gateway and configure all other servers to forward mail through this gateway. The disadvantages of this solution are obvious:
- A separate server costs money, even if it is a cheap VPS
- IP-address must be constantly monitored in blacklists
- Setting up an email gateway takes time, which depends on your skills.
Because of the above reasons, I went to look for another solution, and, characteristically, I found it.
Decision
I found an opportunity to shame by using the Mail for Domain service from Yandex. At that time, I had 3 servers raised and the following A-records were in DNS:
| Host | Type of | Value |
|---|---|---|
| example.com | A | 123.123.123.120 |
| server1.example.com | A | 123.123.123.121 |
| server2.example.com | A | 123.123.123.122 |
| server3.example.com | A | 123.123.123.123 |
I have registered my technical domain in "Mail for Domain" and created an account: root@example.com . I tried to send emails from one of my servers using this SMTP account and received the following error:
553 5.7.1 Sender address rejected: not owned by auth user. envelope from address root@server1.example.com not accepted by the server Yandex does not allow to substitute any data into envelope-from . But what if you want to understand from which server a particular letter came, without additional tweaks?
To comply with the rules of Yandex, you need to perform the following steps on the side of their service:
Register the main domain and its subdomains in pdd.yandex.ru. The easiest way to get a domain confirmation is by adding a CNAME record:
Host Type of Value example.com CNAME verification-code server1.example.com CNAME verification-code server2.example.com CNAME verification-code server3.example.com CNAME verification-code We also create an MX record for each domain:
Host Type of A priority Value example.com MX ten mx.yandex.ru server1.example.com MX ten mx.yandex.ru server2.example.com MX ten mx.yandex.ru server3.example.com MX ten mx.yandex.ru In the settings of the main domain specify subdomains as aliases of this domain.

Create a mail account
root@example.com, if it has not yet been created
- Be sure to log into your account via the web interface and activate it, otherwise you will get an error:
535 5.7.8 Error: authentication failed: Please accept EULA first. https://mail.yandex.ru/for/example.com
Further work is required on our side - we set up the server:
- Install
msmtp- a miniature SMTP client that provides its own implementation ofsendmail Customize it:
defaults syslog LOG_MAIL tls_certcheck off tls on auto_from on # server hostname maildomain server1.example.com account default host smtp.yandex.ru port 25 auth on user root@example.com password 123qwe- We send a test letter with debugging:
echo -e "test message" | /usr/bin/msmtp --debug -t -i sugdyzhekov@plesk.comand see the result:
loaded system configuration file /etc/msmtprc ignoring user configuration file /root/.msmtprc: No such file or directory falling back to default account using account default from /etc/msmtprc host = smtp.yandex.ru port = 25 proxy host = (not set) proxy port = 0 timeout = off protocol = smtp domain = localhost auth = choose user = root@example.com password = * ntlmdomain = (not set) tls = on tls_starttls = on tls_trust_file = (not set) tls_crl_file = (not set) tls_fingerprint = (not set) tls_key_file = (not set) tls_cert_file = (not set) tls_certcheck = off tls_min_dh_prime_bits = (not set) tls_priorities = (not set) auto_from = on maildomain = server1.example.com from = root@server1.example.com add_missing_from_header = on add_missing_date_header = on remove_bcc_headers = on dsn_notify = (not set) dsn_return = (not set) logfile = (not set) syslog = LOG_MAIL aliases = (not set) reading recipients from the command line and the mail <-- 220 smtp3h.mail.yandex.net ESMTP (Want to use Yandex.Mail for your domain? Visit http://pdd.yandex.ru) --> EHLO localhost <-- 250-smtp3h.mail.yandex.net <-- 250-8BITMIME <-- 250-PIPELINING <-- 250-SIZE 42991616 <-- 250-STARTTLS <-- 250-AUTH LOGIN PLAIN XOAUTH2 <-- 250-DSN <-- 250 ENHANCEDSTATUSCODES --> STARTTLS <-- 220 Go ahead TLS certificate information: Owner: Common Name: smtp.yandex.ru Organization: Yandex LLC Organizational unit: ITO Locality: Moscow State or Province: Russian Federation Country: RU Issuer: Common Name: Yandex CA Organization: Yandex LLC Organizational unit: Yandex Certification Authority Country: RU Validity: Activation time: Mon 12 Oct 2015 03:41:24 PM MSK Expiration time: Wed 11 Oct 2017 03:41:24 PM MSK Fingerprints: SHA1: B7:0E:62:55:E1:3A:C0:F3:08:12:35:B2:9D:4B:25:D0:B8:C1:C6:39 MD5: BC:15:CE:B6:D4:FF:0D:95:4F:E5:1A:A7:3A:DF:DA:65 --> EHLO localhost <-- 250-smtp3h.mail.yandex.net <-- 250-8BITMIME <-- 250-PIPELINING <-- 250-SIZE 42991616 <-- 250-AUTH LOGIN PLAIN XOAUTH2 <-- 250-DSN <-- 250 ENHANCEDSTATUSCODES --> AUTH PLAIN AhJvb3ARY29uzMlntS5ydQBXYw5VcMMlazk= <-- 235 2.7.0 Authentication successful. --> MAIL FROM:<root@server1.example.com> --> RCPT TO:<sugdyzhekov@plesk.com> --> DATA <-- 250 2.1.0 <root@server1.example.com> ok <-- 250 2.1.5 <sugdyzhekov@plesk.com> recipient ok <-- 354 Enter mail, end with "." on a line by itself --> From: root@server1.example.com --> Date: Mon, 06 Jun 2016 16:17:00 +0300 --> test message --> . <-- 250 2.0.0 Ok: queued on smtp3h.mail.yandex.net as 1465219021-86hlZkGCpZ-H0J8ORE2 --> QUIT <-- 221 2.0.0 Closing connection.Great success! The letter is gone, but we will find it in spam, since it is empty for some reason. Let's check in a more familiar and "human" way:
echo "test message" | mailx -s 'test subject' sugdyzhekov@plesk.comHere, now in a box the normal letter. Great!
DKIM & SPF
And it is also possible to register DKIM and SPF records for each domain. If you, like me, are using your DNS hosting, then simply copy the corresponding values from the “DNS Editor” in the Yandex interface. Warning: for each domain and alias its own key!
Host Type of Value mail._domainkey.example.com Txt v = DKIM1; k = rsa; t = s; p = MIGf ... mail._domainkey.server1.example.com Txt v = DKIM1; k = rsa; t = s; p = MIGf ... mail._domainkey.server2.example.com Txt v = DKIM1; k = rsa; t = s; p = MIGf ... mail._domainkey.server3.example.com Txt v = DKIM1; k = rsa; t = s; p = MIGf ... We send a letter from the server and look at the headers:
DKIM-Signature: v=1; a=rsa-sha256; c=relaxed/relaxed; d=example.com; s=mail; t=1467009762; bh=Pb6s/Xlf4... Authentication-Results: smtp14.mail.yandex.net; dkim=pass header.i=@example.comLepote!
If sending mail for a domain will occur only through the Yandex server and from previously known IP addresses, then you can safely write SPF records in accordance with the documentation https://yandex.ru/support/pdd/troubleshooting/dns.xml# step2
Host Type of Value example.com Txt v = spf1 redirect = _spf.yandex.net server1.example.com Txt v = spf1 redirect = _spf.yandex.net server2.example.com Txt v = spf1 redirect = _spf.yandex.net server3.example.com Txt v = spf1 redirect = _spf.yandex.net Nuances
Most likely, you are great, and your application is not running as root. Attempting to send a letter from a regular user will again lead to a familiar error in the msmtp log:
Jun 6 14:21:24 server1 msmtp: host=smtp.yandex.ru tls=on auth=on user=root@example.com from=app@server1.example.com recipients=sugdyzhekov@plesk.com smtpstatus=553 smtpmsg='553 5.7.1 Sender address rejected: not owned by auth user.' errormsg='envelope from address user@server1.example.com not accepted by the server' exitcode=EX_DATAERRYou can solve this problem in different ways. For example, you can explicitly specify a user by disabling the
auto_from offoption inmsmtp. But I have already decided that it does not suit me.The correct solution is to add a user as an alias for our main address:
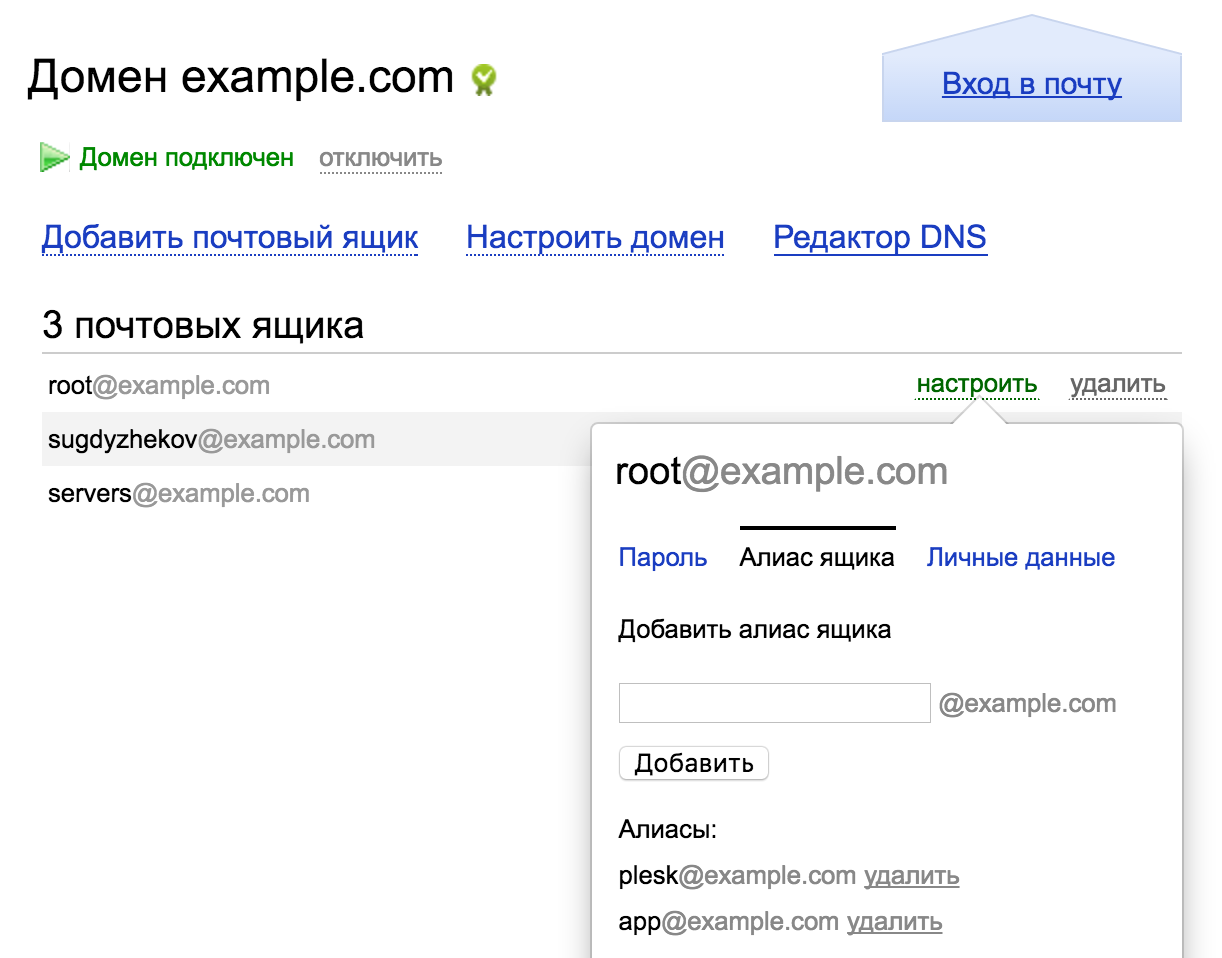
Local relay
If you need a local SMTP relay, this configuration is also suitable for you. You just need to replace msmtp with postfix or exim configured to use Yandex servers as a smart host (you can google, for example, with the keywords exim smarthost).
Summary
Now, any server that I raise for my puzzles, immediately gets the configured channel to send mail. In DNS and pdd.yandex.ru I pre-registered several subdomains as a reserve. Since I deploy the server through SaltStack, my servers receive the msmtp configuration automatically.
What I got in the end:
- The most important thing is that there are no problems with blacklists and IP addresses of servers, since emails go through Yandex servers
- DKIM / SPF "out of the box" - letters do not fall into spam
- msmtp is a simple SMTP client that doesn’t even need to be hung in the server’s memory - it is launched as needed
- msmtp - the simplest setting, unlike the "adult" postfix, exim
- You can not worry about PTR-records for your IP-addresses from the point of view of the postal system.
I hope this instruction is useful to someone. I would be glad to learn from the comments who and how solves this problem.
')
Source: https://habr.com/ru/post/304204/
All Articles