Notifications in iOS 10
Notifications in iOS 10
They say that at this WWDC there was nothing interesting, except for interactive notifications. Indeed, new notifications are one of the most interesting new features. Not only for developers, but also for ordinary users. In iOS 10, they tried to unify work with local and push notifications and added a new framework UserNotifications.framework for this. The old API is now forbidden (deprecated), but you can use it as long as you support iOS 9.
New notifications can:
- show attachments (pictures and video)
- display custom UI
- show standard UI in active application (why so long! 11)
- remove yourself from the notification center (!! 1)
In this article we will understand how this works. It will be interesting not only to developers, but also to UX designers.

Notification Registration
Notifications are now managed by the UNUserNotificationCenter class. As before, during registration, you must specify the types of notifications that the system will process ( .alert , .sound , .badge ). But, instead of the UIUserNotificationType type, these values are now of type UNAuthorizationOptions . Subscribing to notifications now happens like this:
UNUserNotificationCenter.current().requestAuthorization([.alert, .sound, .badge]) { (granted, error) in if granted { UIApplication.shared().registerForRemoteNotifications() } } Old methods of working with notifications will still be relevant for several years, so you need to take care of their support. For compatibility with iOS8 +, we will make a method that allows you to convert the list of options from UIUserNotificationType to UNAuthorizationOptions :
extension UIUserNotificationType { @available(iOS 10.0, *) func authorizationOptions() -> UNAuthorizationOptions { var options: UNAuthorizationOptions = [] if contains(.alert) { options.formUnion(.alert) } if contains(.sound) { options.formUnion(.sound) } if contains(.badge) { options.formUnion(.badge) } return options } } Now it’s easy to subscribe to pushy to support both APIs:
func registerForNotifications(types: UIUserNotificationType) { if #available(iOS 10.0, *) { let options = types.authorizationOptions() UNUserNotificationCenter.current().requestAuthorization(options) { (granted, error) in if granted { self.application.registerForRemoteNotifications() } } } else { let settings = UIUserNotificationSettings(types: types, categories: nil) application.registerUserNotificationSettings(settings) application.registerForRemoteNotifications() } } Sending Notifications
There are two new entities for sending notifications: a UNNotificationTrigger trigger and a UNNotificationRequest request.
The UNNotificationTrigger trigger UNNotificationTrigger needed in order to set the condition under which the notification will be delivered. There are four types of triggers:
UNPushNotificationTrigger- set by the system automatically upon receipt of a push.UNTimeIntervalNotificationTrigger- will work after a specified period of timeUNCalendarNotificationTrigger- will work at a specific time in the future.UNLocationNotificationTrigger- will work when entering / exiting a given georegion.
The UNNotificationRequest request UNNotificationRequest used to send a notification to the system. Also, the system will give you this object when it receives a notification. It is convenient to use to check the type of notification and switch to a specific screen in the application.
So you can send a local notification, while maintaining compatibility with older versions of iOS:
func scheduleNotification(identifier: String, title: String, subtitle: String, body: String, timeInterval: TimeInterval, repeats: Bool = false) { if #available(iOS 10, *) { let content = UNMutableNotificationContent() content.title = title content.subtitle = subtitle content.body = body let trigger = UNTimeIntervalNotificationTrigger(timeInterval: timeInterval, repeats: repeats) let request = UNNotificationRequest(identifier: identifier, content: content, trigger: trigger) UNUserNotificationCenter.current().add(request, withCompletionHandler: nil) } else { let notification = UILocalNotification() notification.alertBody = "\(title)\n\(subtitle)\n\(body)" notification.fireDate = Date(timeIntervalSinceNow: 1) application.scheduleLocalNotification(notification) } } Display in active application
In iOS 10, you can now display received notifications in the active application. As usual, they will float right above the status bar and have a systematic design and behavior.
This feature is disabled by default, it must be activated in the delegate method UNUserNotificationCenterDelegate . If the application is active, before displaying the notification, you will have the opportunity to process it:
@available(iOS 10, *) public func userNotificationCenter(_ center: UNUserNotificationCenter, willPresent notification: UNNotification, withCompletionHandler completionHandler: (UNNotificationPresentationOptions) -> Void) { completionHandler([.alert, .sound, .badge]) } In order not to display the notification, it is enough to call the handler with the empty parameters completionHandler([]) or delete the implementation of this method altogether.
Notification management
The notification can now be deleted or updated its contents, while it has not yet been read. The system uses an identifier to update a received or pending delivery notification. If a new notification is received with an existing identifier, instead of showing several notifications in a row, the old notification will be updated and will rise higher in the list of notifications.

The identifier is a parameter that is passed during the creation of a request for a local UNNotificationRequest(identifier: "identifier", content: content, trigger: trigger) notification UNNotificationRequest(identifier: "identifier", content: content, trigger: trigger) . In push notifications, it is transmitted using the HTTP / 2 header apns-collapse-id . It is not known whether this header can be made to work on old protocols. At a minimum, this is another reason to finally switch to the HTTP / 2 protocol for those who have not yet done so.
Attachments
Now you can insert pictures and videos in the notification. For this there is a new extension Notification Service Extension.
Notification Service Extension
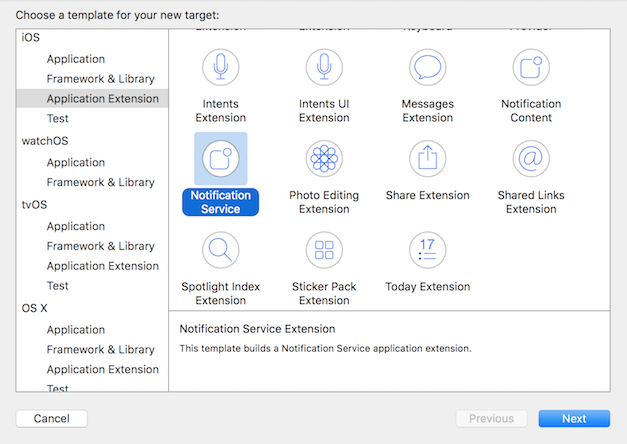
There are only two methods in this extension. The first didReceiveRequest:withCompletionHandler used to insert media files. The second method serviceExtensionWithExpire called if the extension fails to complete in the allotted time interval:
class NotificationService: UNNotificationServiceExtension { override func didReceive(_ request: UNNotificationRequest, withContentHandler contentHandler:(UNNotificationContent) -> Void) { // handle attachments } override func serviceExtensionTimeWillExpire() { // fallback to default message } } The extension is allocated 30 seconds to have time to download the attachment and save it to a temporary file. Therefore, in the push it is necessary to transfer links to optimized resources. Images should be small and videos should be short. If the extension did not manage to call contentHandler in the allotted time, then it will be destroyed and the received notification will be displayed without changes.
For the extension to execute, the key mutable-content: 1 must be present in the push notification mutable-content: 1 . A typical example of push notifications with an attachment:
{ "aps": { "alert": " ?", "mutable-content": 1 }, "image": "https://habrastorage.org/files/ff5/03e/e6b/ff503ee6b45d46ffb092aac33f2f282b.gif" } Before the attachment appears on the screen, it must be downloaded and saved to a temporary file. Files must be of type supported by the system:
https://developer.apple.com/reference/usernotifications/unnotificationattachment#overview

You can download the file this way (here and below, the forced try! used for short):
func store(url: URL, extension: String, completion: ((URL?, NSError?) -> ())?) { // obtain path to temporary file let filename = ProcessInfo.processInfo().globallyUniqueString let path = try! URL(fileURLWithPath: NSTemporaryDirectory()).appendingPathComponent("\(filename).\(`extension`)") // fetch attachment let task = session.dataTask(with: url) { (data, response, error) in let _ = try! data?.write(to: path) completion?(path, error) } task.resume() } Then the notification needs to be modified by adding a UNNotificationAttachment object to UNNotificationAttachment . At the end, always call contentHandler :
override func didReceive(_ request: UNNotificationRequest, withContentHandler contentHandler:(UNNotificationContent) -> Void) { let content = request.content.mutableCopy() as! UNMutableNotificationContent if let gif = request.content.userInfo["gif"] as? String { let url = URL(string: gif)! attachmentStorage.store(url: url, extension: "gif") { (path, error) in if let path = path { let attachment = try! UNNotificationAttachment(identifier: "image", url: path, options: nil) { content.attachments = [attachment] contentHandler(content) } else { contentHandler(content) } } } else { contentHandler(request.content) } } When pressed hard, it unfolds into a detailed view and the attachment is fully displayed. If in the attachment gif, it starts to play. So far, only 3D Touch is supported, but Apple promises to port this feature to devices with conventional touch.

Change appearance (UI)
Now you can add any content to the notification. This is done using the Notification Content Extension.
Notification Content Extension
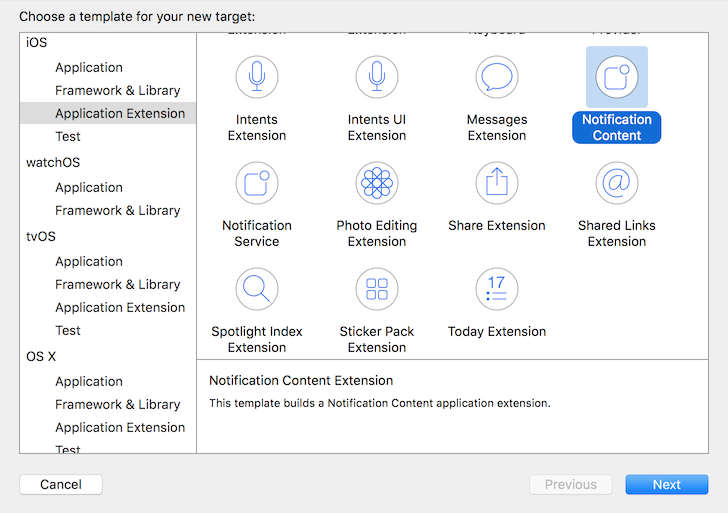
This extension is used to change the appearance of a notification when it is presented in expanded form. Unfortunately, such content is not interactive and clicking on it is impossible. All interaction is based on action buttons under the notification.
The extension consists of a UIViewController controller and a storyboard.
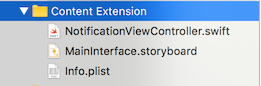
The system will launch the extension when it receives a notification with the category specified in Info.plist. You can list several categories:

{ "aps": { "alert": " 32₽", "category": "content" } } Of course, the category must be registered in advance:
let category = UNNotificationCategory(identifier: "content", actions: [], minimalActions: [], intentIdentifiers: [], options: []) UNUserNotificationCenter.current().setNotificationCategories([category]) In addition, the following flags can be set in Info.plist:
UNNotificationExtensionDefaultContentHidden- controls the display of standard labels with title and notification text.UNNotificationExtensionInitialContentSizeRatio- the ratio of the width of the notification to the height. The system uses this value to set the starting notification size on the screen.
Knuff app
To send push notifications in this article, the Knuff App was used. Very comfortably. Information about her was in one of our digests MBLTDev 58 .
thank
If you read this far, it means you really were interested. Thanks for attention. Hope it was helpful.
Links
iOS Human Interface Guidelines
UserNotifications Framework Reference
UserNotificationsUI Framework Reference
')
Source: https://habr.com/ru/post/303970/
All Articles