FlexboxLayout - part 1
- Part 1
- Part 2
In May 2016, a new project appeared in the official Google repository on Github - flexbox-layout . This is an Android layout manager that provides functionality similar to the CSS flexible box . In this series of articles, we take a look at FlexboxLayout and try to understand how it works and how best to use it.
We consider the effect of XML attributes on the layout and behavior of nested views. To make it easier to understand, I published an application on Google Play, which allows you to experiment with various options. Over time, I will lay out the source code of this application, but for now I suggest downloading it and playing around with the settings.
I also want to note that in these articles I will consider all actions from the point of view of developing for Android, i.e. I will use the standard Android layouts and mark where FlexboxLayout allows you to get a similar result.
First, add the dependency to the build.gradle file:
dependencies { compile 'com.google.android:flexbox:0.1.2' } And now we can simply use FlexboxLayout in XML (well, or in code, if necessary). I will not dwell on this in more detail; there are more than enough examples in the repository.
In general, the FlexboxLayout is closest to LinearLayout : the children are arranged sequentially, one after the other. When using LinearLayout, we set the orientation, and this brings us to the first attribute of FlexboxLayout , which we will now consider:
flexDirection
This attribute controls the direction of the child elements, and, as already mentioned, works similarly to the orientation attribute for LinearLayout . The row and column values are similar to the horizontal and vertical orientation. However, there are 2 more possible values: row_reverse and column_reverse - they do the same, only the child elements are in reverse order.
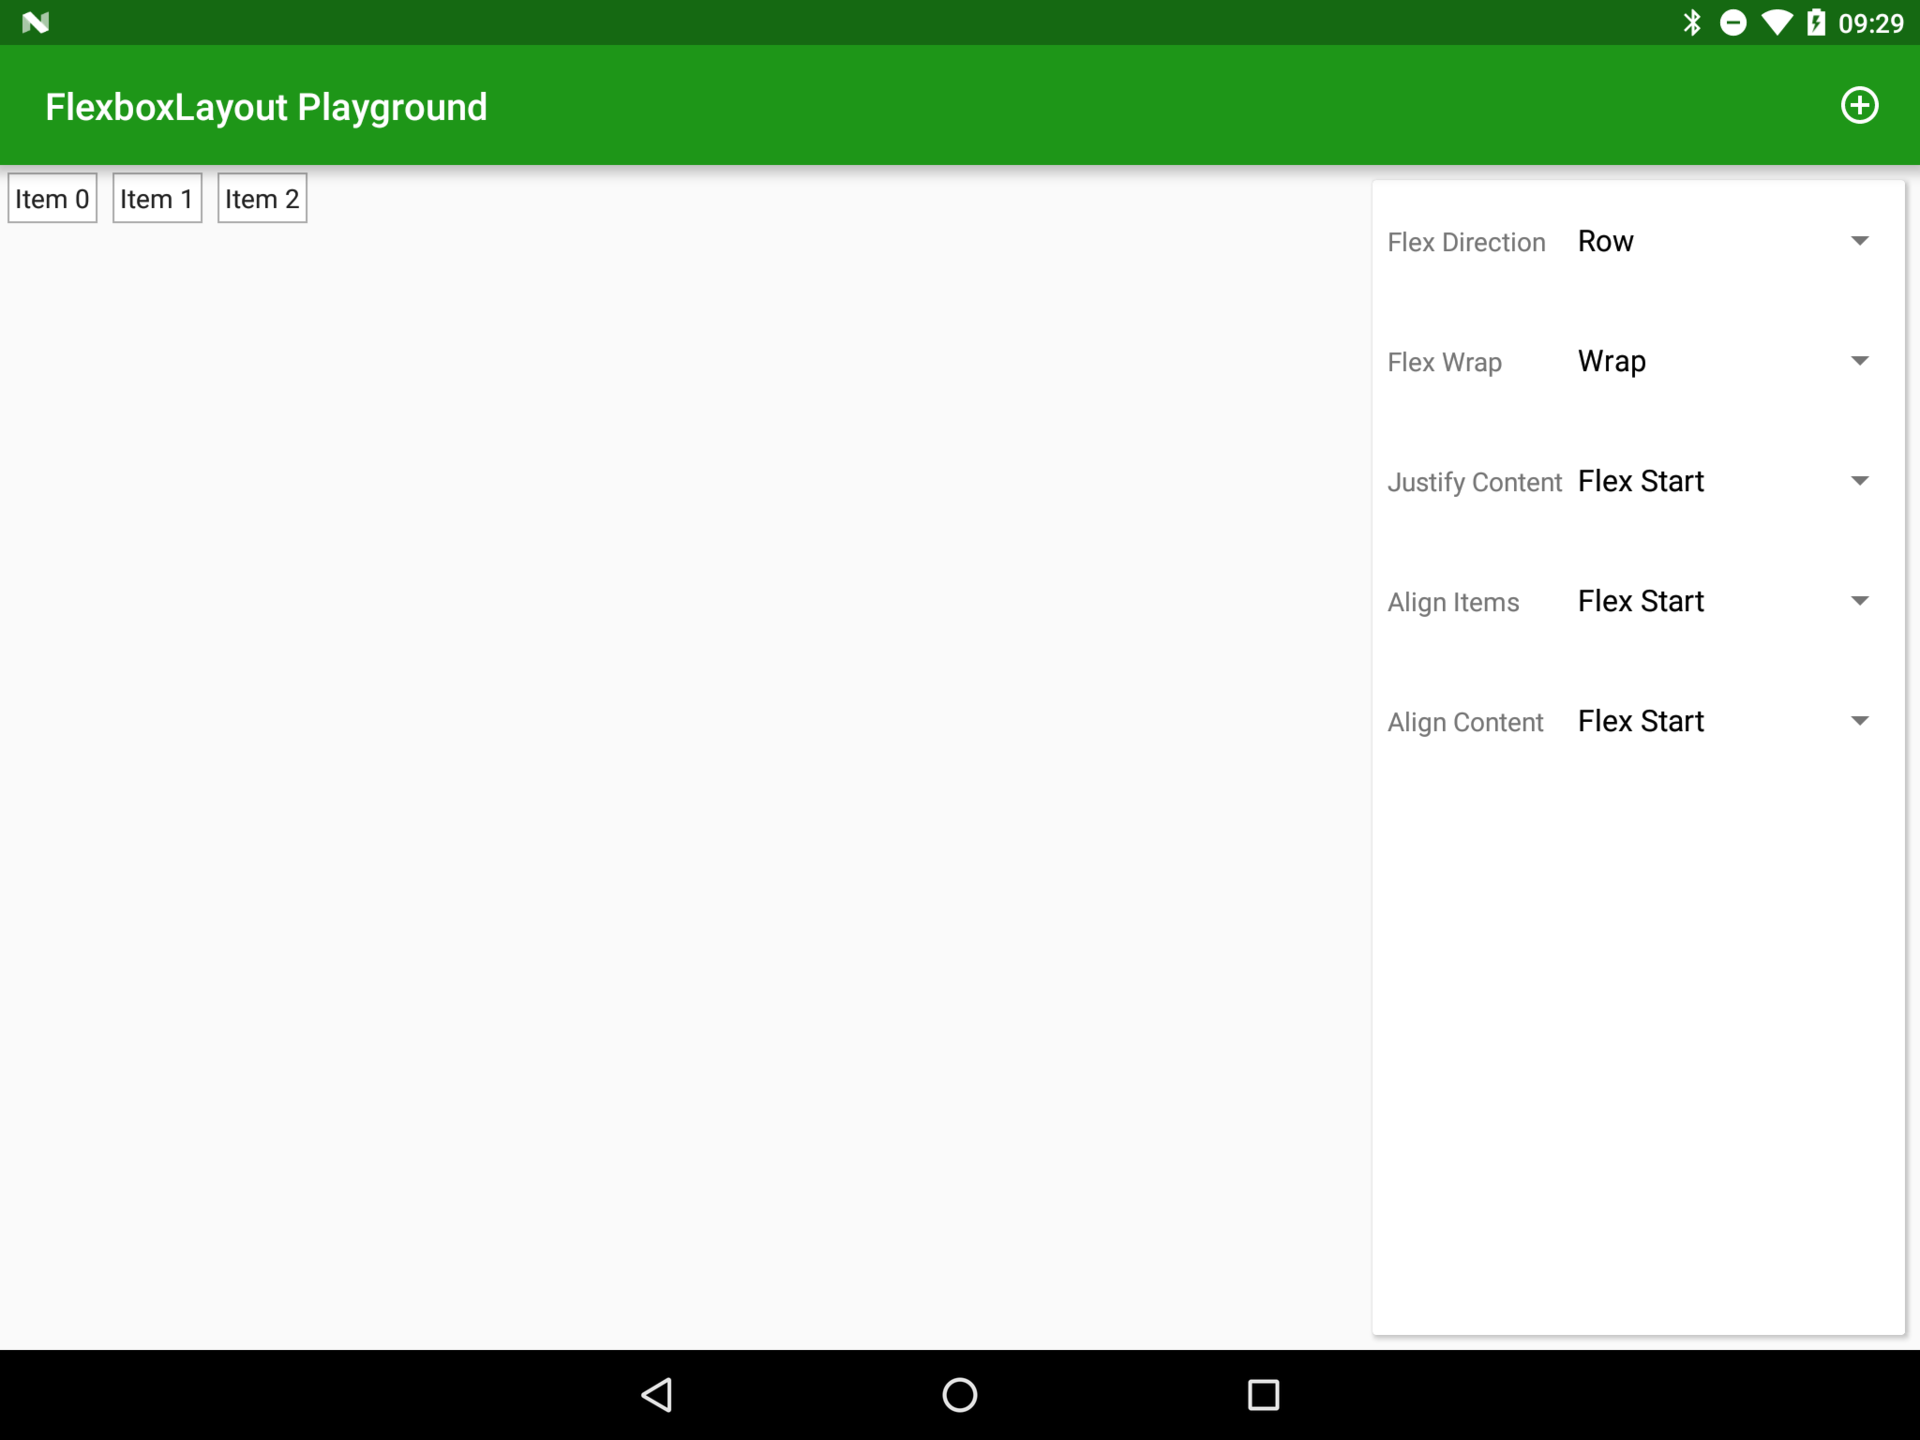
flexDirection = "row"
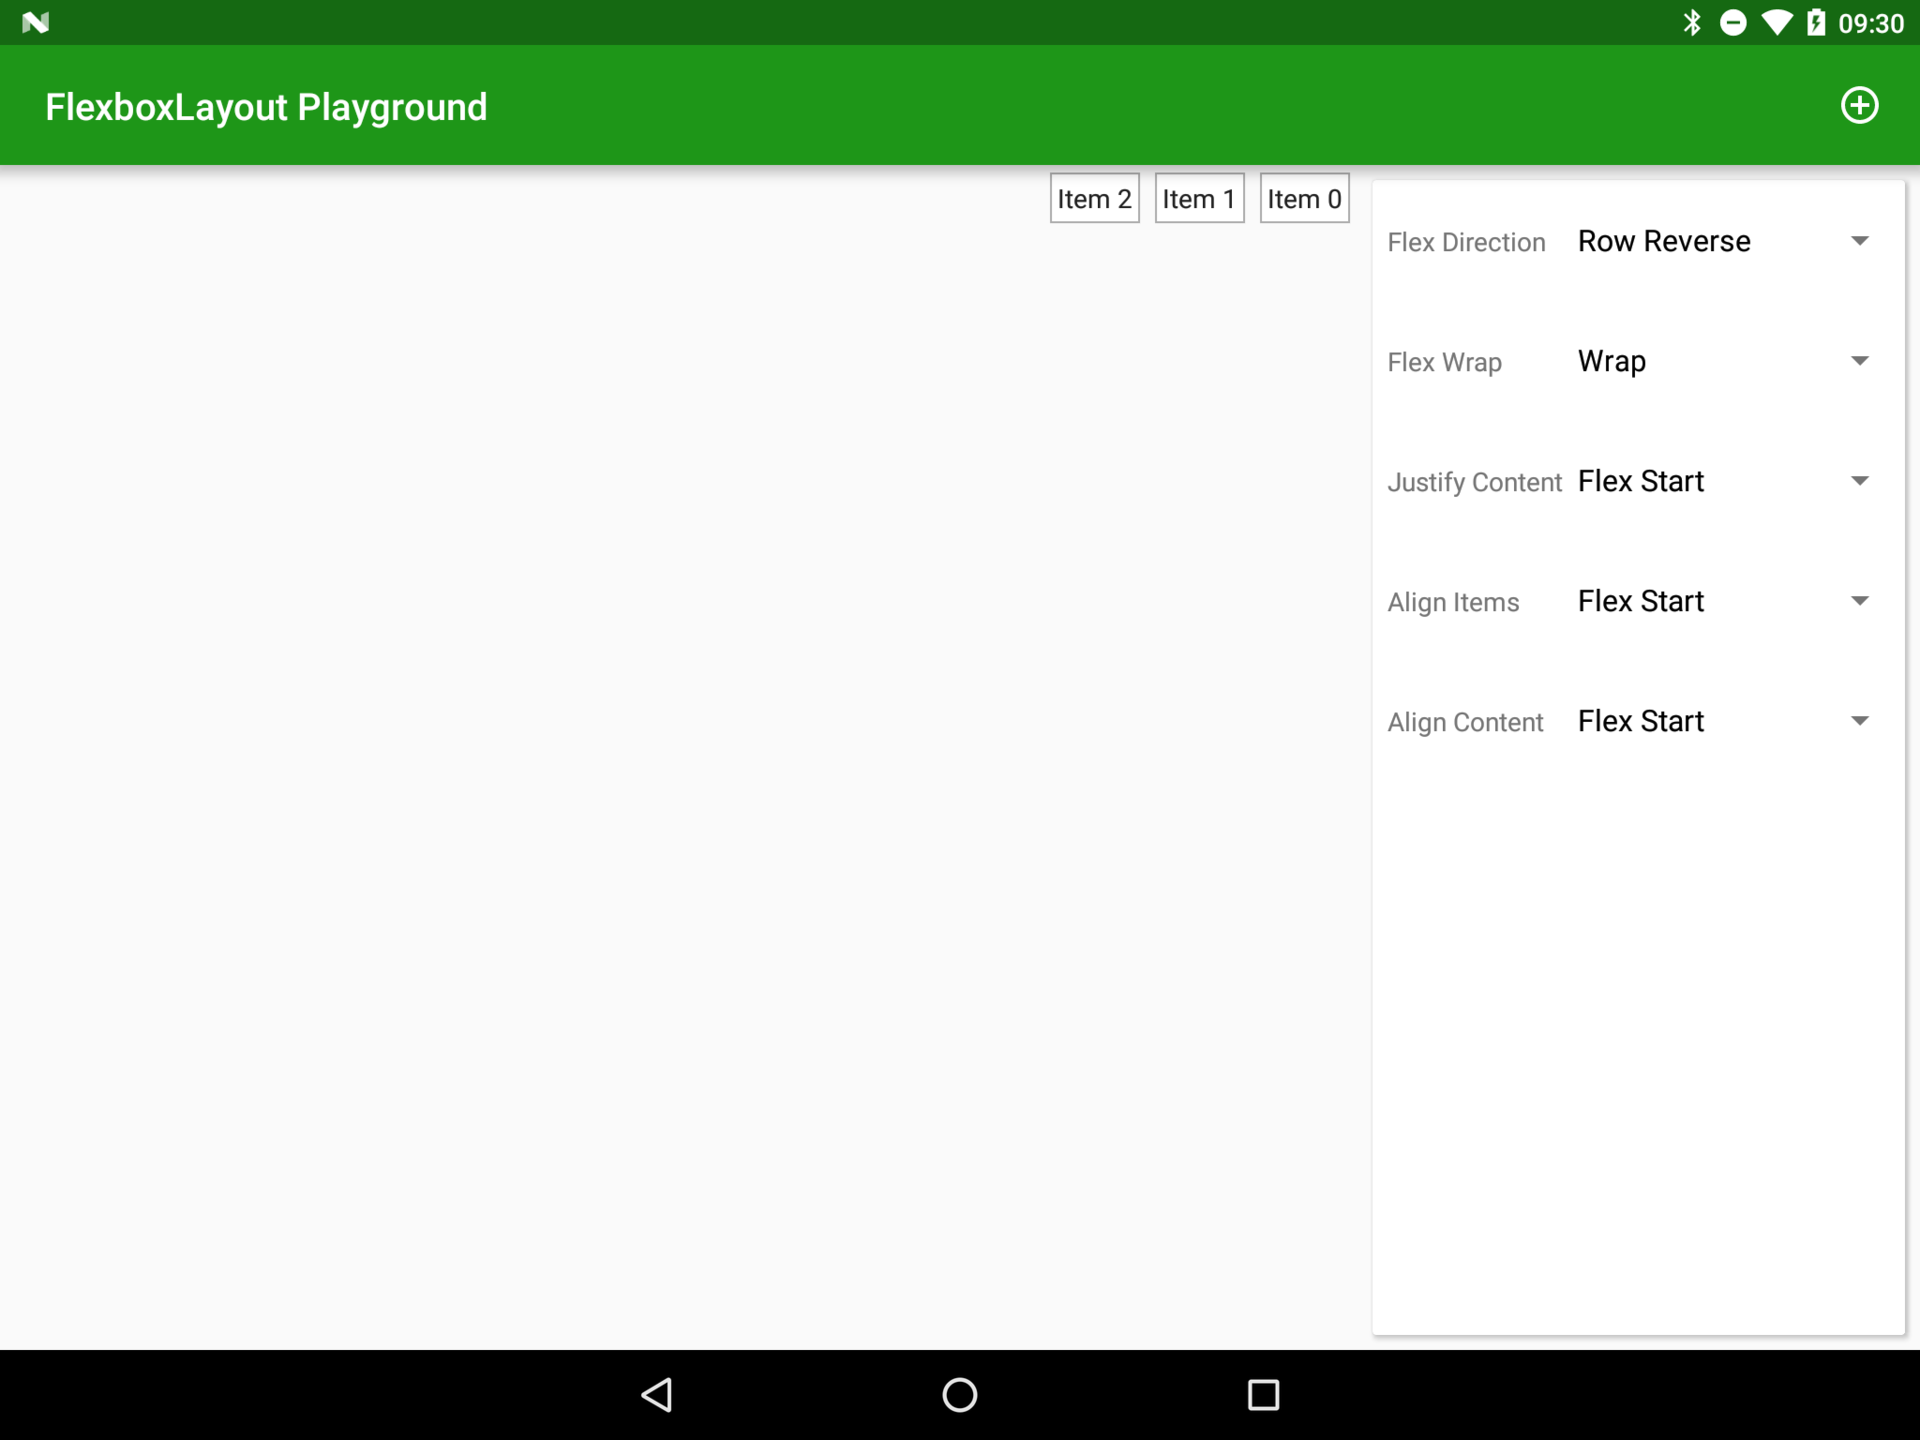
flexDirection = "row_reverse"
Here you need to stop and enter a couple of terms: the main axis (main axis) is the direction of the layout specified in the flexDirection attribute; and the cross axis perpendicular to this direction. For row and row_reverse, the horizontal axis will be the main axis, and the vertical axis will be the transverse one. Remember these definitions, we still need them.
flexWrap
The first important difference between FlexboxLayout and LinearLayout is the behavior when the child elements reach the container border (i.e. do not fit into the container). In the case of using LinearLayout, children are simply cut off, so that when they reach the border they will be outside the container. Using FlexboxLayout , we can control this behavior using the flexWrap attribute. Setting it to nowrap , we force all previous elements to shrink to make room for a new element. There is a possibility of more fine-tuning, we will look at this in further articles when we analyze the attributes of child elements.
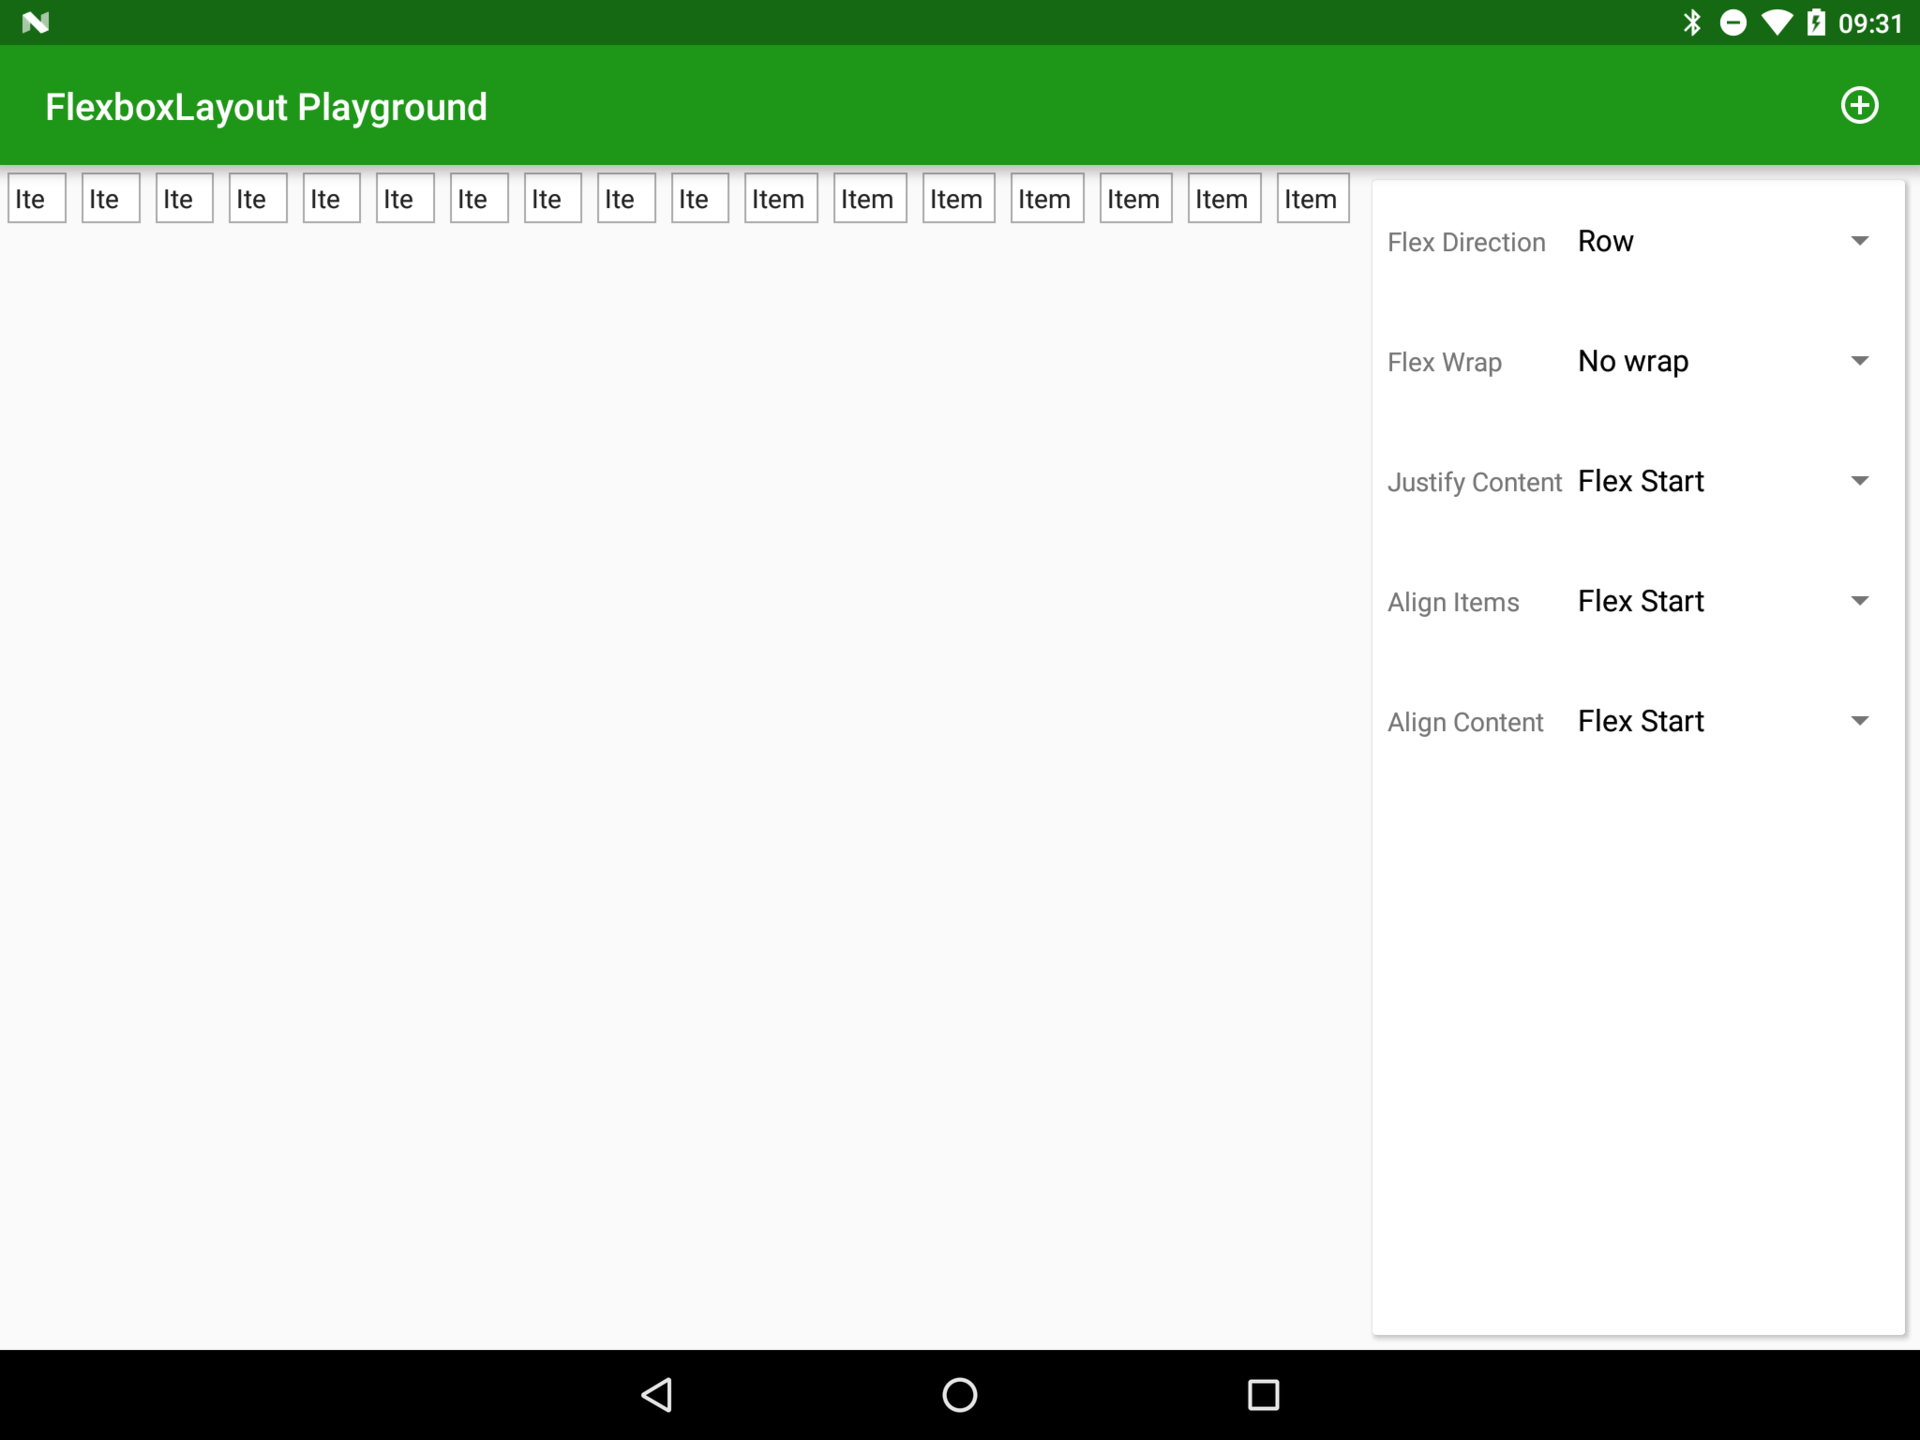
flexWrap = "nowrap"
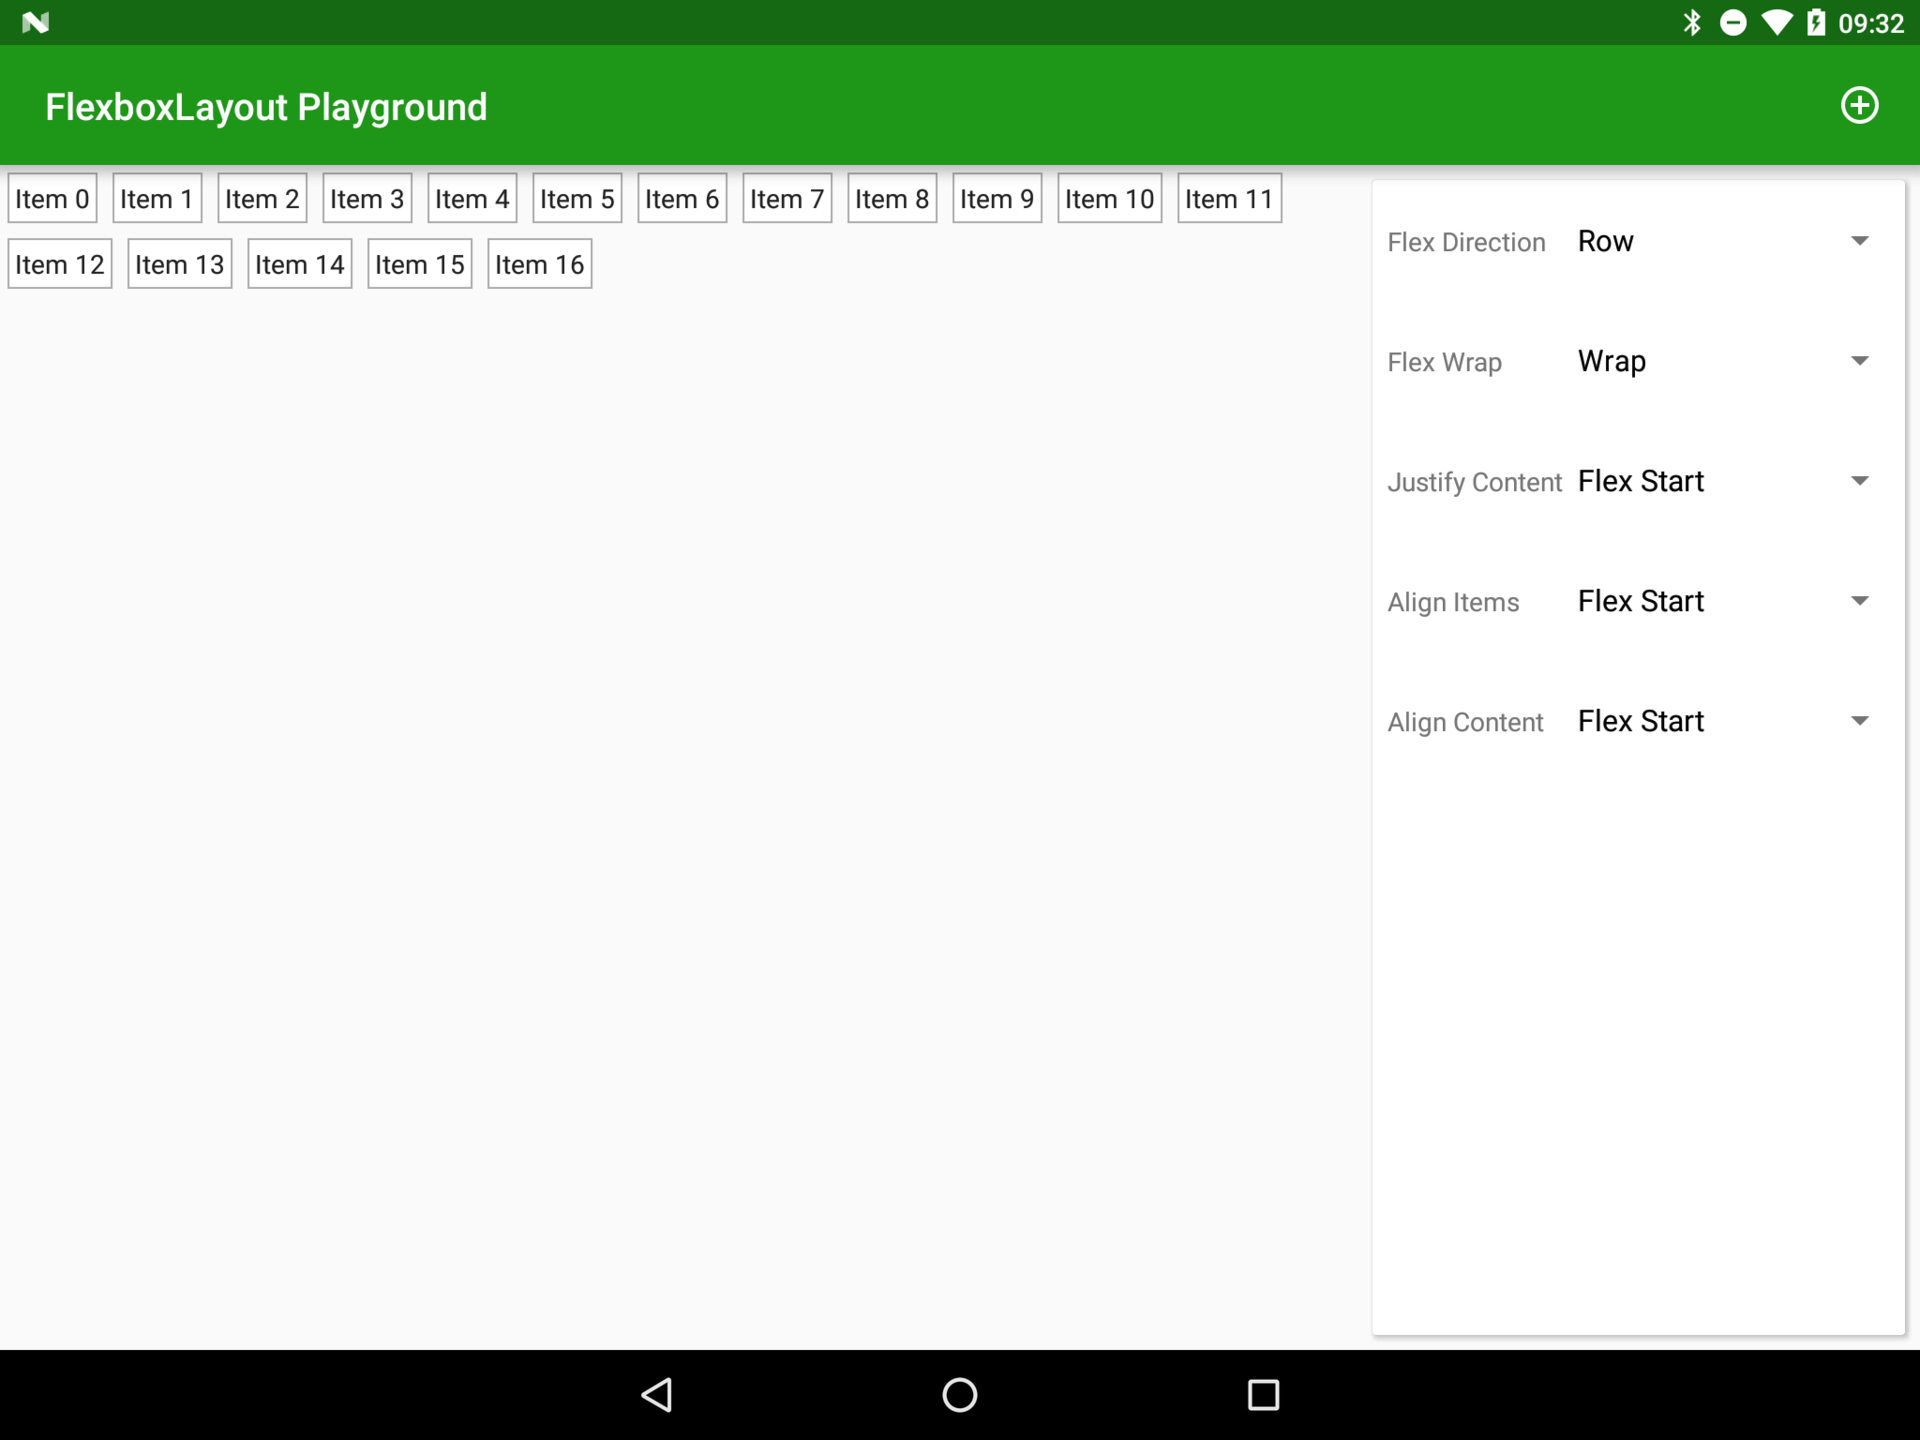
flexWrap = "wrap"
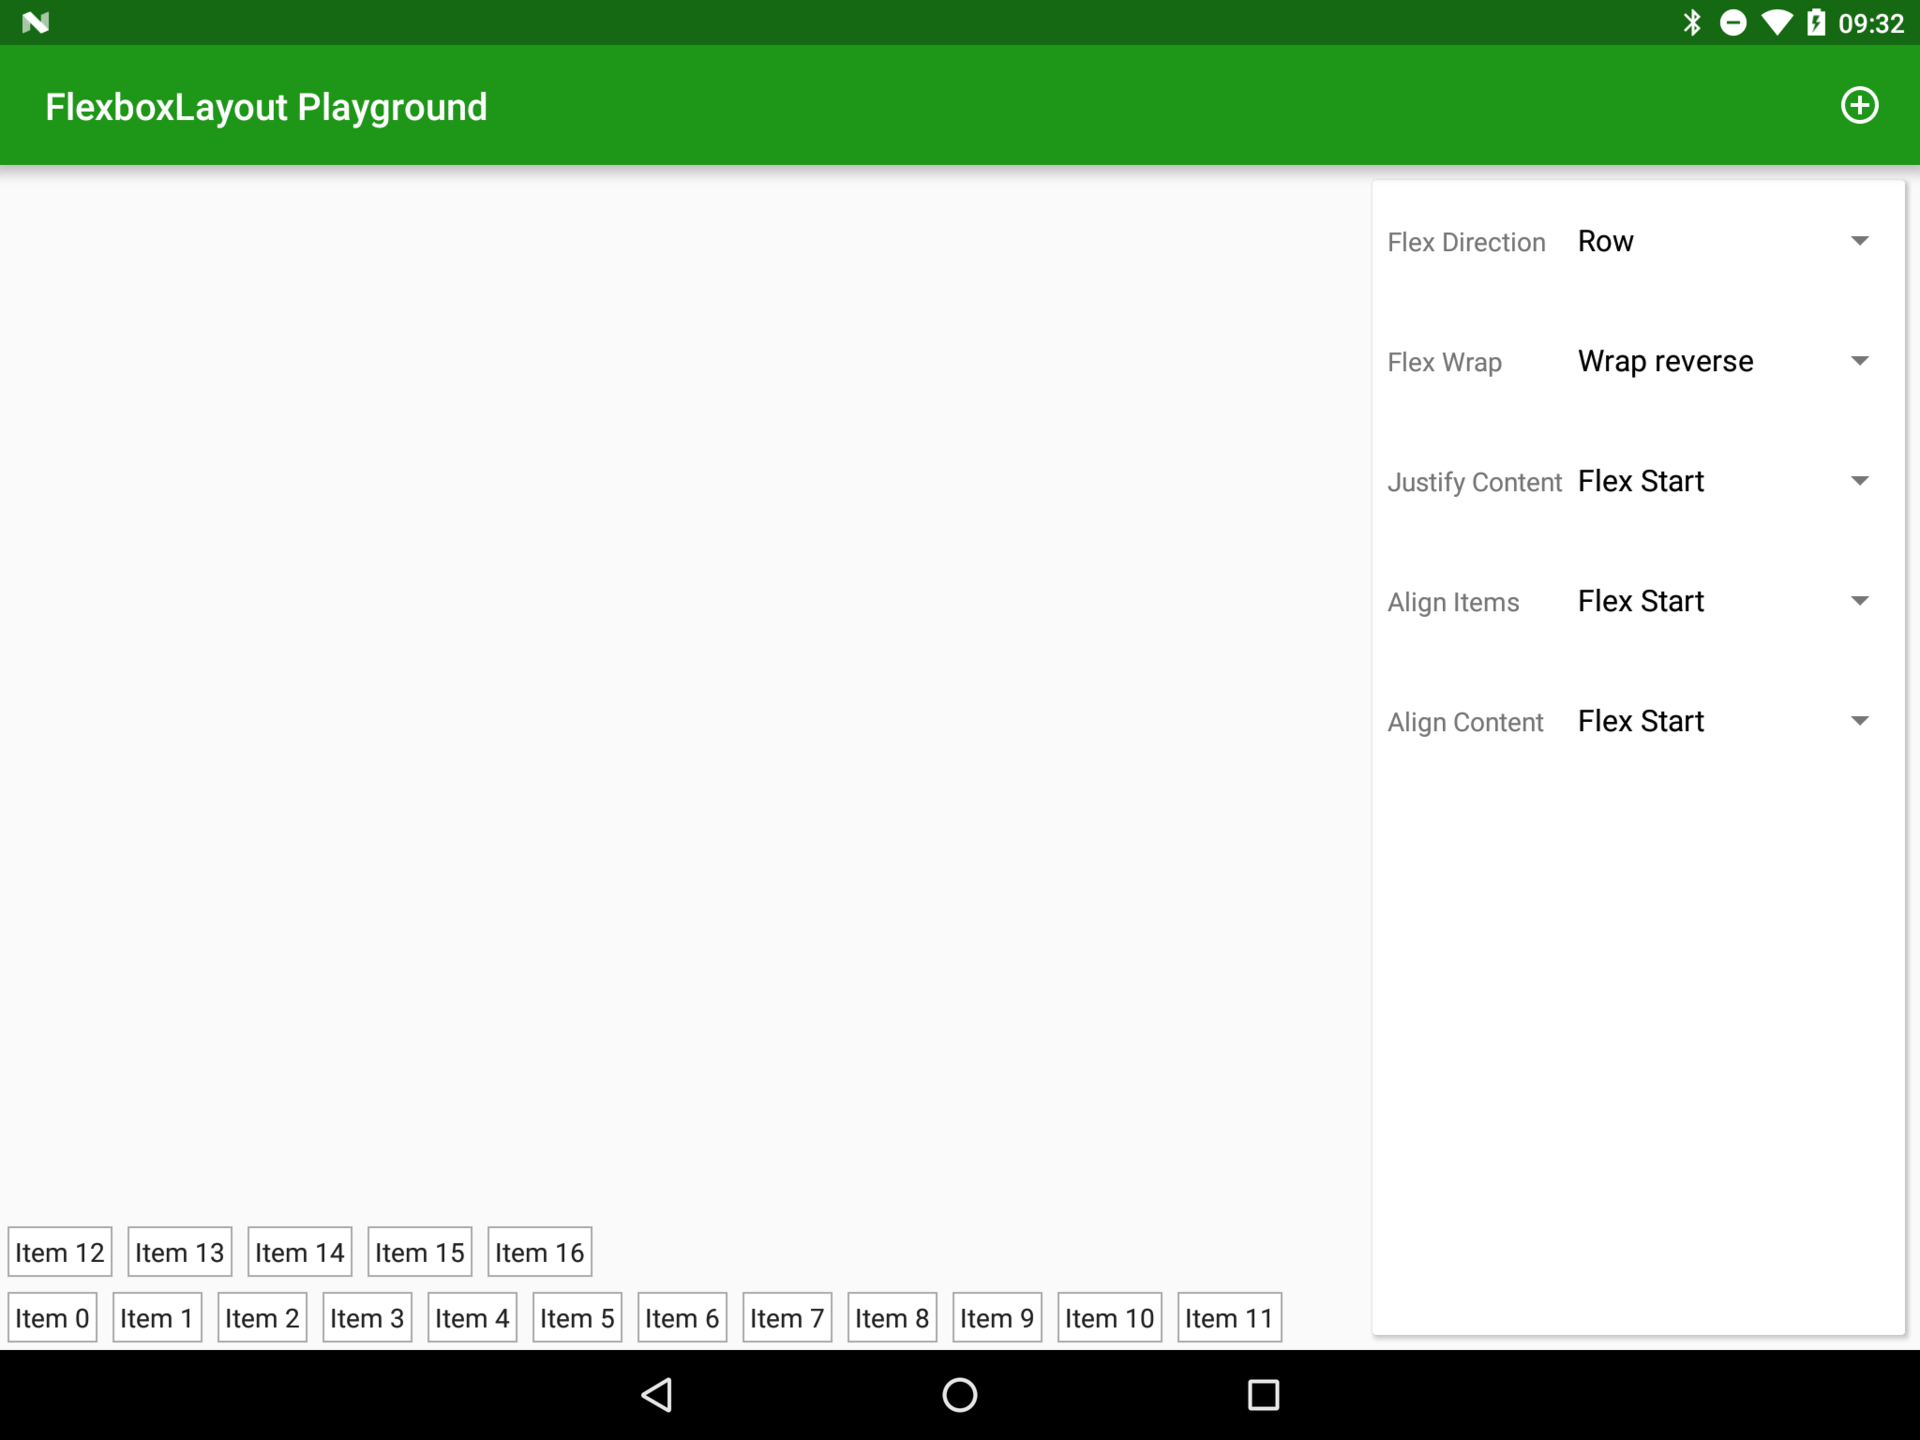
flexWrap = "wrap_reverse"
justifyContent
The method of positioning elements along the main axis is controlled by the justifyContent attribute. At first glance, the behavior of this attribute may seem similar to the behavior of the flexDirection attribute, however flexDirection controls the order of the elements, while justifyContent has a relative location. Possible values are flex_start , flex_end , center , space_between, and space_around .

justifyContent = "flex_start"
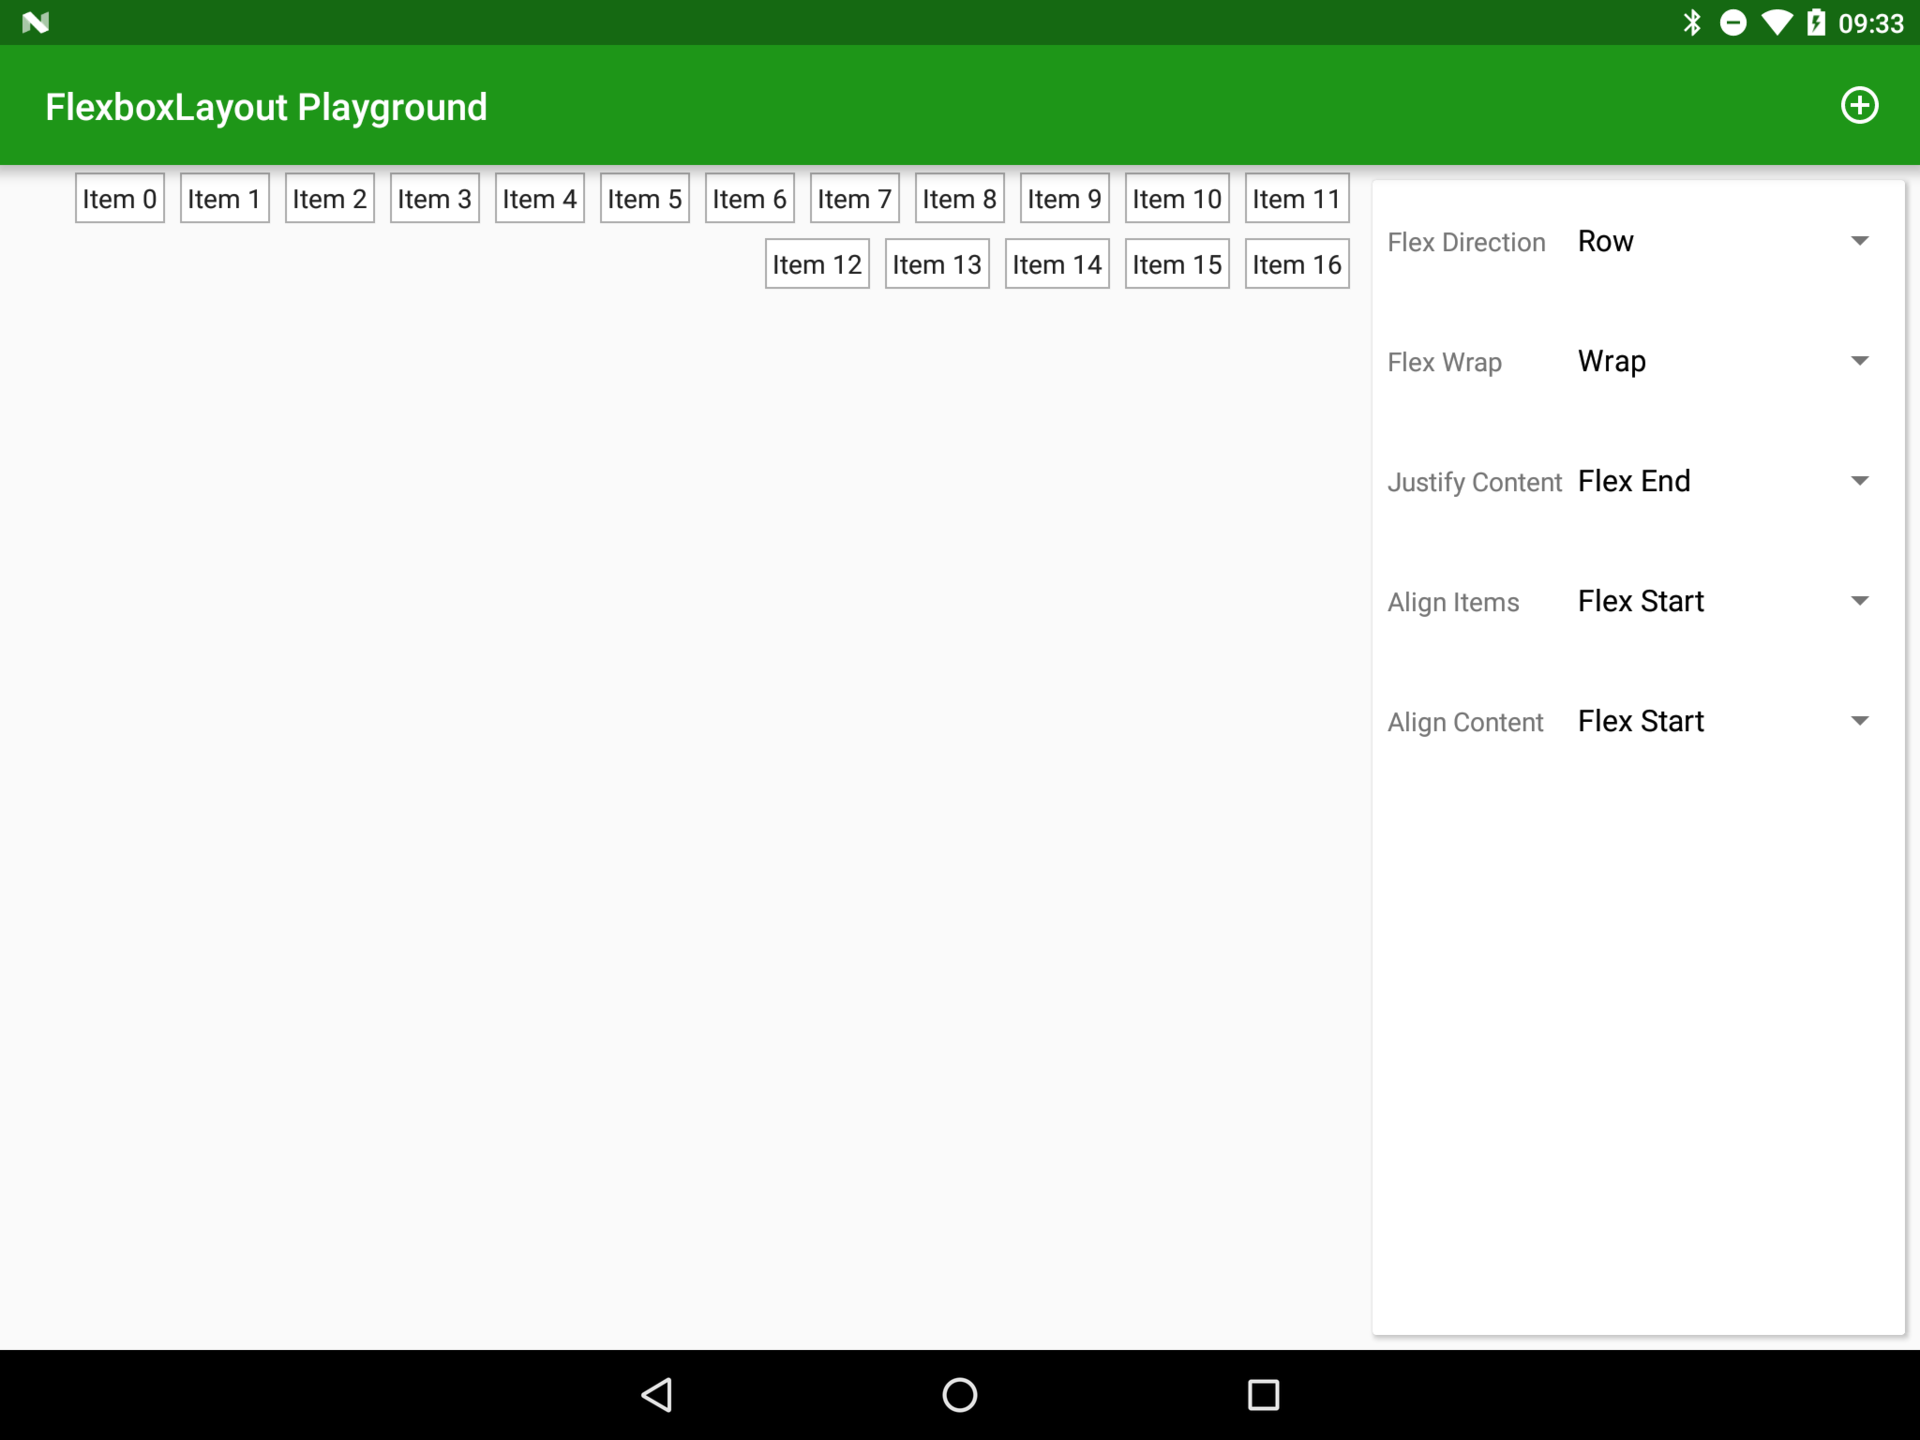
justifyContent = "flex_end"
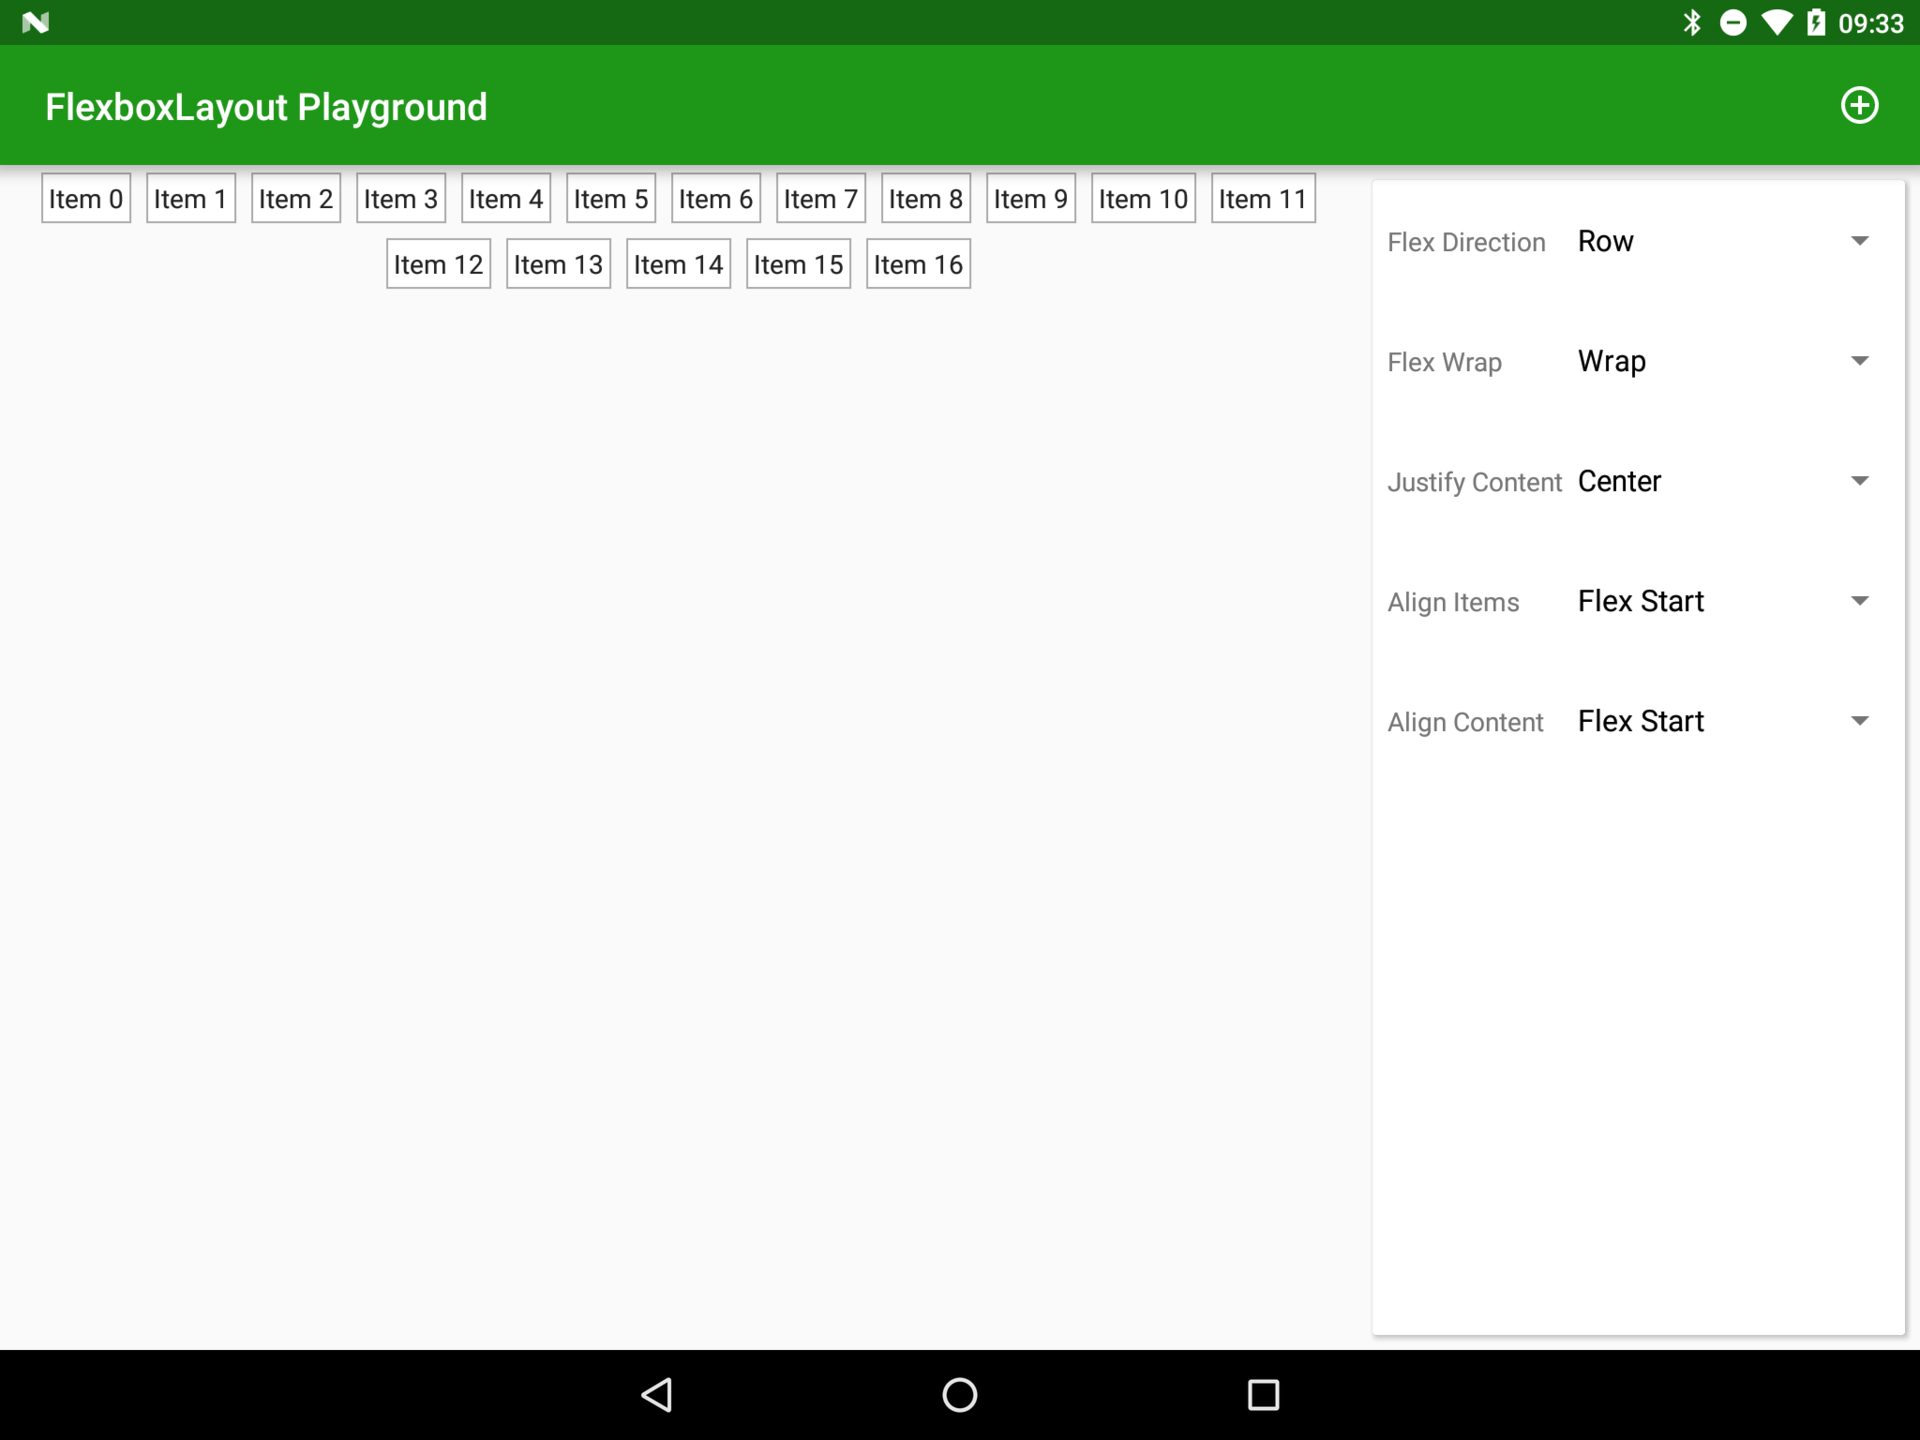
justifyContent = "center"
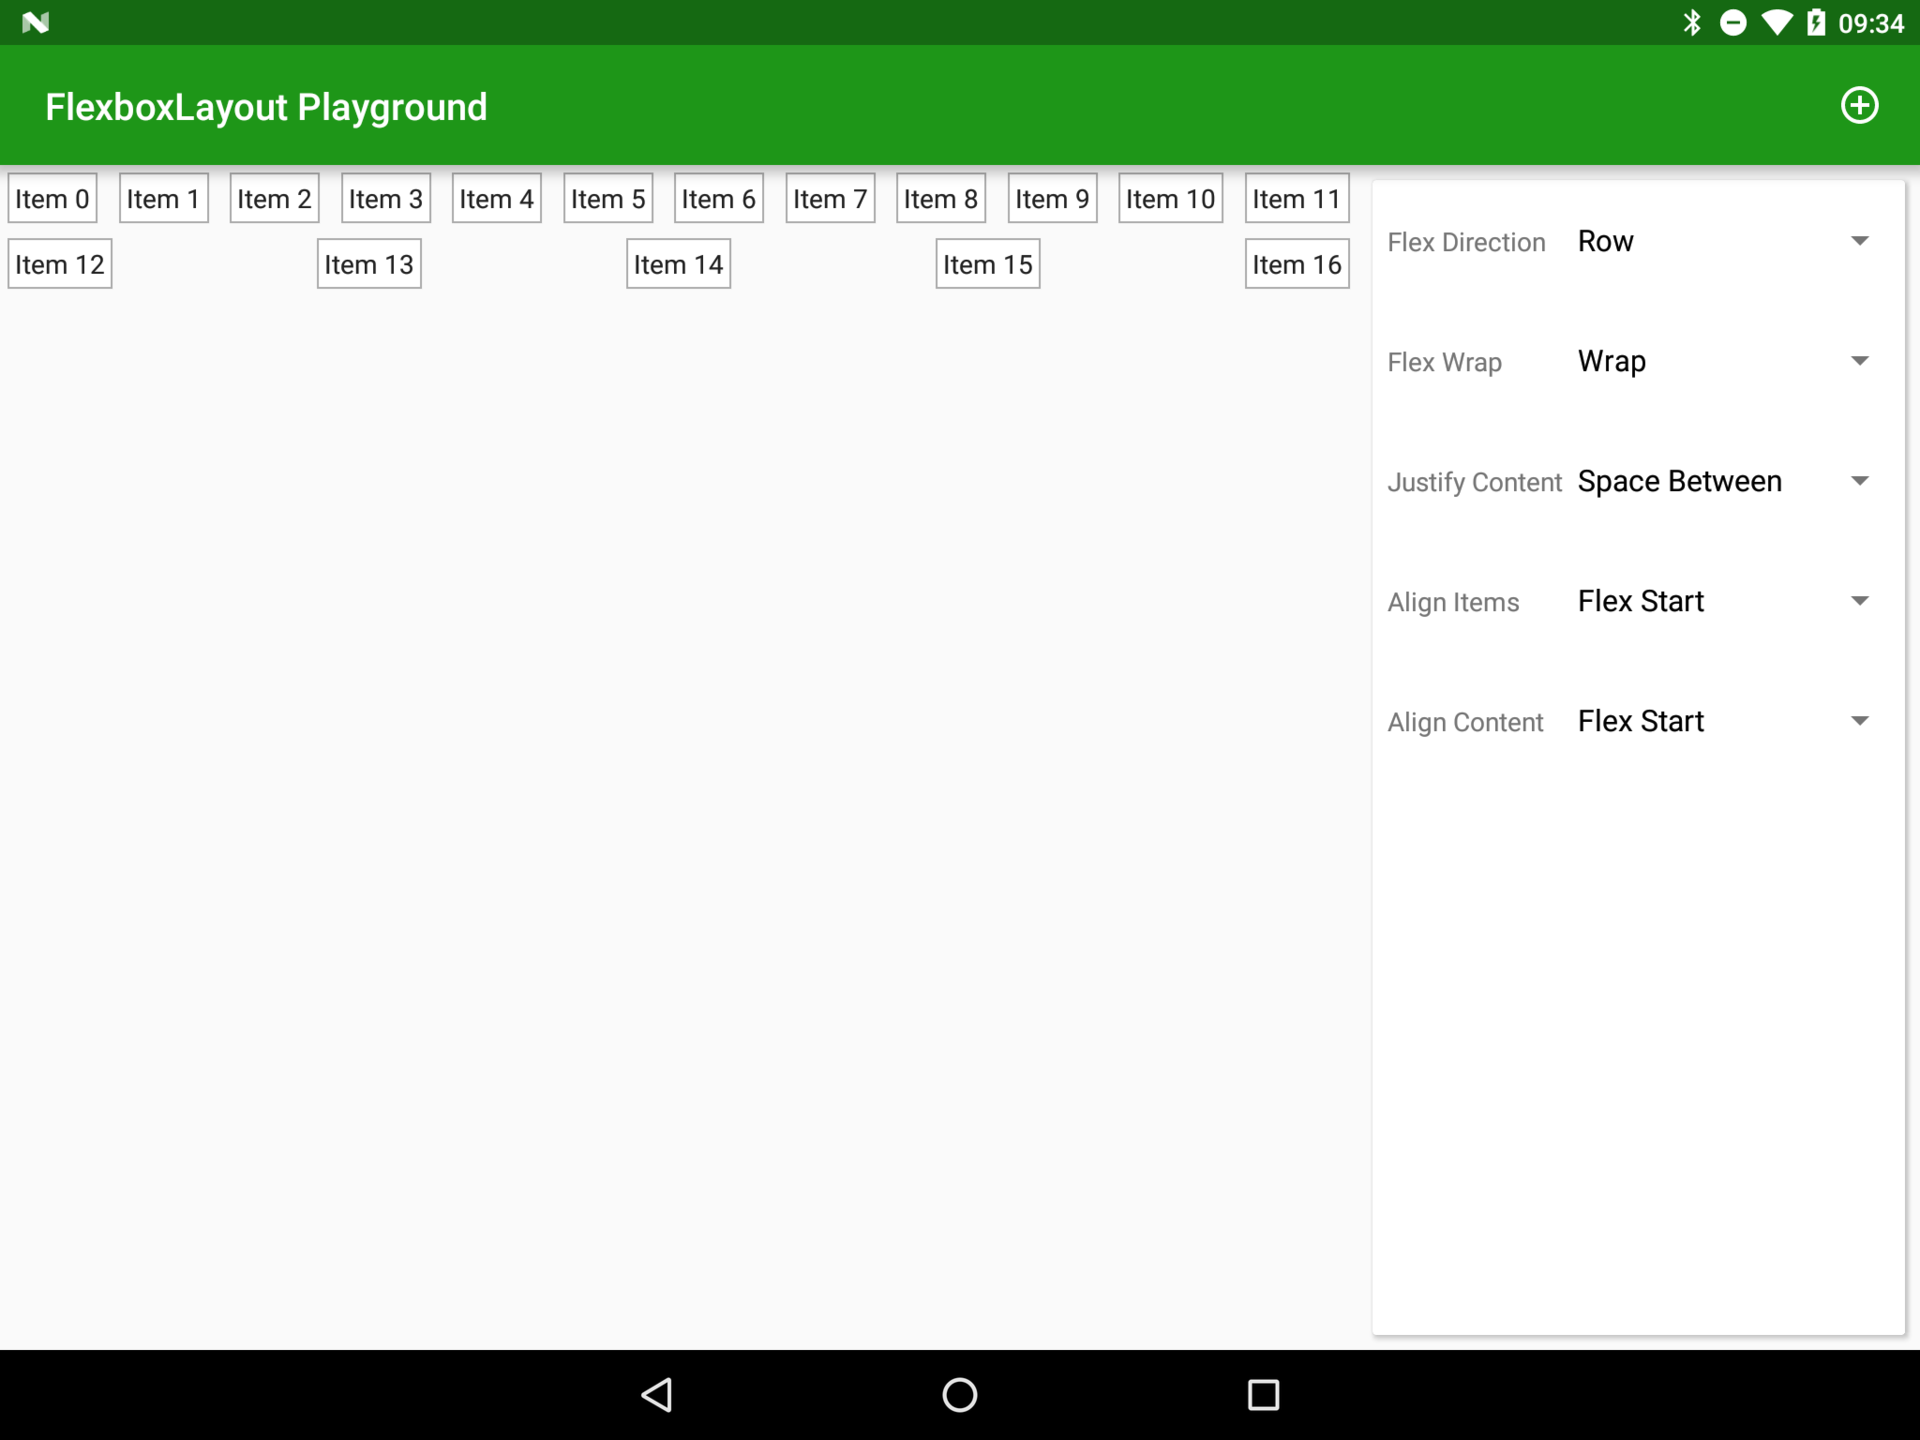
justifyContent = "space_between"

justifyContent = "space_around"
alignItems
Controls the position and size of elements along the transverse axis. Possible values: stretch , flex_start , flex_end , center, and baseline .

alignItems = "flex_start"
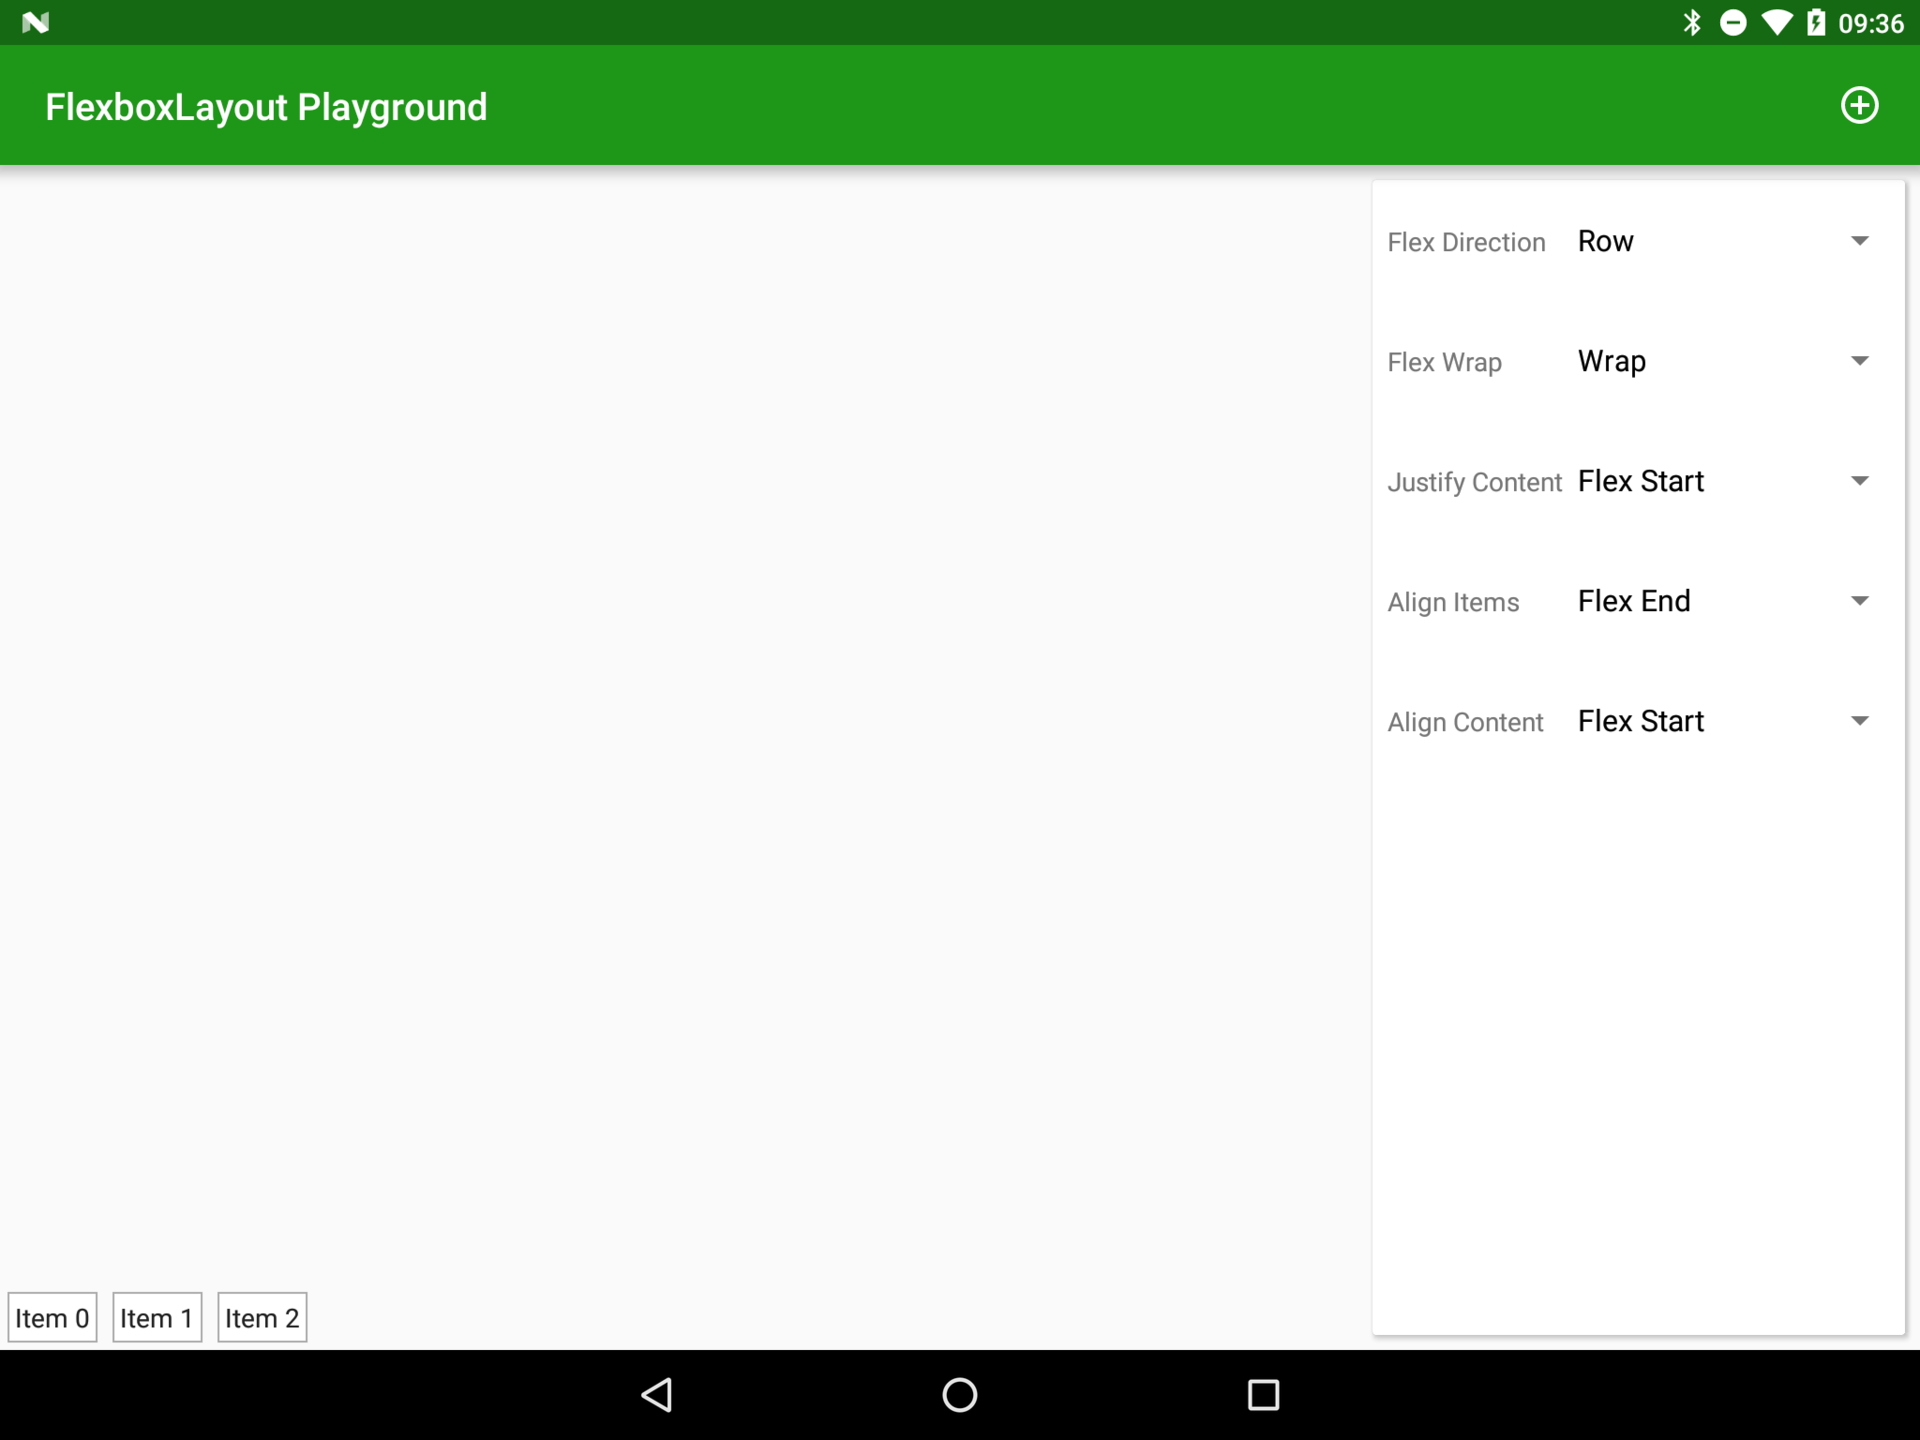
alignItems = "flex_end"
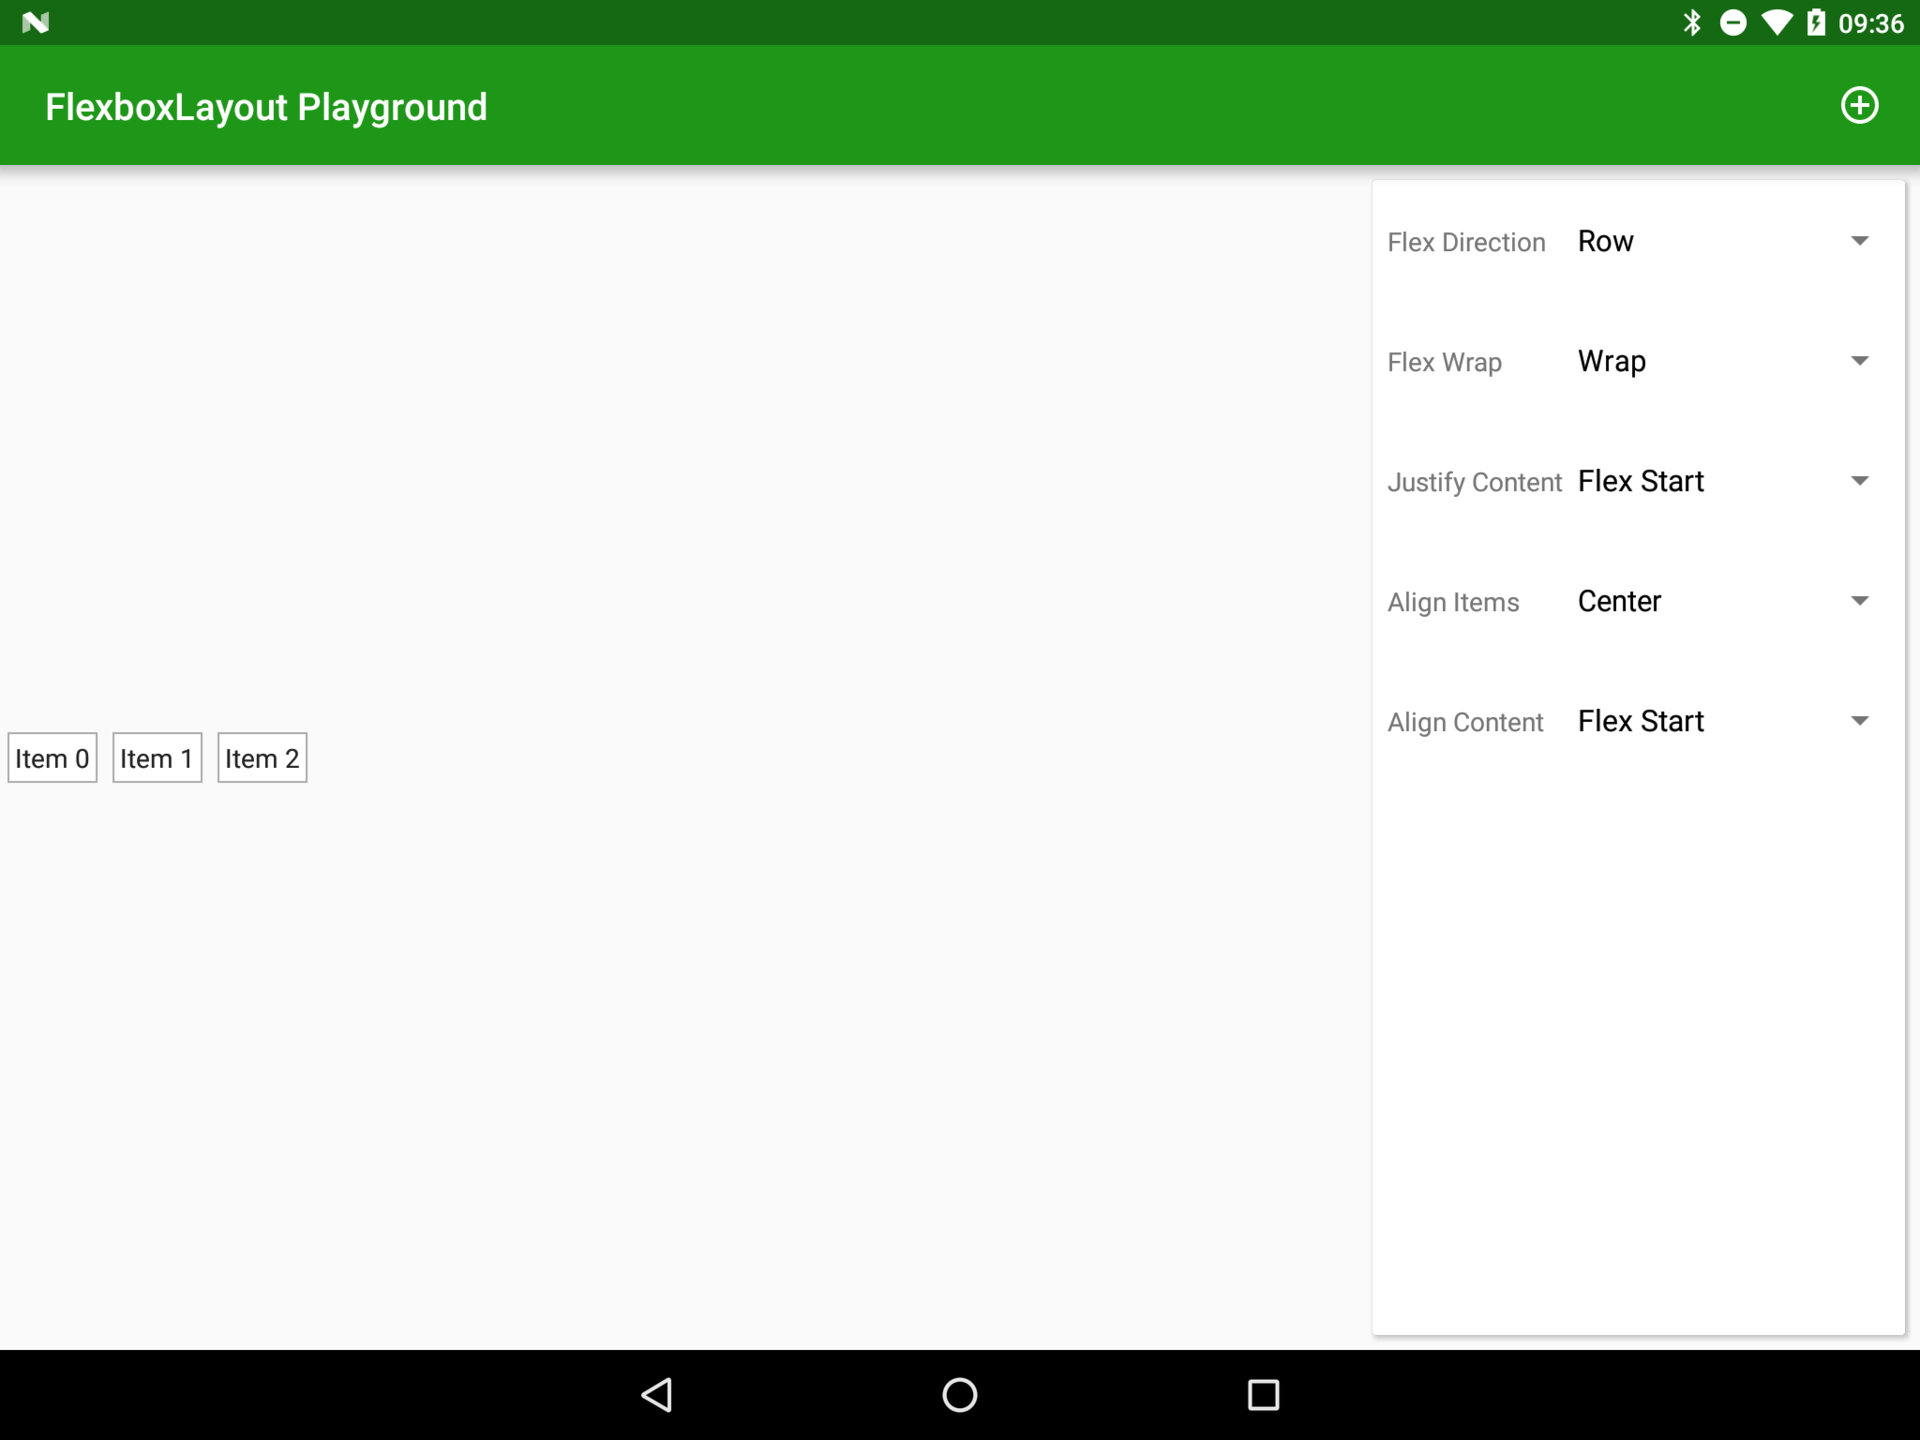
alignItems = "center"

alignItems = "baseline"
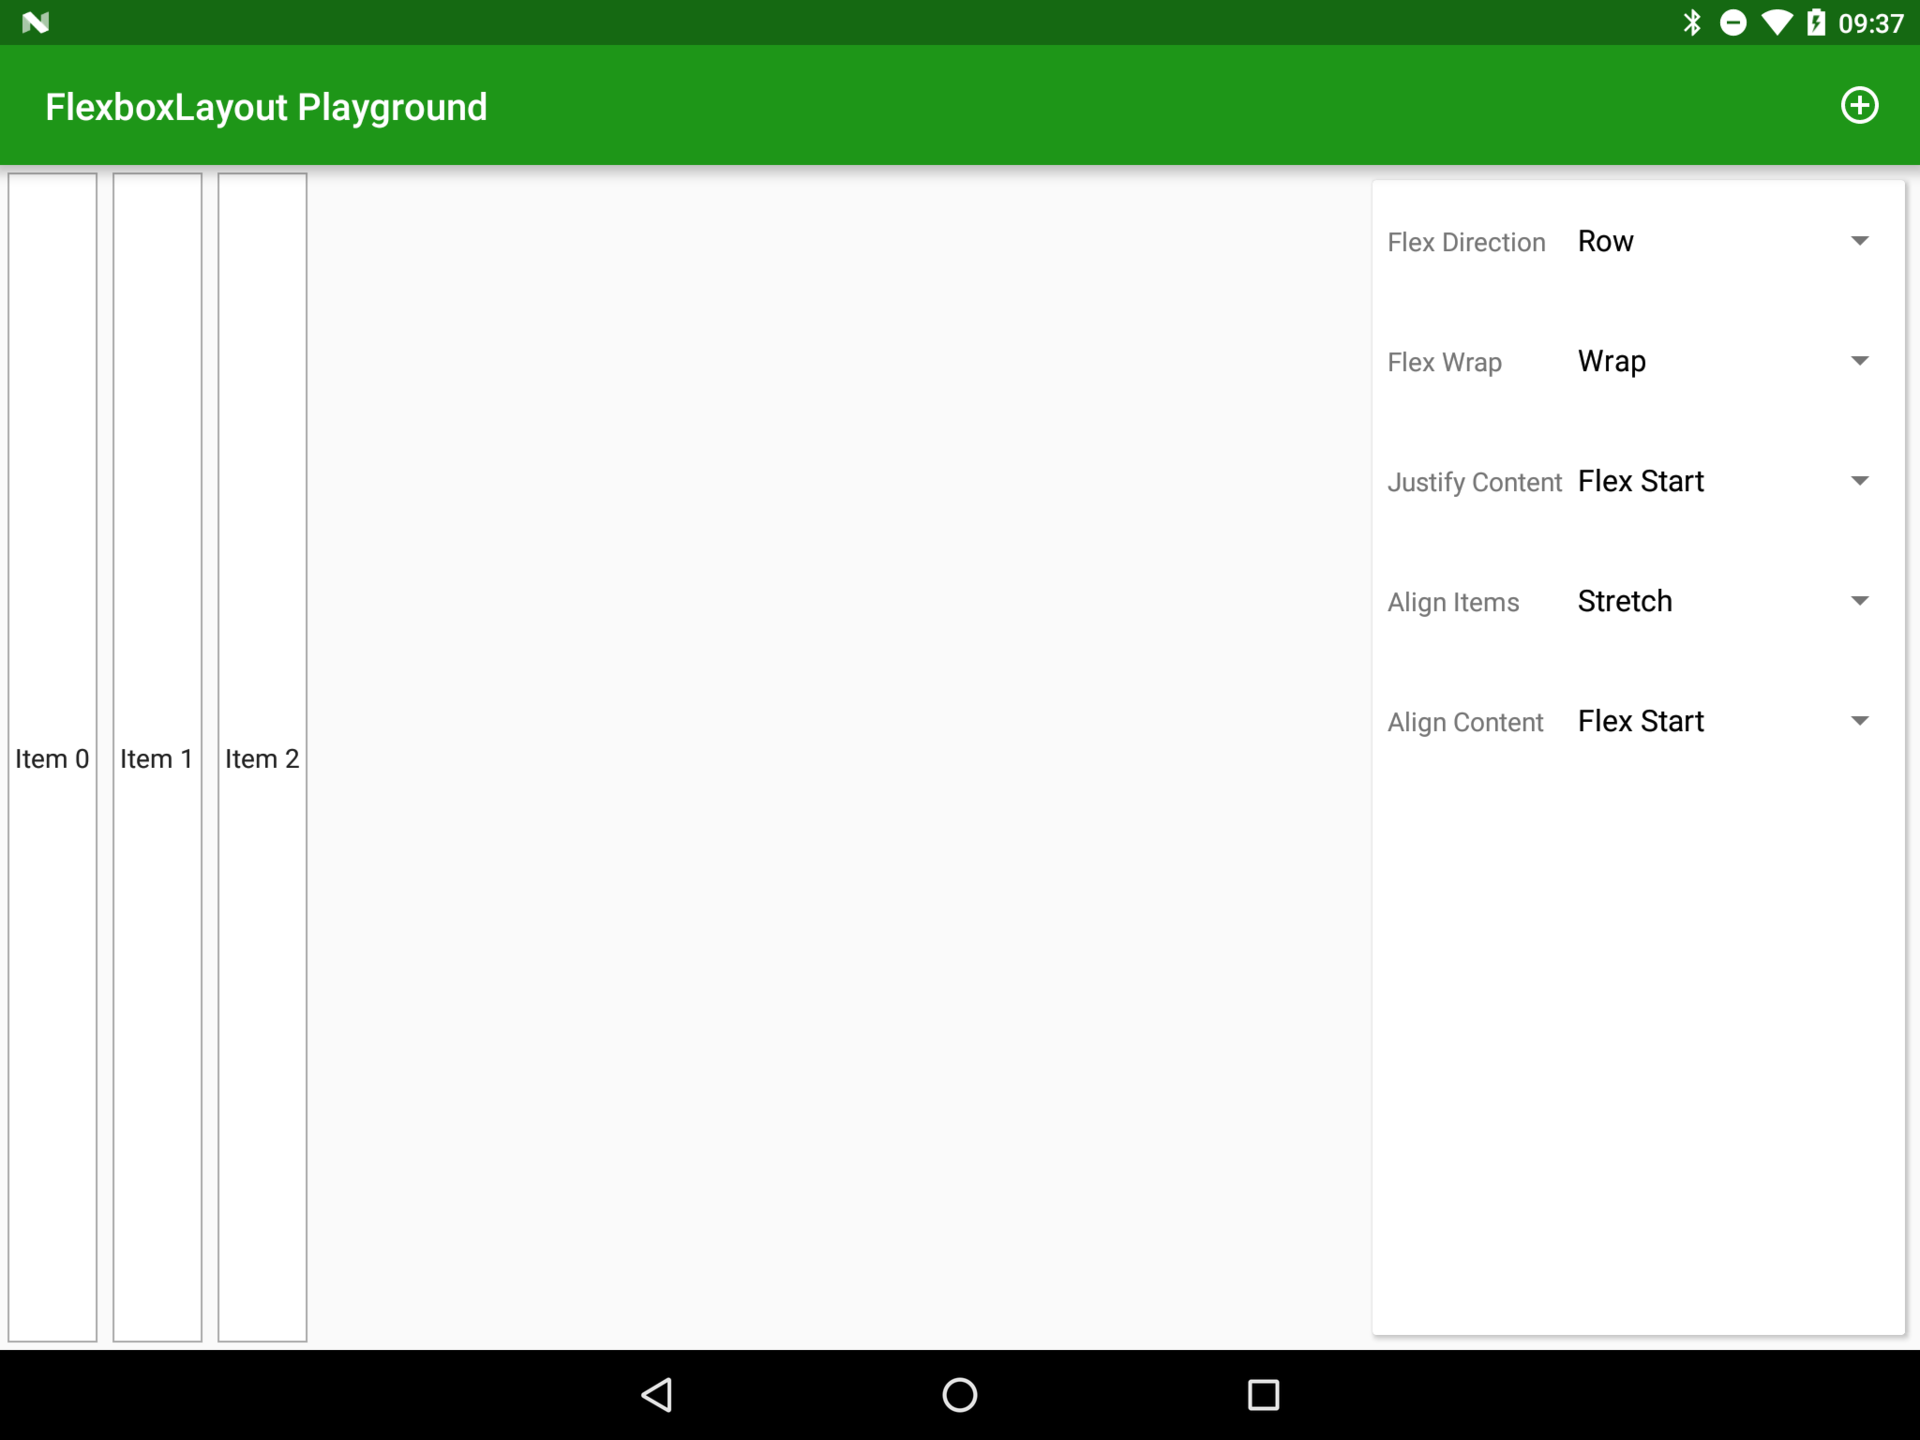
alignItems = "stretch"
alignContent
Here you can get a little confused. AlignContent looks very similar to alignItems , but there is one small difference, which, nevertheless, greatly influences behavior. If alignItems controls how elements are arranged along its axis, then alignContent controls the axis placement itself. In Android terms, this can be compared to TableRow and TableLayout : alignContent behaves like applying attributes to TableRow , and alignItems is applying attributes to children - individual table cells. Possible values are stretch , flex_start , flex_end , center , space_between, and space_around .

alignContent = "flex_start"

alignContent = "flex_end"
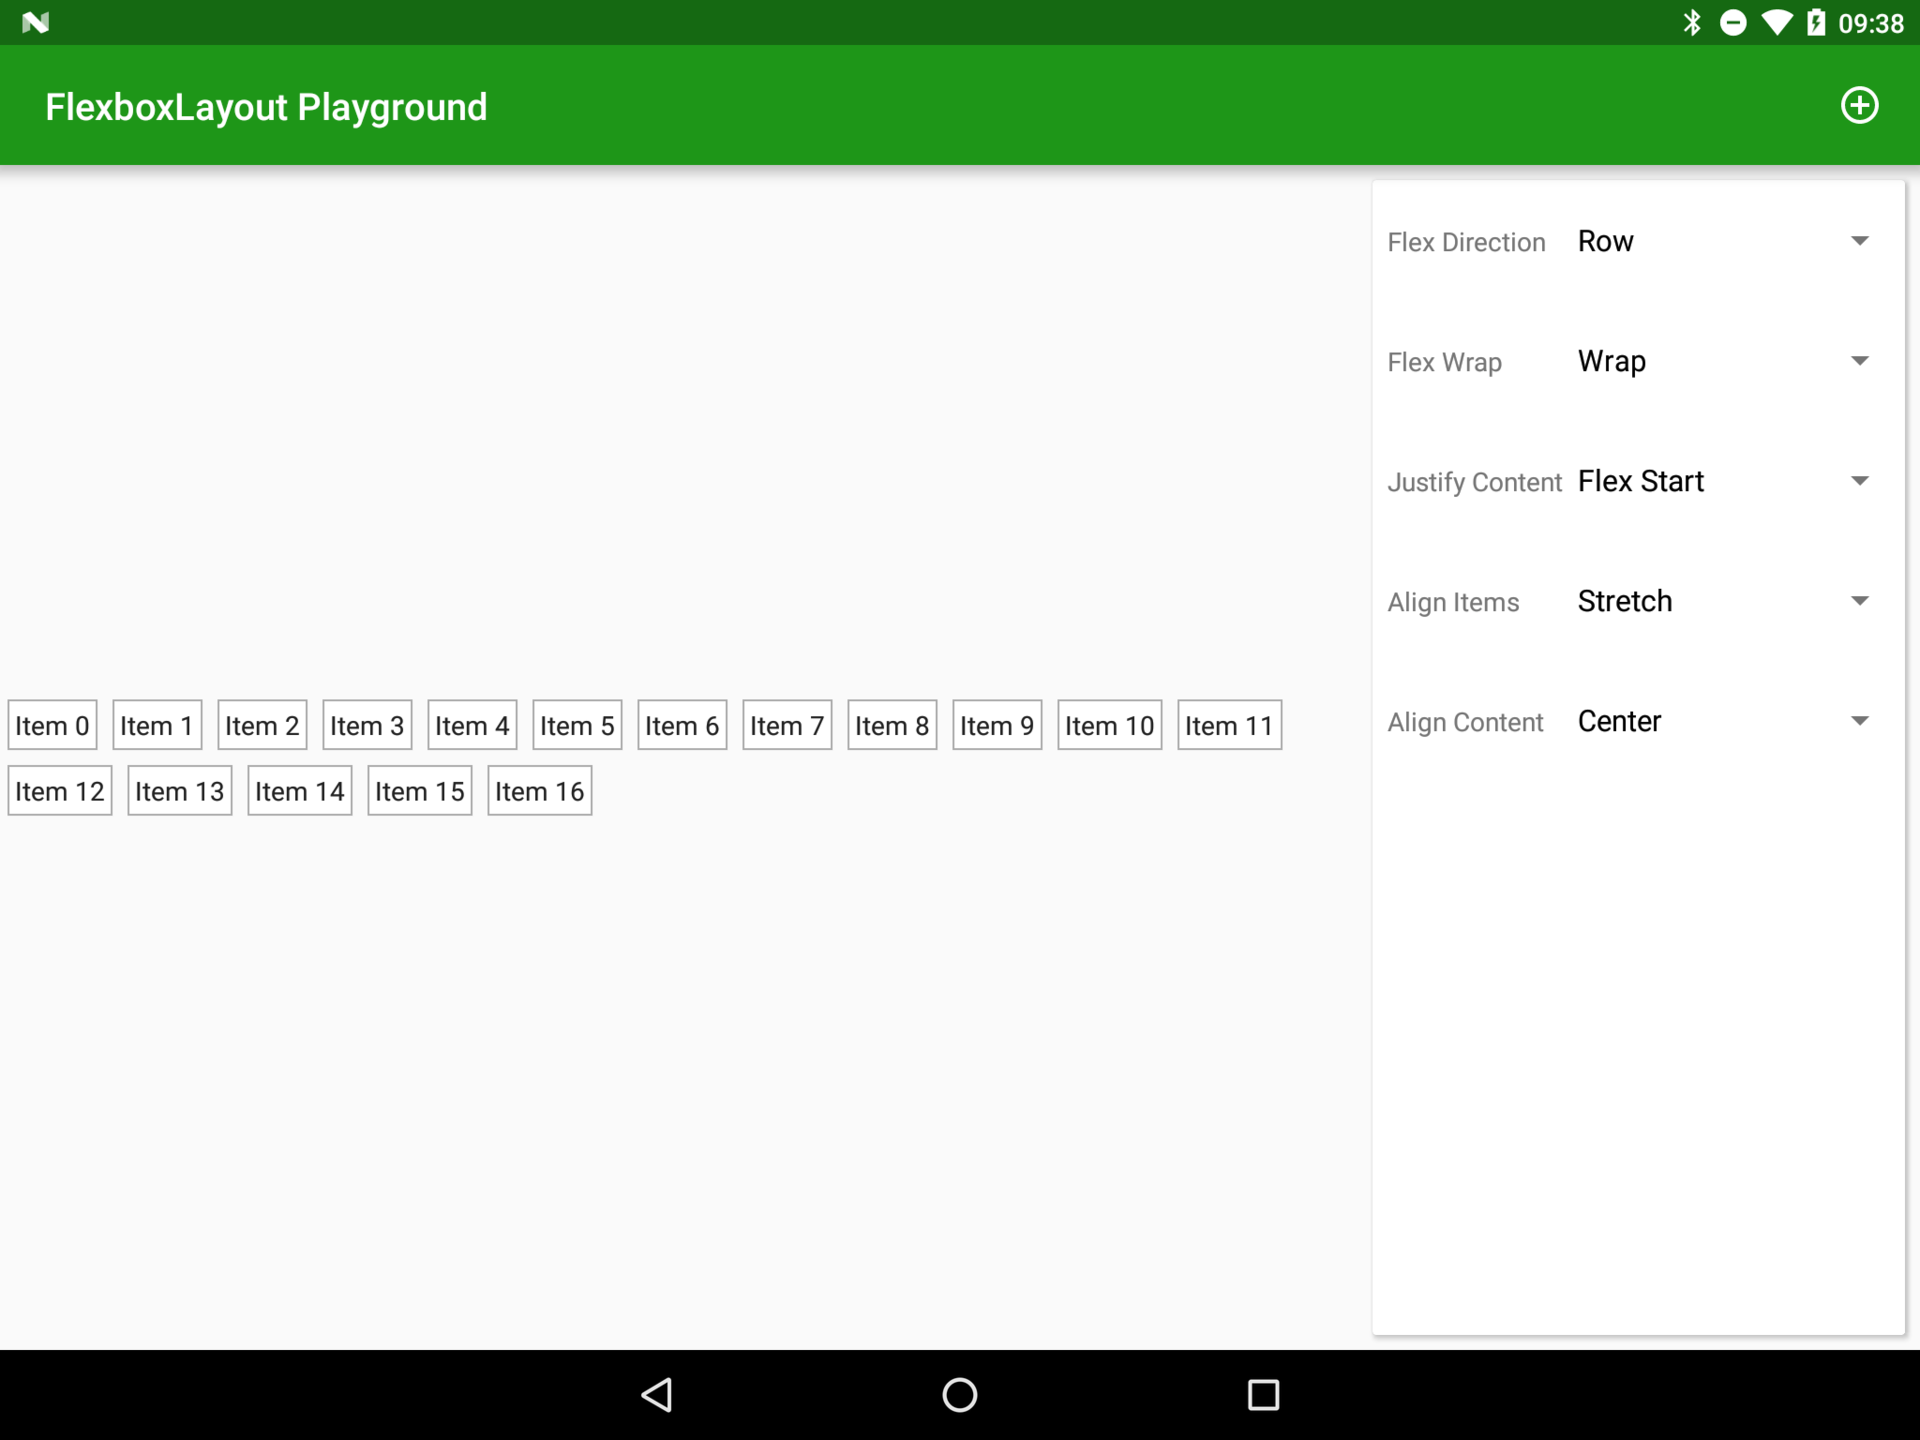
alignContent = "center"

alignContent = "space_between"
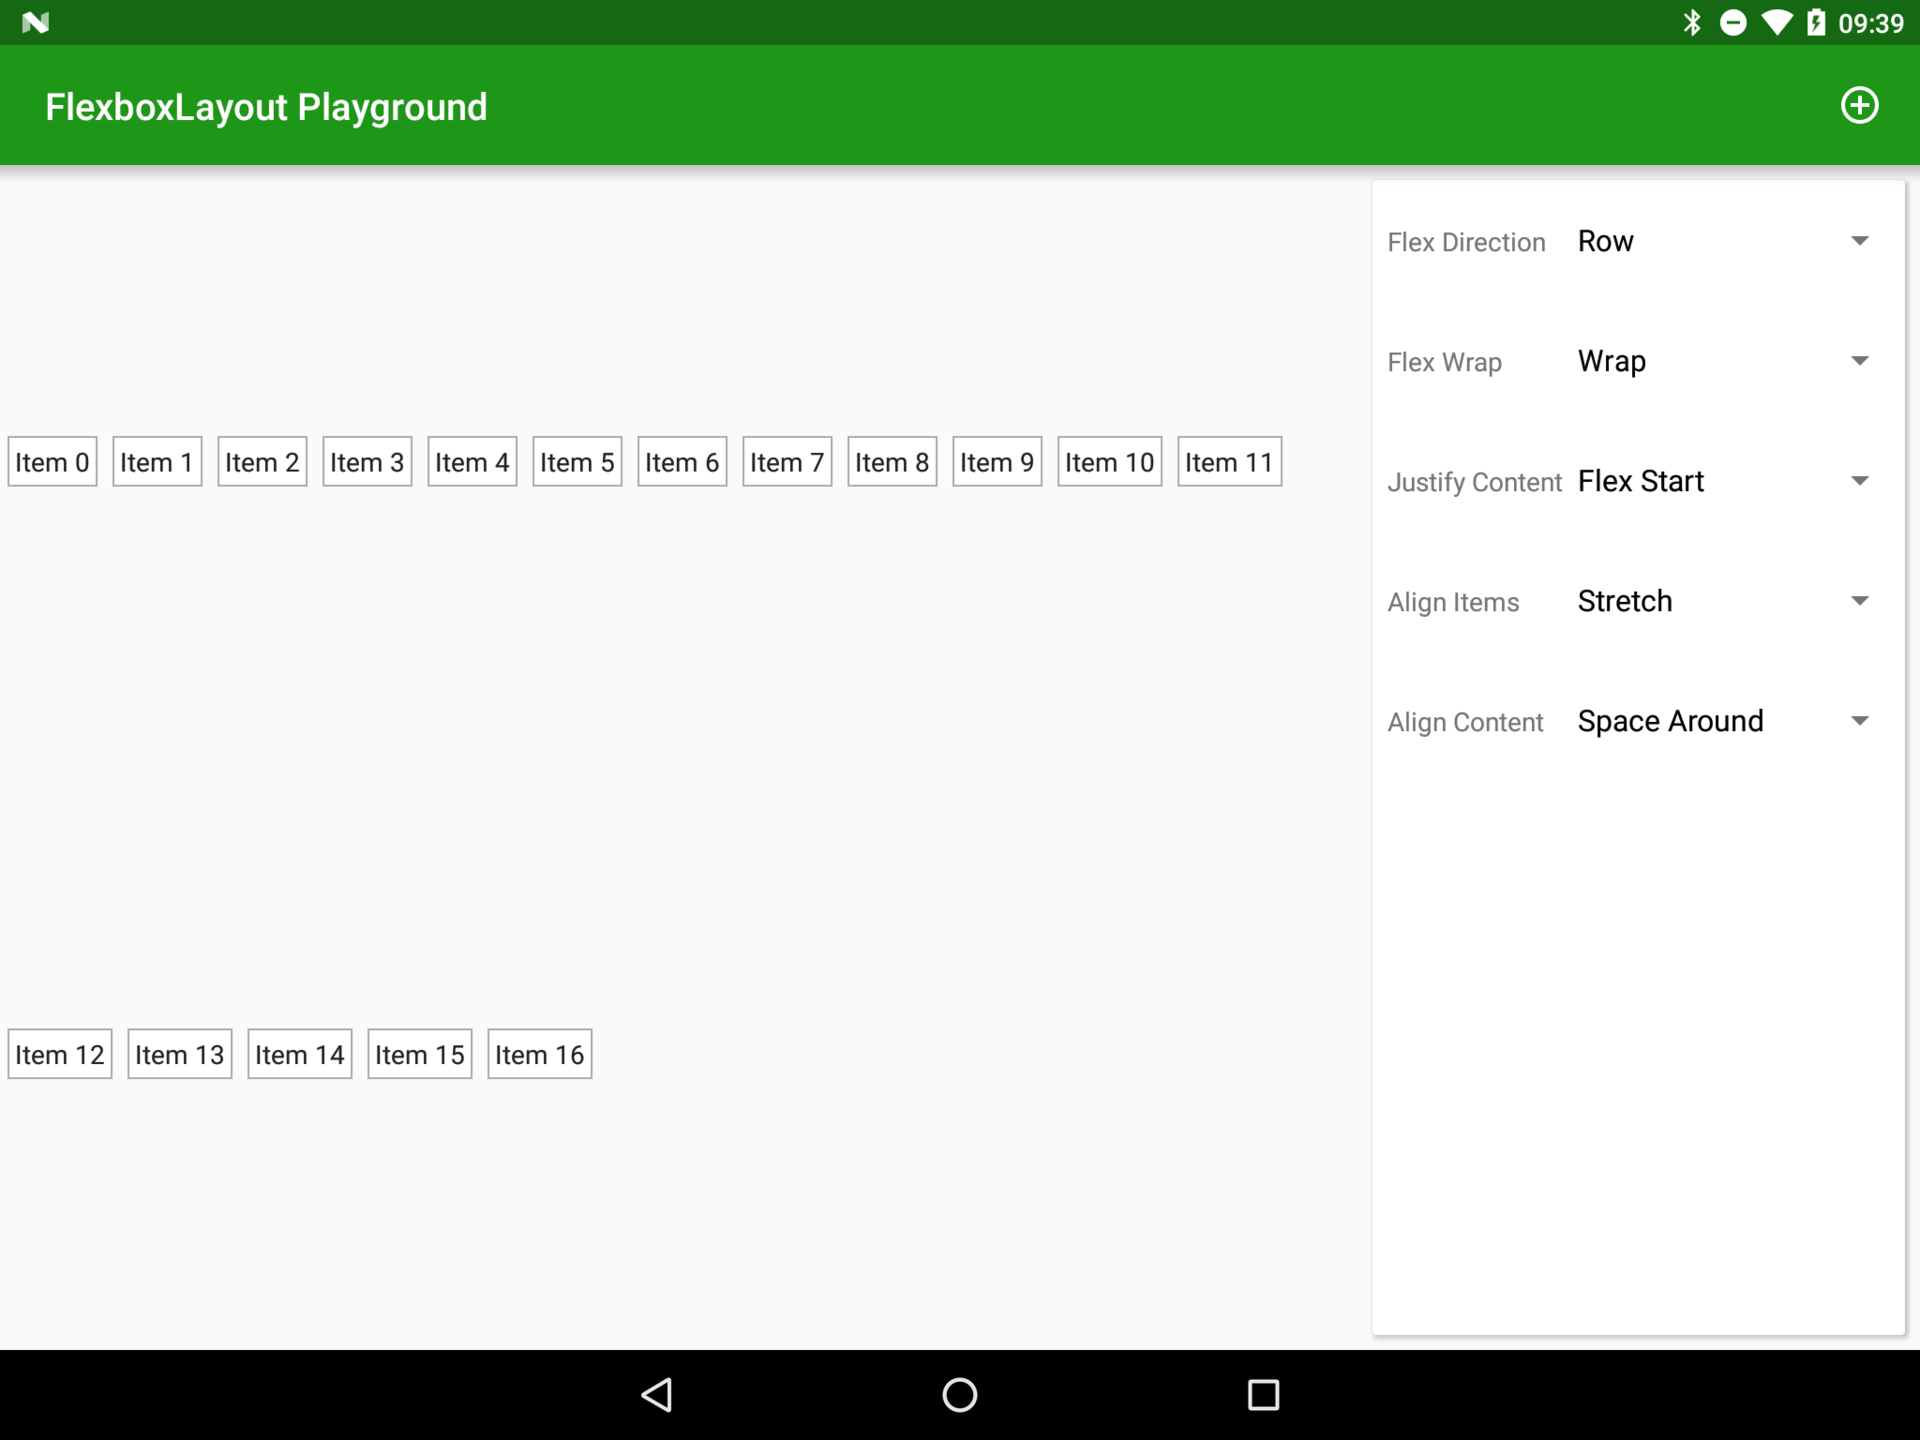
alignContent = "space_around"
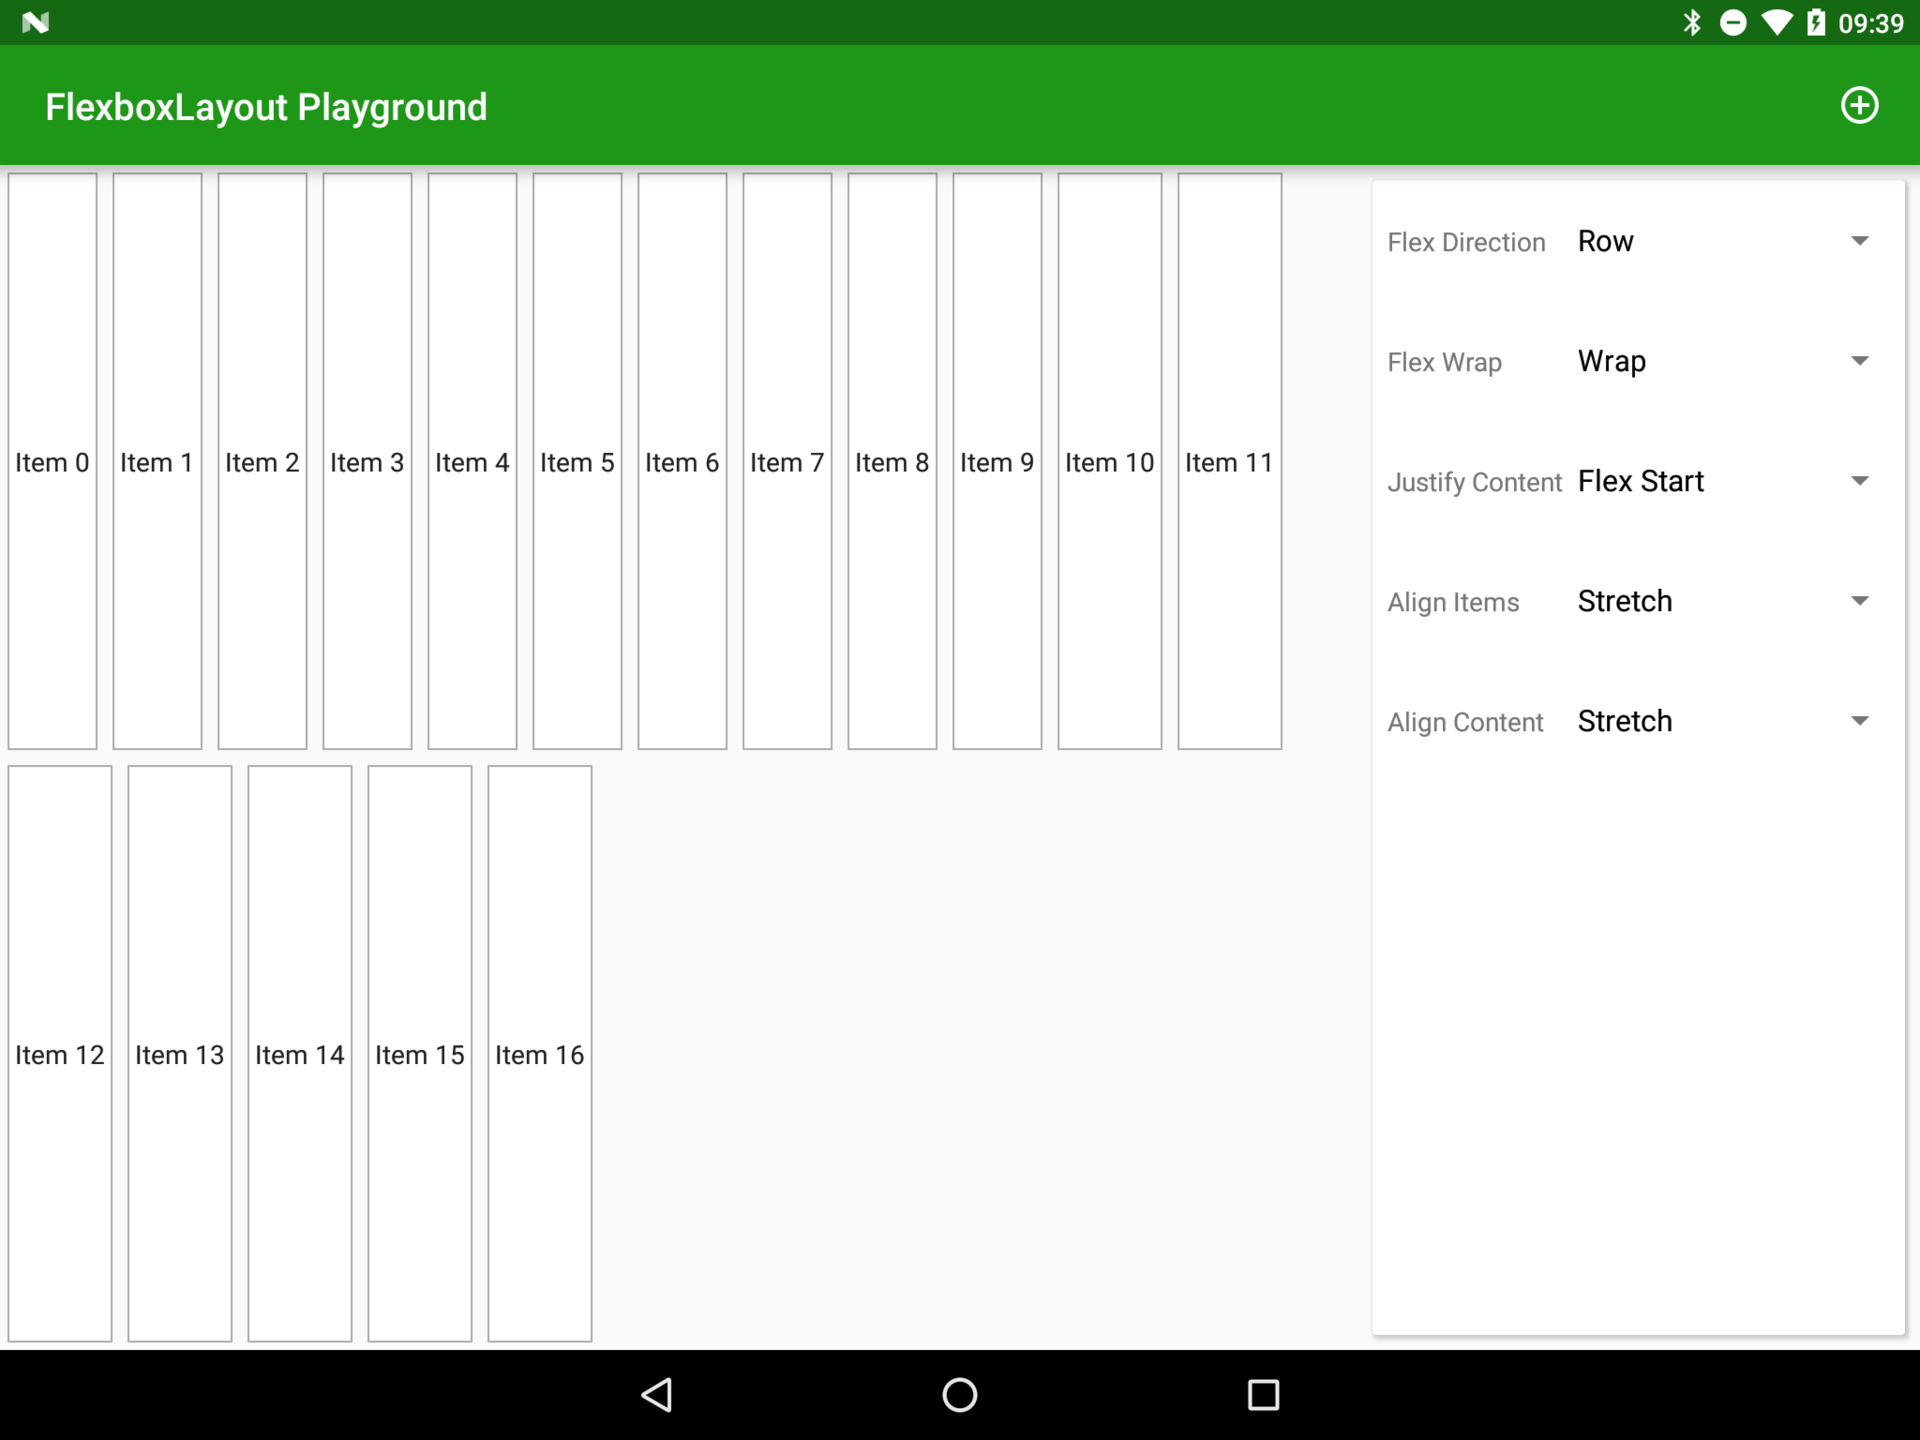
alignContent = "stretch"
The best way to understand the difference between alignItems and alignContent is to play around with them. In my application, set the flexDirection : Row , Flex wrap : Wrap parameters, add a few cells (using the "Add" button) to take 2 rows, set the alignContent to stretch , to make it easier to estimate the dimensions of the elements, and then play around with the values of alignItems .
That's such a pretty powerful and flexible thing. But that's not all, in the next article we will look at how to control the child elements separately.
The application is available on Google Play , the source code will be published at the end of a series of articles.
')
Source: https://habr.com/ru/post/300908/
All Articles