Lead Generator is integrated into Megaplan

Further I will give a small instruction with pictures on how to use the integration for Megaplan users. It's easy and eliminates the need to download and upload any files. I will also talk about a small life hack that will allow you not to go anywhere from the Megaplan window and import company data from the 2GIS directory.
I will say in advance that the previously published article touched upon extended fields, which greatly simplify the process of identifying imported companies, setting the main activity and source for them; in the integrated version, these fields will not be exposed, since The Megaplan API does not provide such features. Moreover, the address of the company (client) will be recorded not in the “Addresses” field on the client’s cards, but in the “Address” fields on the payer's card. Such a misunderstanding does not win all the same because of the lack of support for this feature in the API Megaplan.
')
Step 1 - Establishing Communication
Log in to the site www.lead4crm.ru and in the wizard select the boxed or cloud version of Megaplan (the difference is small, in the cloudy only sometimes some chips appear faster, but this does not affect our integration). Then everything is according to the standard: city, type of search and we can do import of companies, if you haven’t done so yet.
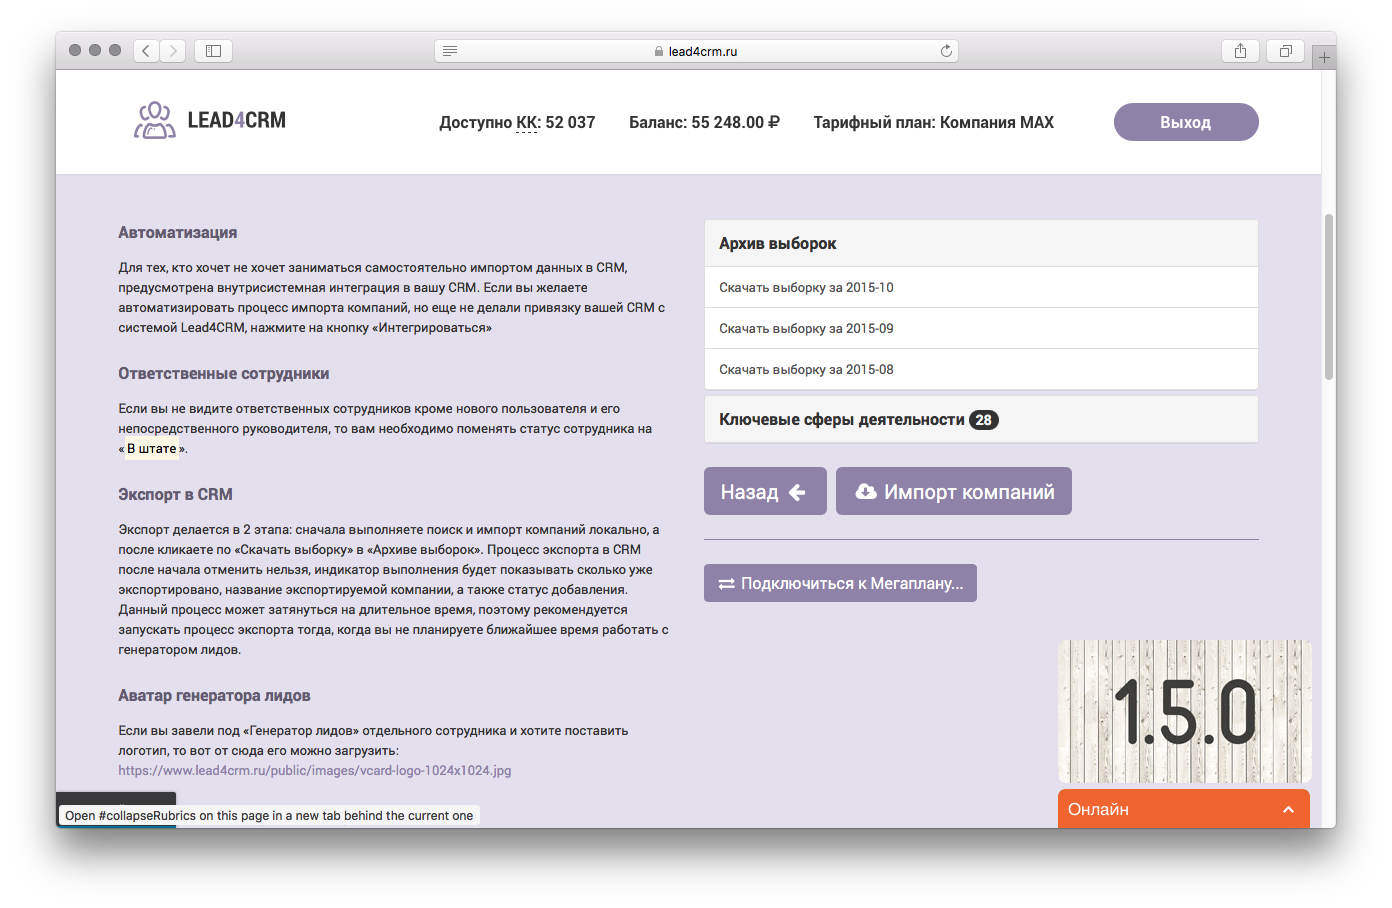
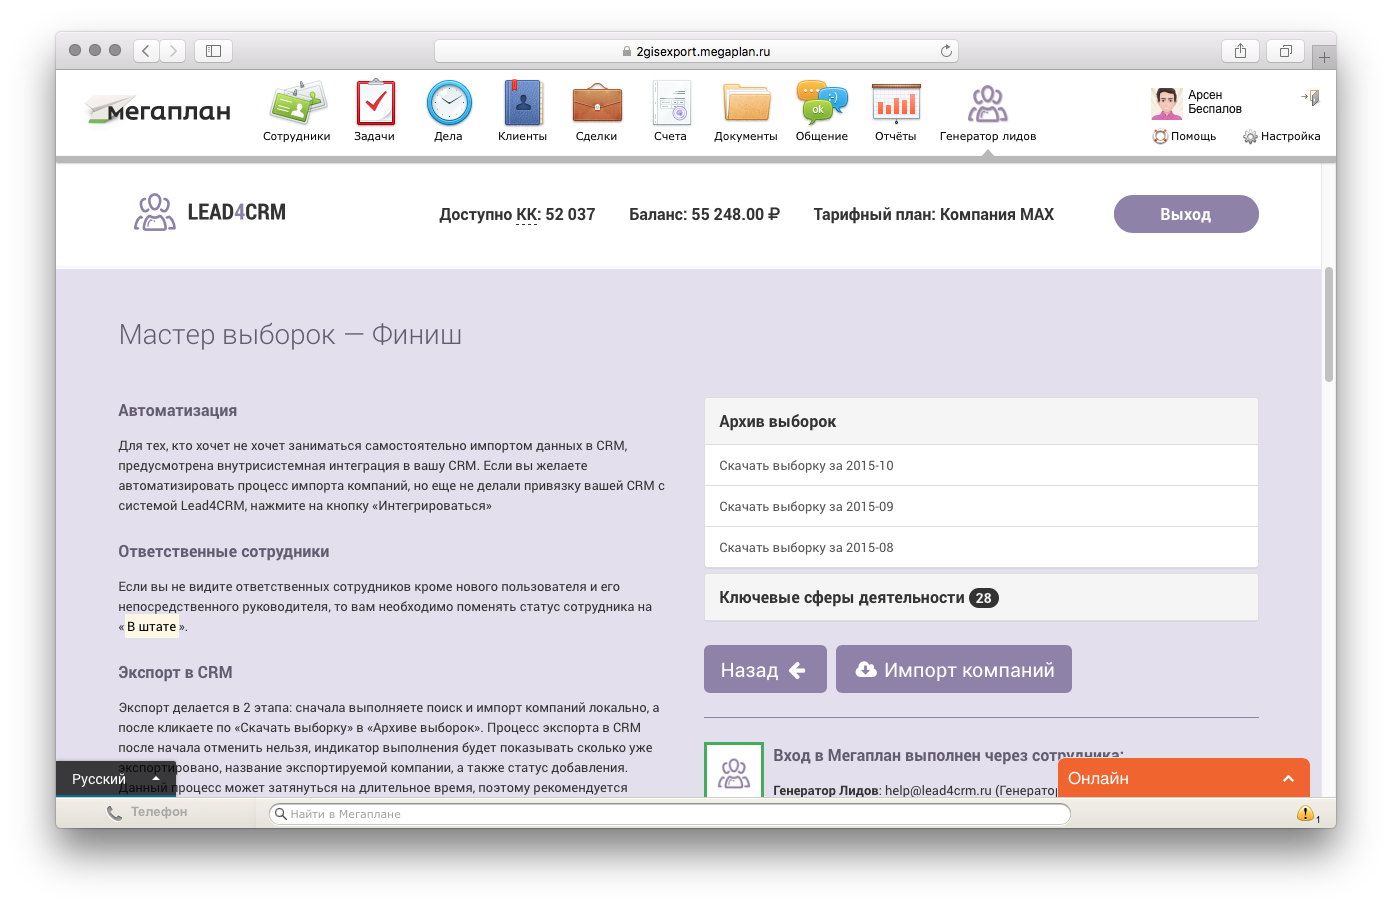
The button “Connect to Megaplan” appears under the main area of the archive of samples and the buttons “Back” and “Import of companies”. When we click on it, we will be asked about your domain, on which your Megaplan is located, your login and password. Fill in the fields and if everything is correct, you will see a welcome green sign.
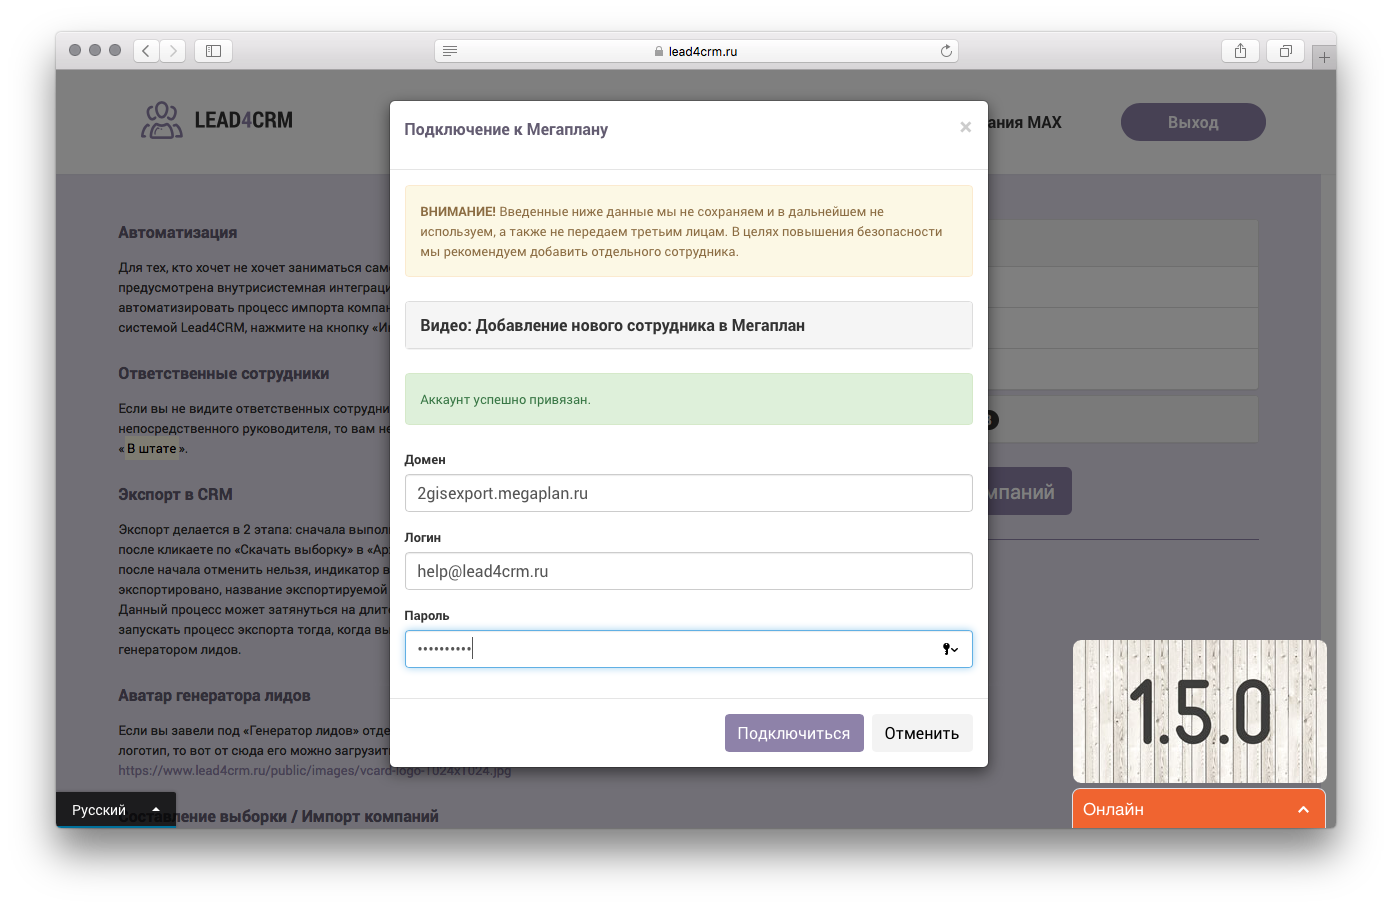
Again, I will make a note personally from myself: I personally don’t like it when they ask me for any usernames and passwords on third-party sites that are not part of the same system. In our case, we are just a third-party site, with virtually no relation to Megaplan, we only simplify the process of loading "cold" databases. Therefore, I highly recommend starting a new user under our service - this will allow you to simply take and block a user at any time, provide insight into where some companies come from and at the same time employees will know where they come from so many new companies.
Video about how to get a new employee can be viewed directly in the authorization dialog in Megaplan. However, the video states that a new freelancer is being added, this will allow to restrict rights, but it does not allow seeing anyone except himself and his immediate manager, in order to be able to immediately appoint those responsible to any company employees, it is necessary to add a full-time employee.
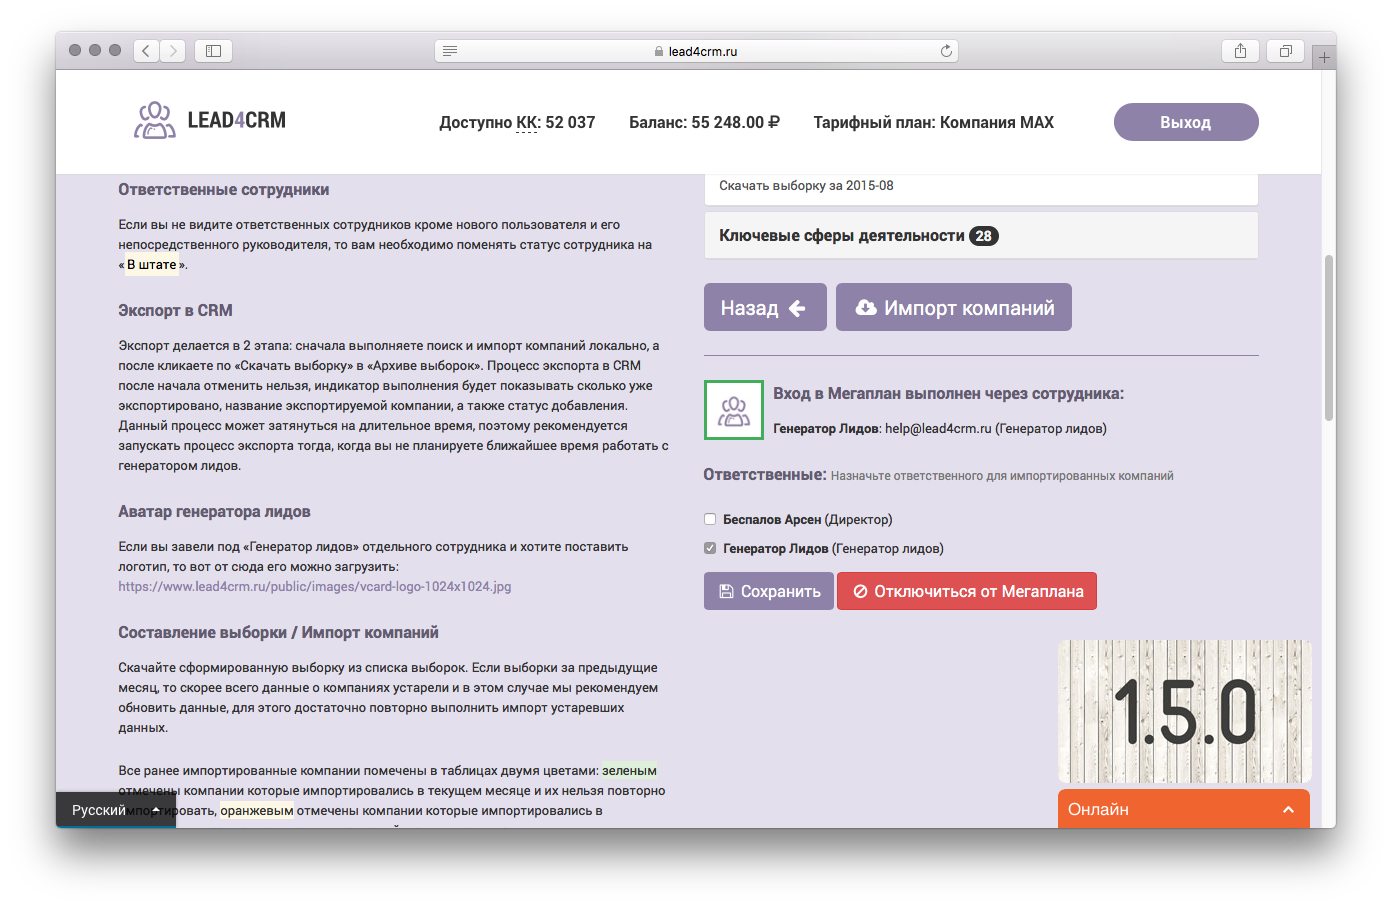
When the window closes, after a while you will see information about the employee through which you entered the Megaplan, his avatar in a green frame indicating the online status and the list of employees where the employee who you logged in by default is responsible.
Step 2 - Responsible
For new companies to be immediately assigned to any employee or employees, just tick the ones who need to assign them and save the result.
Everything! Now all exported selections to Megaplan will be assigned to selected employees. You can change the responsible at any time. But the export is done in a batch way after drawing the sample, it will be possible to make export to Megaplan, and only this way, you cannot immediately export to Megaplan during import from 2GIS.
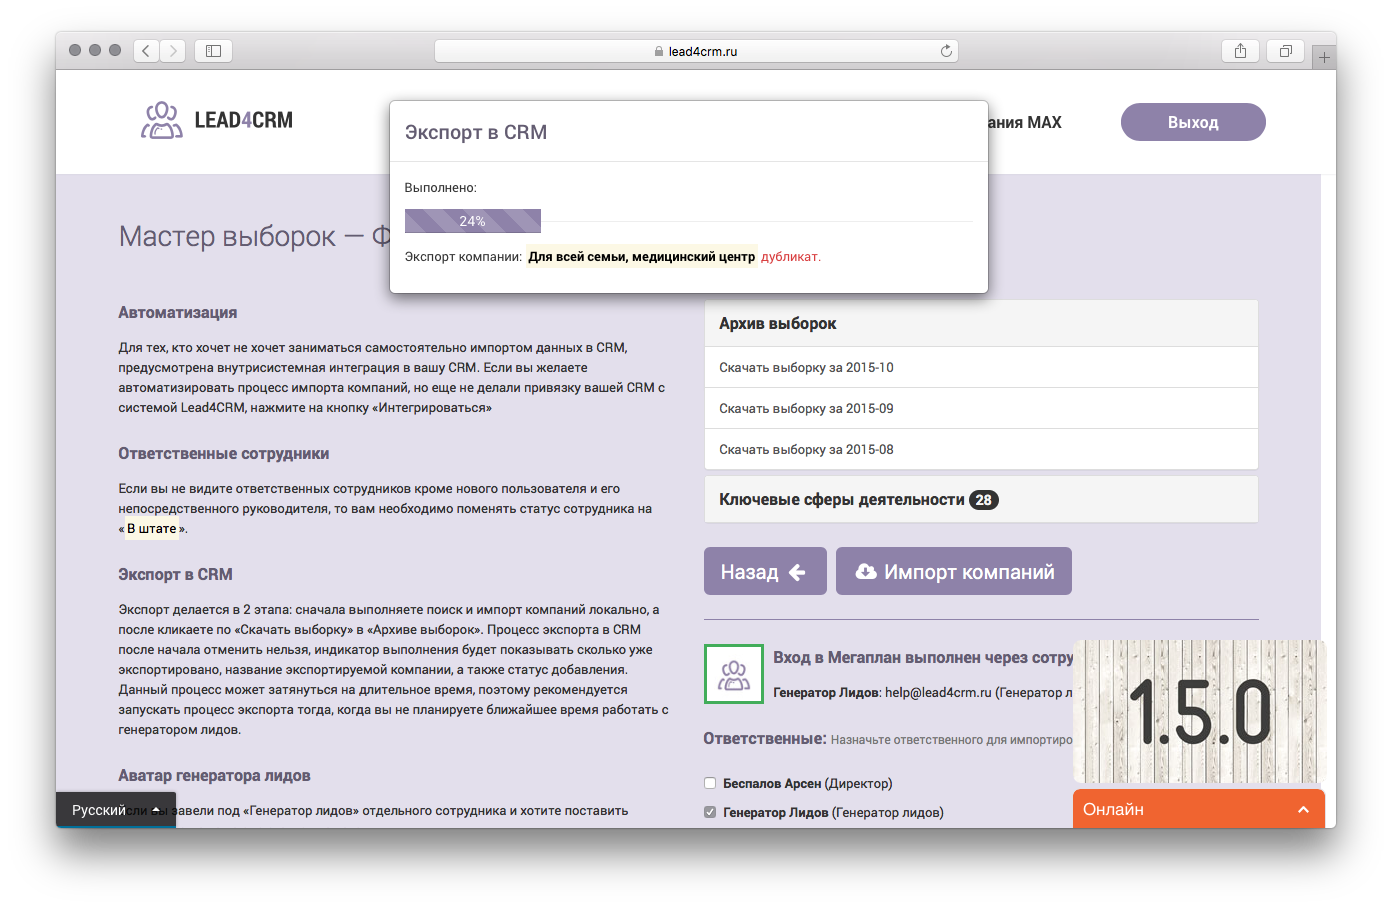
Step 3 - Export to Megaplan
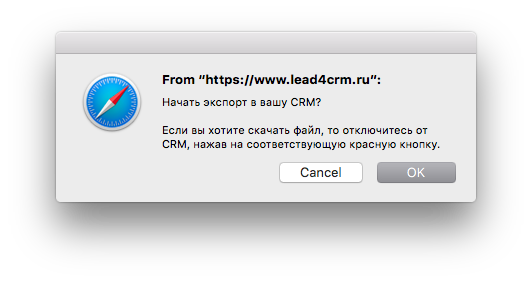
About import companies described in the previous article. Now, as in the last article, we don’t bother with the files, just click on any sample and confirm the intention that you are really going to export.
About import companies described in the previous article . Now, as in the last article, we don’t bother with the files, just click on any sample and confirm the intention that you are really going to export.
The export process is long and may take a long time, so we have excluded the possibility of end-to-end import of companies from 2GIS to Megaplan, due to the lengthy process. Therefore, import as many companies as you see fit and then export.
What if you want to divide different companies by different employees, and the samples are formed by months? There is a solution: import companies for one employee first and export them, then import other companies and export them again. Those companies that have previously been imported to another employee will simply be ignored.
Advantages and disadvantages
In each type: importing companies through a sample file or exporting companies directly from the Lead Generator, there are pros and cons, so we leave the choice to our users. Initially, we thought that if we made the integration into Megaplan, there would be no need for files, but it turned out that the files in the case of Megaplan have their own advantages due to the fact that the API Megaplan is limited in functionality (very strong!).
I categorically dislike the fact that I have to enter my login and password, I absolutely dislike that you cannot add an address to the customer’s card, and the limitations of working with advanced fields are very annoying. The Megaplan support service promised to fix the problem with the address in the next update sometime in December, let's hope that this is an opportunity to appear and judging by the fact that the address now is some variable referring to the location base, then, if it also remains, the export process will be even longer due to additional API requests.
| Option | Integration | File |
| Many telephones and faxes with a description and installation of the phone type | + | - |
| Address in the client's card | - | + |
| Actual address in the payer | + | - |
| Indication of the main activity | - | + |
| Specify the attraction channel | - | + |
| No additional manual processing required. | + | - |
Life hacking
To make it convenient for you or your employees to use our service without switching to different browser windows / tabs, and to remain in the Megaplan window all the time, it’s enough to add a new menu item.
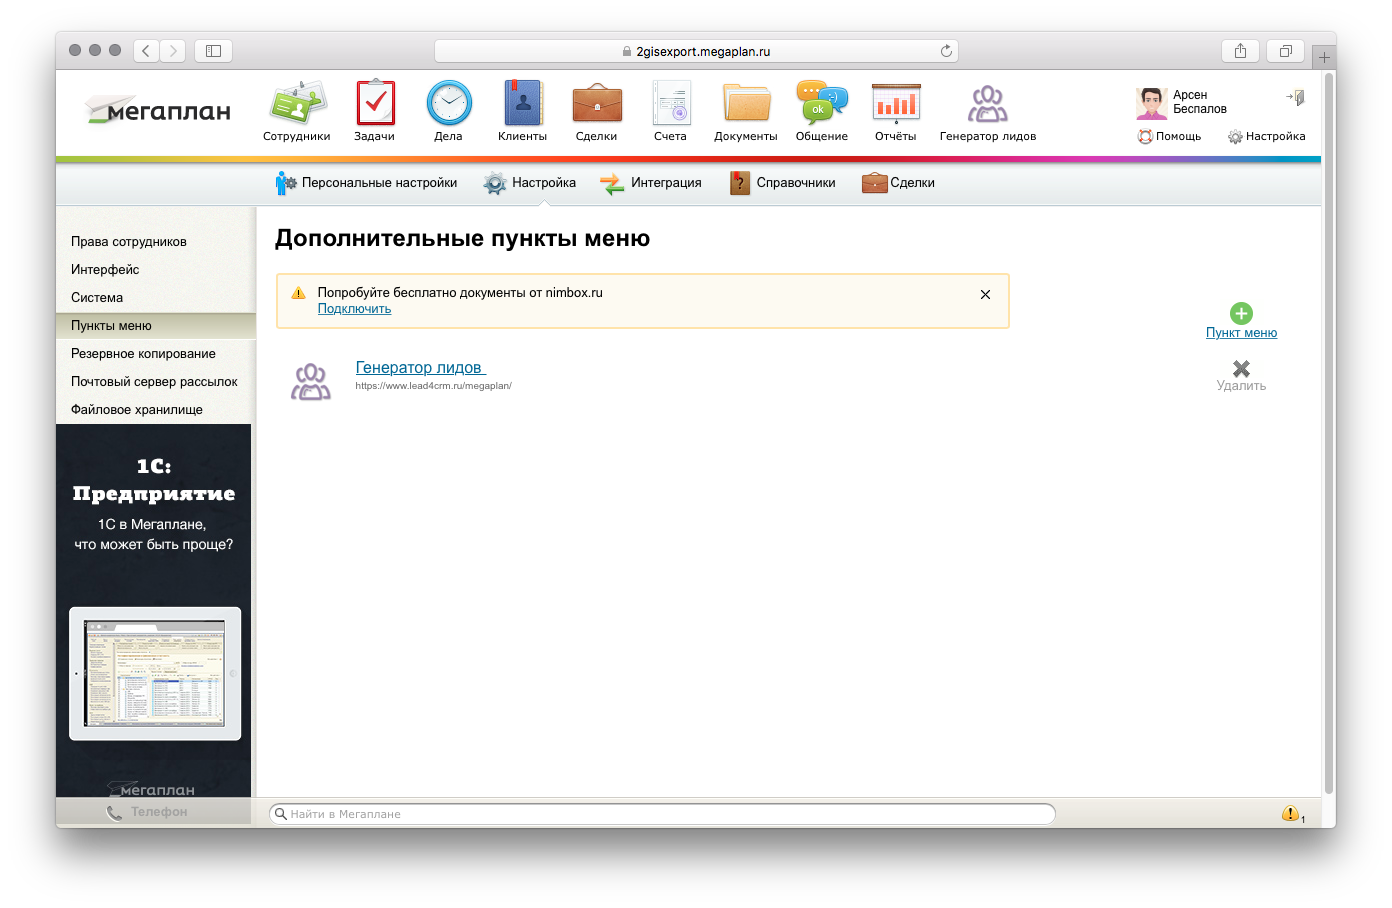
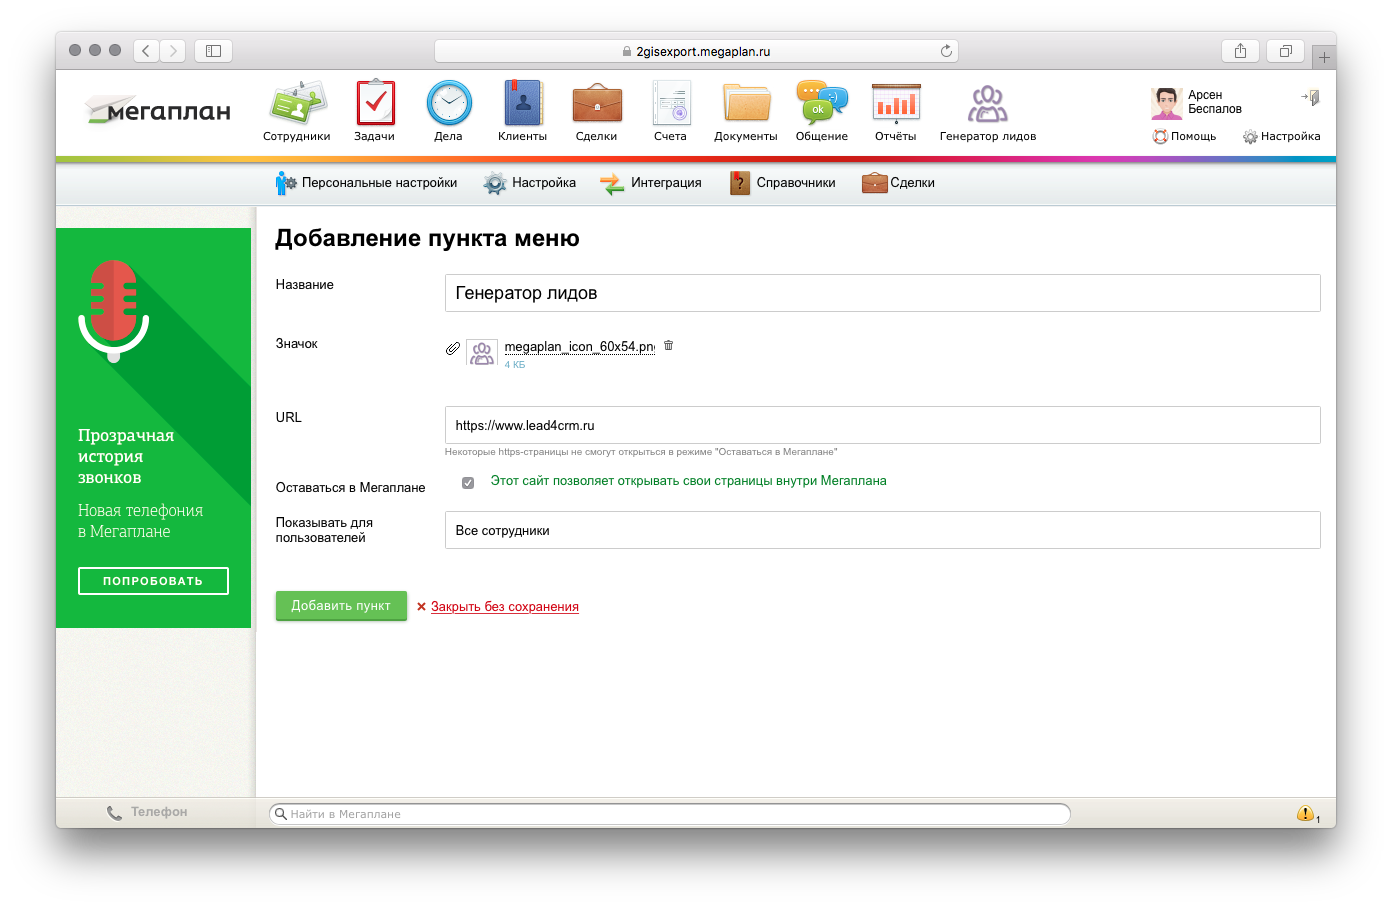
To do this, go to the "Settings" settings, there select "Menu items" and click on "Menu item". Fill in all fields as in the picture. You can put any icon or take the official logo for Megaplan from here .
Client's card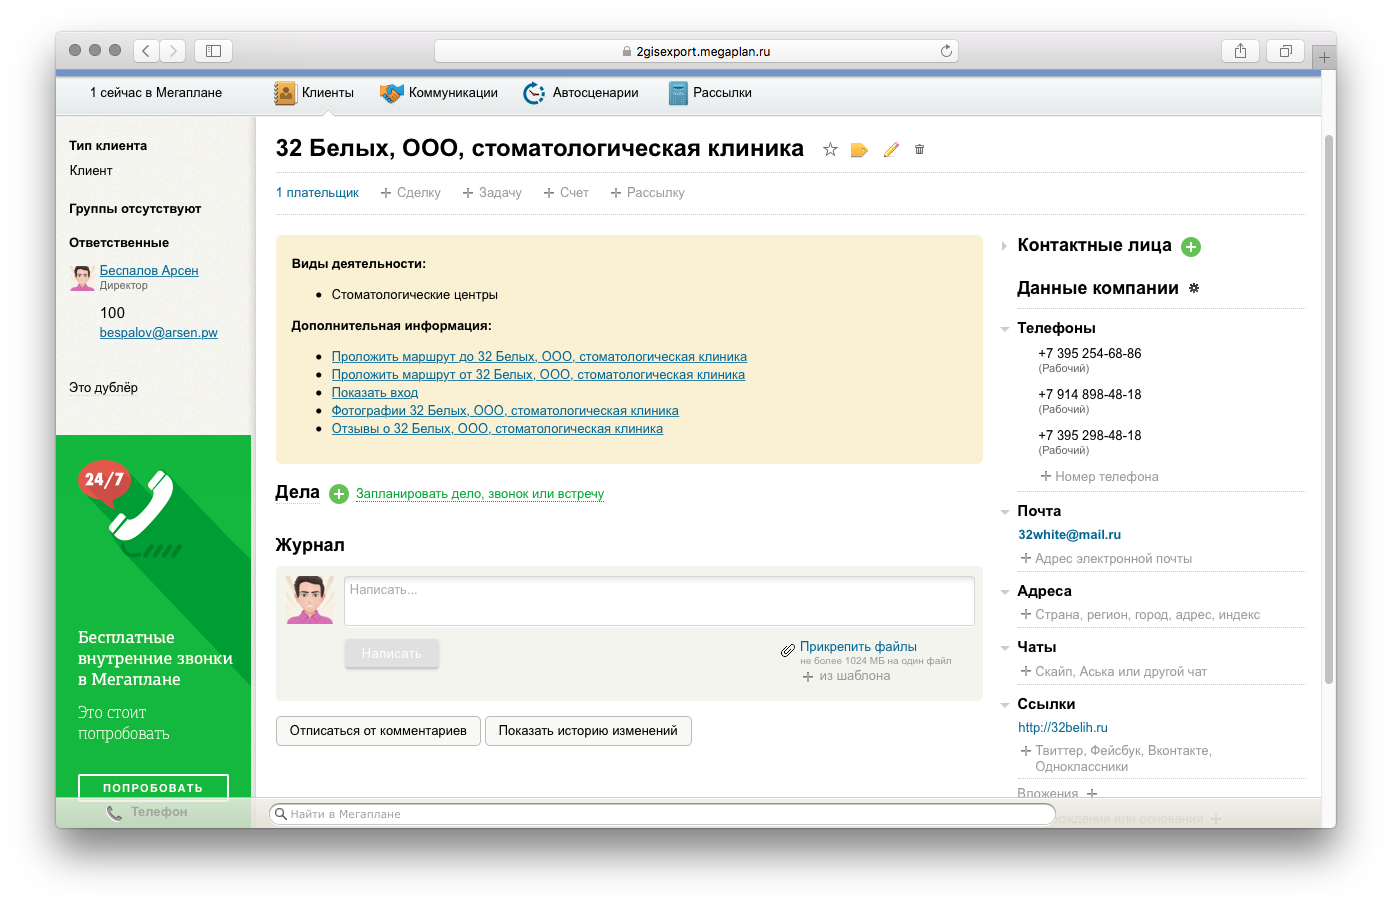
Source: https://habr.com/ru/post/296288/
All Articles