What it looks like: personal account Rocket Callback
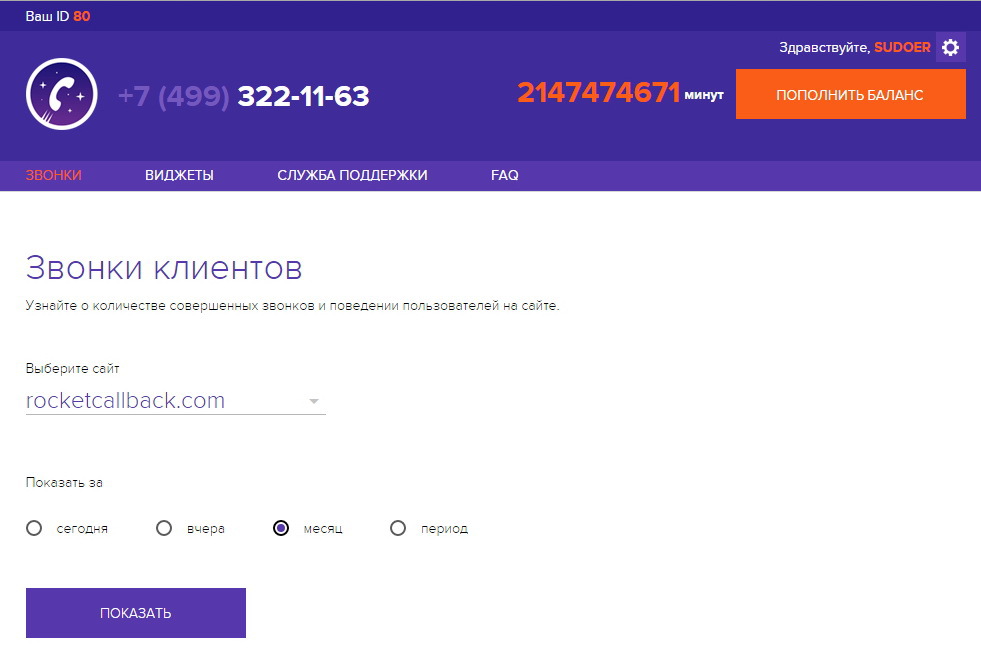
Today we decided to tell a little about how the personal account in Rocket Callback looks, what is there and what it is for. On the main page you can see the statistics of calls for 4 types of period and listen to them in the same place. You can link several widgets to one account and switch between them in one window:
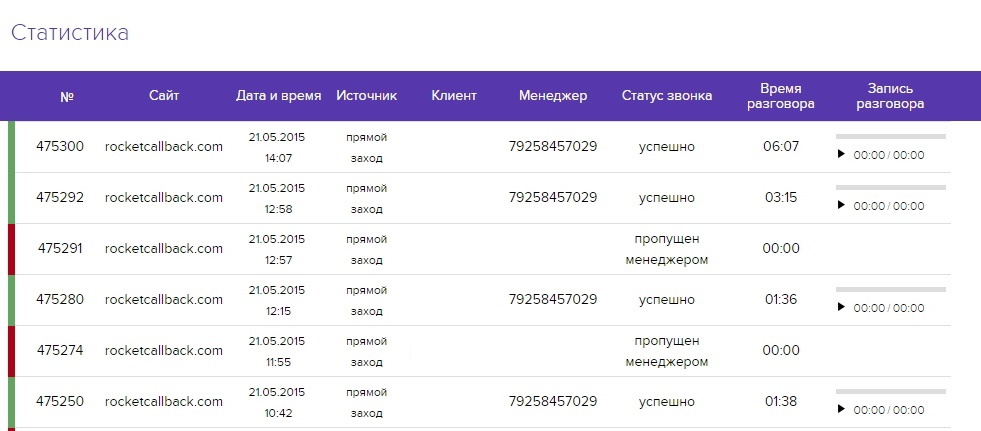
Statistics, where you can see the site, client number, date and time, manager number, call status and time, listen to the recording of the conversation. Now we are sawing a function that would snatch and show where the client came from - from a search engine, a social network, from another site. So far, the value is "Direct entry":
')
The page where all the widgets are displayed. There you can add, delete and edit. Clicking on the pencil icon, we get to the widget editing page.
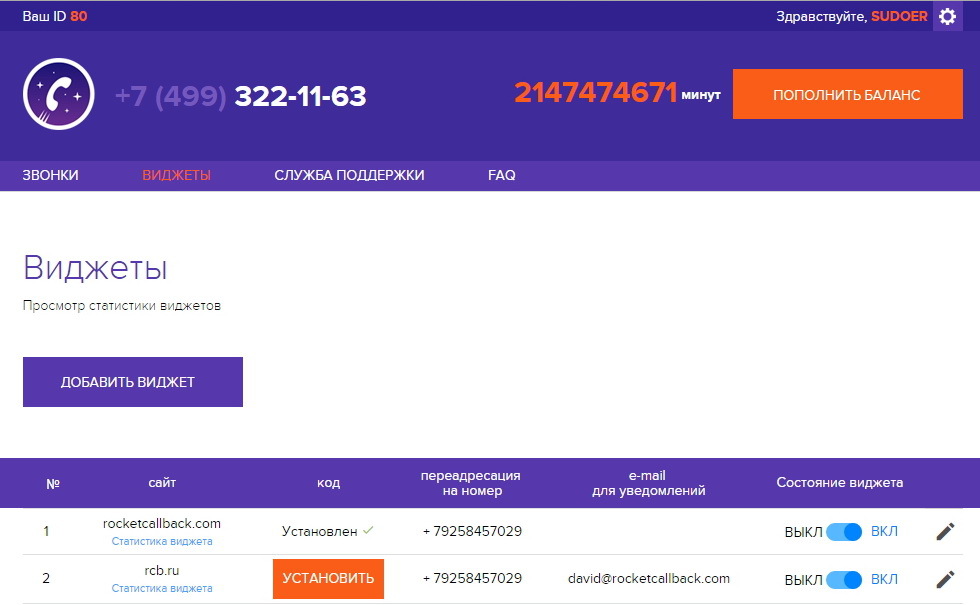
This is where the site address and manager numbers are filled. You can set an extension number and send a call to a specific department. The number of forms for departments is unlimited, as well as numbers of managers.
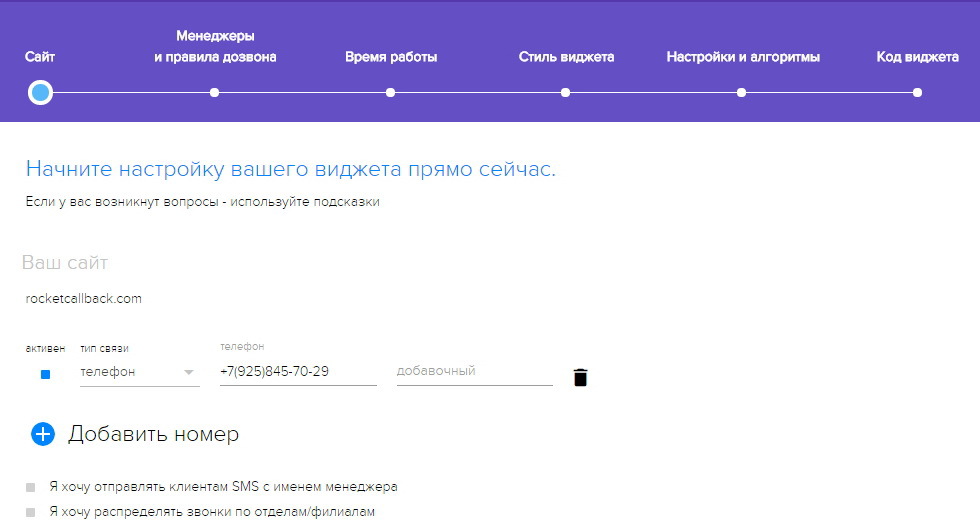
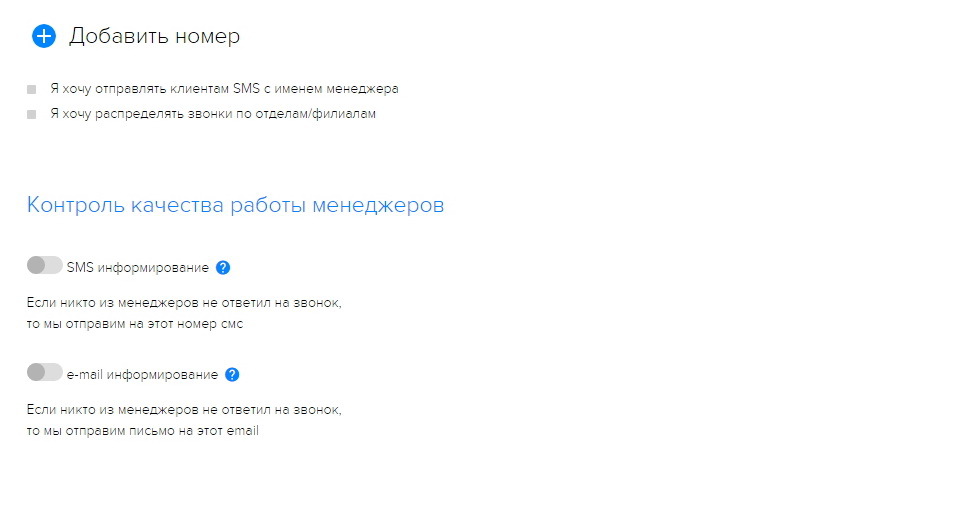
To control the work of managers, you can turn on SMS and email-informing on your personal phone and email - so you will always be aware of who misses calls:
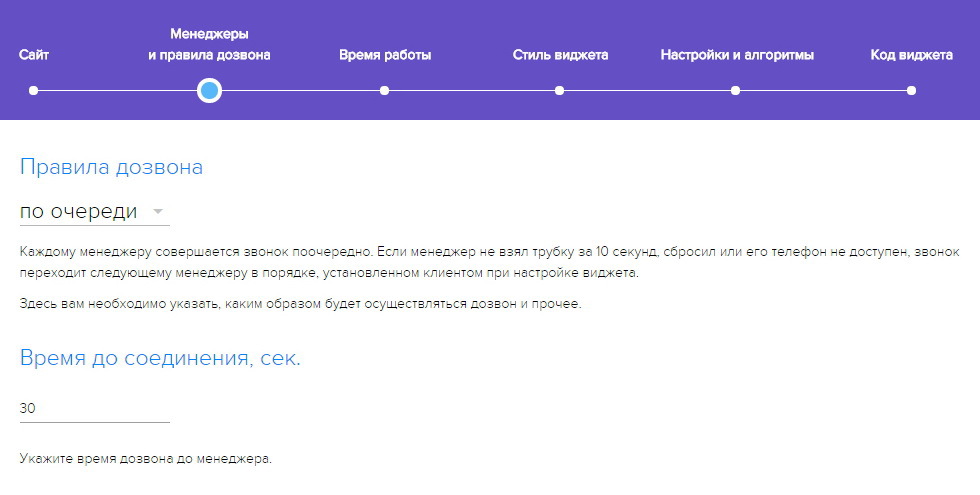
Here you can set the rules for dialing. At first, we didn’t have this function and the calls came in succession to all the specified phones, but then, having received feedback, we decided to fasten the opportunity to choose the format that is most convenient for the client. For example, "by chance" allows you to spontaneously check managers, and "everyone at once" to check who reacts faster. You can also set up the chime time:
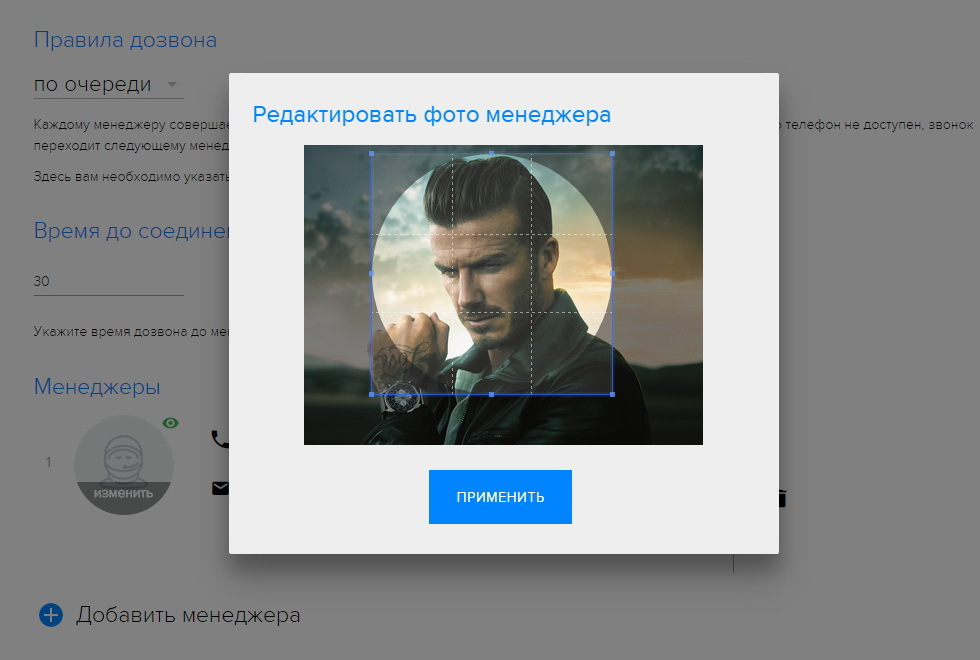
One of our features, which allows you to personalize the widget and set the image - it can be a company logo, a photo manager, a photo from photo stocks or any other image. Here you can trim it and trim it under the area:
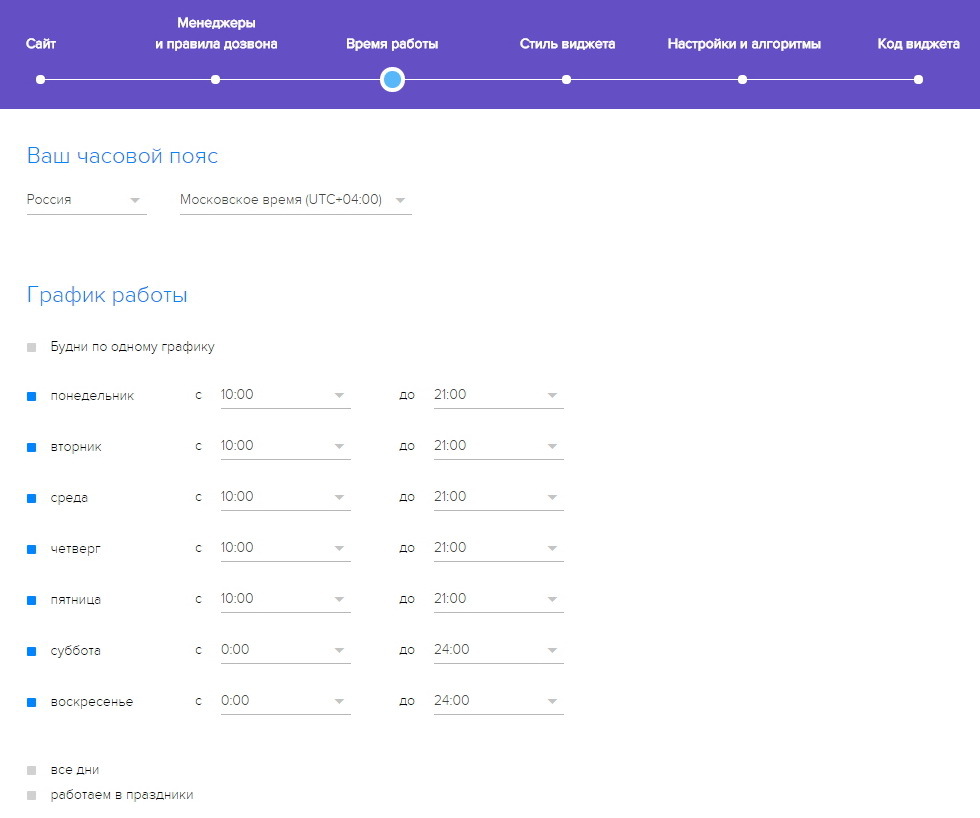
Time zones, days and hours of work. You can mark all days at once, and also “work on holidays.” After the update, you do not need to change the widget code. As soon as you set the time, it will automatically show on the website whether any of the managers can now take a call, and if not, when:
Here we have 10 colors of the widget window, you can still play with transparency and choose the color that best suits you, so it will not exactly merge with the pop-up site. It is possible to round corners, or vice versa - leave a rectangle:
Not everyone wants an image on the widget, so we provide the opportunity not to upload either the logo or the photo of the manager:
You can also customize the button that brings up the window. There are several colors and sizes available, control of the button layout and its complete shutdown:
When we installed callback widgets for ourselves in the summer, we were terribly annoyed that the customers had no choice - the widget could not be turned off, it always popped up on the screen. One could only adjust how often it would appear on the screen, but there was no complete shutdown. The ability to make a widget passive was the first step, from which we started. This function allows you to turn off the spontaneous floating of the widget - in this case the window will appear only when you click on the button. You can achieve this result by moving the slider to the mark 0:
At 100, the widget turns into a terrible weapon of mass destruction. Yes. Below you can configure the engagement index. “Catch on entry” - the widget will be displayed on the first visit. “Catching the Bogus” - those who spend a lot of time on the site. "Catch on exit" - those who are going to leave the site. "Catch new" - those who first time on the site. All this is regulated. So, the closer the slider is to the “0” mark, the more passive the widget is:
To prevent competitors from resetting the budget, there is the possibility of a blacklist for specific phone numbers and IP addresses:
Well, the last, but not the value, but in the list. As a matter of fact, the code itself, which is generated on the basis of what was selected in the previous tabs. Just copy it and paste it in front of the main page and the widget will start working:
And our one feature that we have introduced quite recently is the ability to install Rocket on its own button. For example, not everyone likes that on their website the ball with the image of a button is spinning, someone prefer a small die in the cap. We can set the widget window on this plate:
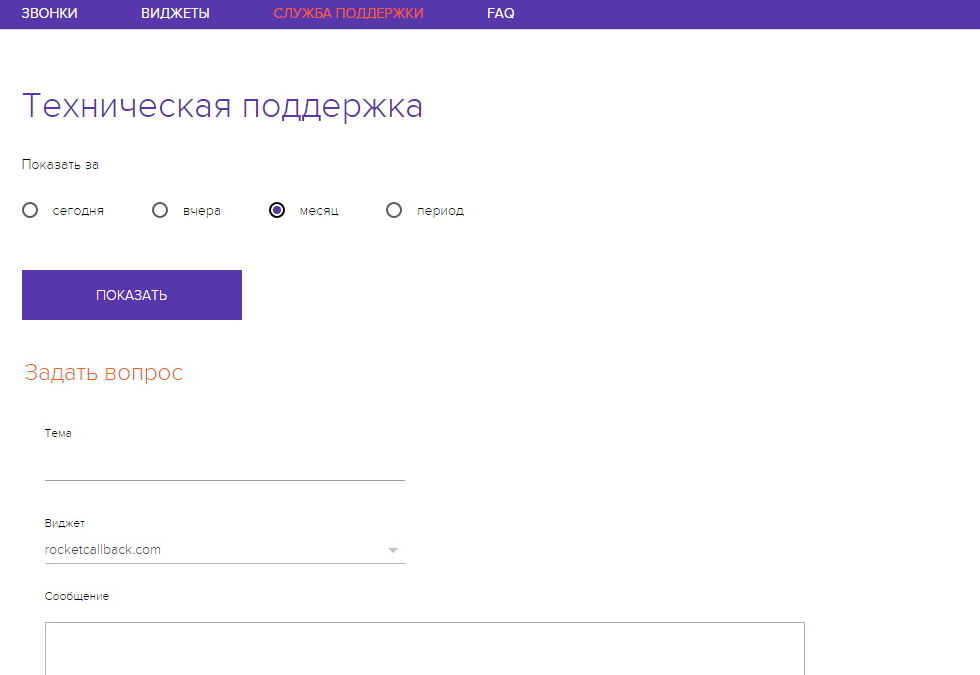
Communication with technical support takes place in your personal account. We have it round-the-clock; there is also a box and skype for additional communication:
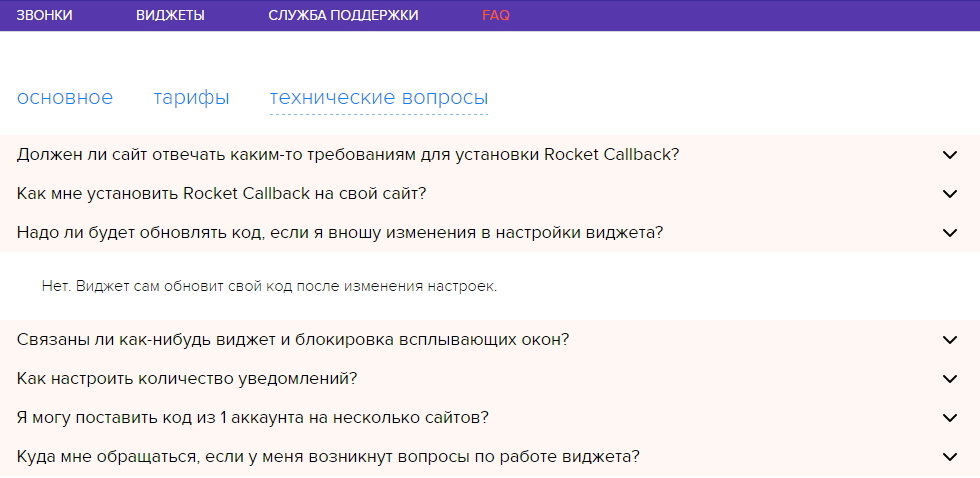
The last tab FAQ, where we collected all the most important and tried to answer it:
That's the whole personal account. We have tried to provide our customers with a full range of tools available in the market. As for the style and algorithms, at first we wanted to paint everything in the most detailed way, but when we saw that many prefer to use the widget on the default settings, they reduced everything to minimalism and simplicity. If the client wants to get into the settings, then it will take less than a minute to do everything.
We have it all.
Thanks for reading us!
Subscribe to our blog .
Statistics, where you can see the site, client number, date and time, manager number, call status and time, listen to the recording of the conversation. Now we are sawing a function that would snatch and show where the client came from - from a search engine, a social network, from another site. So far, the value is "Direct entry":
')
The page where all the widgets are displayed. There you can add, delete and edit. Clicking on the pencil icon, we get to the widget editing page.
Site
This is where the site address and manager numbers are filled. You can set an extension number and send a call to a specific department. The number of forms for departments is unlimited, as well as numbers of managers.
To control the work of managers, you can turn on SMS and email-informing on your personal phone and email - so you will always be aware of who misses calls:
Managers and Dialing Rules
Here you can set the rules for dialing. At first, we didn’t have this function and the calls came in succession to all the specified phones, but then, having received feedback, we decided to fasten the opportunity to choose the format that is most convenient for the client. For example, "by chance" allows you to spontaneously check managers, and "everyone at once" to check who reacts faster. You can also set up the chime time:
One of our features, which allows you to personalize the widget and set the image - it can be a company logo, a photo manager, a photo from photo stocks or any other image. Here you can trim it and trim it under the area:
Working hours
Time zones, days and hours of work. You can mark all days at once, and also “work on holidays.” After the update, you do not need to change the widget code. As soon as you set the time, it will automatically show on the website whether any of the managers can now take a call, and if not, when:
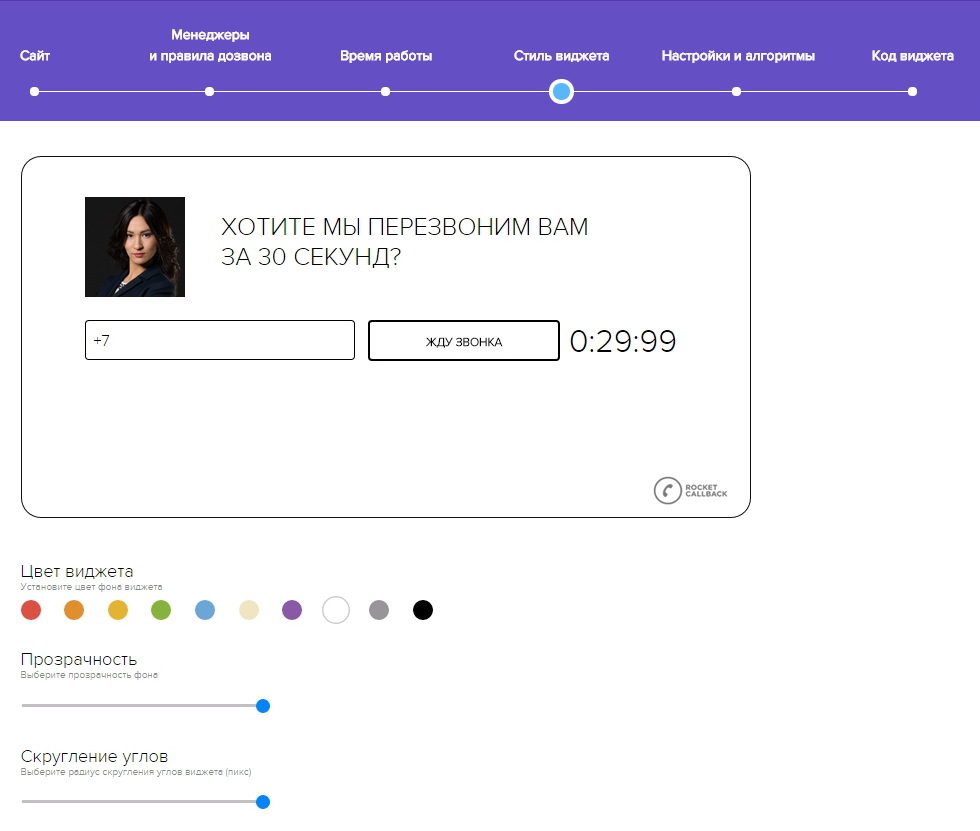
Widget style
Here we have 10 colors of the widget window, you can still play with transparency and choose the color that best suits you, so it will not exactly merge with the pop-up site. It is possible to round corners, or vice versa - leave a rectangle:
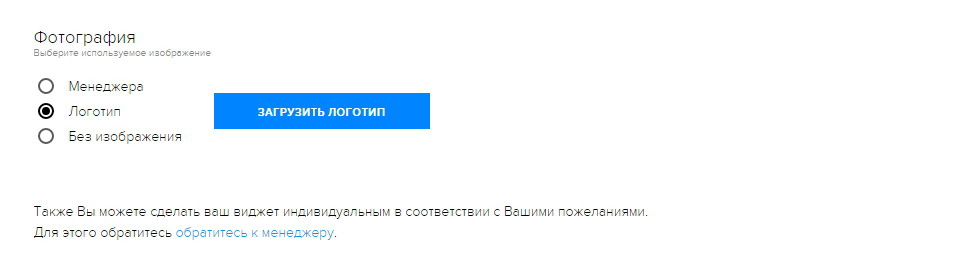
Not everyone wants an image on the widget, so we provide the opportunity not to upload either the logo or the photo of the manager:
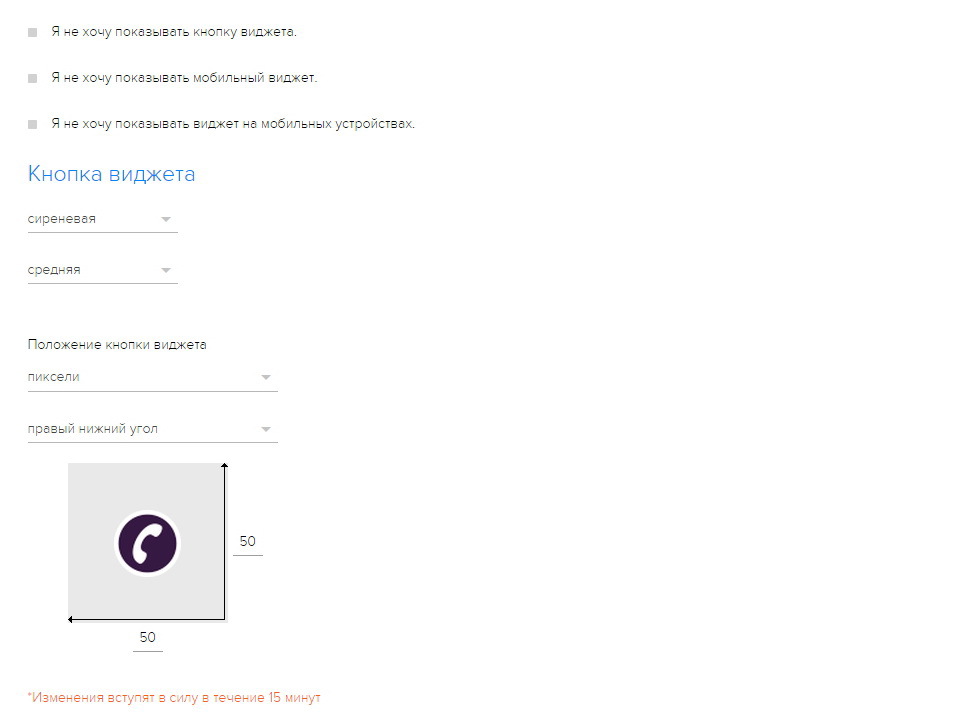
You can also customize the button that brings up the window. There are several colors and sizes available, control of the button layout and its complete shutdown:
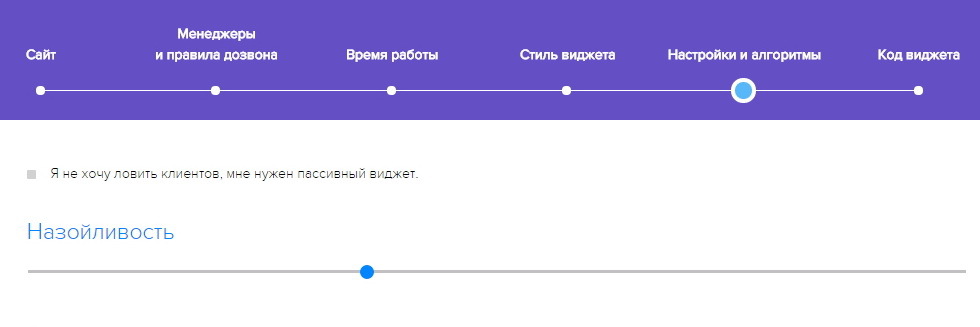
Settings and Algorithms
When we installed callback widgets for ourselves in the summer, we were terribly annoyed that the customers had no choice - the widget could not be turned off, it always popped up on the screen. One could only adjust how often it would appear on the screen, but there was no complete shutdown. The ability to make a widget passive was the first step, from which we started. This function allows you to turn off the spontaneous floating of the widget - in this case the window will appear only when you click on the button. You can achieve this result by moving the slider to the mark 0:
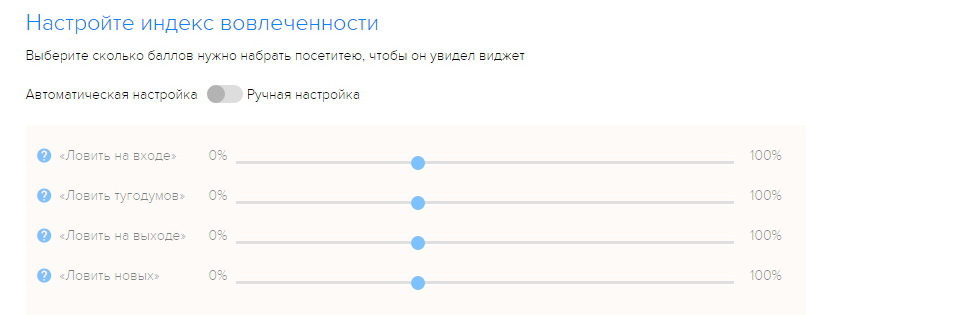
At 100, the widget turns into a terrible weapon of mass destruction. Yes. Below you can configure the engagement index. “Catch on entry” - the widget will be displayed on the first visit. “Catching the Bogus” - those who spend a lot of time on the site. "Catch on exit" - those who are going to leave the site. "Catch new" - those who first time on the site. All this is regulated. So, the closer the slider is to the “0” mark, the more passive the widget is:
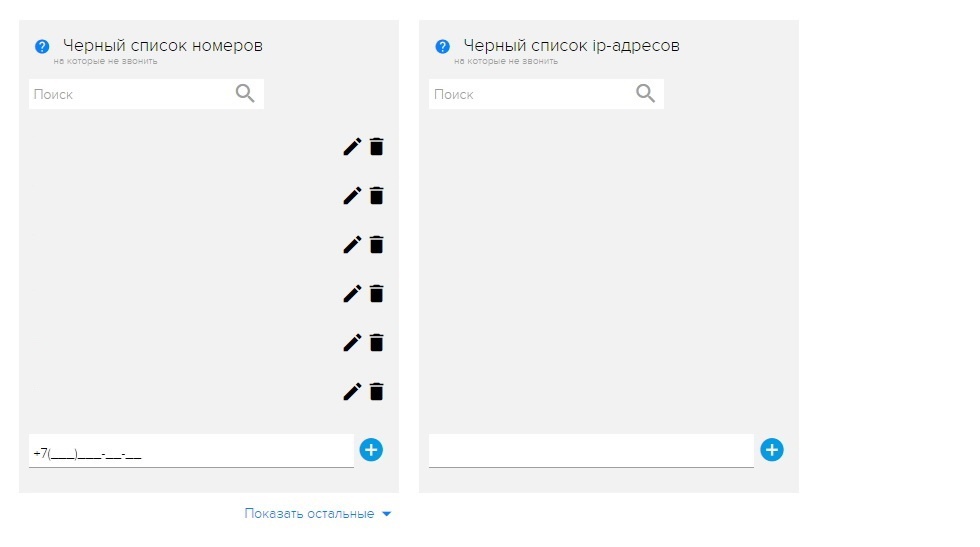
To prevent competitors from resetting the budget, there is the possibility of a blacklist for specific phone numbers and IP addresses:
Widget code
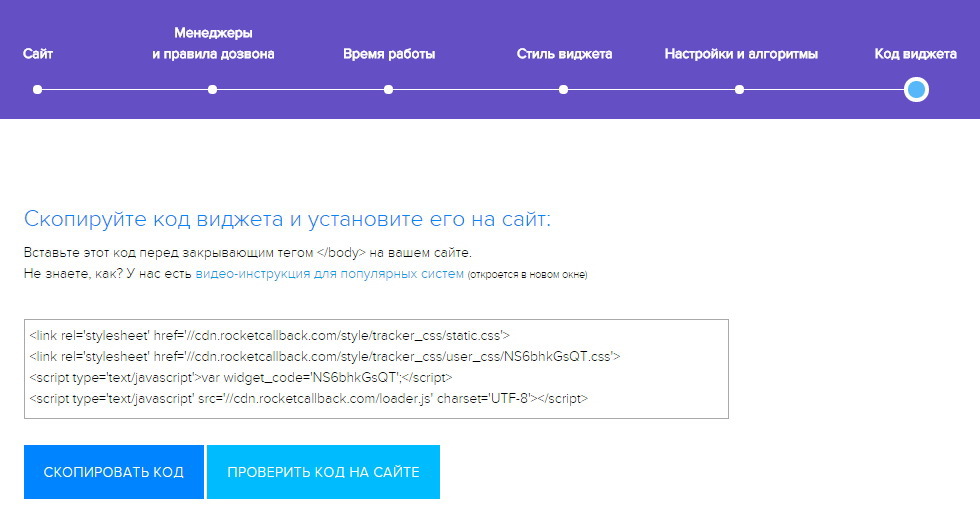
Well, the last, but not the value, but in the list. As a matter of fact, the code itself, which is generated on the basis of what was selected in the previous tabs. Just copy it and paste it in front of the main page and the widget will start working:
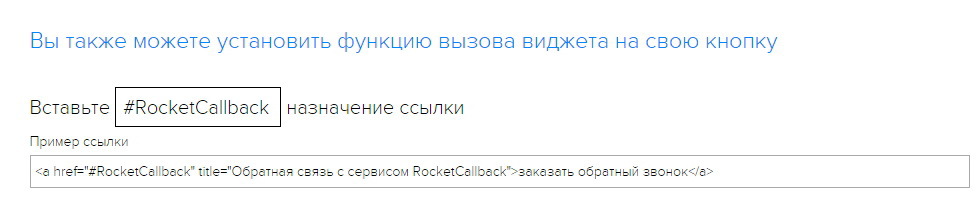
And our one feature that we have introduced quite recently is the ability to install Rocket on its own button. For example, not everyone likes that on their website the ball with the image of a button is spinning, someone prefer a small die in the cap. We can set the widget window on this plate:
Communication with technical support takes place in your personal account. We have it round-the-clock; there is also a box and skype for additional communication:
The last tab FAQ, where we collected all the most important and tried to answer it:
That's the whole personal account. We have tried to provide our customers with a full range of tools available in the market. As for the style and algorithms, at first we wanted to paint everything in the most detailed way, but when we saw that many prefer to use the widget on the default settings, they reduced everything to minimalism and simplicity. If the client wants to get into the settings, then it will take less than a minute to do everything.
We have it all.
Thanks for reading us!
Subscribe to our blog .
Source: https://habr.com/ru/post/290712/
All Articles