RESTful Visual Editor
Hello!
I want to present you my own development for creating API documentation. It is still a little bit "damp", since I have given it only a week, besides, I am not a web developer. However, at this stage, in order to write API documentation for its future project, it completely suits me.
The development itself is on GitHub: github.com/gatools/restful-visual-editor
')
Interested - you are welcome under the cat.
A bit of prehistory
Initially, I did not have plans to write any editor of documentation for the API. It was a choice to write in Markdown or in RAML. Markdown was dropped immediately, since for these purposes it is not very convenient for me. Therefore, the choice fell on RAML, because it has an interesting raml2html converter. Having practiced working in it, I came to the conclusion that I did not want to write documentation in the YAML language. And then the idea was to create a visual editor in which I can simply and conveniently fill in the required fields. There are various commercial editors on the Internet, but I haven’t found any free ones among them.
Editor
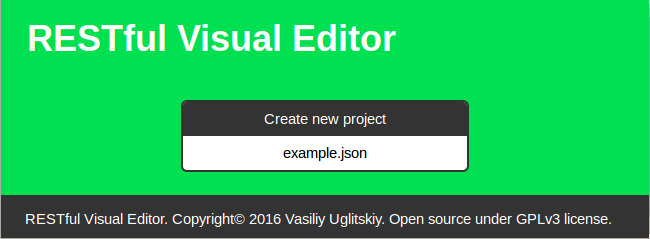
After creating the project on the initial screen, enter the basic information, namely: the version of the documentation, a link to the server and a description.
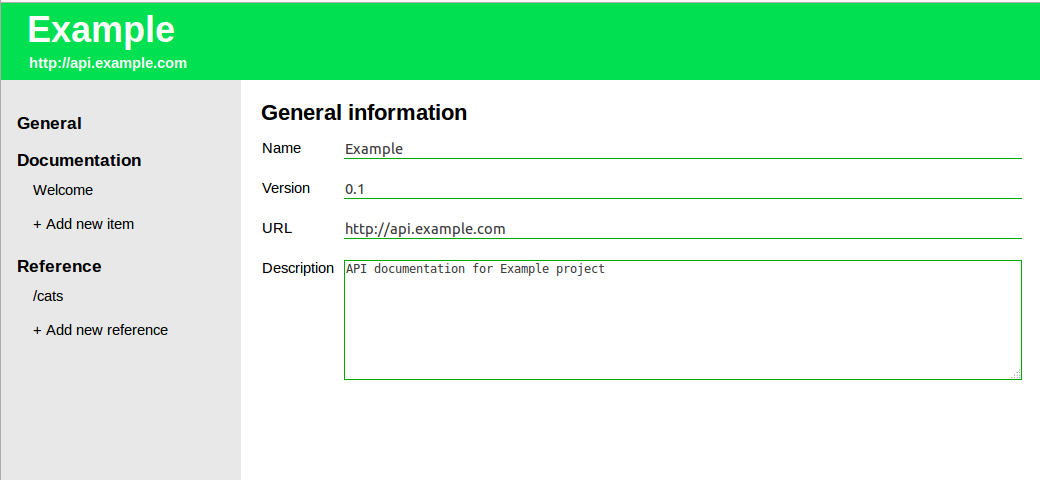
In the documentation section, you can add additional annotations to the project. For convenience, I added the SimpleMDE editor.

And finally, the main part is the ways and work with them:
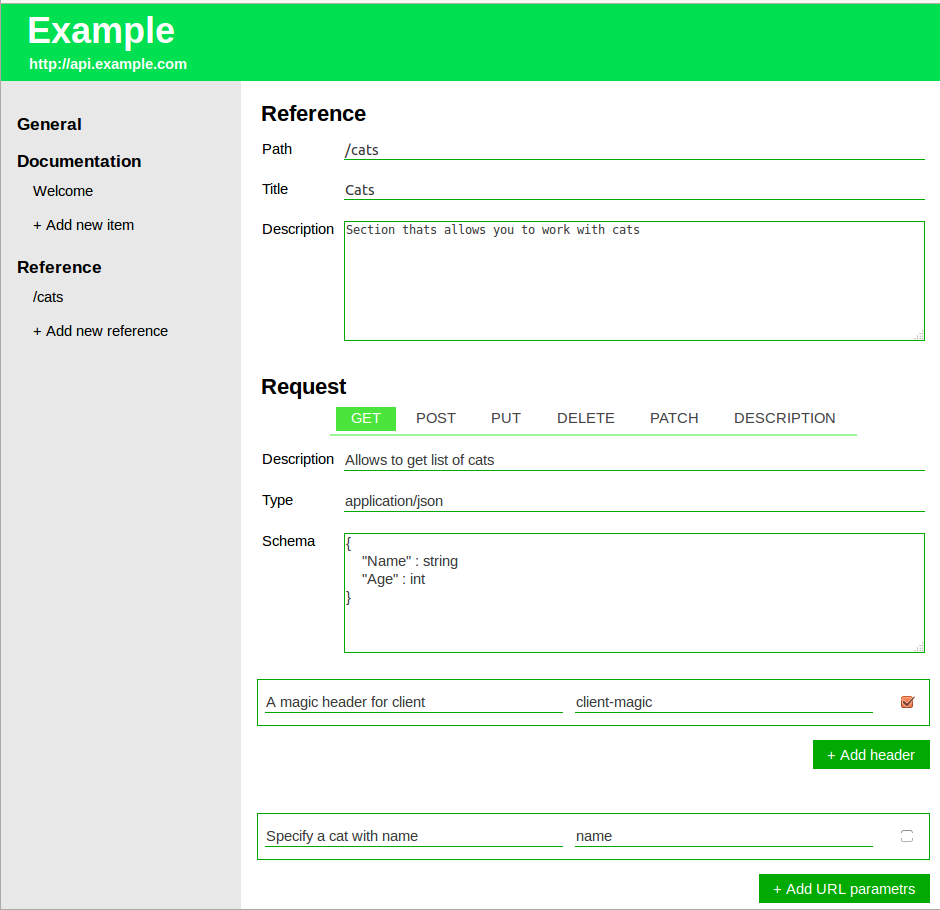
Here you can add a request type, description of headers, required and optional parameters, an example of use and responses from the server.
A bit about code and structure
The editor consists of two parts: a server on Node.JS, which provides work with files, and a web client, inside which the project is formed in JSON format.
There is nothing special about the server part of the code - a regular web server with a couple of functions for ajax requests.
The client side is a bit more complicated. There is a main screen, which, through ajax requests, loads other screens (subview). It looks like this:
/* Show documentation view for specified index */ function showDocumentationView(event) { $("#content").empty(); currentDocumentationIndex = event.data.index; if (currentDocumentationIndex < 0) return; $("#content").load("view/documentation-view.html", (response, status, xhr) => { if (status == "error") alert("Somthing was wrong, check Node.Js logs"); }); } /* Show reference view for specified index */ function showReferenceView(event) { $("#content").empty(); currentReferenceIndex = event.data.index; if (currentReferenceIndex < 0) return; $("#content").load("view/reference-view.html", (response, status, xhr) => { if (status == "error") alert("Somthing was wrong, check Node.Js logs"); }); } The project editor uses four (for the moment) main global variables:
projectRootObject = {}; projectFileName = ""; urrentDocumentationIndex = -1; currentReferenceIndex = -1; Thanks to these variables, loaded screens can know what part of the data they download and display.
Future plans
- the ability to convert a project to RAML and Swagger
- co-editing
- export to HTML
- version comparison
Installation
To work, you need to install Node.JS, you can download it from the official site .
Next, download the editor itself from the repository and install the dependencies:
git clone https://github.com/gatools/restful-visual-editor.git
cd restful-visual-editor
npm install
To run, use the command:
node app.js
After launch, open in the browser:
http://localhost:3000That's basically it. Thank you for your attention to my article. I will be glad to know your opinions! And also write your comments and suggestions for improving this development.
Source: https://habr.com/ru/post/281605/
All Articles