Implementation of monitoring and integration testing information system using Scalatest. Part 2

In the previous article, Implementing Monitoring and Integration Testing of an Information System Using Scalatest, we talked about creating a project in Idea and writing simple tests. In this part, we will look at some of the features of the framework, as well as techniques for solving problems arising during the writing of tests.
Let's take a closer look at the specifics of running tests, analyze the details of generating reports, how to work with Selenium, and also pay attention to timeouts, expectations, calls to the operating system commands, generation of a jar file with tests.
Features run tests
To launch a separate class, launch it from Idea, or execute the testOnly command in the console with indication of the classes.
sbt "testOnly org.example.MyTest1 org.example.MyTest2" You can use the symbol *, for example
sbt "testOnly *MyTest*" Run all the tests that contain the name "MyTest"
By default, all classes run in parallel. We can use the option in build.sbt
parallelExecution in Test := false Which will make the execution consistent.
For more information www.scala-sbt.org/0.13/docs/Testing.html
Creating report files
In order for reports to be generated after passing the tests, you need to add test launch arguments. Arguments can be found at scalatest.org/user_guide/using_the_runner . Not all of them work to run from sbt, you need to experiment.
We supplement in build.sbt parameter for the library of the greatest% "test -> *"
libraryDependencies += "org.scalatest" % "scalatest_2.11" % "2.2.6" % "test->*" Add a string with parameters
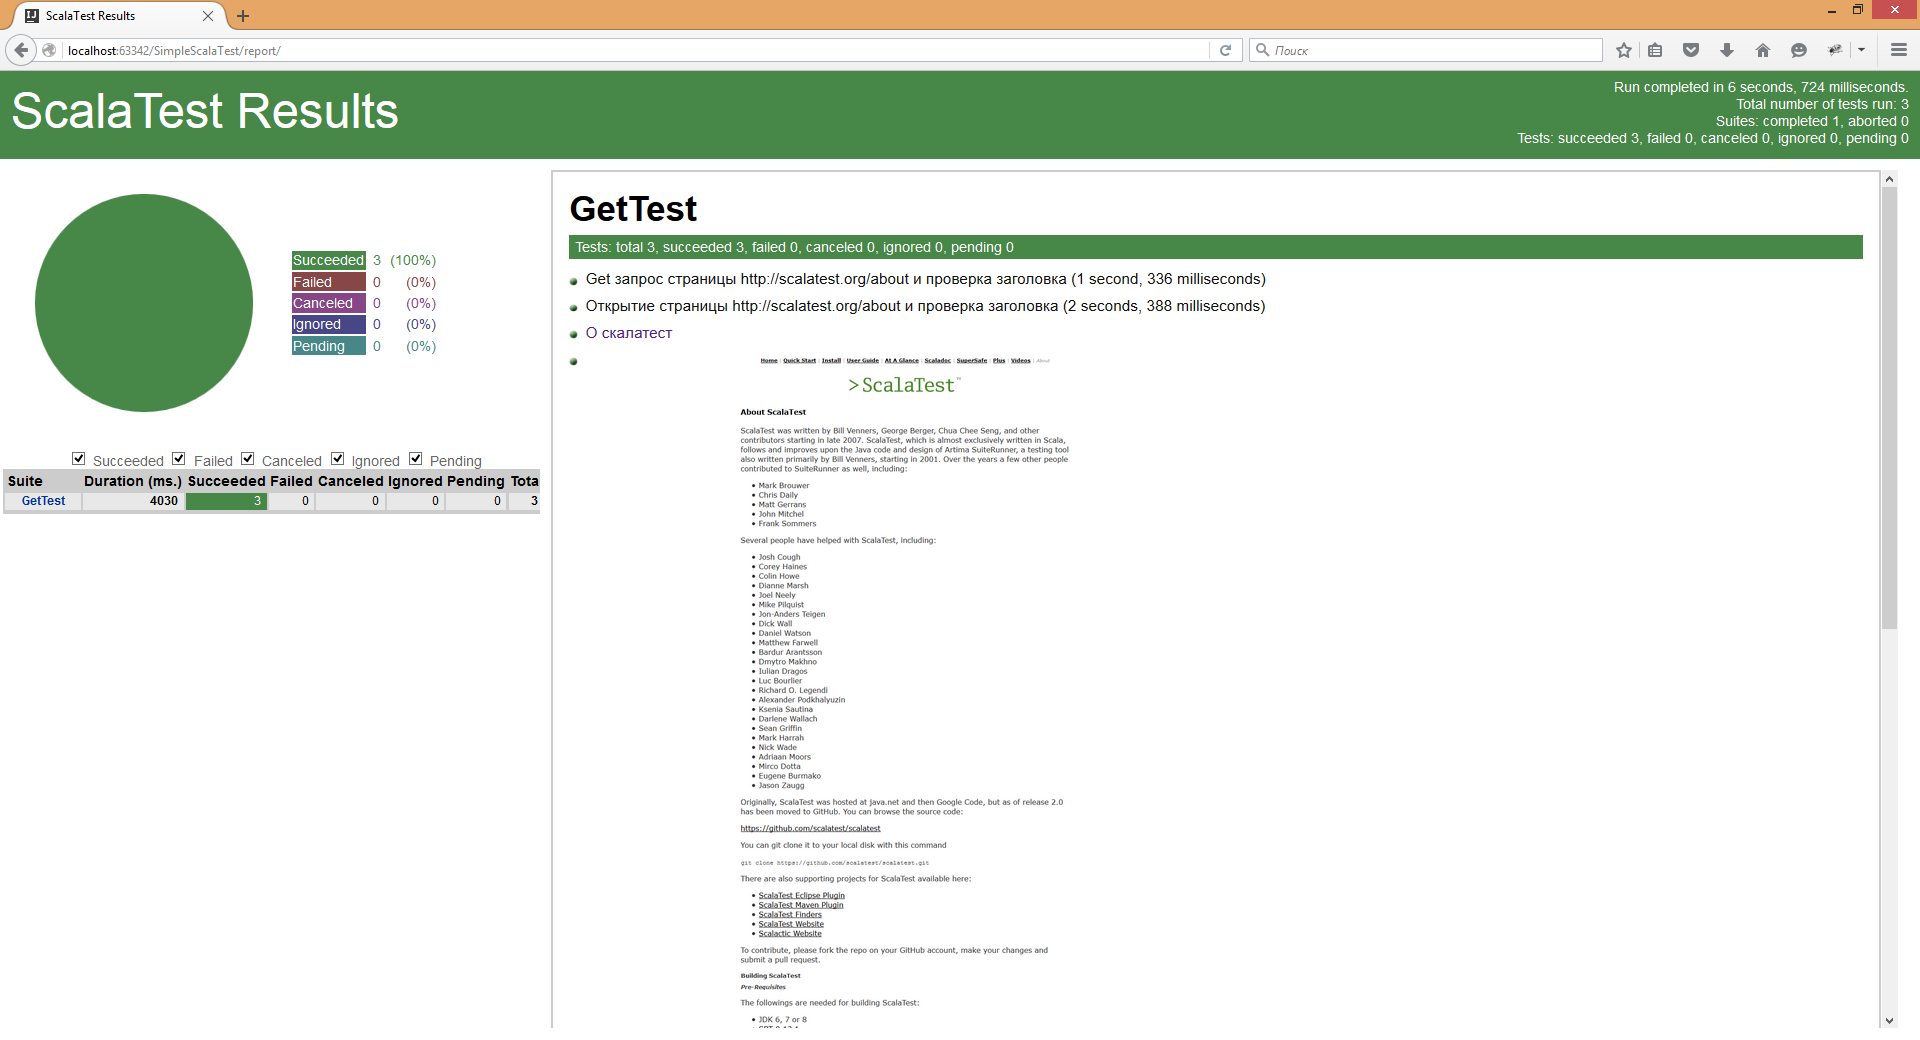
(testOptionsinTest) += Tests.Argument(TestFrameworks.ScalaTest, "-hD", "report", "-fW", "report.txt") At the same time, after running the test, we will have an output of html ("-h") report indicating the execution time ("D") in the folder "report" and the text report file ("f") without specifying the color ("W" , ANSI Color codes in the file are correctly displayed in Linux systems, in Windows crutches are needed)
In order for the report to be generated in UTF8 encoding, there were no problems with Russian characters in Windows, it is recommended to add an option to sbt \ conf \ sbtconfig.txt
-Dfile.encoding=UTF8 
In the folder with the report will be the file index.html, as well as several .html files - one for each class. In theory, you can use Russian characters in class names, but sometimes there are problems with opening <RussianTestClass> .html files.
Let's slightly change the GetTest class by adding methods for saving a screenshot and inserting it into a report.
import org.openqa.selenium.WebDriver import org.openqa.selenium.firefox.FirefoxDriver import org.scalatest.selenium.WebBrowser import org.scalatest.{Matchers, FreeSpec} import scala.io.Source class GetTest extends FreeSpec with Matchers with WebBrowser{ val pageURL = "http://scalatest.org/about" def get(url: String) = Source.fromURL(url, "UTF-8").mkString implicit val webDriver: WebDriver = new FirefoxDriver() // setCaptureDir("report") "Get " + pageURL + " " in { get(pageURL) should include("<title>ScalaTest</title>") } " %s ".format(pageURL) in { go to pageURL pageTitle should be ("ScalaTest") // capture to ("MyScreenShot.png") // markup("<a href=\"http://scalatest.org/about\"> </a>") markup("<img src='MyScreenShot.png' /> ") } " " in { quit() } } Perform in console
sbt "testOnly GetTest" After passing the test, the file “report.txt” in the project root and the folder “report” with the files for the HTML report will be formed.
')

It should be clarified that the result of the script steps will not be displayed in the console - only the results.
When you open the report will see a screenshot of the page
In this and further examples from Selenium, closing the browser will be a separate step.
" " in { quit() } It is necessary that the step be executed last. If you write a closing command in the class body, it will be executed before the beginning of the steps and an error will occur. A little later we will look at how to make the execution of commands after all the steps have been completed.
Expectations
There are situations when a test crashes because there is no object to be checked ... For example, a record in the database appears a few seconds after an event or an element on a web page does not appear immediately, but after a script has been processed on the client.
In this case, you can use a pause (for example, the Thread.sleep (1000) command will suspend code execution for 1 second), but it is better to use it eventually.
Eventually - allows you to periodically perform a block of operations until the passage is successful, or the time runs out.
Consider an example:
class OpenScalatest extends FreeSpec with WebBrowser{ implicit val webDriver: WebDriver = new FirefoxDriver() val pageURL = "https://www.google.ru/" " ScalaTest" in { go to pageURL textField("q").value = "ScalaTest" clickOn("btnG") } " 'ScalaTest'" in { click on partialLinkText("ScalaTest") } " " in { quit() } } The example searches Google for the ScalaTest page and goes to it.
The test will fail with the error "WebElement 'ScalaTest' not found."
The problem is that the driver considers the page loaded after all resources have loaded. But does not take into account the fact that the element can be formed on the client after loading the page.
Wrap the step of clicking on the link in the block Eventually. To do this, we mix the treyt into the class definition.
"With Eventually"
Import components to work with time
Import org.scalatest.time.SpanSugar._ Override the parameters Eventually
implicit override val patienceConfig = PatienceConfig(timeout = (2 seconds), interval = (250 millis)) And we wrap up a step into the waiting
eventually{clickonpartialLinkText("ScalaTest")} As a result, we get
class OpenScalatest extends FreeSpec with WebBrowser with Eventually{ implicit val webDriver: WebDriver = new FirefoxDriver() val pageURL = "https://www.google.ru/" implicit override val patienceConfig = PatienceConfig(timeout = (2 seconds), interval = (250 millis)) " ScalaTest" in { go to pageURL textField("q").value = "ScalaTest" clickOn("btnG") } " 'ScalaTest'" in { eventually{click on partialLinkText("ScalaTest")} } " " in { quit() } } Thus, we implement polling - periodic resource polling for the purpose of checking readiness.
Now every 250 milliseconds the presence of the element is checked, if it does not appear in 2 seconds - the test will drop.
For more information: doc.scalatest.org/2.2.6/index.html#org.scalatest.concurrent.Eventually
There are cases where a block of code can run for a very long time, and we need to limit the execution time. Use the Timeouts Treyt, which contains the failAfter and cancelAfter commands.
For example, if the page loads for more than 5 seconds - we believe that an error has occurred.
class DevianArt extends FreeSpec with WebBrowser with Timeouts { implicit val webDriver: WebDriver = new FirefoxDriver() val pageURL = "http://www.deviantart.com/" " %sc ".format(pageURL) in { failAfter(5 seconds){ go to (pageURL)} } " " in { quit() } } More on the page
doc.scalatest.org/2.2.6/index.html#org.scalatest.concurrent.Timeouts
Thus it is possible to limit the waiting time for responses.
Performing actions before and after test steps
In some cases, there is a need to perform some actions before performing the test steps, after performing the test steps, before or after each step.
For this we use the traits BeforeAndAfterAll and BeforeAndAfter
Consider an example in which after each test step a screenshot is executed, and after all steps the browser closes
class CreateScalatestCaptures extends FreeSpec with WebBrowser with BeforeAndAfter with BeforeAndAfterAll{ implicit val webDriver: WebDriver = new FirefoxDriver() val pageURL = "http://www.scalatest.org/" setCaptureDir("report") // TimeStamp def createScreenCaptureToReport(fileName: String = System.currentTimeMillis + ".png"): Unit = { captureTo(fileName) markup("<img src='" + fileName + "' width='50%' /> ") } " %s".format(pageURL) in { go to pageURL } " 'Quick Start'" in { click on partialLinkText("Quick Start") } // after{ createScreenCaptureToReport() } // override def afterAll(){ quit() } } A small addition about Selenium
Scaletest includes SeleniumDSL, examples of which were discussed above. On the page
scalatest.org/user_guide/using_selenium
It contains a pretty good description, but there are a few points that can be further voiced.
In some cases, you need to control the size of the browser window. This is done using the interface
webDriver.manage().window() For example,
webDriver.manage().window().maximize() make the window maximized (by default, the browser is run in windowed mode), or
val browserDimension = new org.openqa.selenium.Dimension(1920,2160) webDriver.manage().window().setSize(browserDimension) Generates a window of 1920 * 2160
To switch between windows, use the code
val arr = windowHandles.toArray switch to window(arr(1)) After running in the console, we get a beautiful report with two screenshots.
It should be noted that the generation of images with a unique name will produce files with each launch. It is necessary to take this into account and periodically clean up the directory with files.
There is also the possibility of tracking errors in the browser console.
Need to import
import org.openqa.selenium.logging.{LogType, LoggingPreferences} import org.openqa.selenium.remote.{CapabilityType, DesiredCapabilities} In the place where we declare the browser, add the line
var logPref: LoggingPreferences = new LoggingPreferences() logPref.enable(LogType.BROWSER, Level.SEVERE)// "SEVERE" val capability = DesiredCapabilities.firefox() capability.setCapability(CapabilityType.LOGGING_PREFS, logPref) implicit val webDriver: WebDriver = new FirefoxDriver(capability)// In the step code, we write to output the logs to the report.
val browserLogs = webDriver.manage().logs().get(LogType.BROWSER).getAll.toArray browserLogs.foreach(x=> markup("<q>%s</q>".format(x))) If we want the step to be filed when there are errors in the logs - we add
browserLogs.size should be (0) Running OS commands
Sometimes it may be necessary to execute some commands of the OS on which the test is run.
The following example shows how to check the amount of free disk space and how to check the availability of a host with the ping command.
For this, a separate CMDUtils object has been created, in which the OS is detected and the commands are executed.
import scala.math._ import scala.sys.process._ object CMDUtils extends Exception{ val os = System.getProperty("os.name").substring(0,3) def freeSpace: Long = { var cmd: Seq[String] = null // , os match { case "Win" => cmd = Seq("powershell", "-command ", "(fsutil volume diskfree c:).split(' ')[-1]") case "Lin" => cmd = Seq("/bin/sh", "-c", "df / -B1 | sed -n 2p | awk '{print $4}'") case _ => throw new Exception(" ") } // val output = cmd.!! // output.trim.toLong/pow(1024,3).toLong } def pingHost(host: String): Boolean = { var cmd: Seq[String] = null os match { case "Win" => cmd = Seq("powershell", "-command ", "ping %s | Out-Null ; echo $?".format(host)) case "Lin" => cmd = Seq("/bin/sh", "-c", "ping %s -c 4 &> /dev/null; if (($?==0)); then echo true; else echo false; fi".format(host)) case _ => throw new Exception(" ") } // true/false cmd.!!.trim.toBoolean } } Then the object's methods are called from the test.
class CMDExecute extends FreeSpec with Matchers{ val limit: Long = 10 // " %s ".format(limit) in { CMDUtils.freeSpace should be > limit } var host1 = "8.8.8.194" " %s".format(host1) in { CMDUtils.pingHost(host1) should be(true) } var host2 = "8.8.8.8" " %s".format(host2) in { // "true" assert(CMDUtils.pingHost(host2)) } } Also, using OS commands, it is possible to send test results to the zabbix server using the zabbix_sender utility.
To perform complex operations (query to the database, send / receive messages from the queue manager, parse or form XML), a separate object is written, or a class whose methods are called in the test.
Creating an executable jar file
In some cases, it makes sense to run tests not from the project, but as a separate jar file with all dependencies. Each time you run the "sbt test" command, the project files are compiled. If there were no changes, then it takes some time to check for this. Building a jar will allow you not to spend time on compiling / assembling each test run, but to create a jar and run the test each time without compiling. The dependencies included in the file will allow you to run the test on any machine where java is present.
By default, the jar file does not include tests, so it is necessary to ensure the launch of test classes from the main code.
To do this, change the scope for the library, removing the indication "test -> *"
libraryDependencies += "org.scalatest" %% "scalatest_2.11" % "2.2.6" If there is no explicit indication, then this is the “compile” configuration.
Learn more at maven.apache.org/guides/introduction/introduction-to-dependency-mechanism.html
It is also necessary to add a dependency, without which it will not be possible to create an html report.
libraryDependencies += "org.pegdown" % "pegdown" % "1.6.0" Next, you need to move the files with test classes from the src / test / scala folder to the src / main / scala folder
After that we create an object, let's call it MainApp, which will run our tests.
import org.scalatest.tools.Runner object MainApp extends App{ Runner.run(Array("-s", "TestClass", "-h", "report")) } The class runs the runner method of the Runner object to which parameters are passed.
-s - the name of the test class to run
-h - folder for the html report
Other options can be found http://www.scalatest.org/user_guide/using_the_runner
After that, run sbt run, the test from the class should go through and form a folder with the report and a file with the report.
After the tests are run with the run command, you can build a jar file with dependencies.
To do this, add the plugin github.com/sbt/sbt-assembly
Add the line in the project / plugins.sbt file
addSbtPlugin("com.eed3si9n" % "sbt-assembly" % "0.14.1") After updating the project when executing the command
sbt assembly a jar file will be generated in the target / scala-2.11 directory
Running it with the command java -jar .jar we get the test execution and report generation.
It is possible to form a file in the root of the project, specifying in build.sbt
assemblyOutputPath in assembly := baseDirectory.value / "tests.jar" The use of this approach is acceptable when the build runs frequently and rarely changes, or when you need to quickly run a test on another machine, where dependencies for the build will take a long time to download or there is no Internet. Of the minuses can be noted a large file size. (40 mb for a test using firefox driver, for example) and some time building a jar file.
If it is necessary that when the tests fail, there is a special exit code (for example, the assembly on the CI server drops), then you need to install the code, checking the value returned by the runner
object MainApp extends App{ val res = Runner.run(Array("-s", "TestClass", "-h", "report")) if (!res) sys.exit(1) } Also, tests have the ability to reuse code. For example, creating an instance of the browser, opening up after passing the test, authorization on the site can be divided into a separate treit, from which test classes are inherited.
For configuration, you can use the config component from typesafe ( https://github.com/typesafehub/config )
Thus, the basic techniques of working with the library were considered, which allow writing convenient, universal automated tests.
Beyond that were fixtures, mock objects, property-based testing, table-driven testing, the use of Sikuli, java Robot to automate UI testing, and many, many other tasty buns.
One of the key advantages of the framework is the availability of quality documentation with examples. This makes learning and using the framework a pleasant and effective one.
The advantages of this technology stack are confirmed by the successful experience of using in our company.
Source: https://habr.com/ru/post/281354/
All Articles