Expanded PHPixie Project Skeleton with Authentication and Admin Panel

The underlying skeleton of the PHPixie project is designed to be minimalistic, so as not to impose architecture on the user. But in our chat, there are often questions about how to set up authorization, whether it is worth separating the front end and backend into separate bundles, how best to organize processors, and so on. Starting with an empty project is much more difficult for new users, which raises the threshold of entry, and sometimes you just want to start one step further. For this purpose, an expanded skeleton of the project was created, in which all this already works.
')
Demo
So, in more detail what we have here:
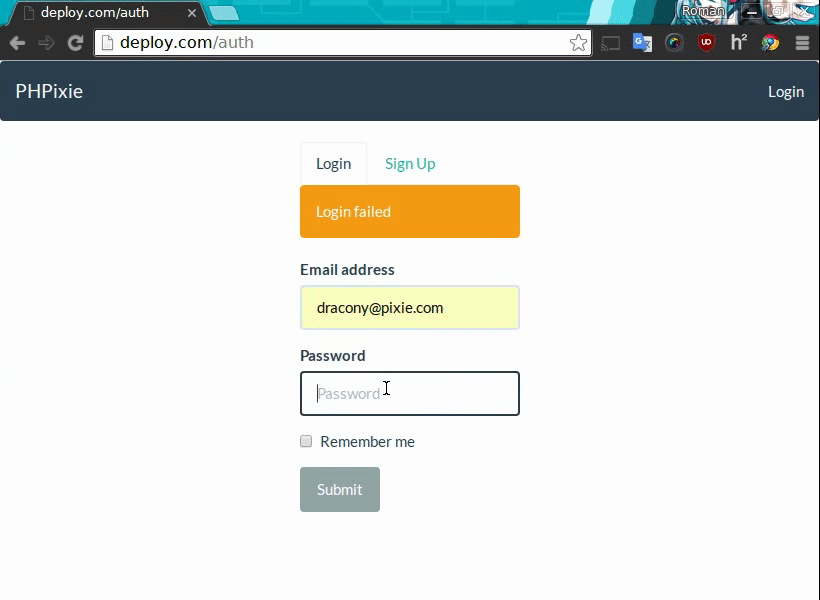
- User registration
- Login with the option "remember me"
- Check login on pages
- Admin panel with separate login
- Administrators are stored in a separate table, they can be added via the console.
- The ability for the administrator to impersonate any user
Using
composer create-project phpixie/project-auth project We configure the web server in the project / web folder and it is ready. One administrator has already been added, his login is a phpixie / framework , but you can also add your own via the console (unfortunately in PHPixie there is no beautiful component to call commands from the console):
php addAdmin.php someUser somePassword The project is configured to use SQLite database which lies in database.sqlite . Here is its structure for MySQL:
CREATE TABLE `users` ( `id` INTEGER AUTO_INCREMENT PRIMARY KEY, `email` VARCHAR(255) NOT NULL UNIQUE , `passwordHash` VARCHAR(255) NOT NULL ); CREATE TABLE `userTokens` ( `series` varchar(50) NOT NULL, `userId` int(11) DEFAULT NULL, `challenge` varchar(50) DEFAULT NULL, `expires` bigint(20) DEFAULT NULL, PRIMARY KEY (`series`) ); CREATE TABLE `admins` ( `id` INTEGER AUTO_INCREMENT PRIMARY KEY, `username` VARCHAR(255) NOT NULL UNIQUE , `passwordHash` VARCHAR(255) NOT NULL ); Github Code: github.com/PHPixie/Project-Auth
If you are interested in how the work with PHPixie looks, take a look at this project and I hope you will be pleasantly surprised.
Source: https://habr.com/ru/post/281160/
All Articles